
So i’ll pick up where I left off, aim of the game; To install rear subframe and get the reinforcement plates welded in. Parts were slowly starting to roll in and progress was slow but steady, here are a few pics of the subframe install.
Big ben doin work! Thanks for the help man!
Plates being welded in!
Time for some paint, so I cleaned up the welds on the plates and gave them a quick splash of paint! And this is why you dont use POR15 before your gf’s fancy dinner birthday party. She was not happy lol

This is after trying numerous things to try and get this stuff off! I eventually had to result to some 1500 grit sand paper and wet sanded the shit out of them! It hurt but it worked!
Back to the build though!
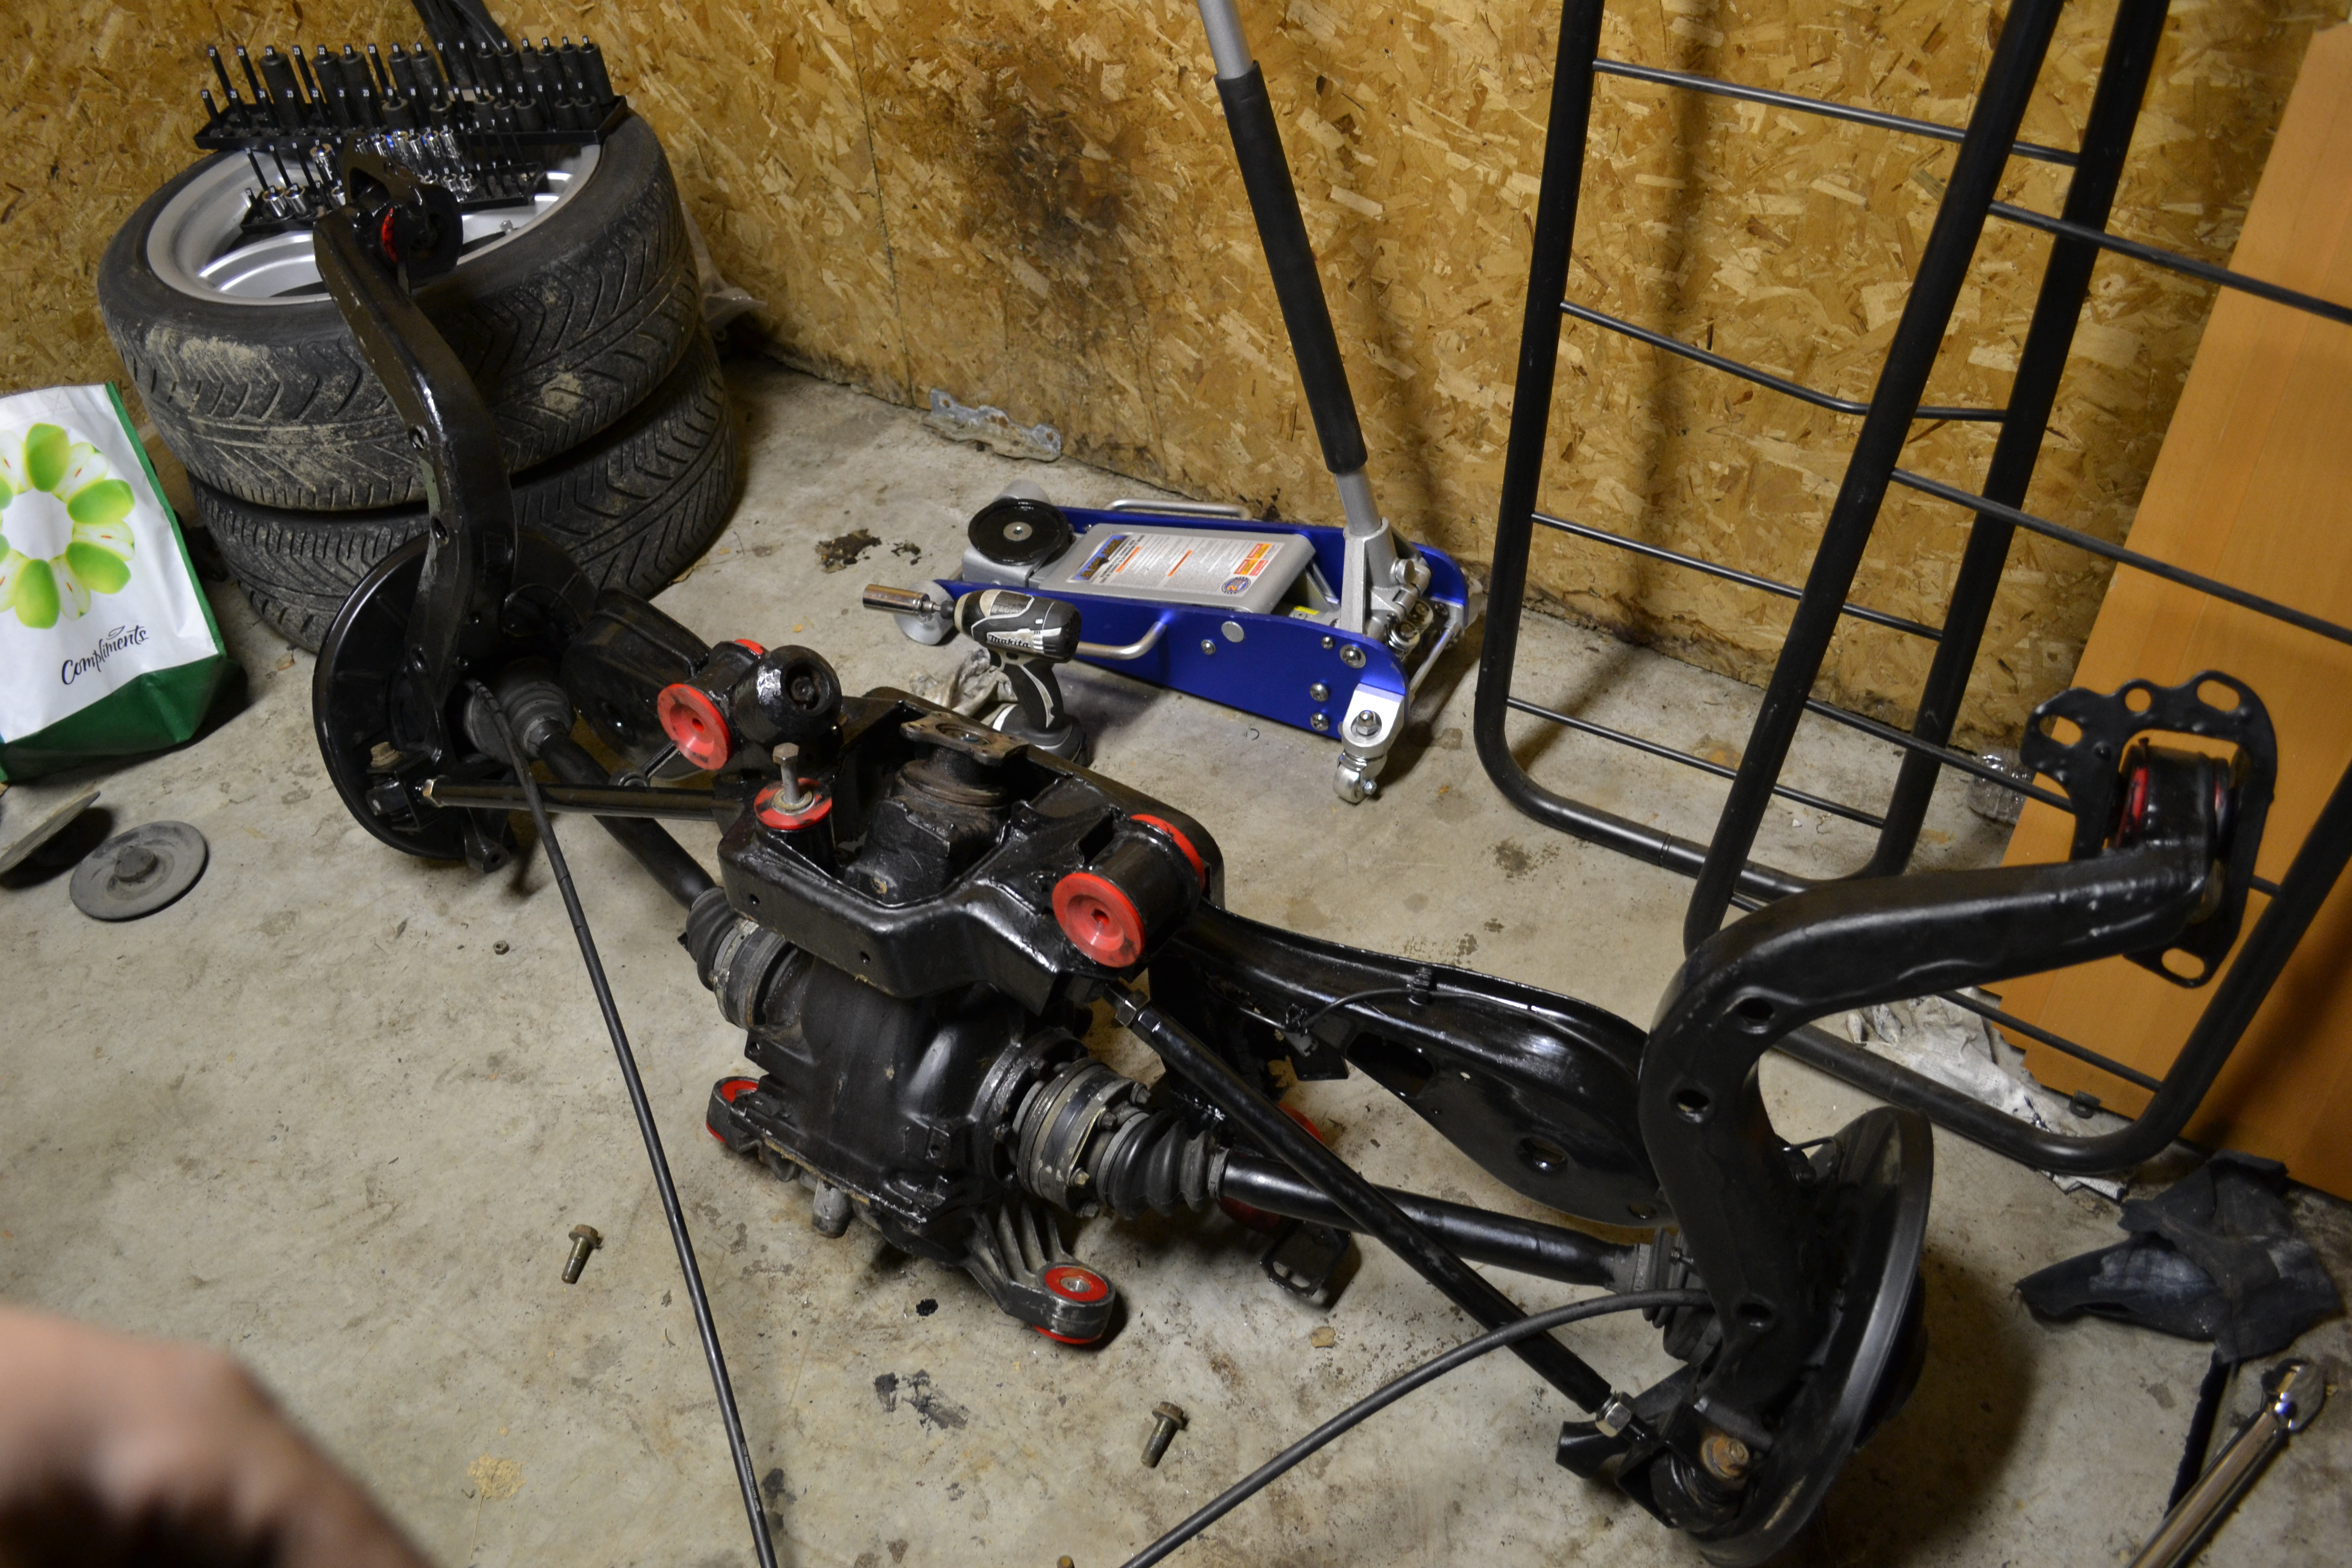
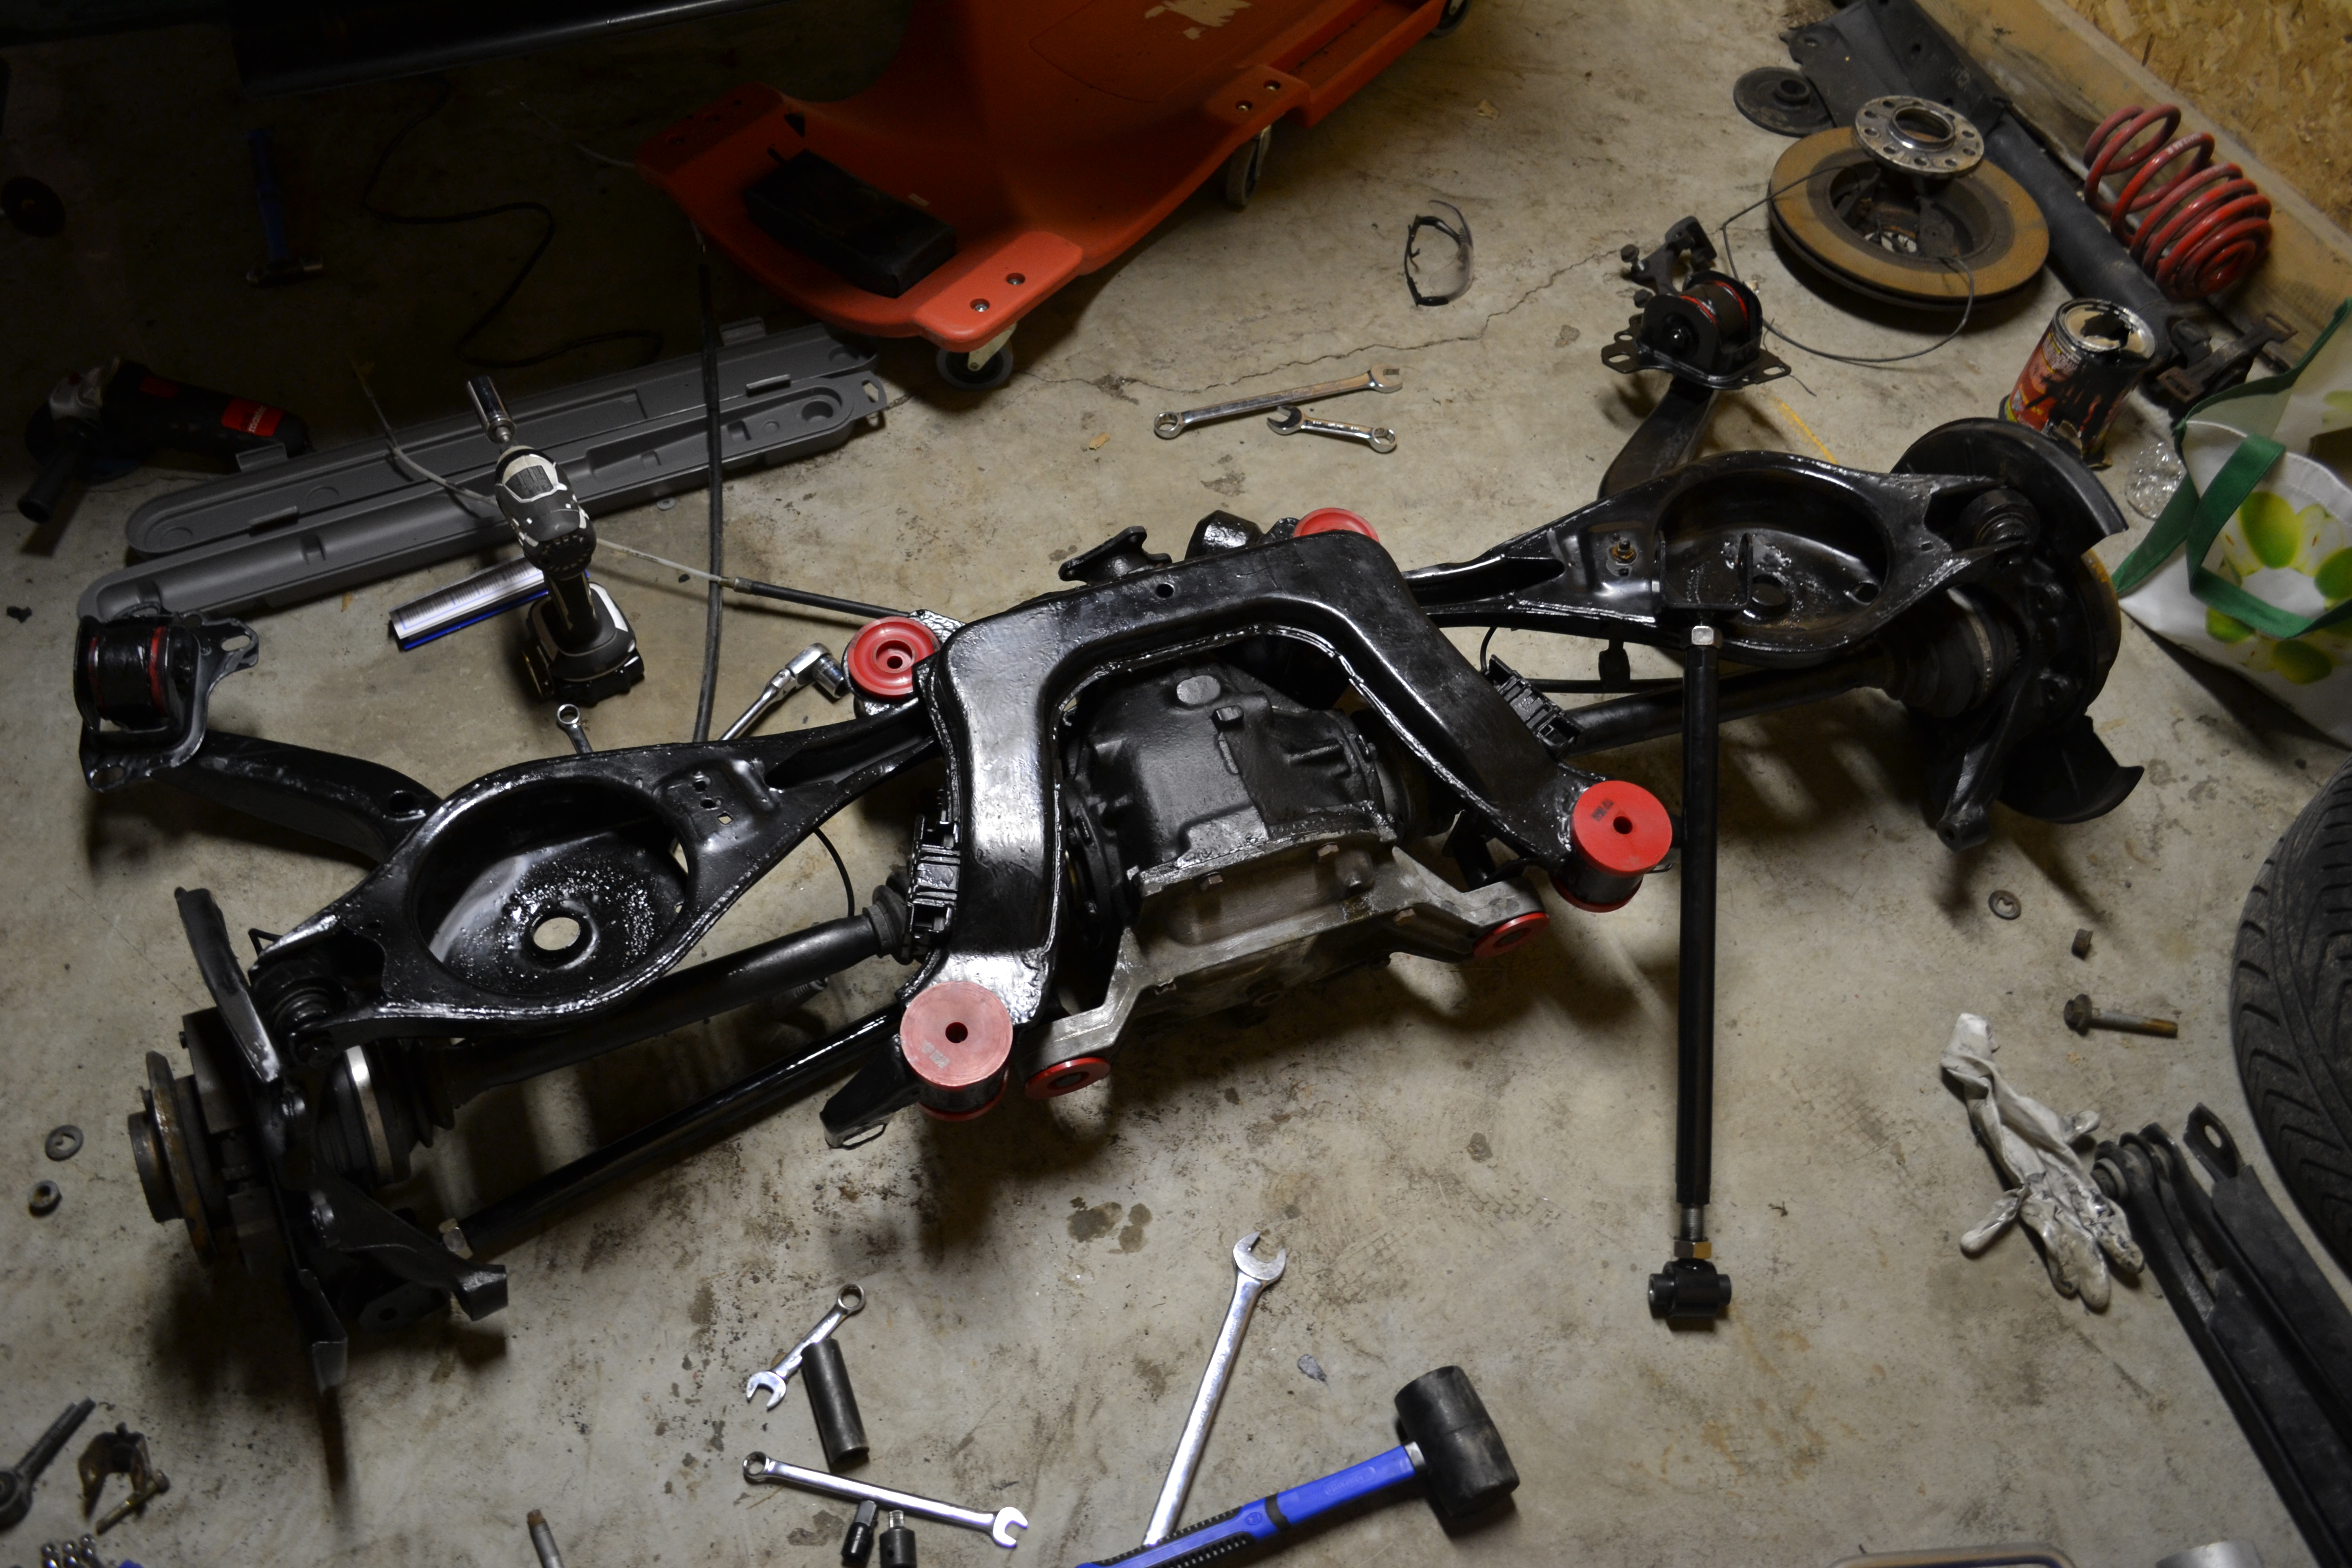
Subframe ready to go!
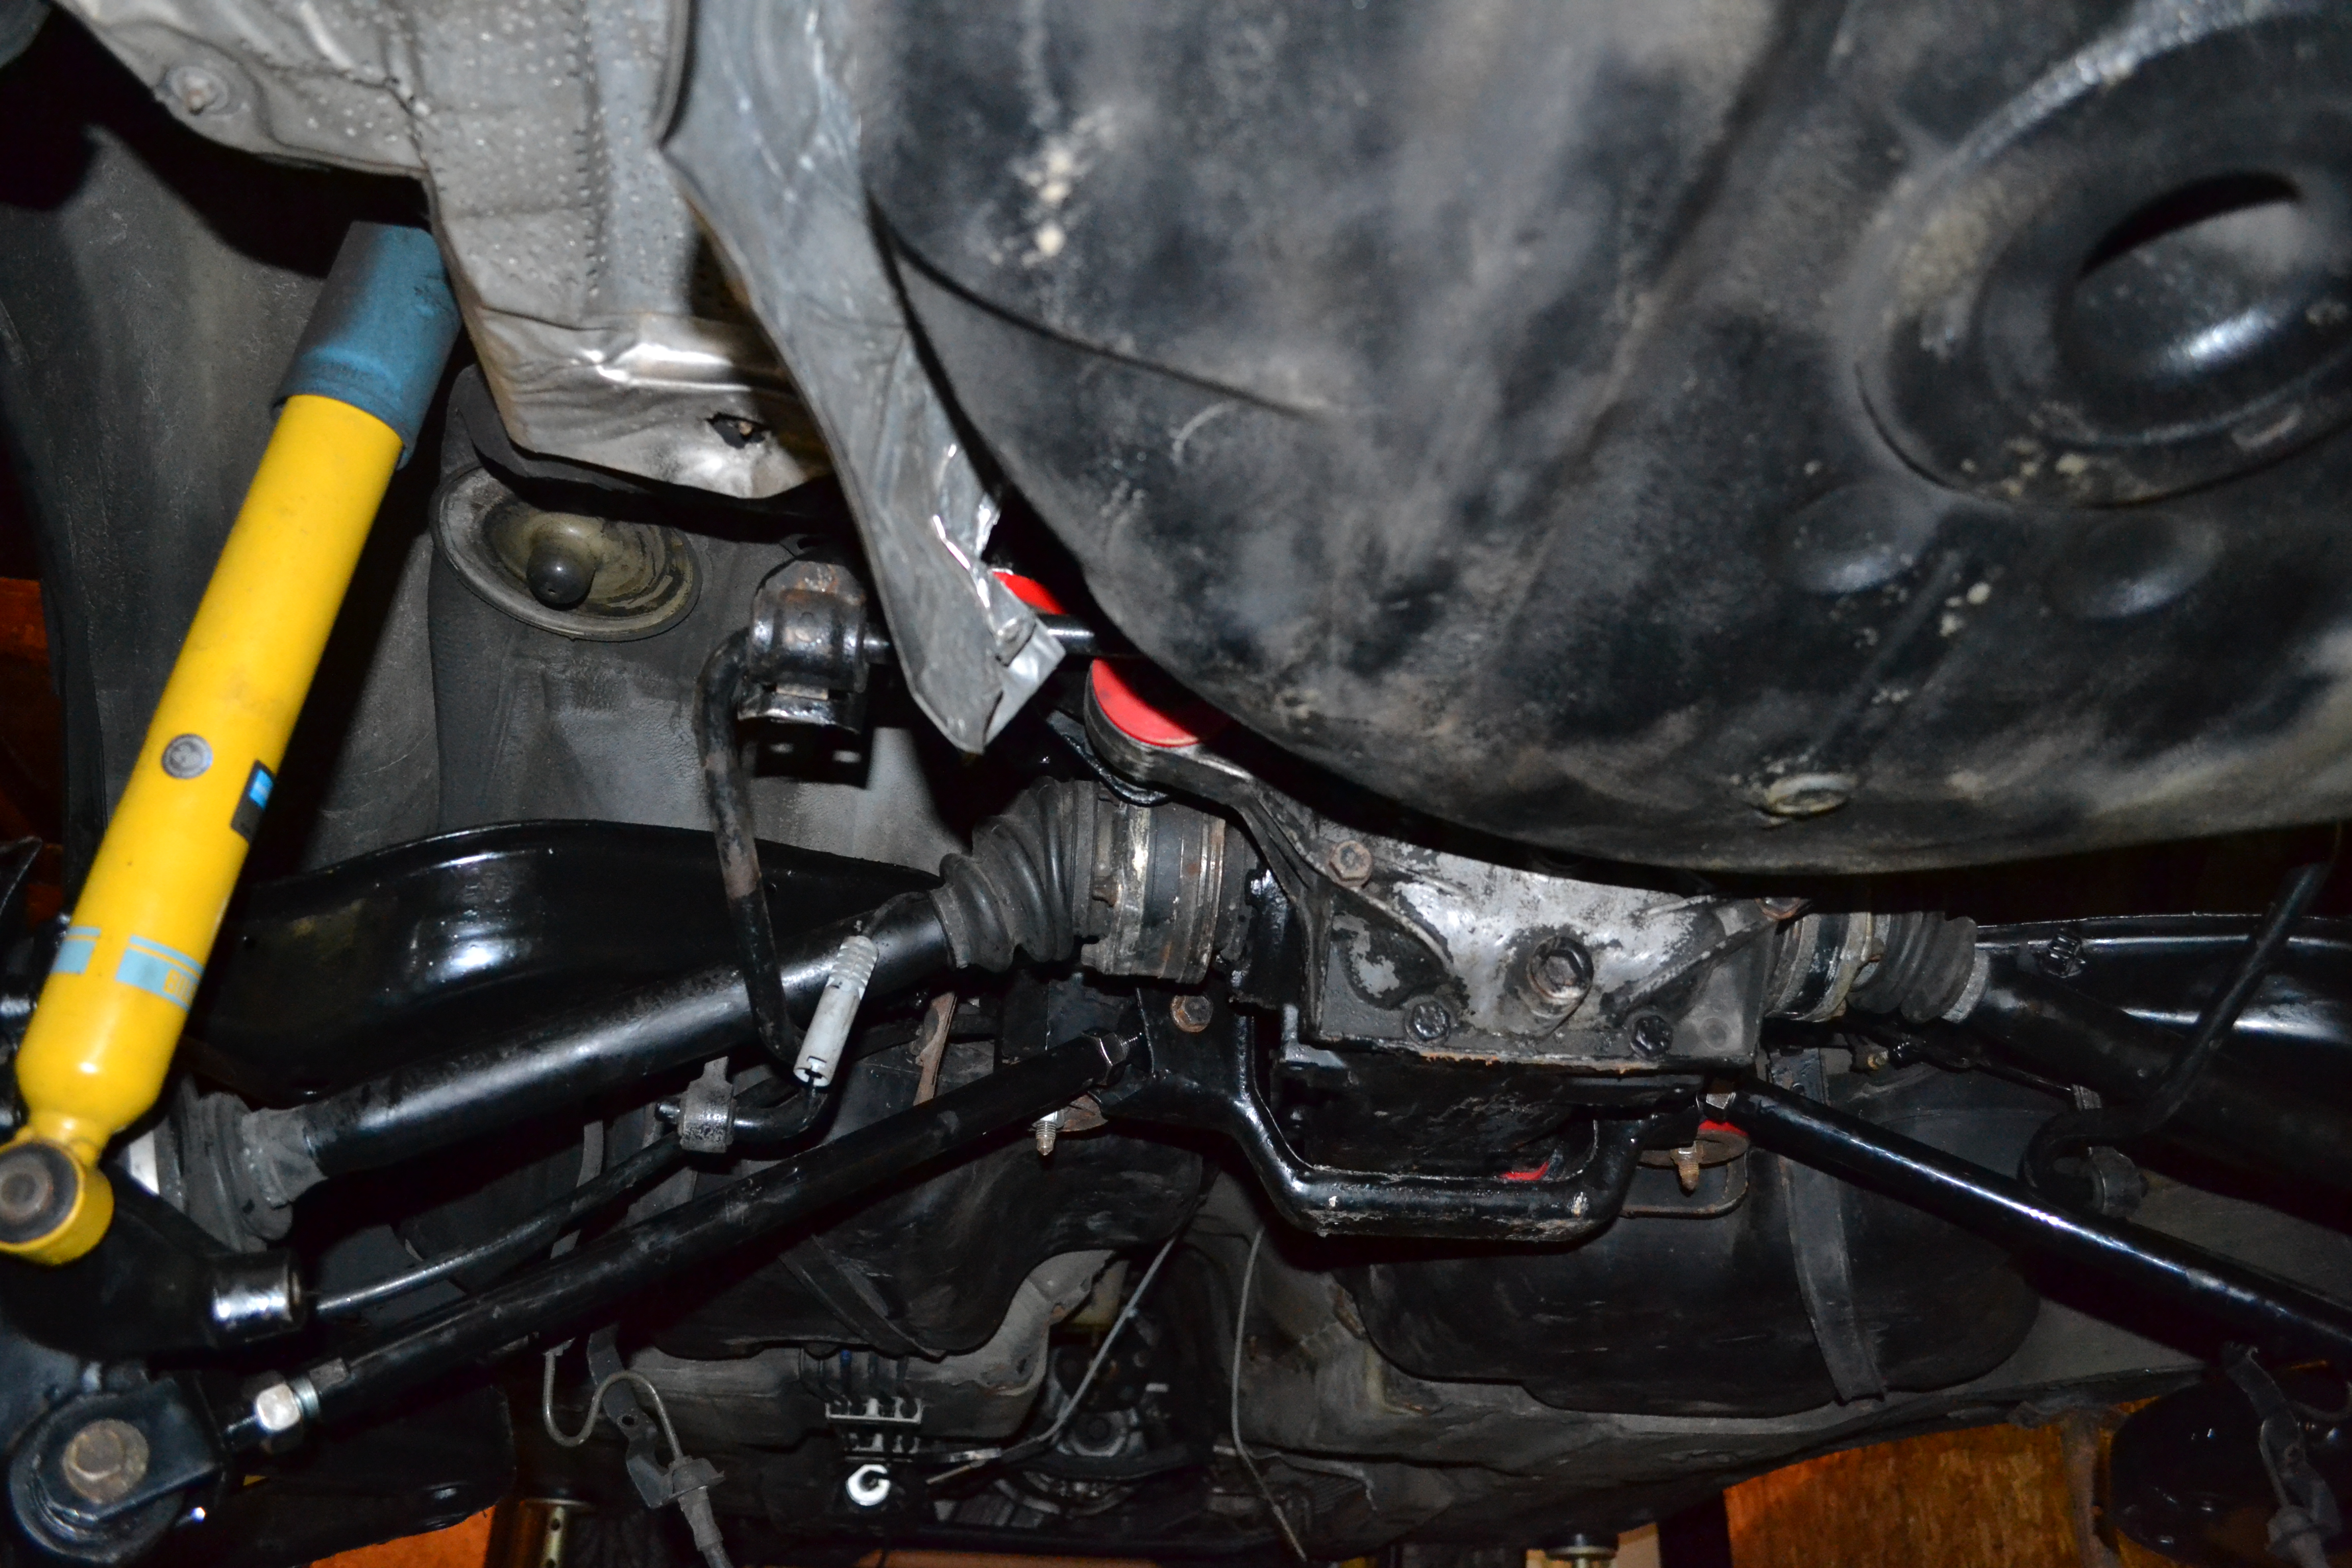
Boom done! Getting that thing to line up with 4 studs while on your back on a cold floor was not fun. I hope i wont have to drop that thing for a while!
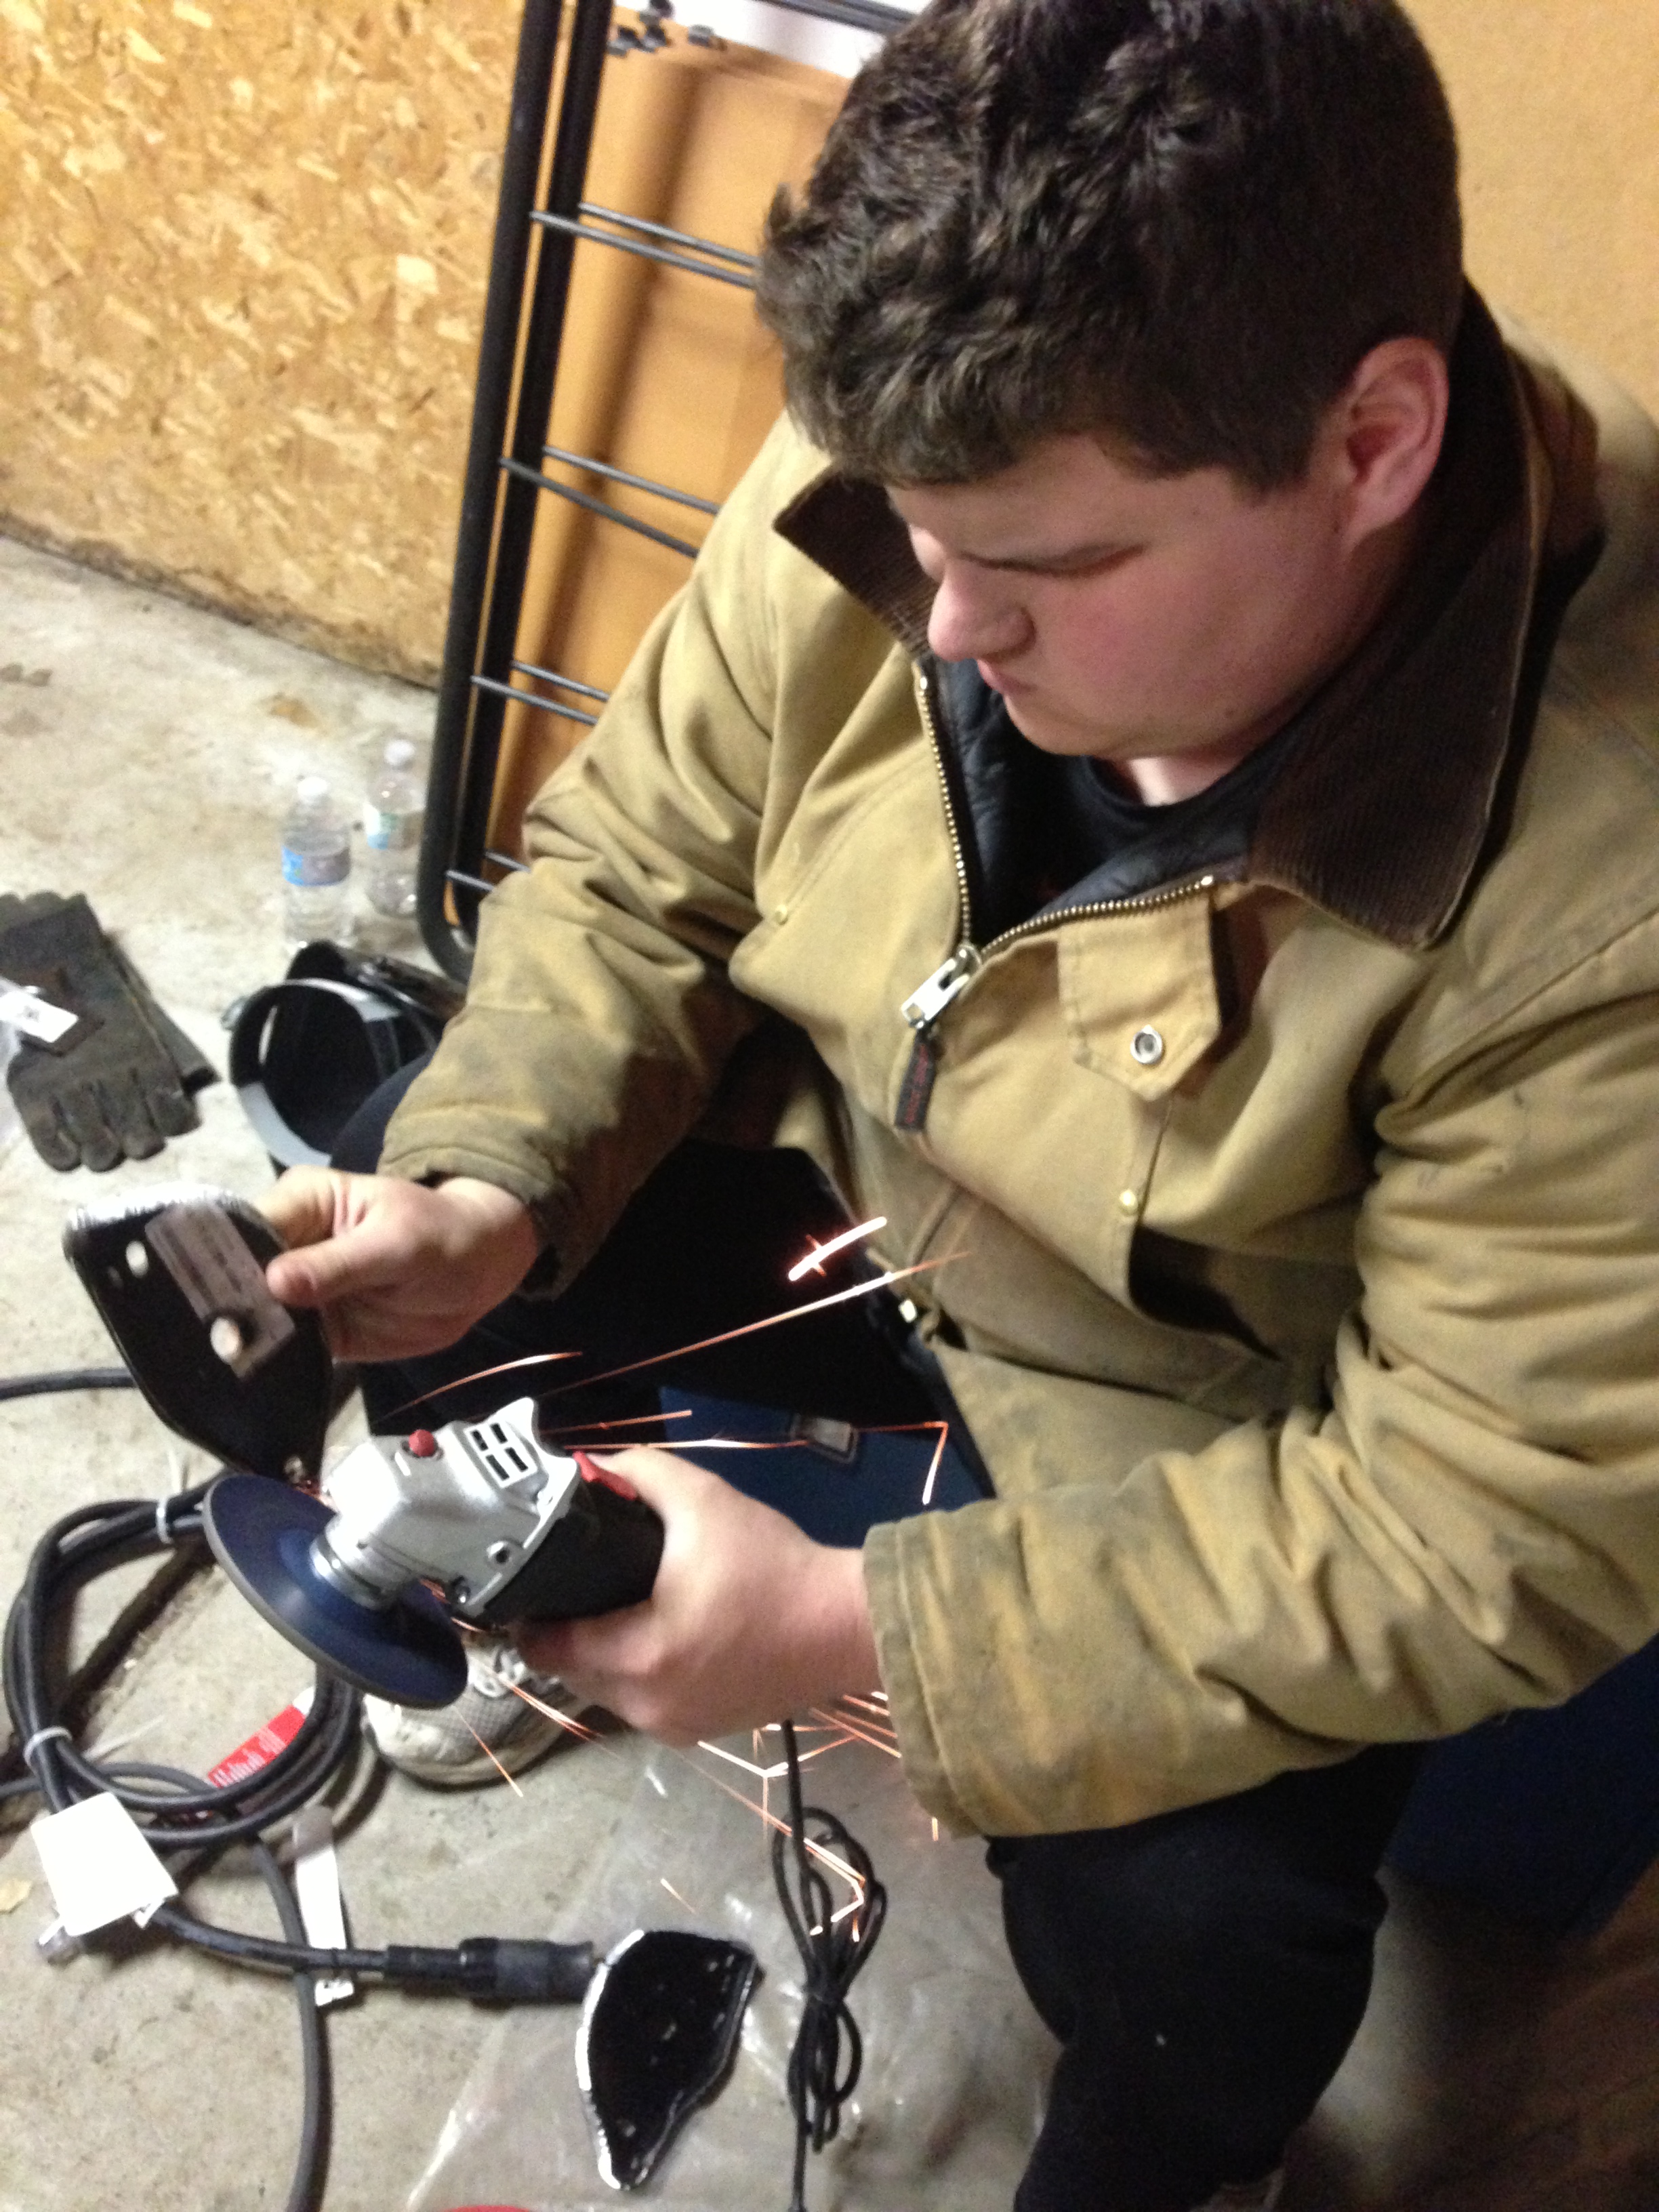
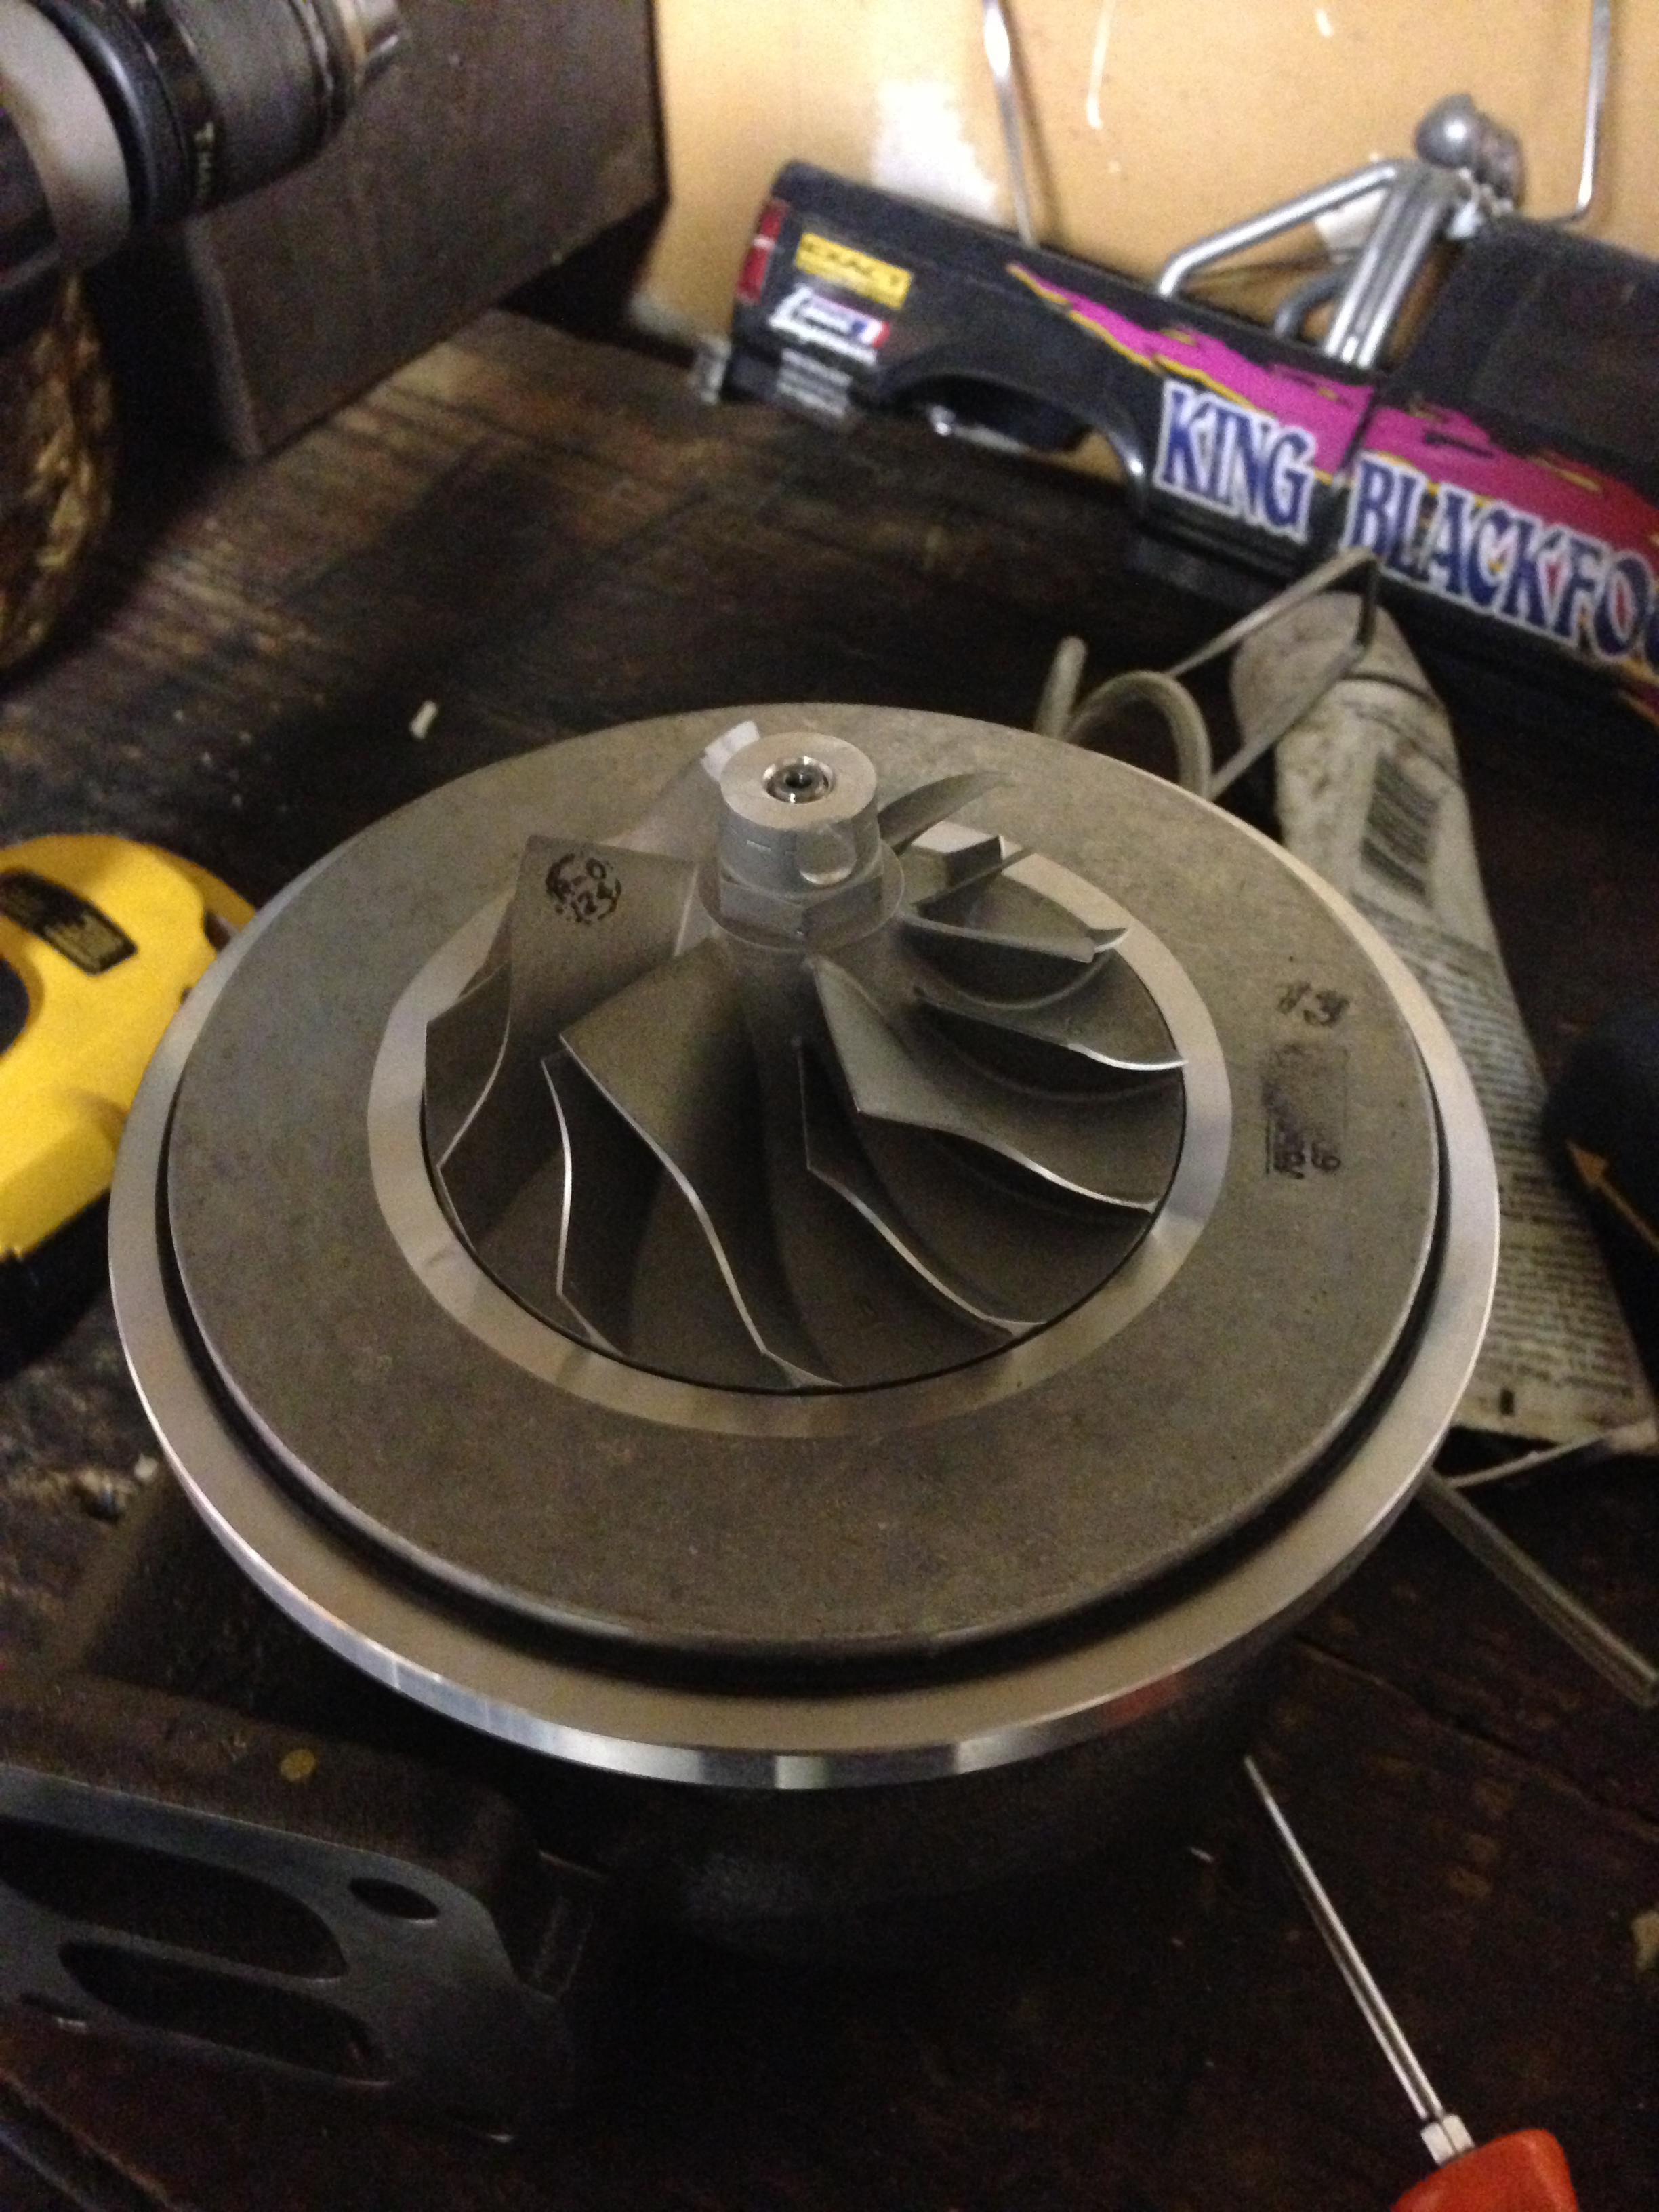
I decided to tap my compressor housing for a boost reference for my waste gates and decided i would do a little write up for all you DIY’ers. Excuse the lack of pics as i thought i took more than i did.
This, to put it lightly was a terrifying experience, tapping your brand new $1800 Gt40r compressor housing was a uncanny experience. What you need:
- 1 marker
- 3 drill bits starting off small and then up to 11/32
- 1 tool and die set
- small punch and hammer
- a drill
- 1 push lock air fitting
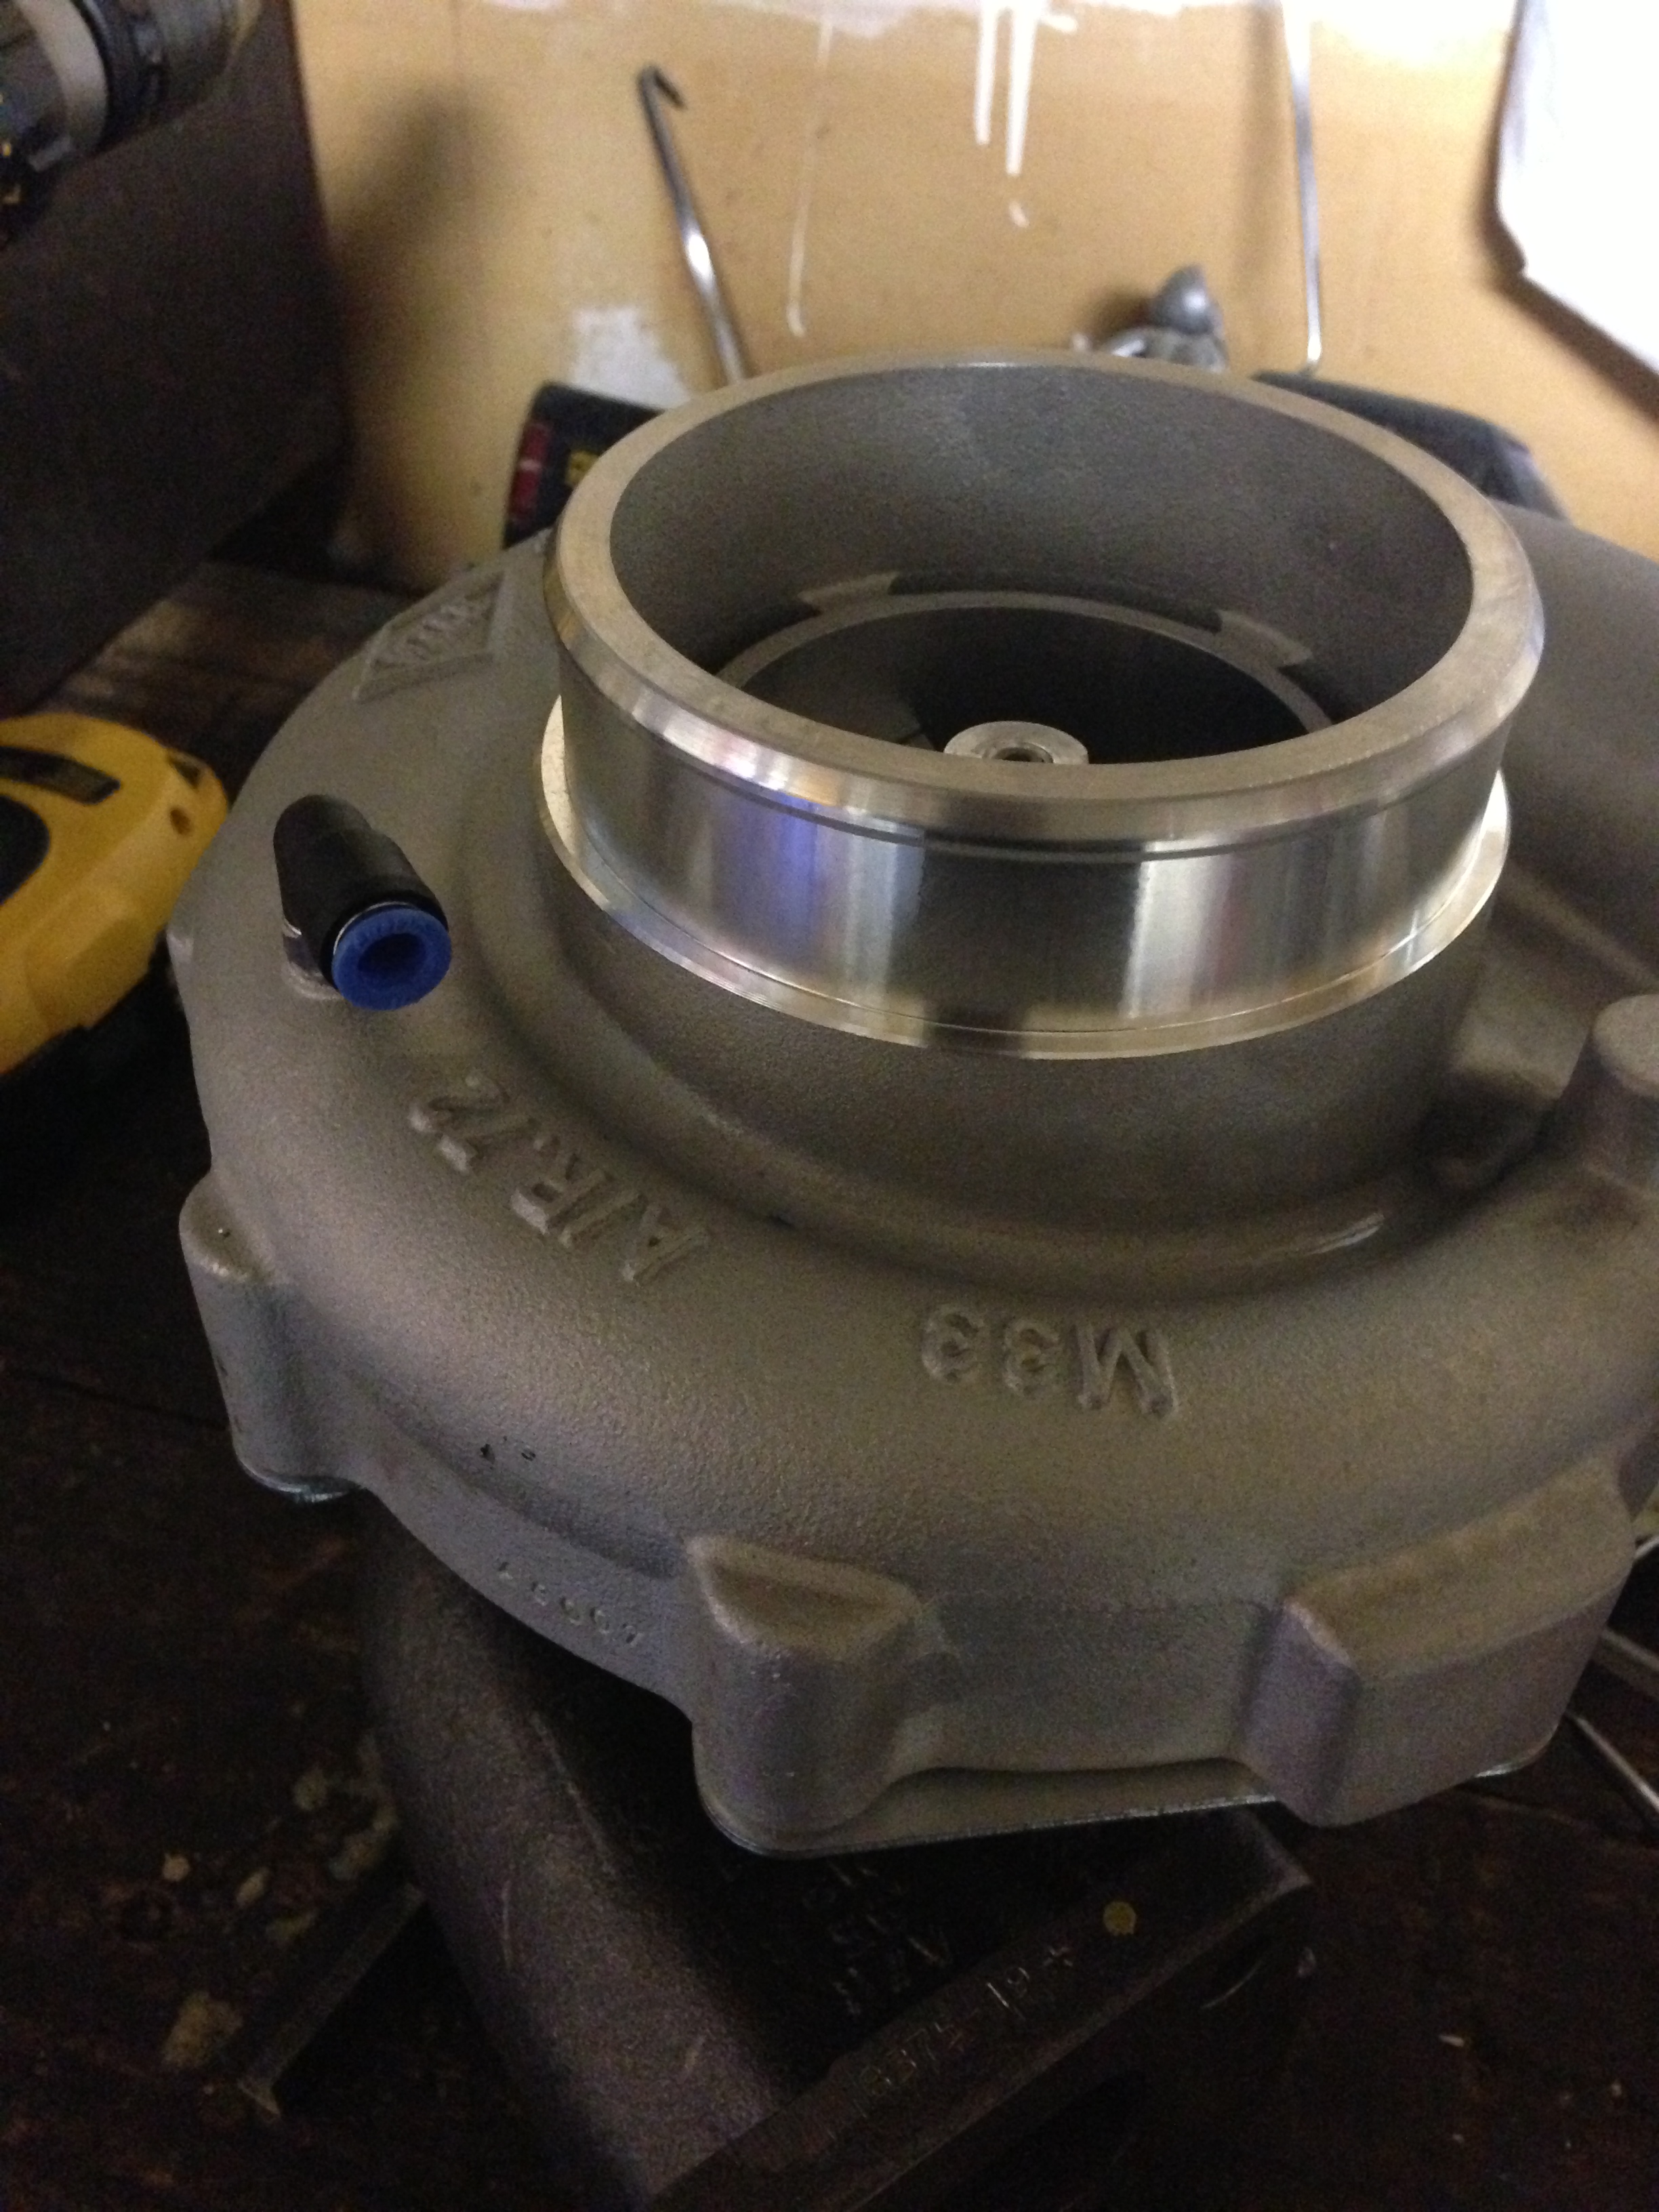
So first things first, remove your compressor housing from the turbo. Mark where you’d like to tap. Most housings will have a spot already on them which is an easy and ideal spot to tap. Center punch the spot then grab yourself 3 drill bits. I started off small with a pilot hole working my way up to 11/32.
After you have done drilling, grab your tool and die set and get your 1/8th tap and begin tapping the compressor housing. Use lots of WD40 and take your time! Make sure you go slow! Go in a quater of a turn, then back it out half a turn. This will allow all the metal that you are removing a place to escape.
Once you’ve done that, clean out the threads and insert your new pushlock fitting, I went to princess auto and bought a bunch because i’m going to be running them on my bov and wastegates. They are only roughly $1.50 a piece so why not! Final product should look like this below!
Donezo!
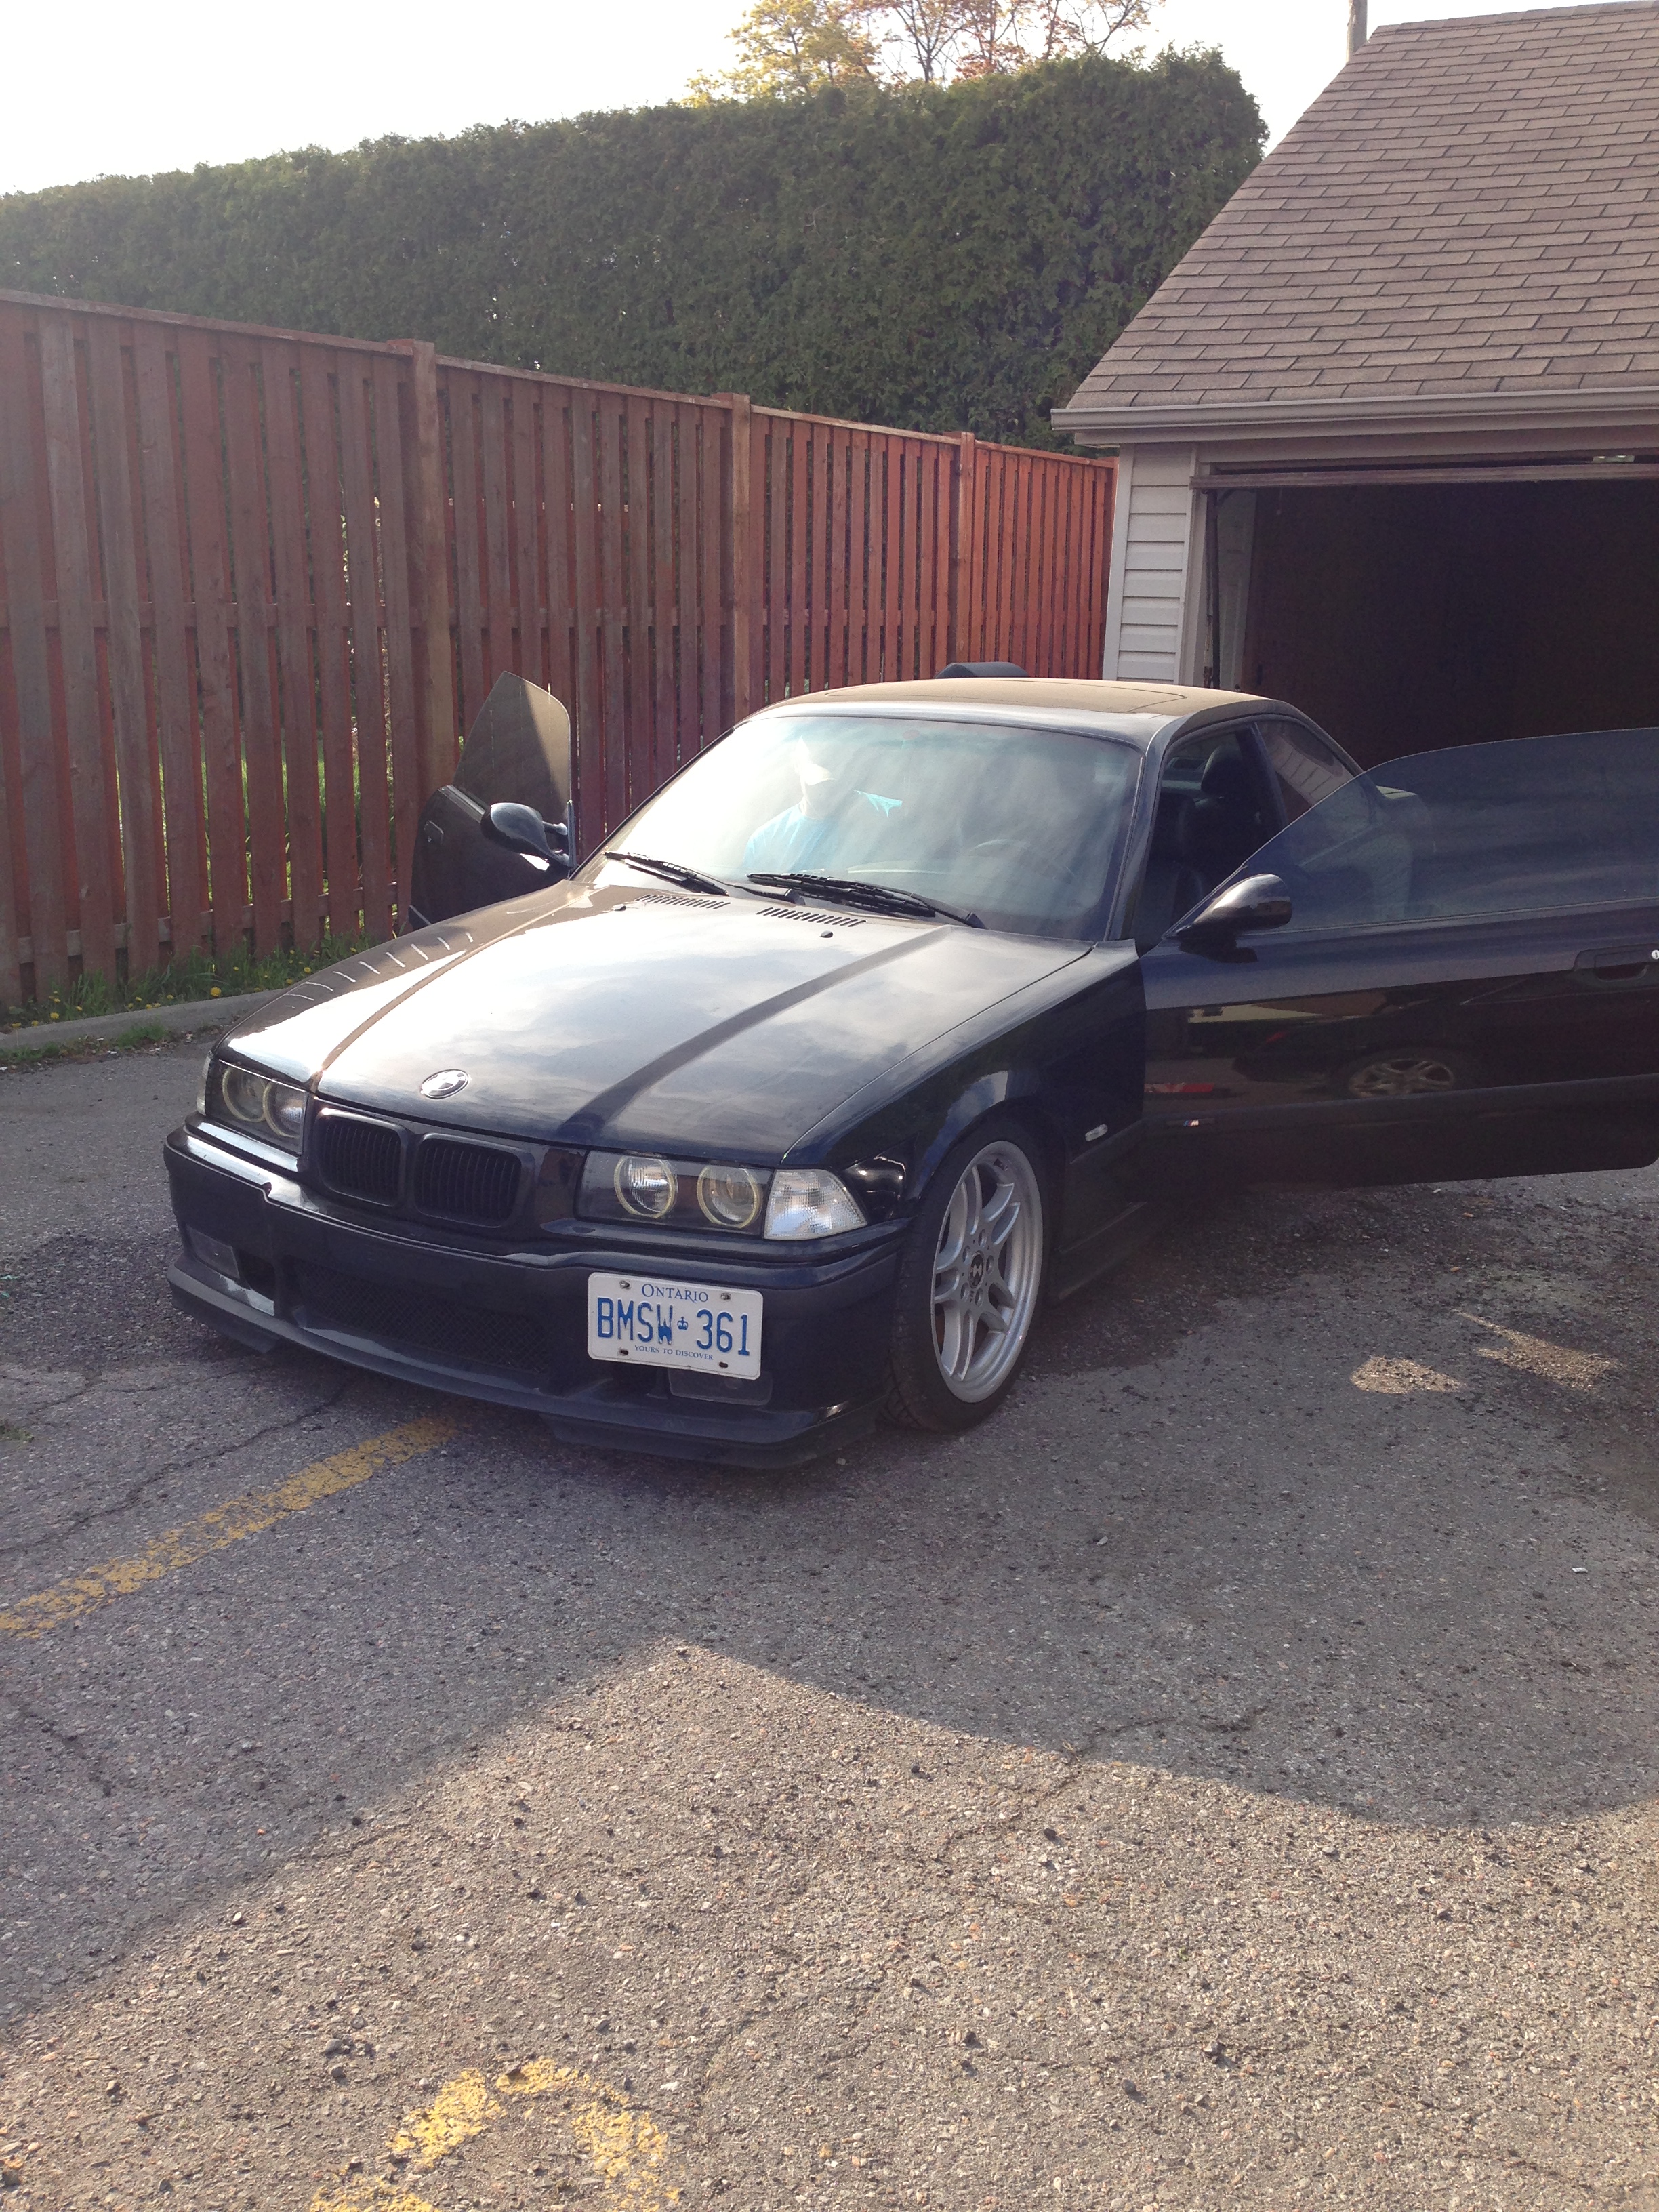
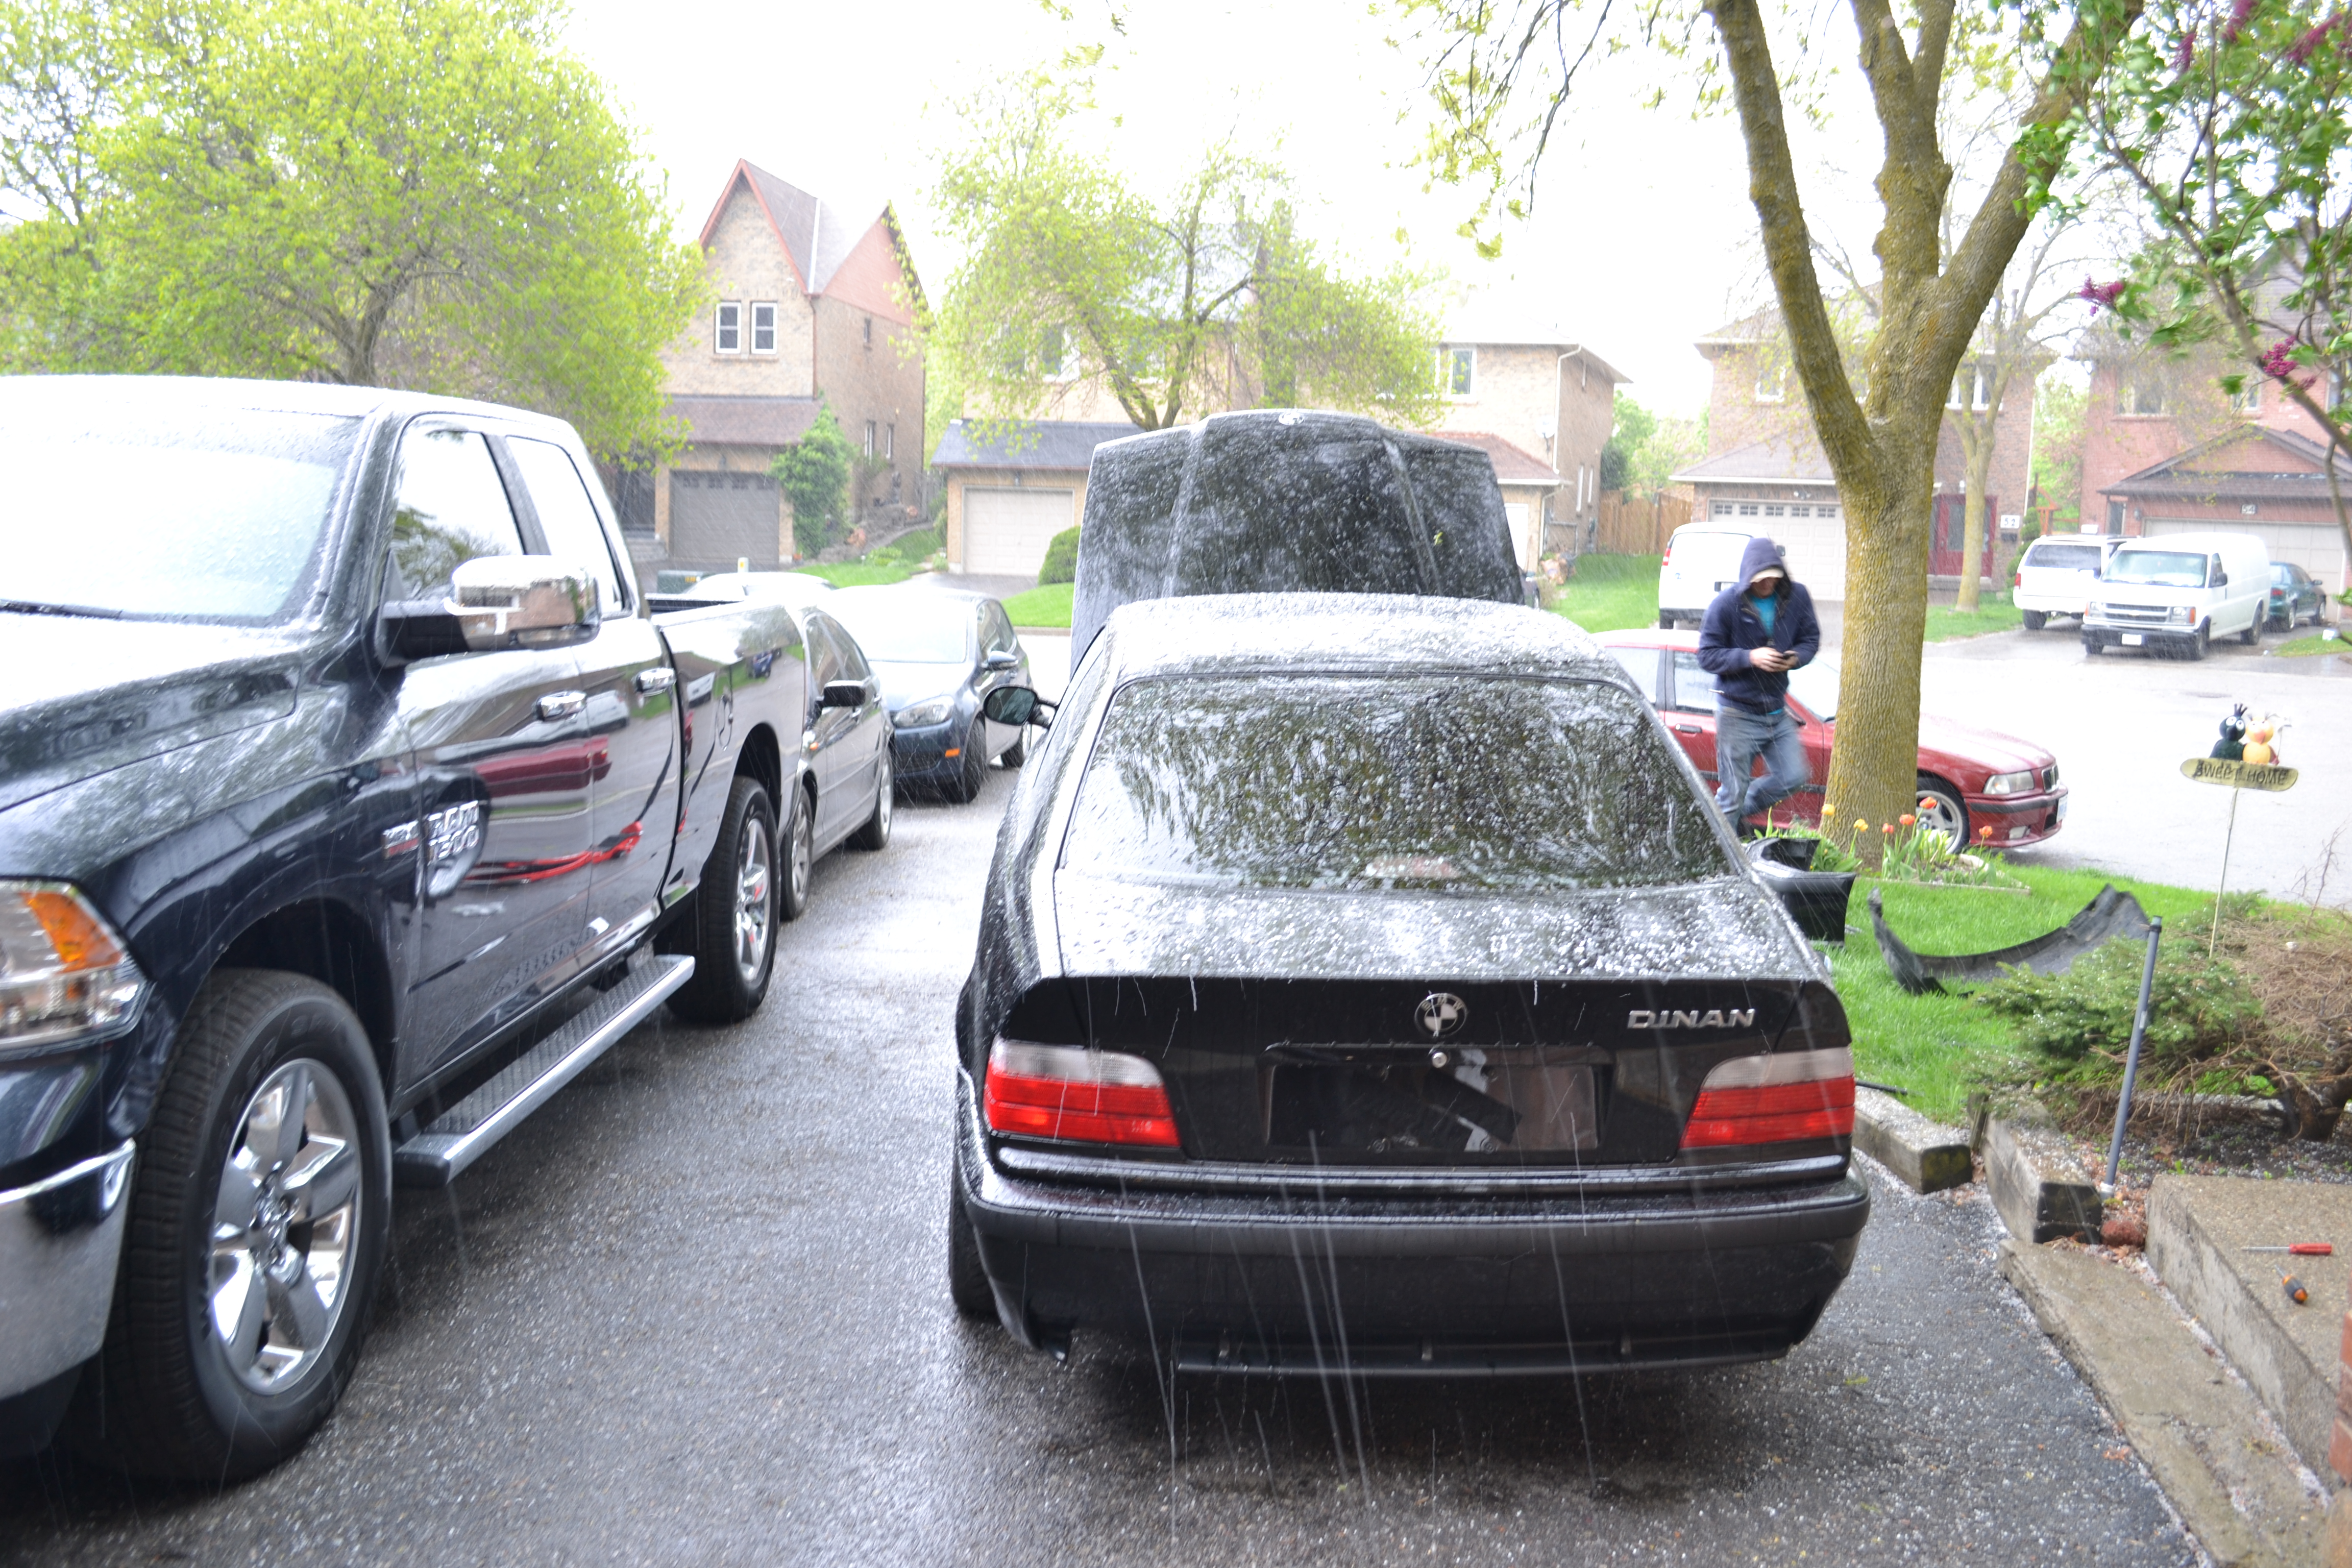
After a long nap, it was time to bring the car back home to be able to pull the motor and get started on the real progress. As much as it was nice having a place to work on my car, i could never leave my tools there and I was constantly driving back and fourth bringing tools there which became tiring.
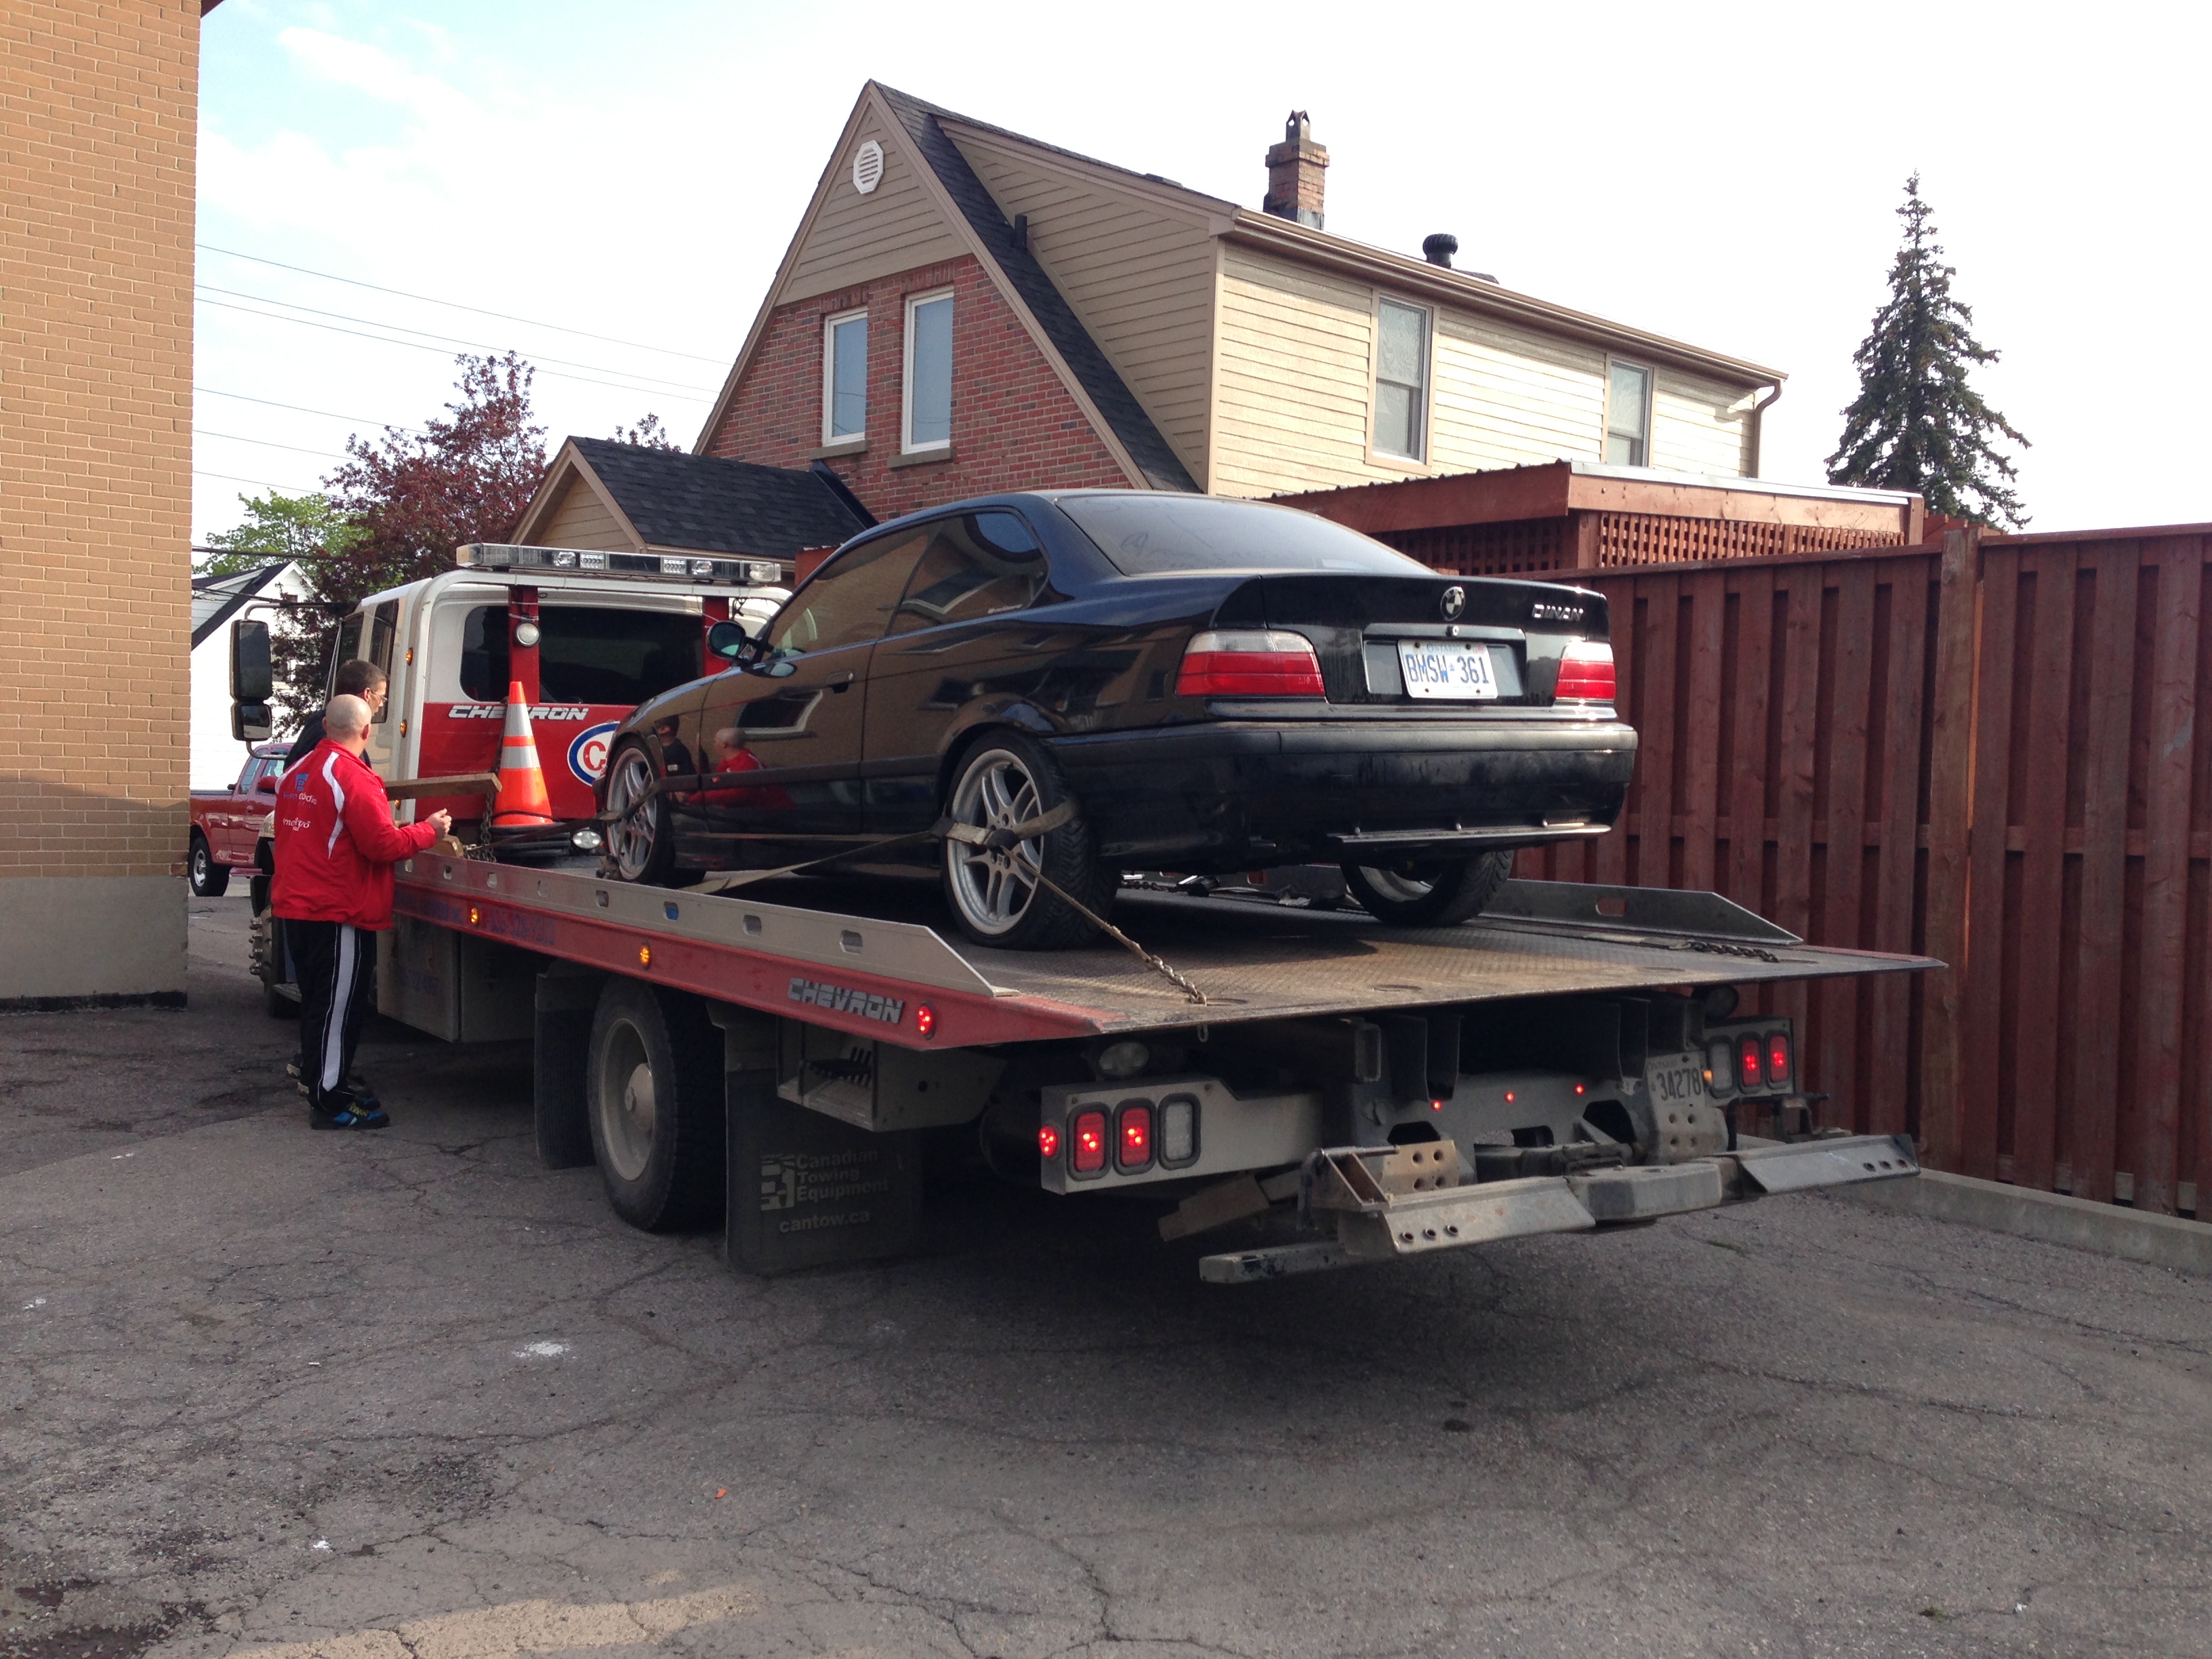
So I loaded her up and brought here back home and man did it feel good!
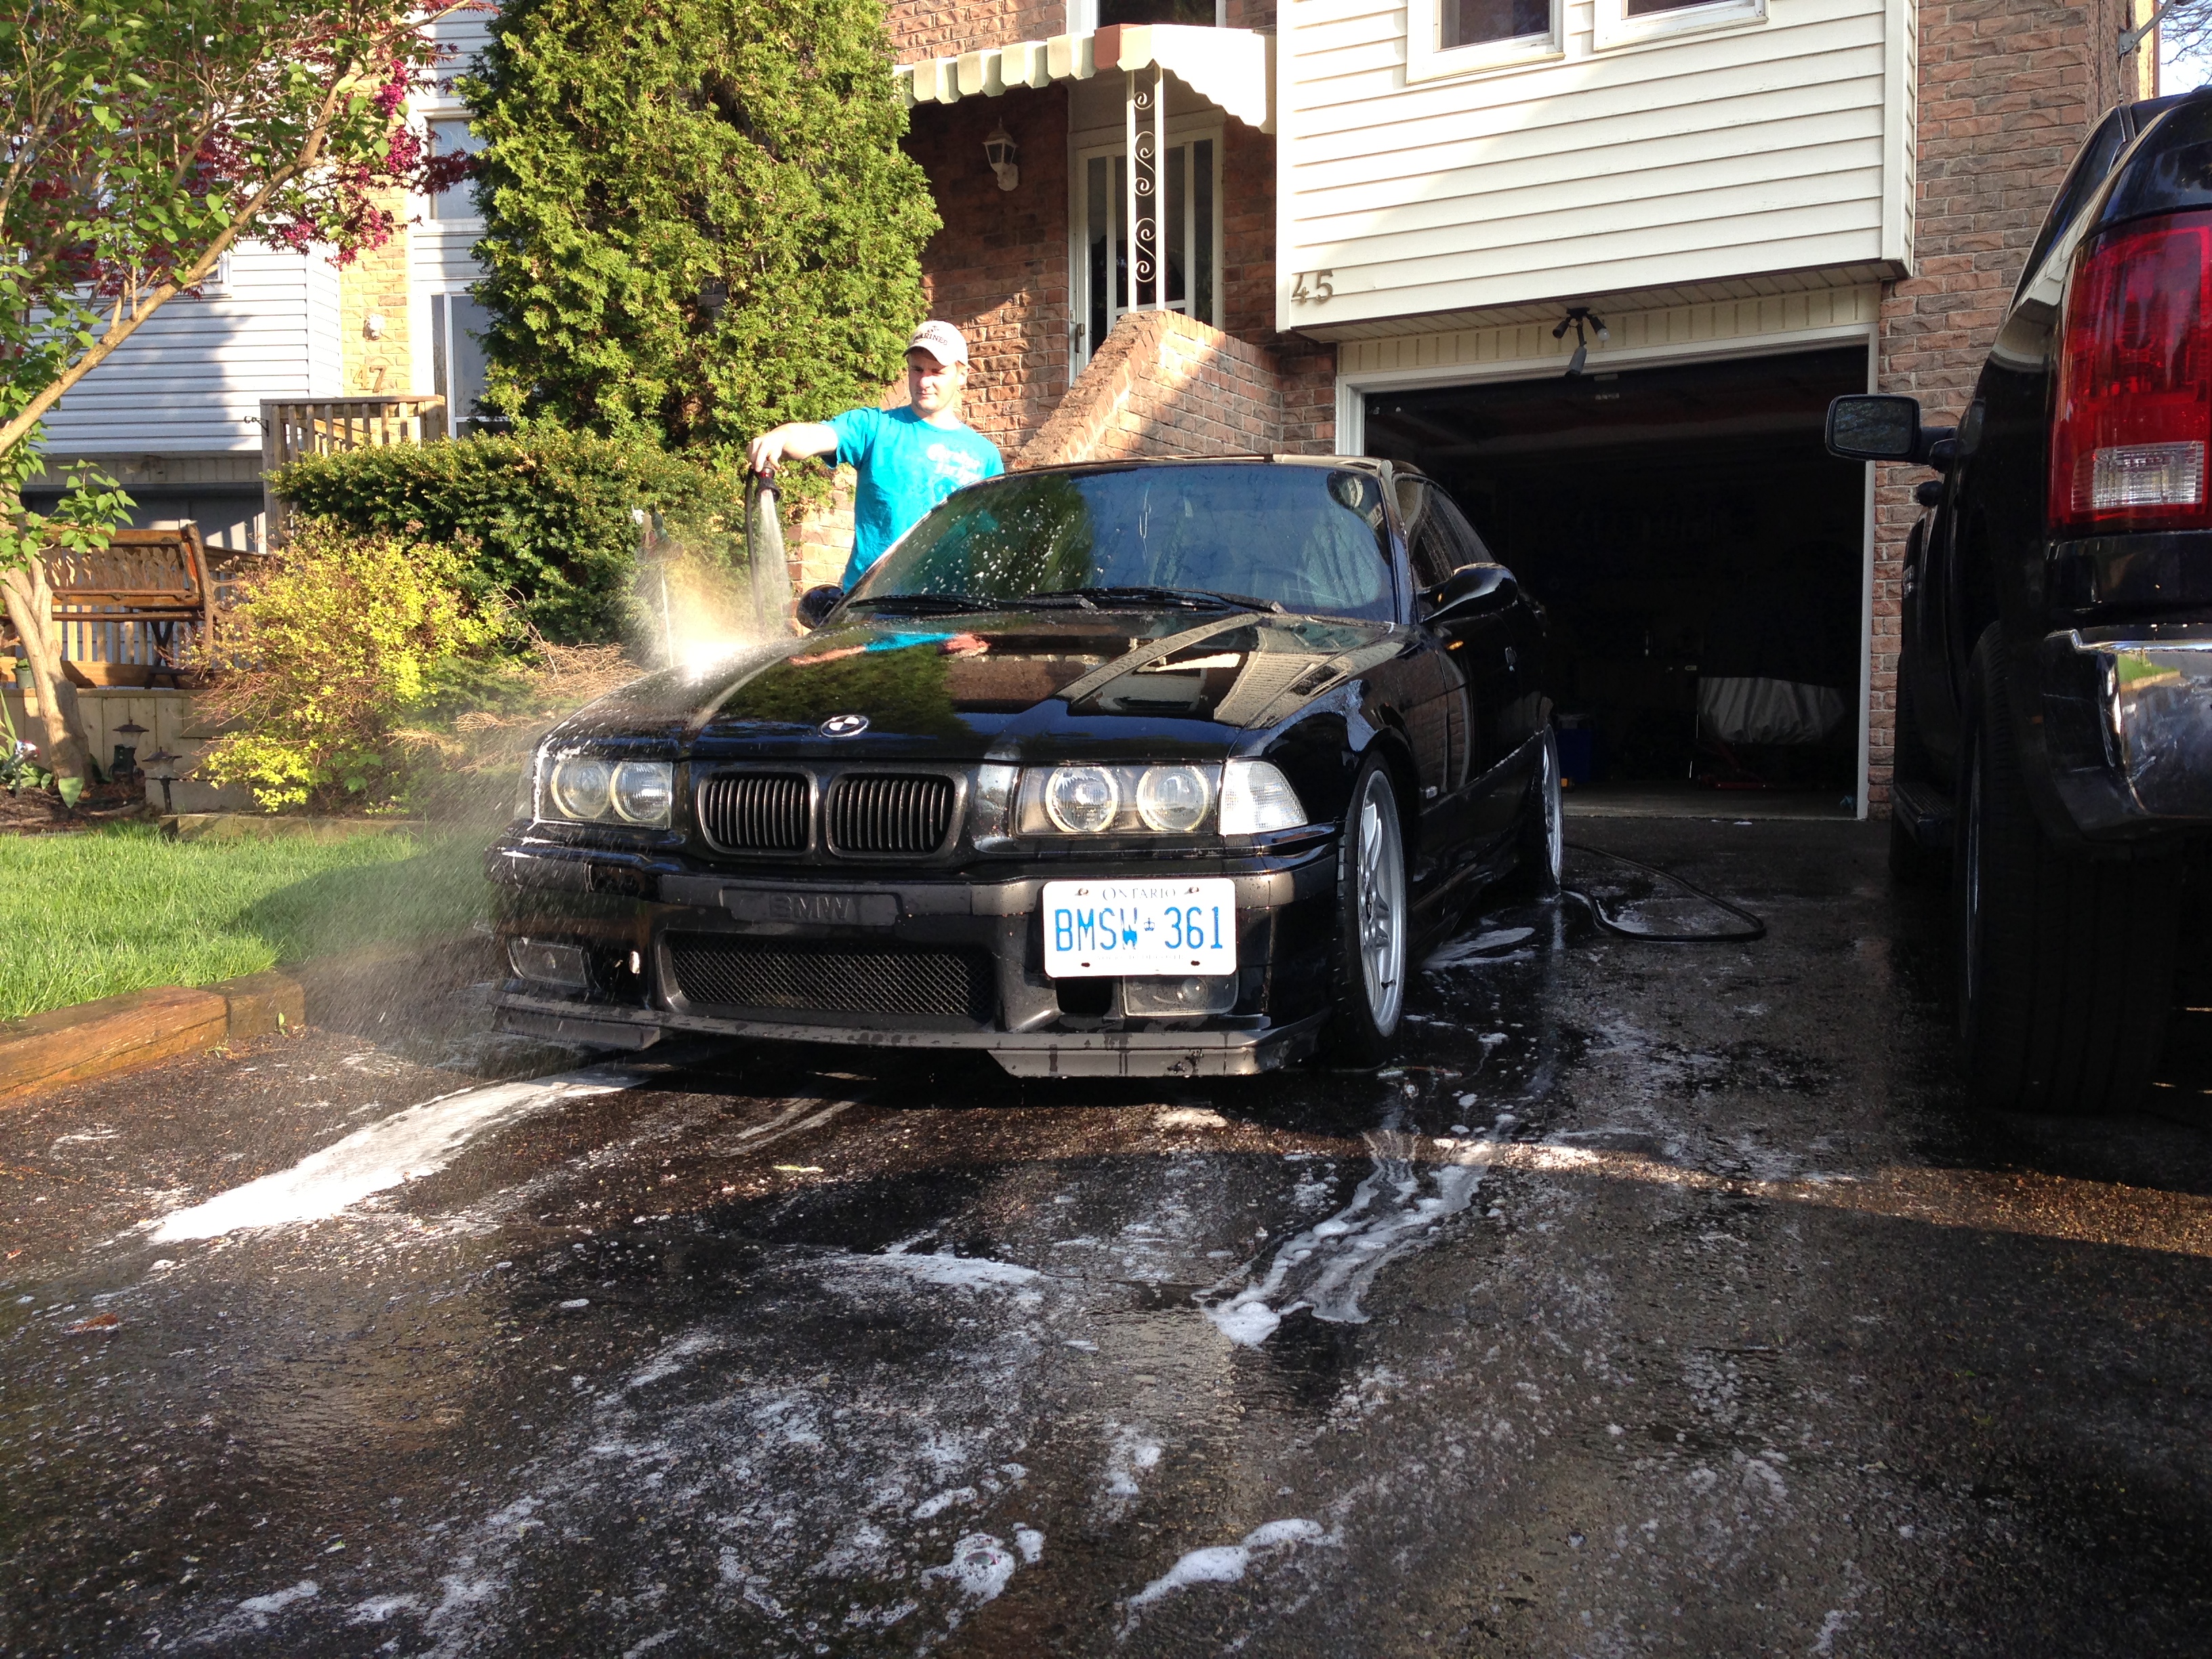
Some local mexican giving here a bath.
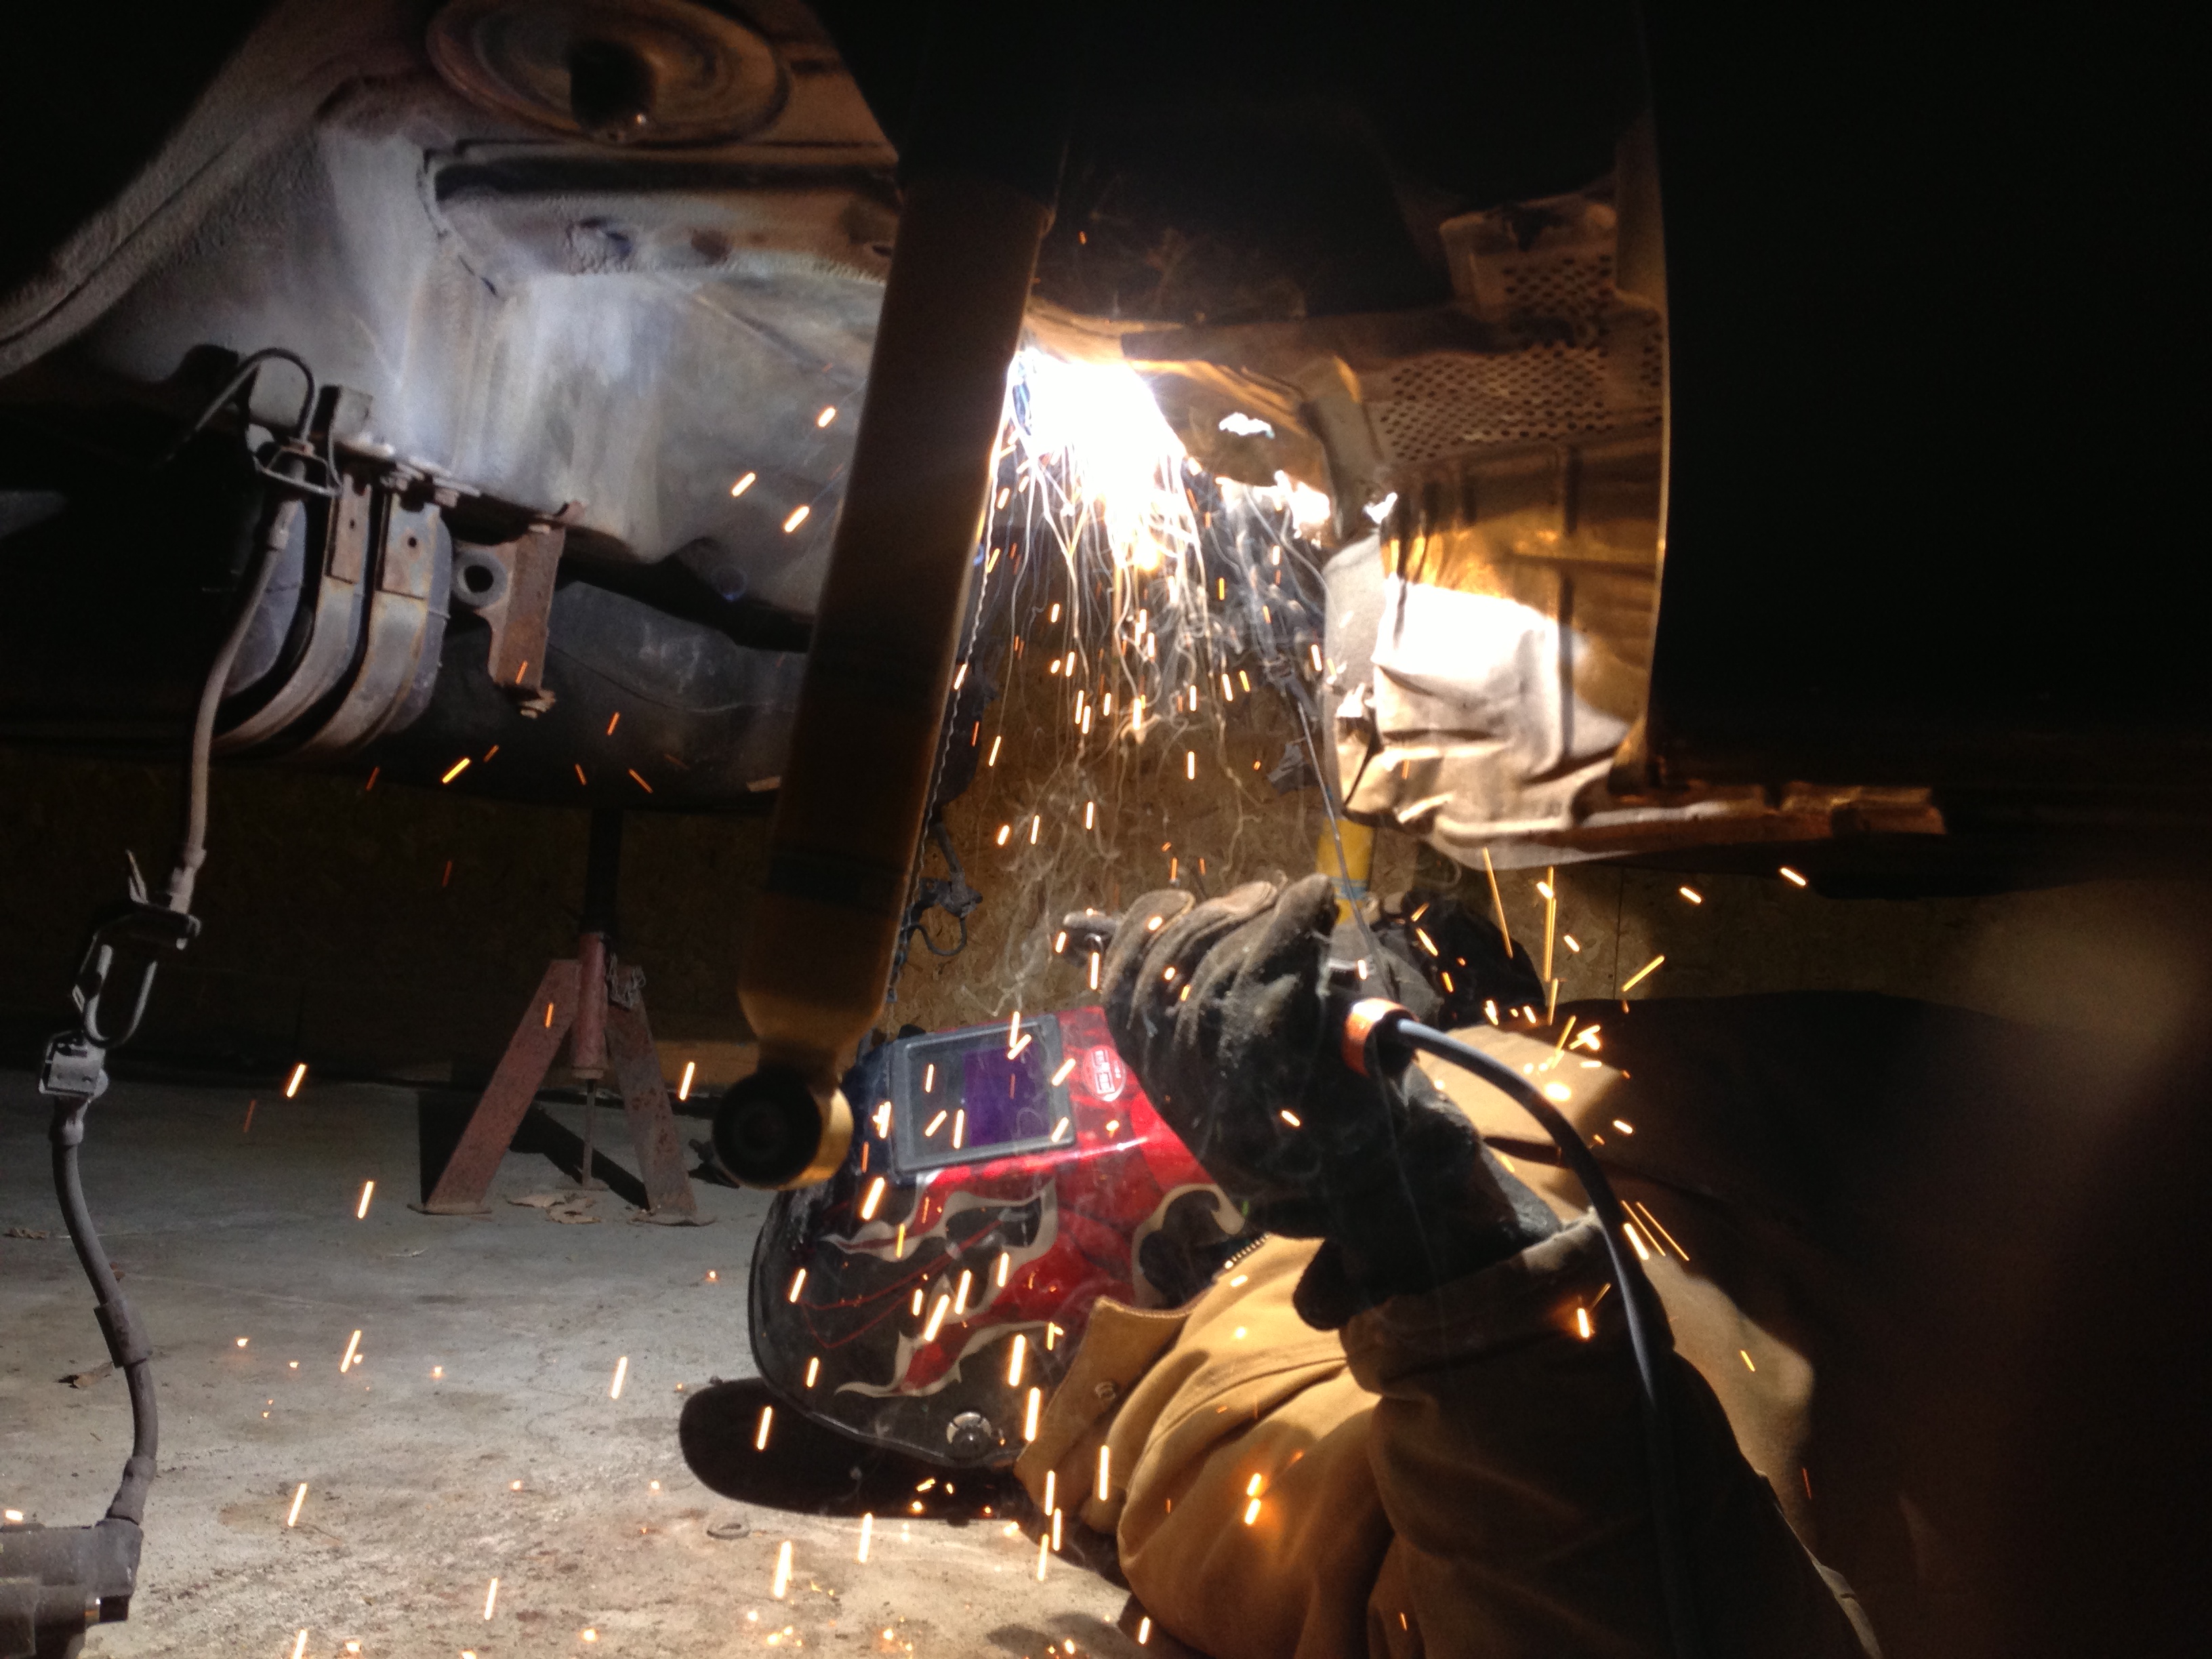
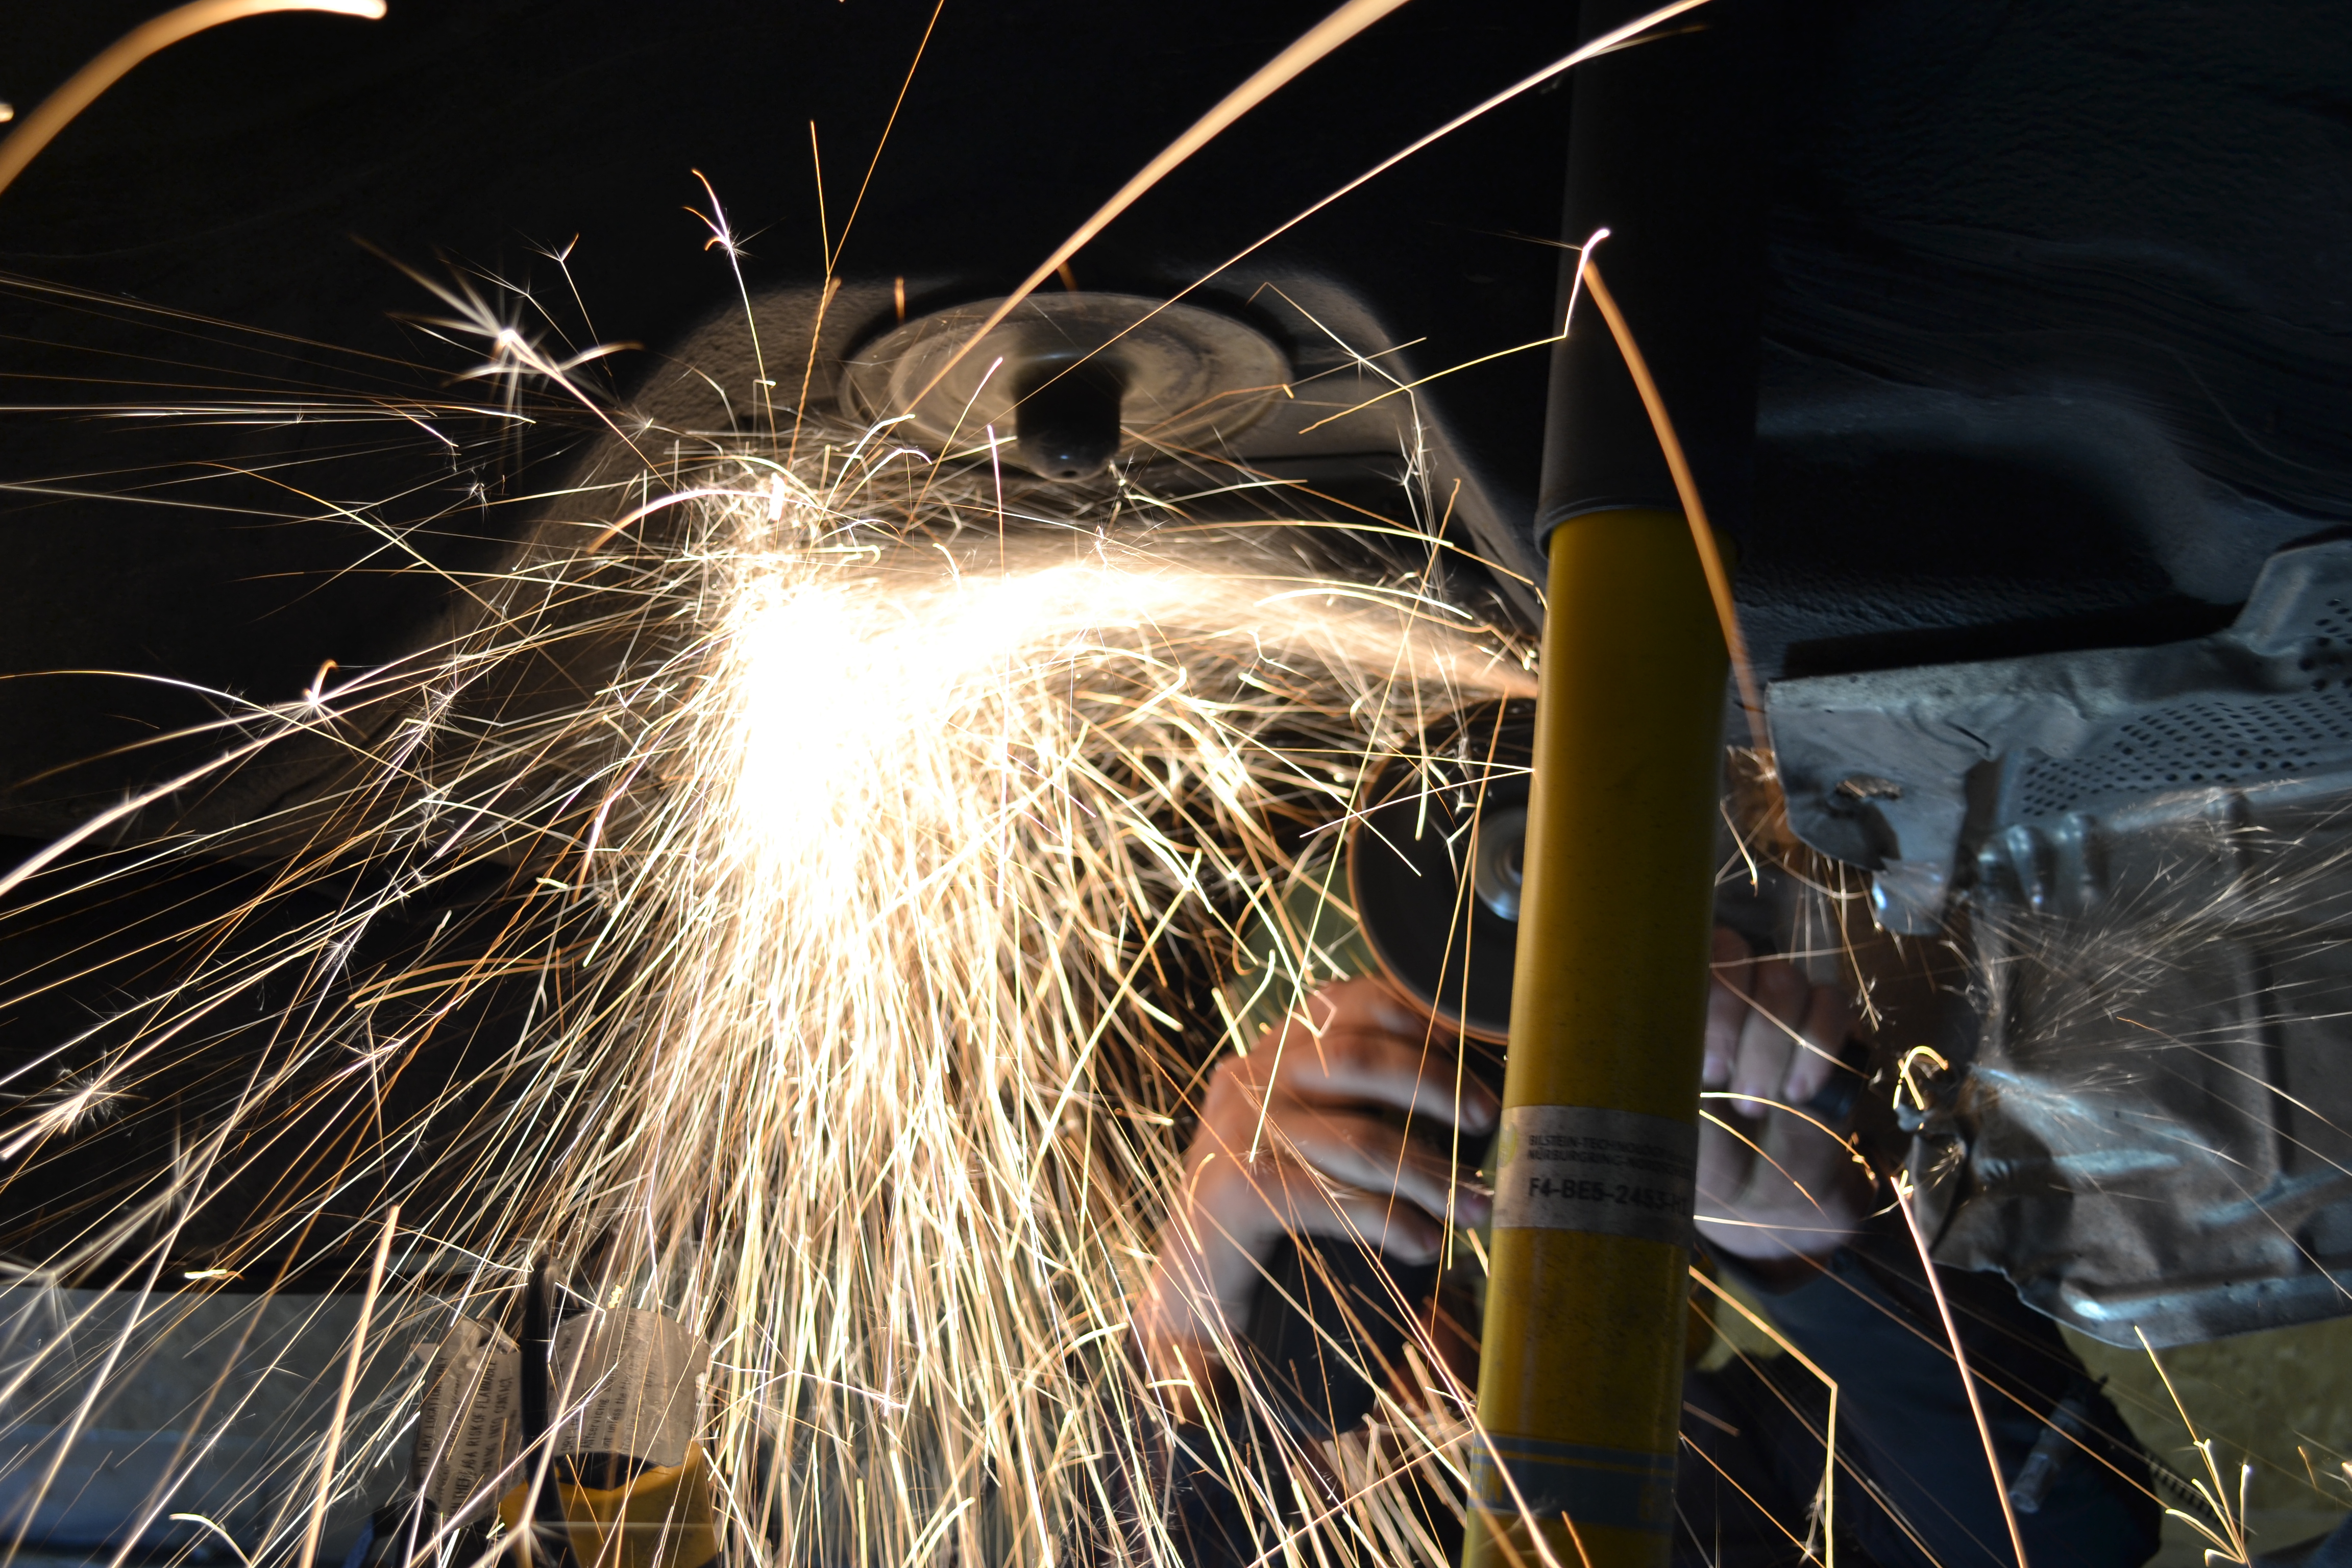
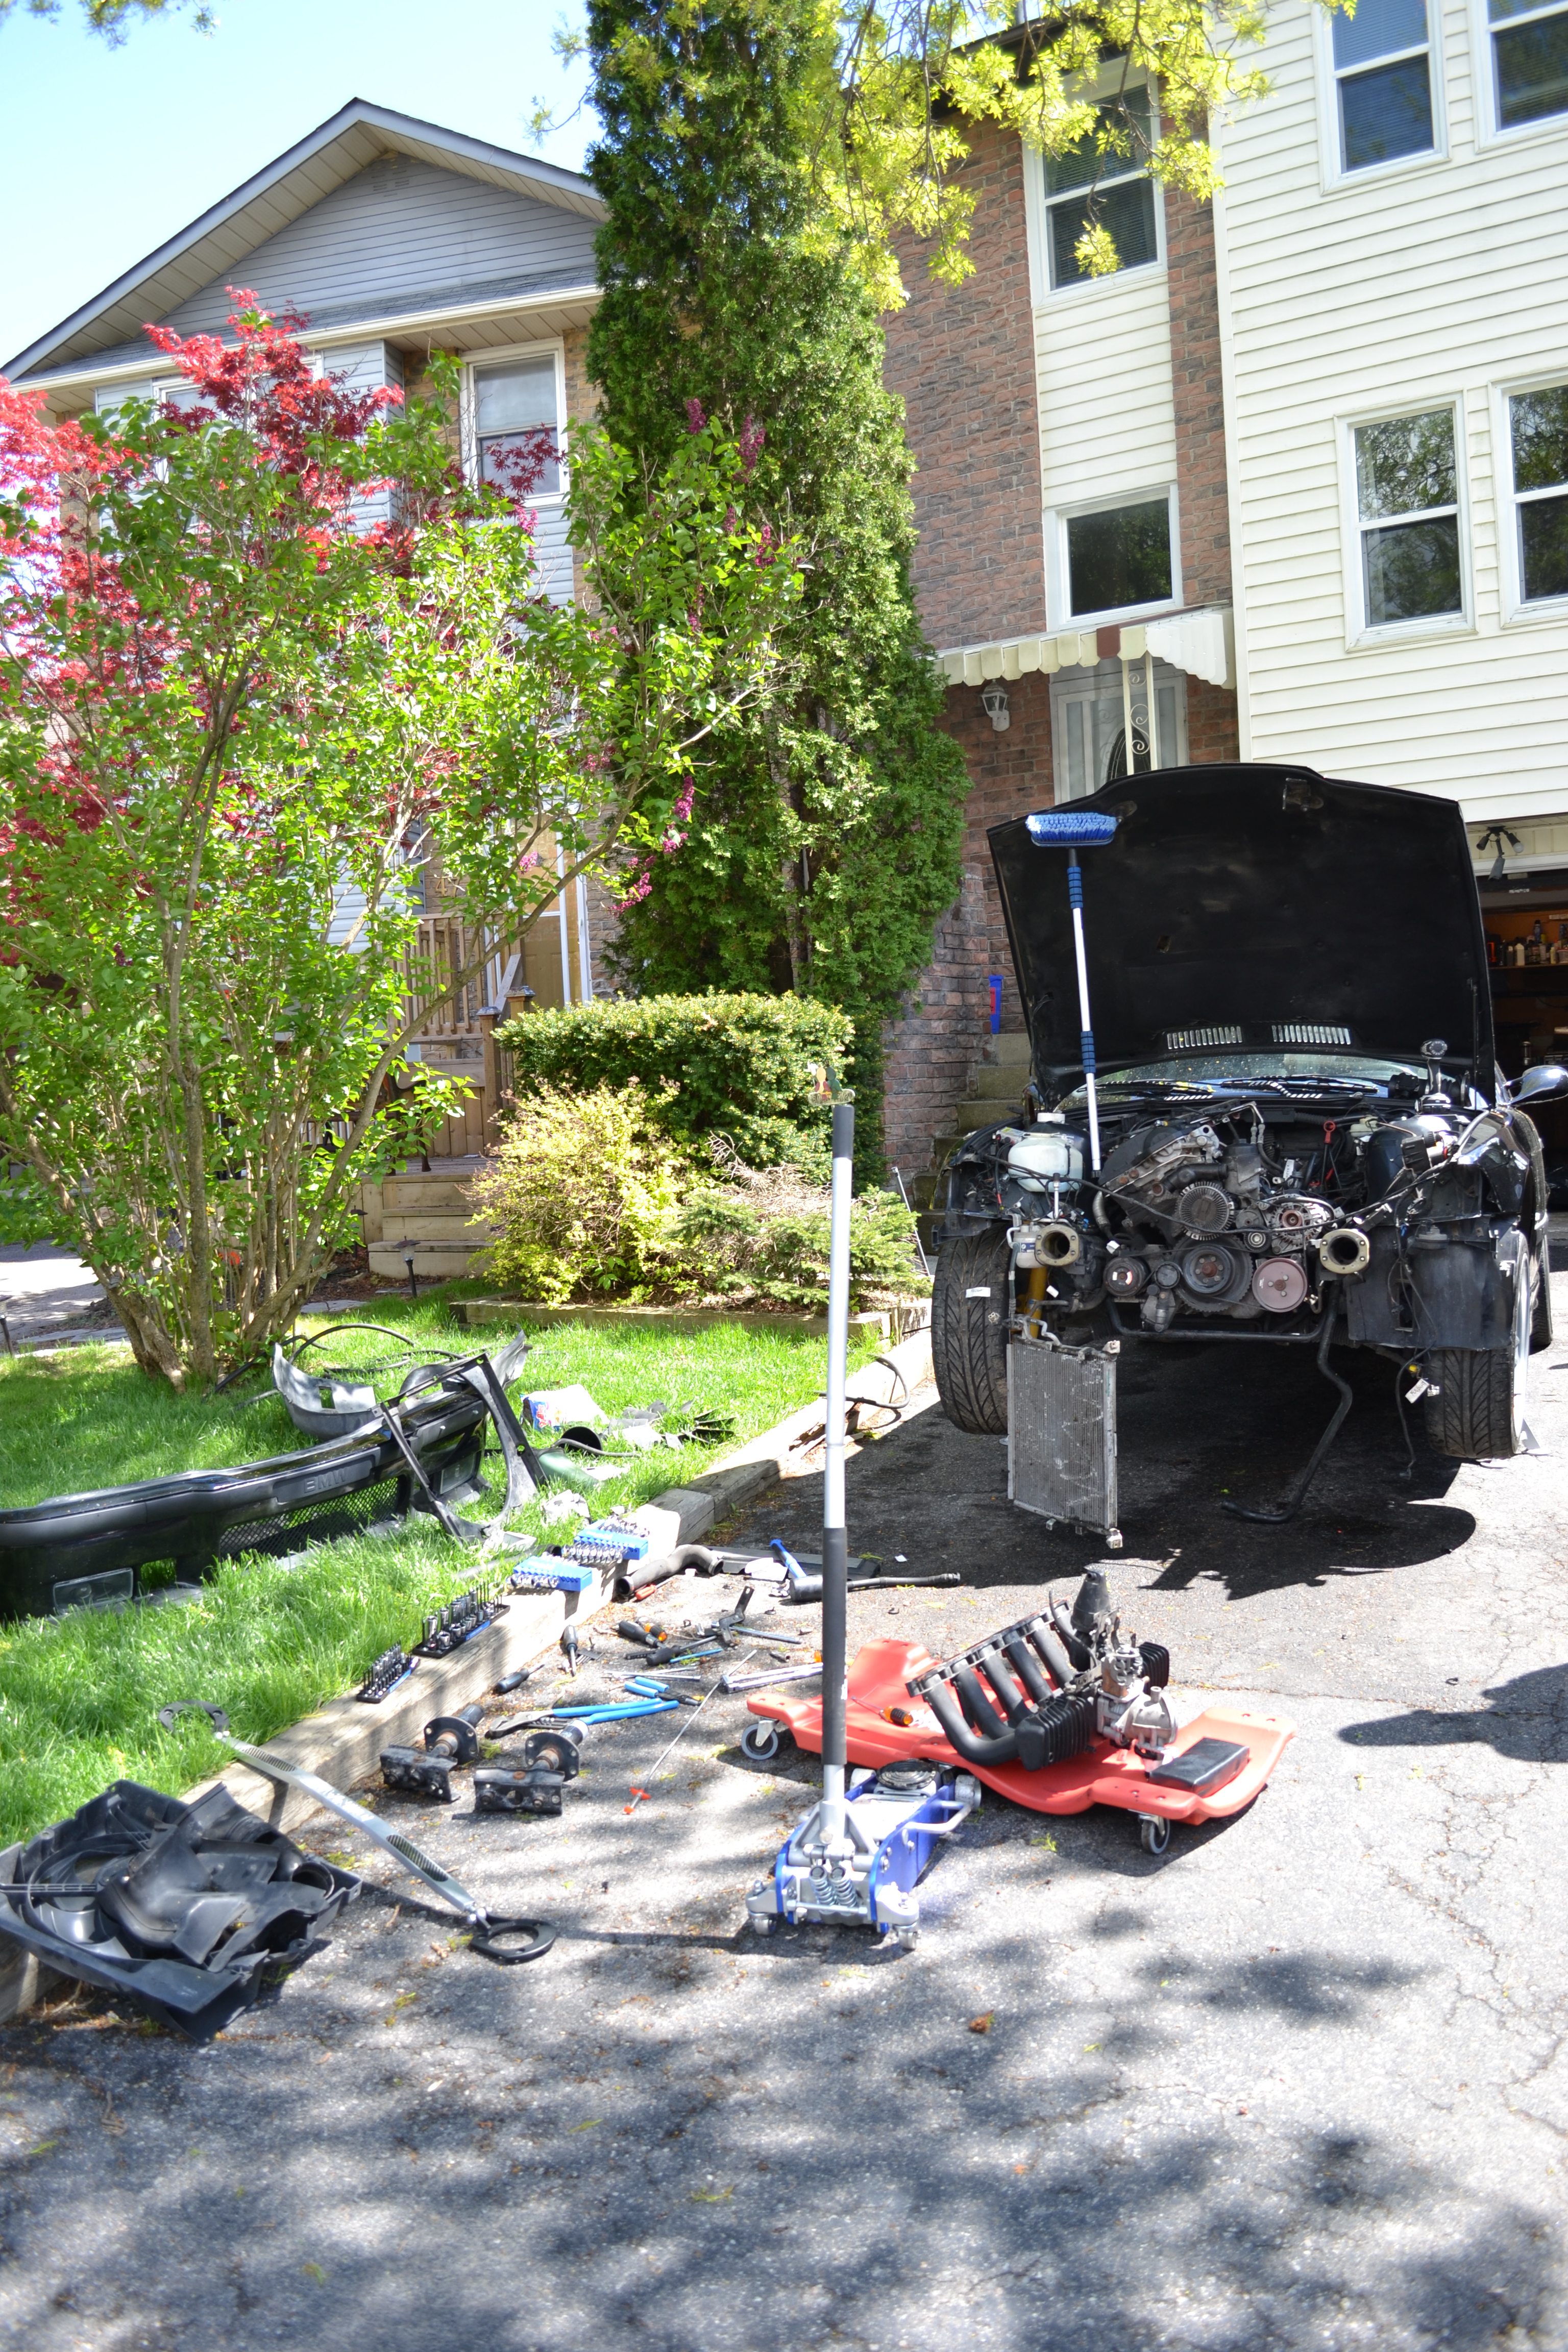
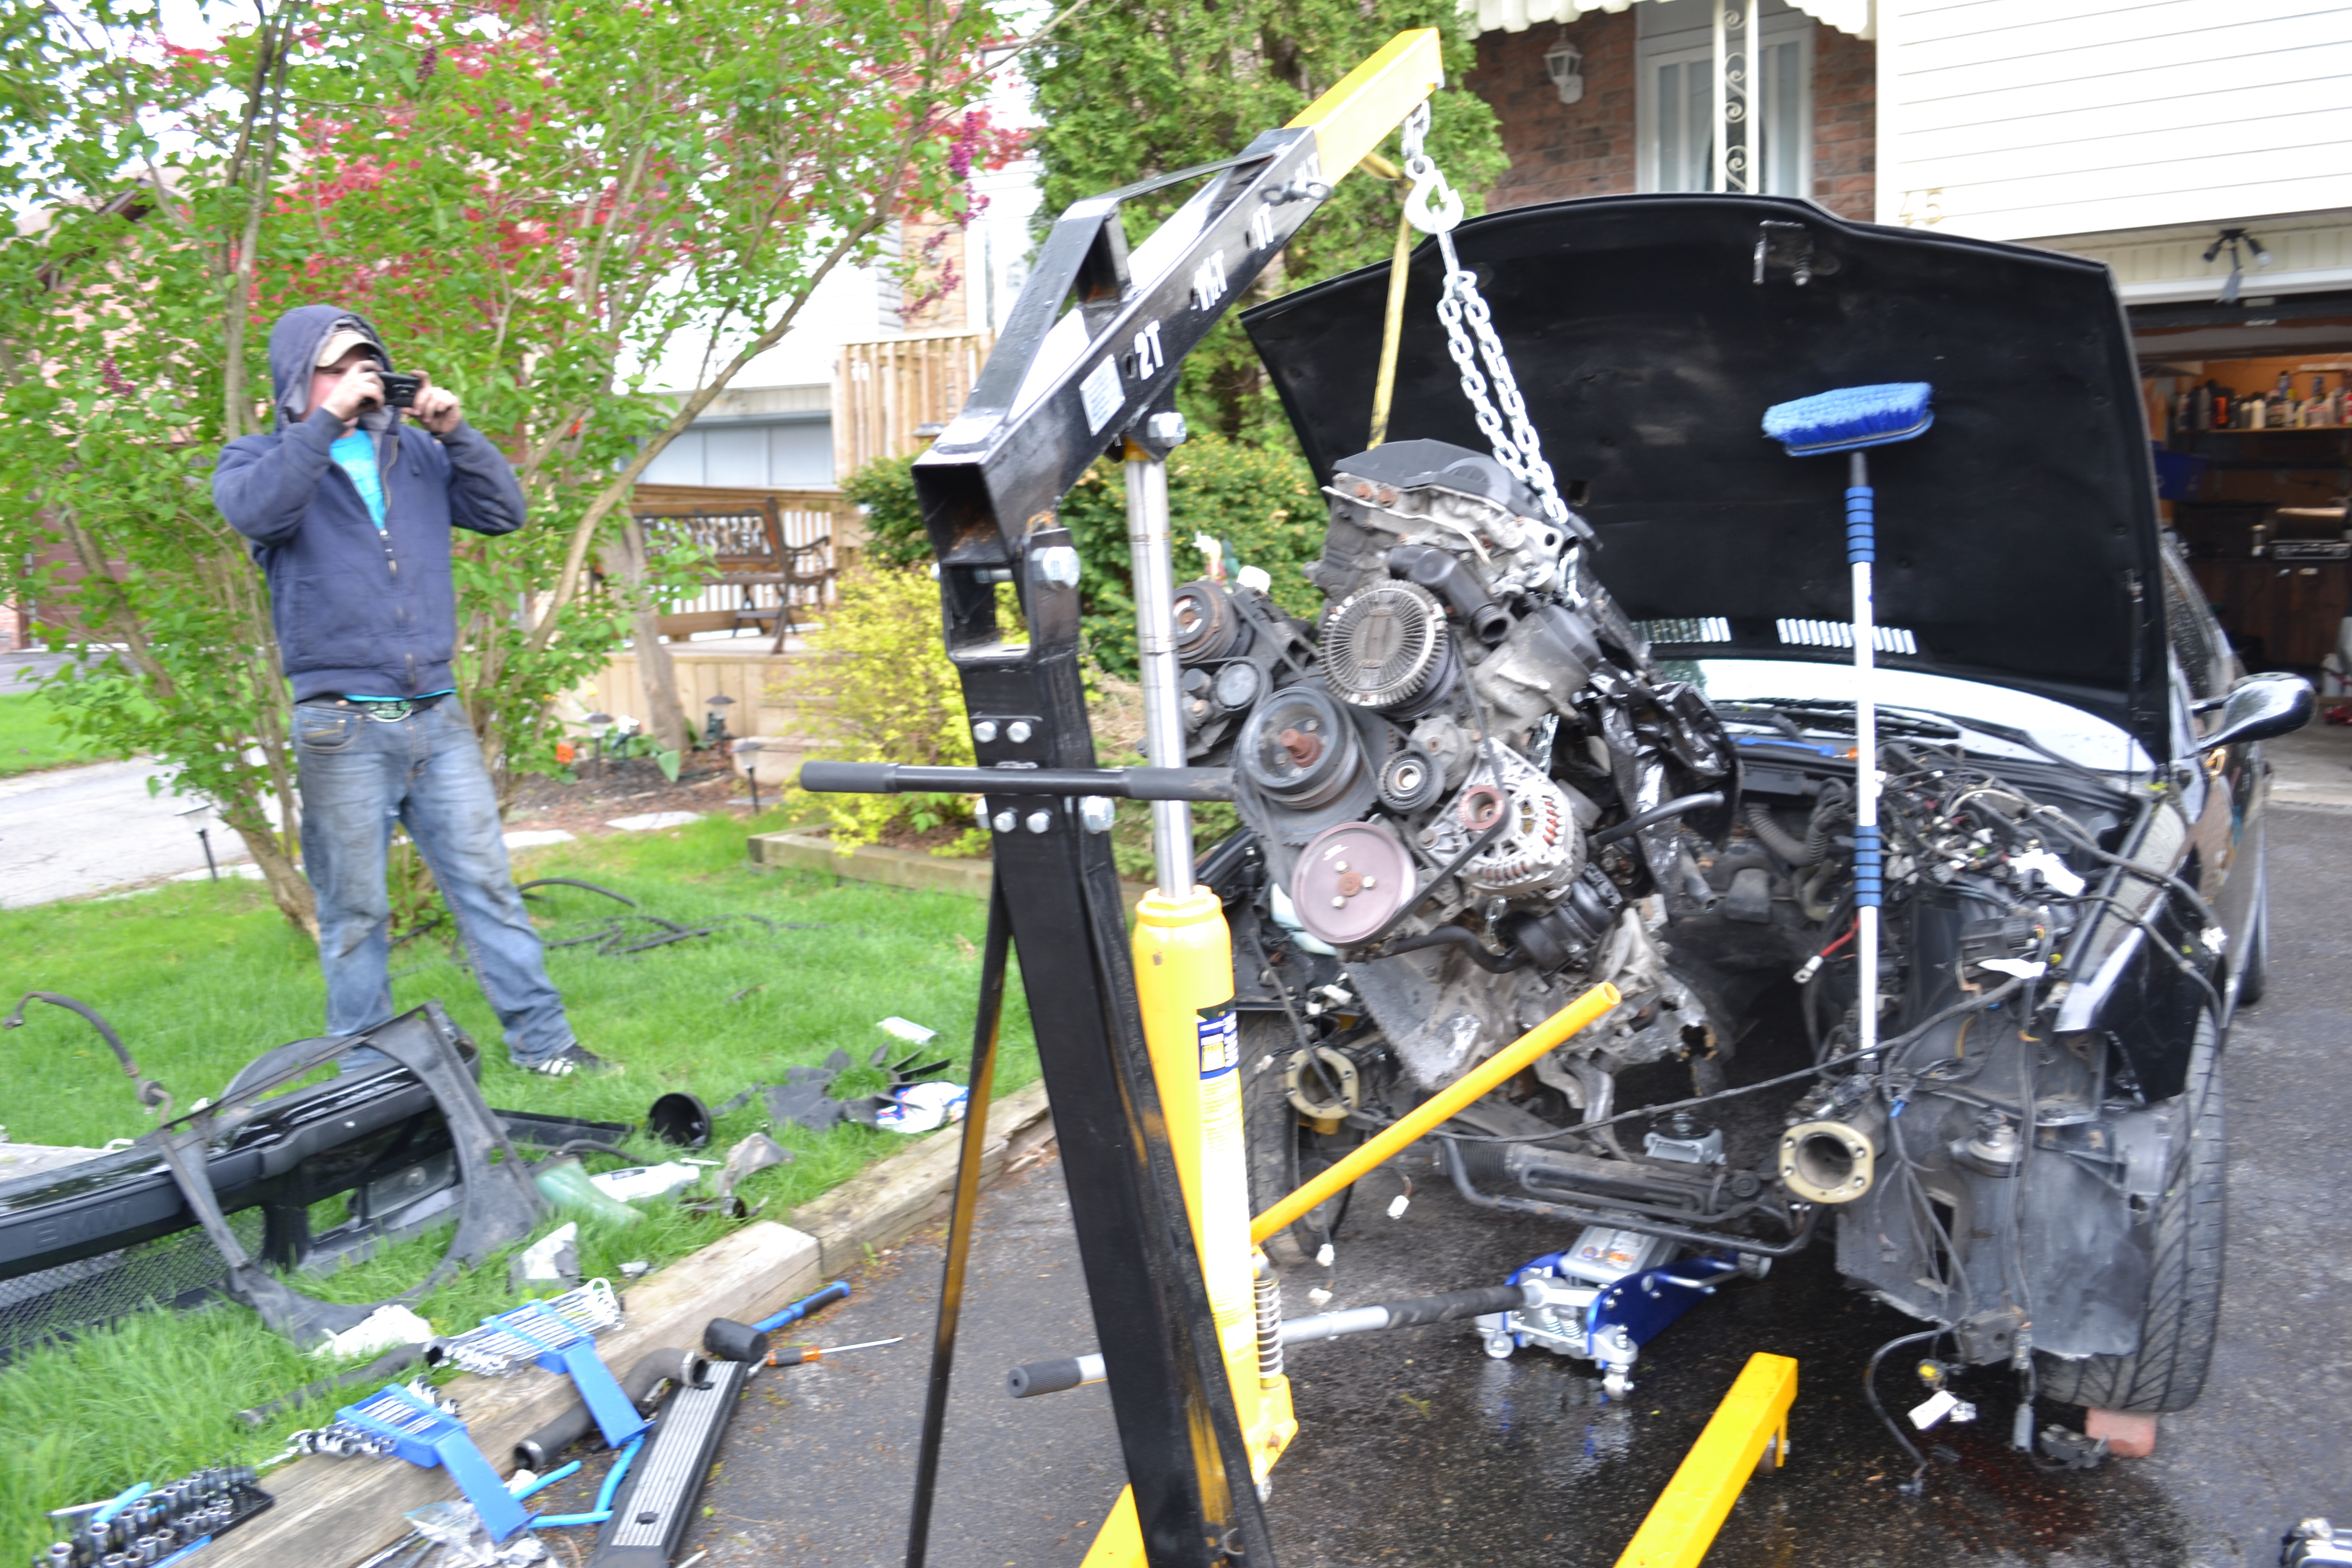
So now it was now go time to pull this motor out and get crackin’ on my setup, so thats exactly what i did,
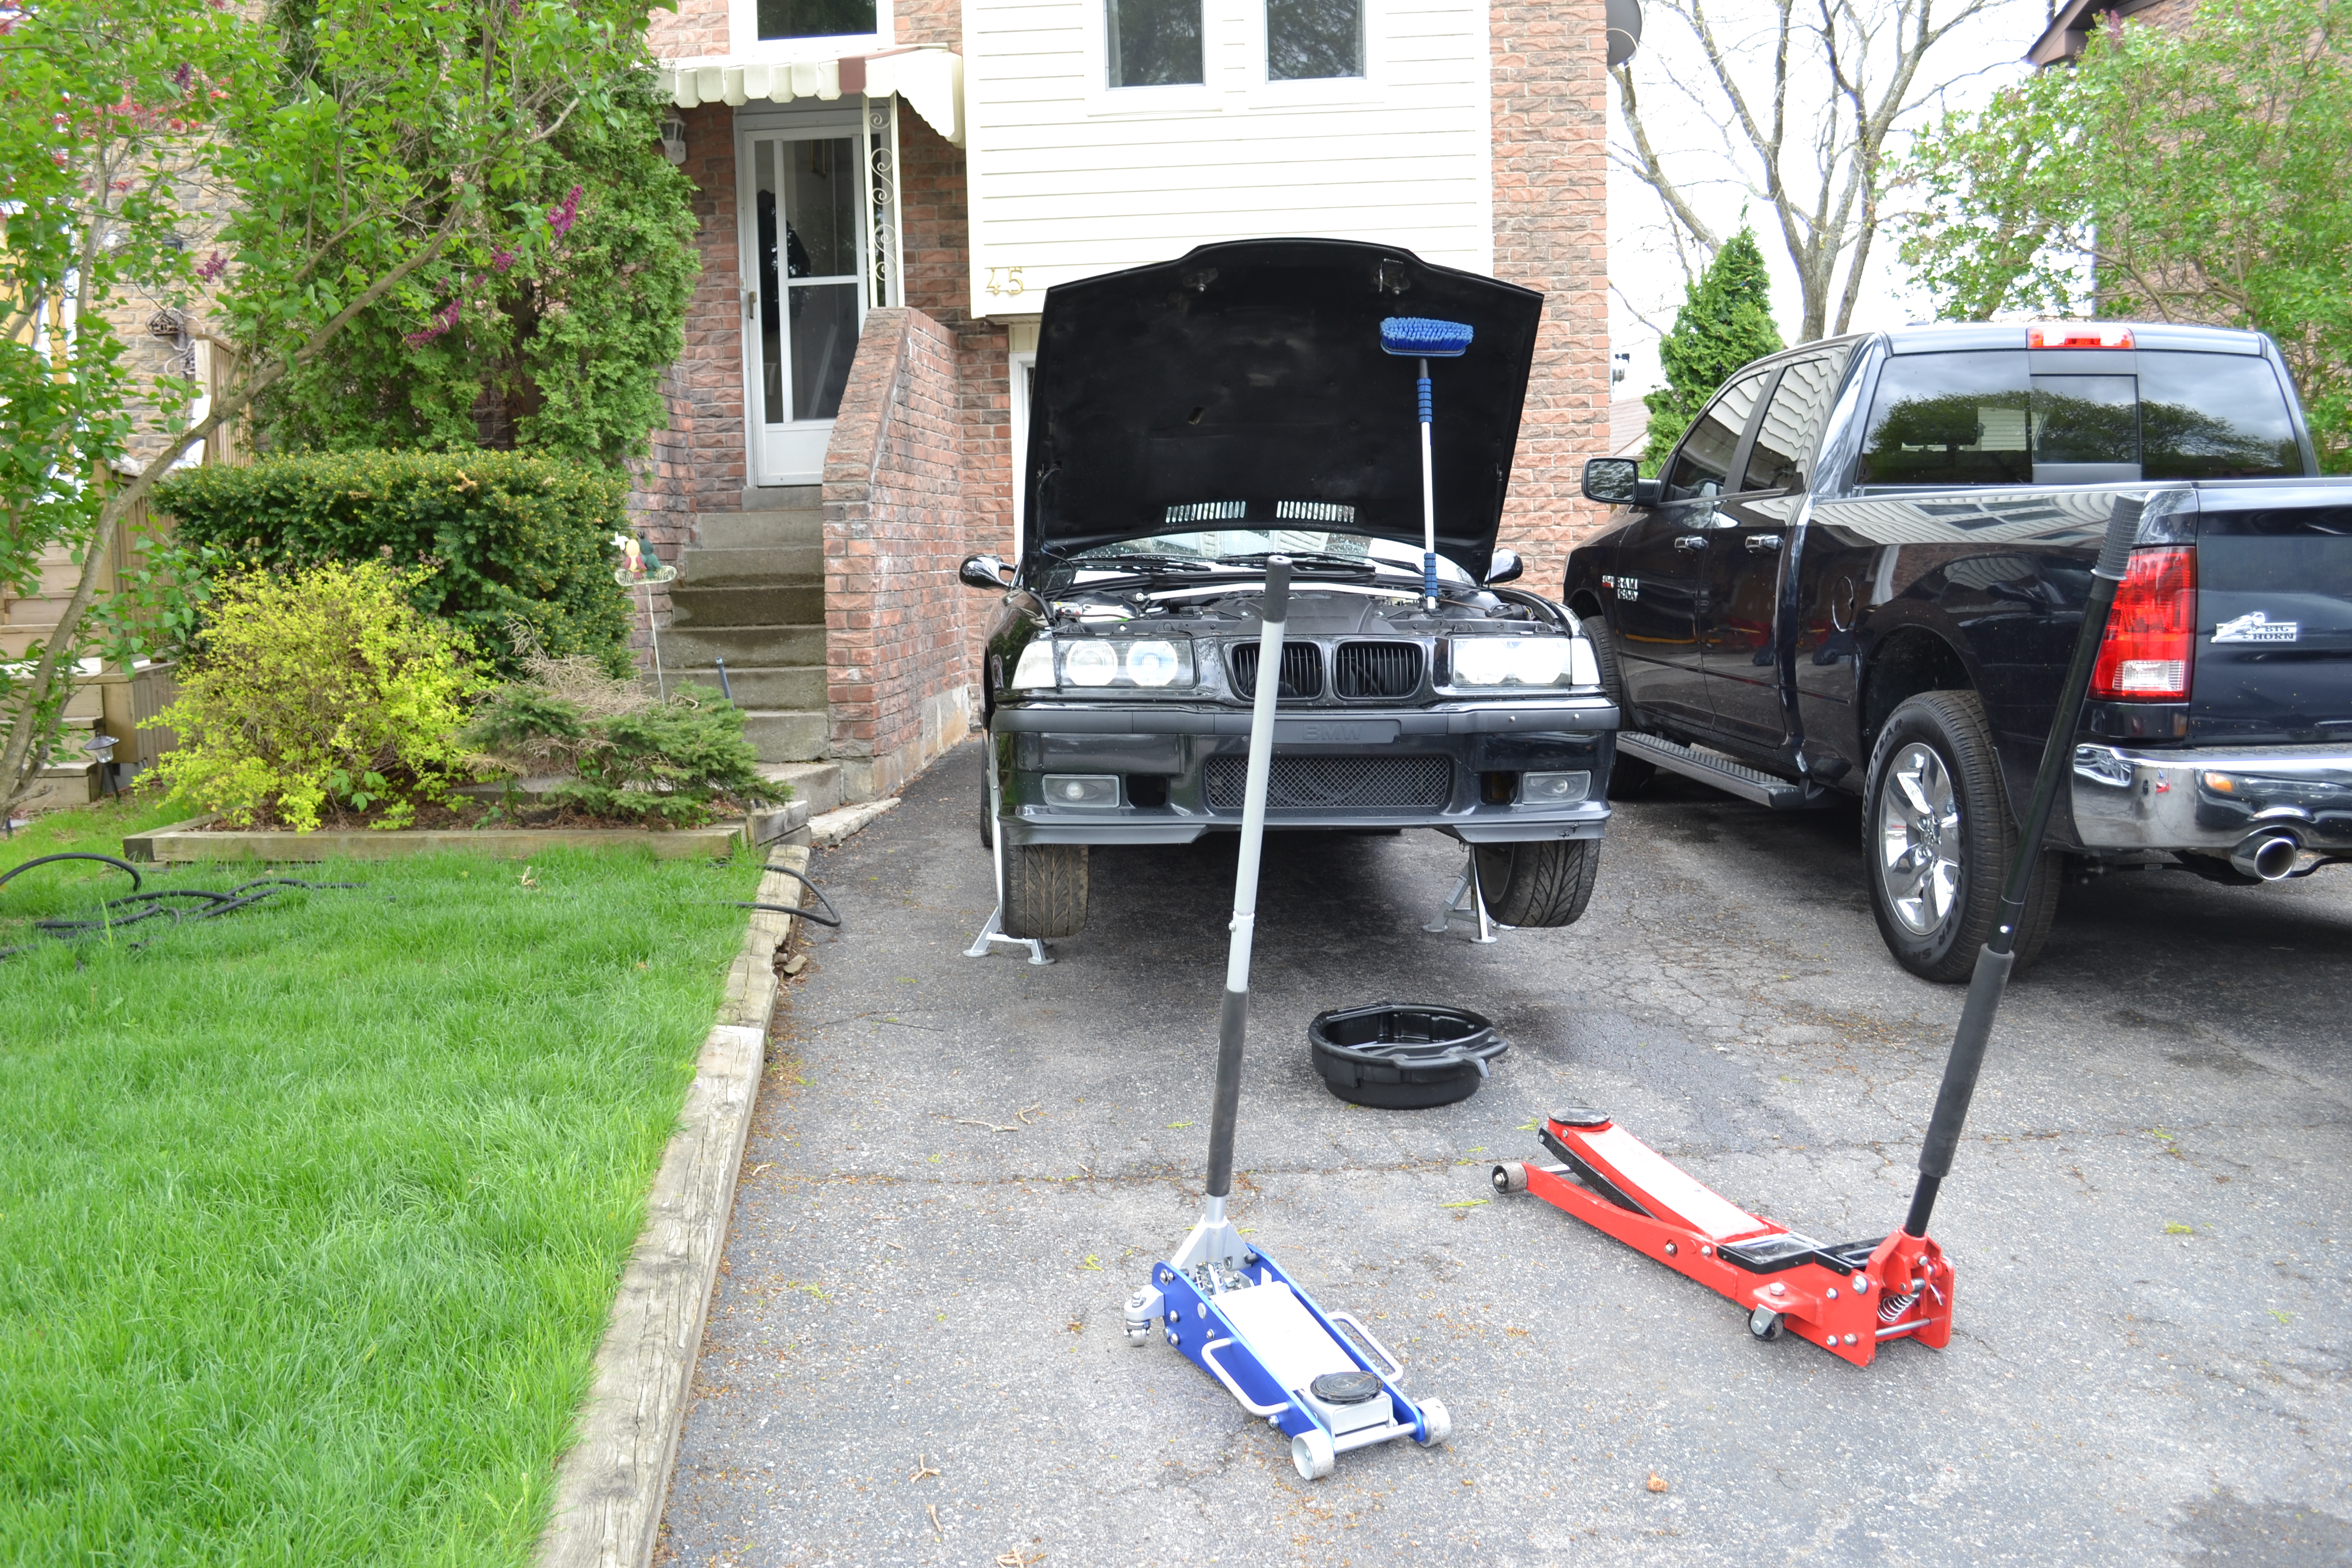
threw the car up on some stands and began progress.
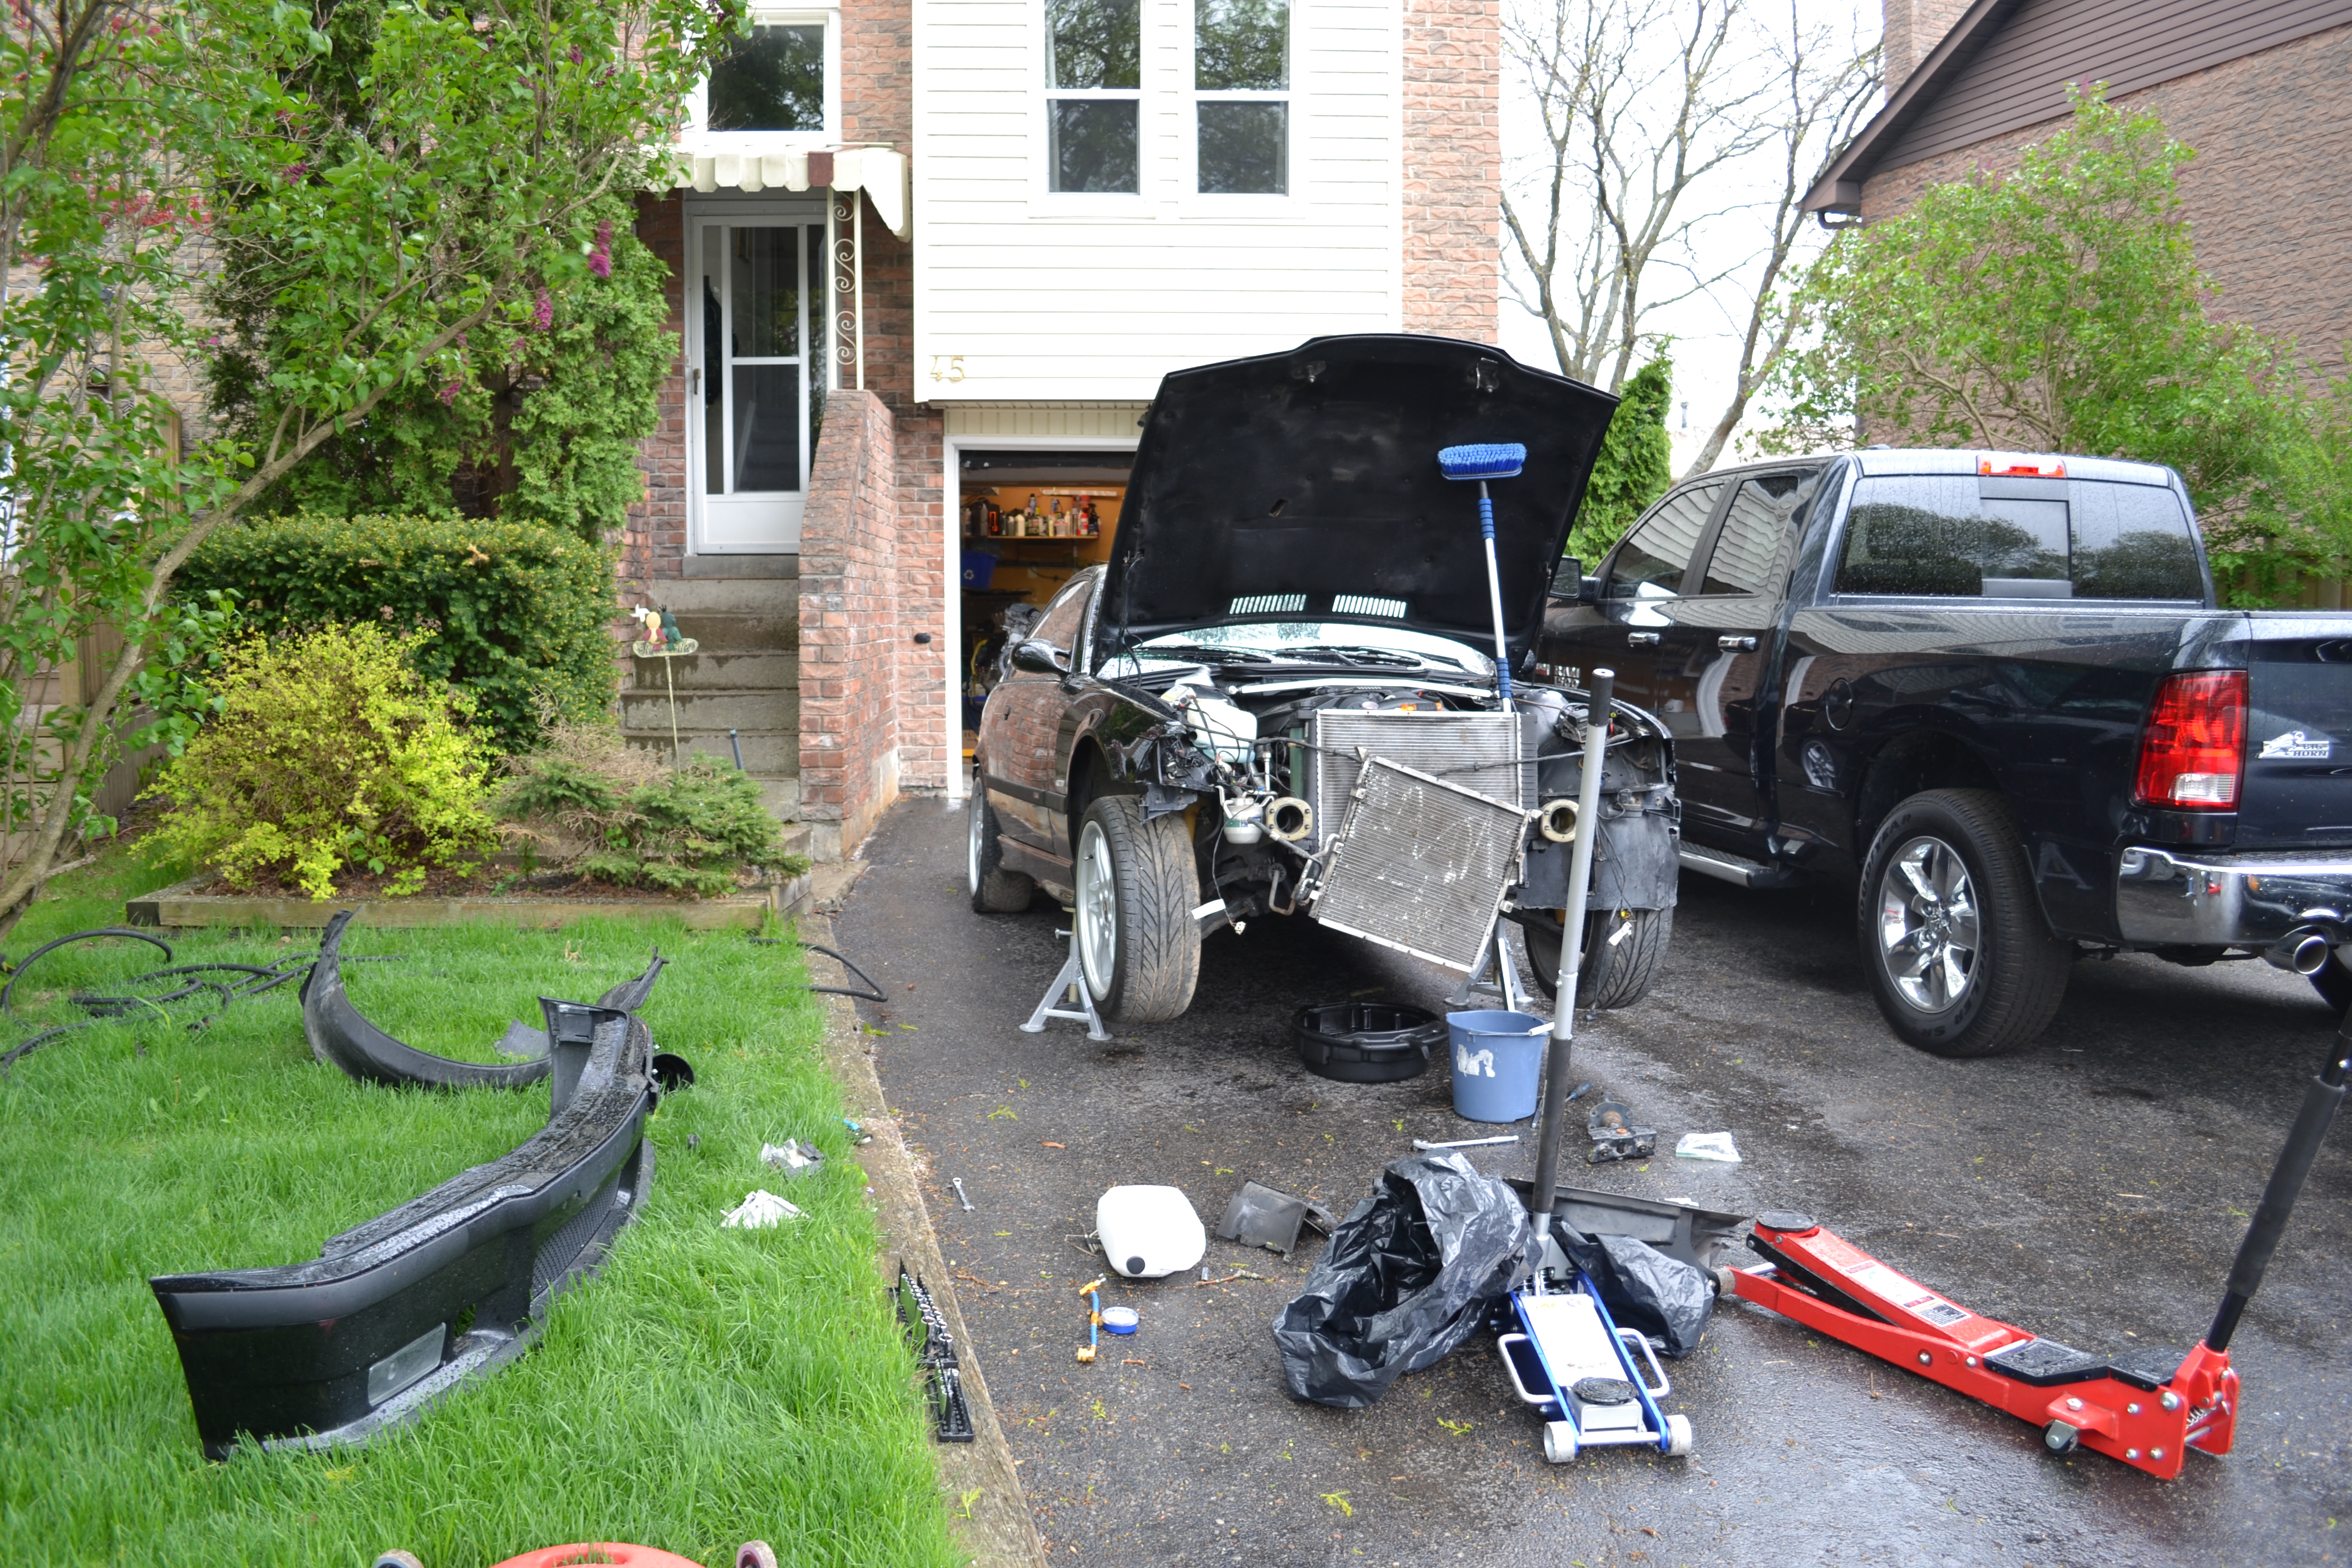
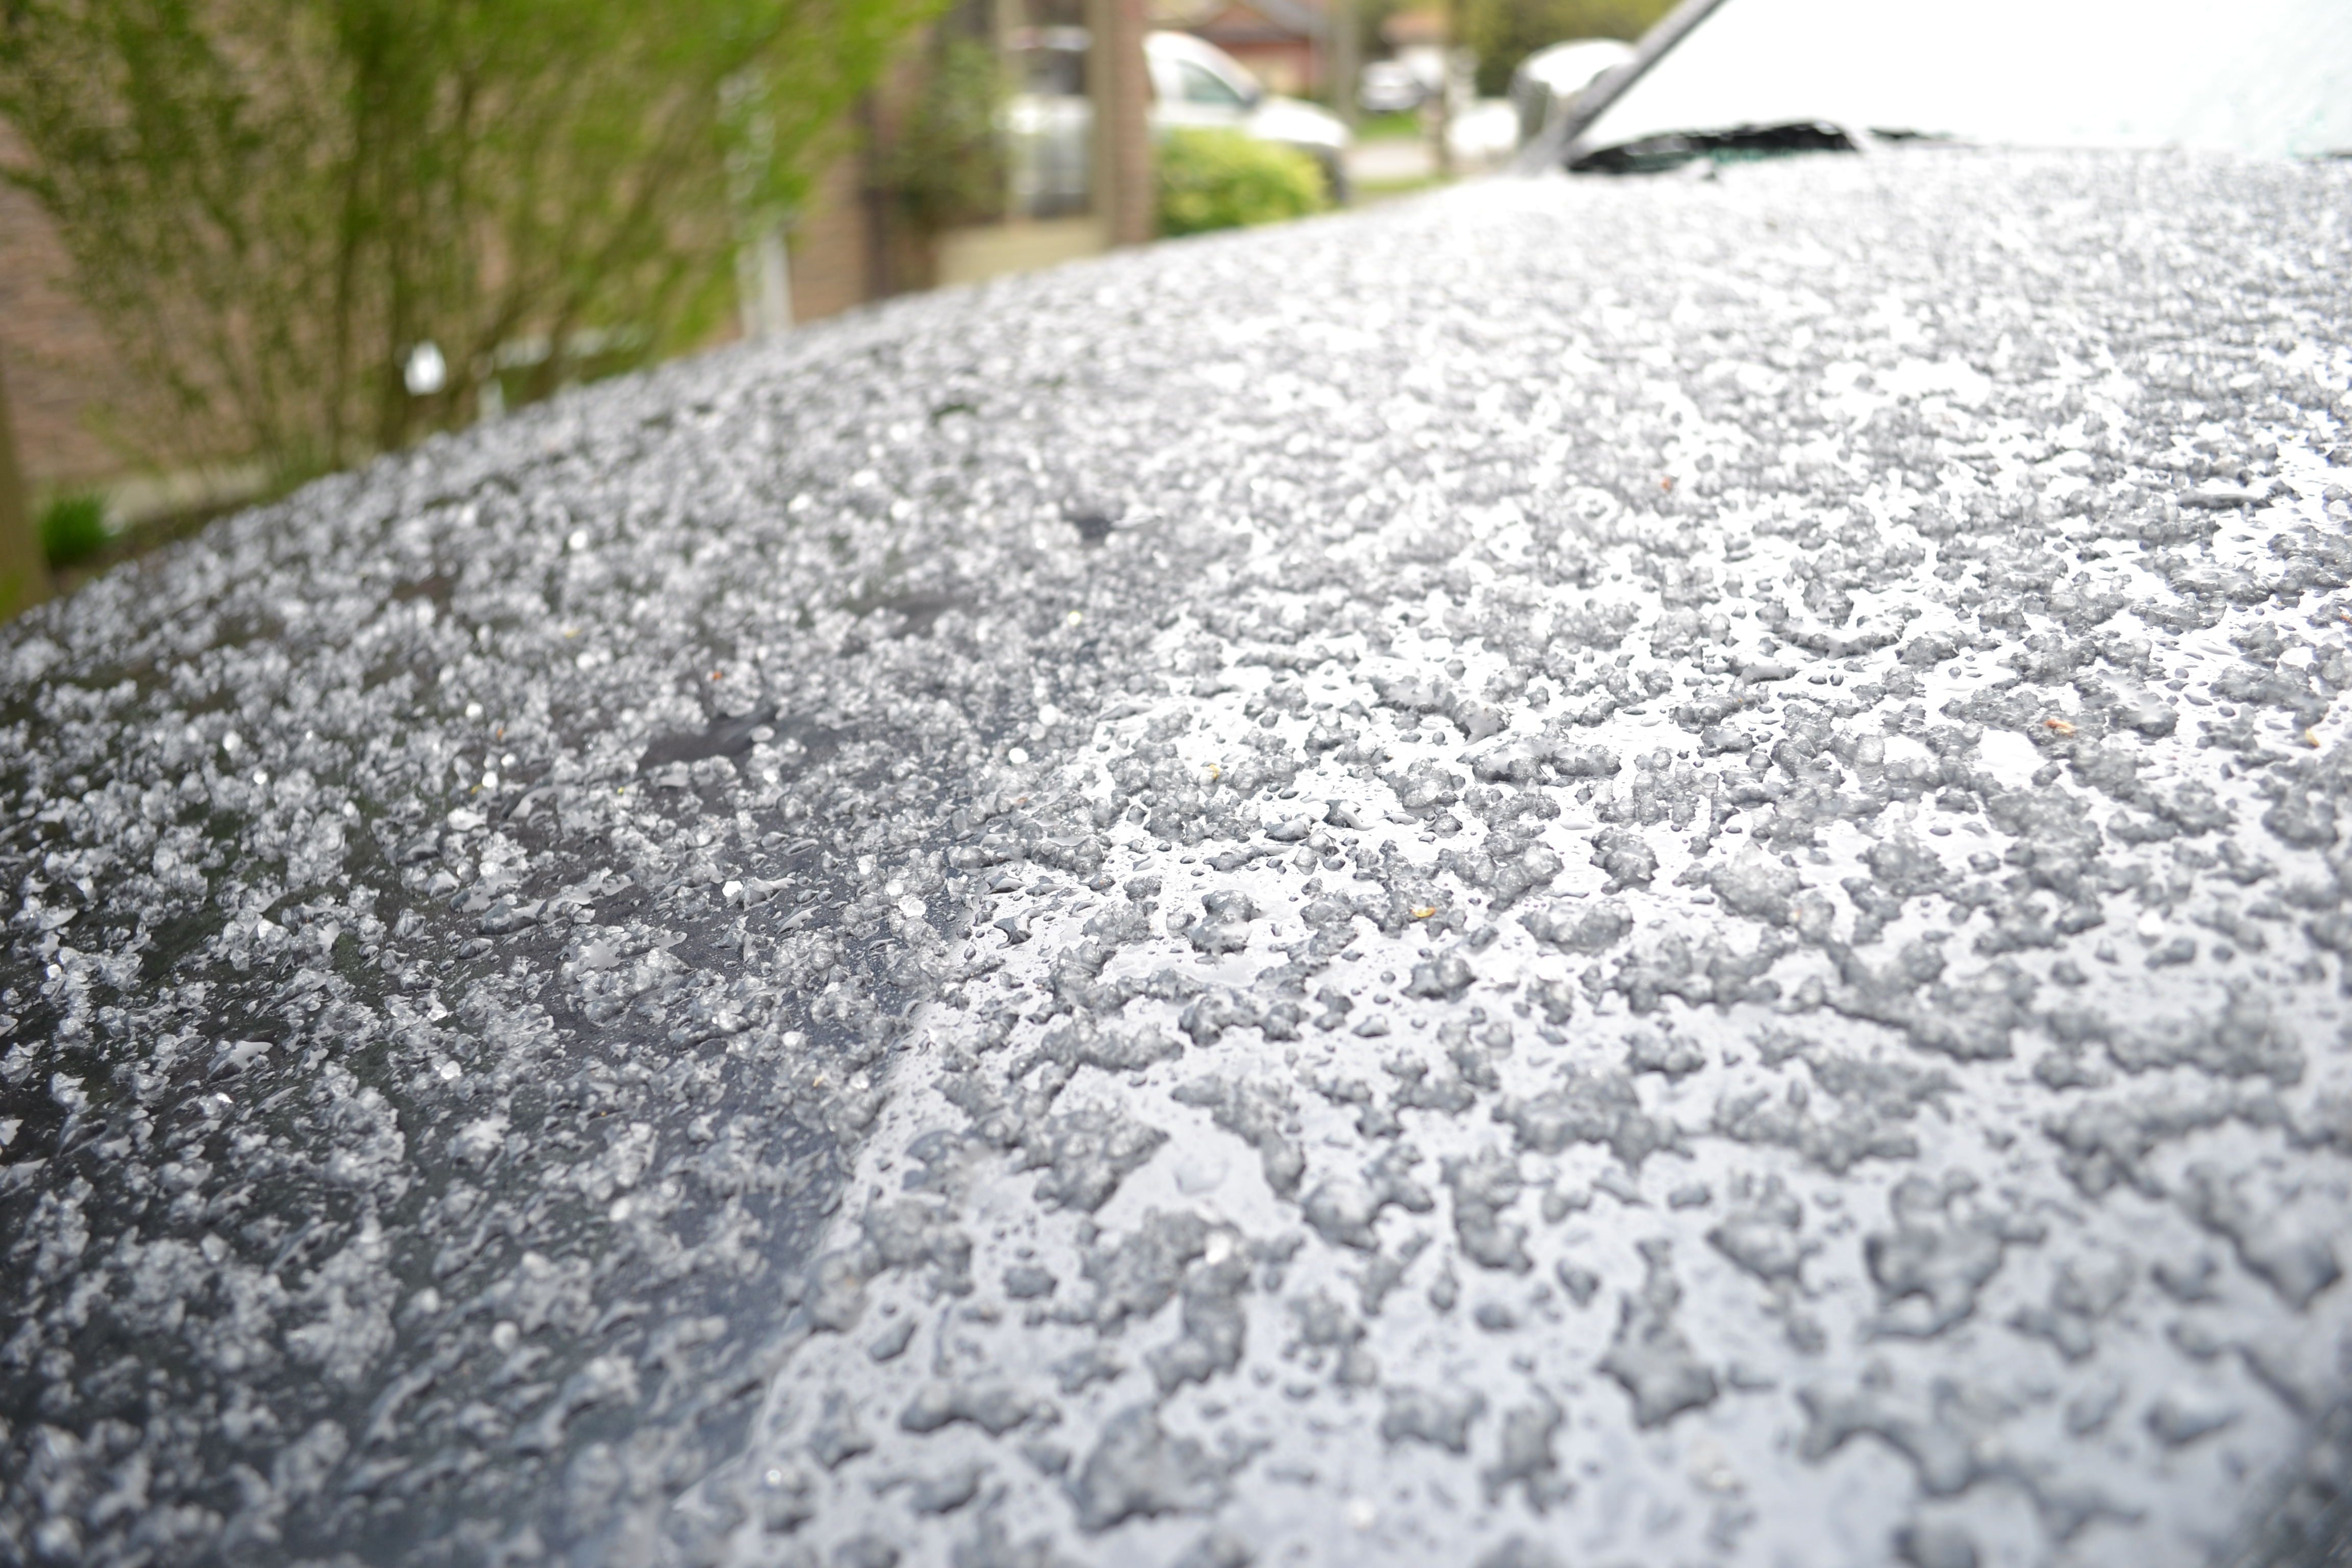
And BOOM! Out of nowhere!
It started raining, then hailing, then snowing! All of this in may! What the hell was going on!
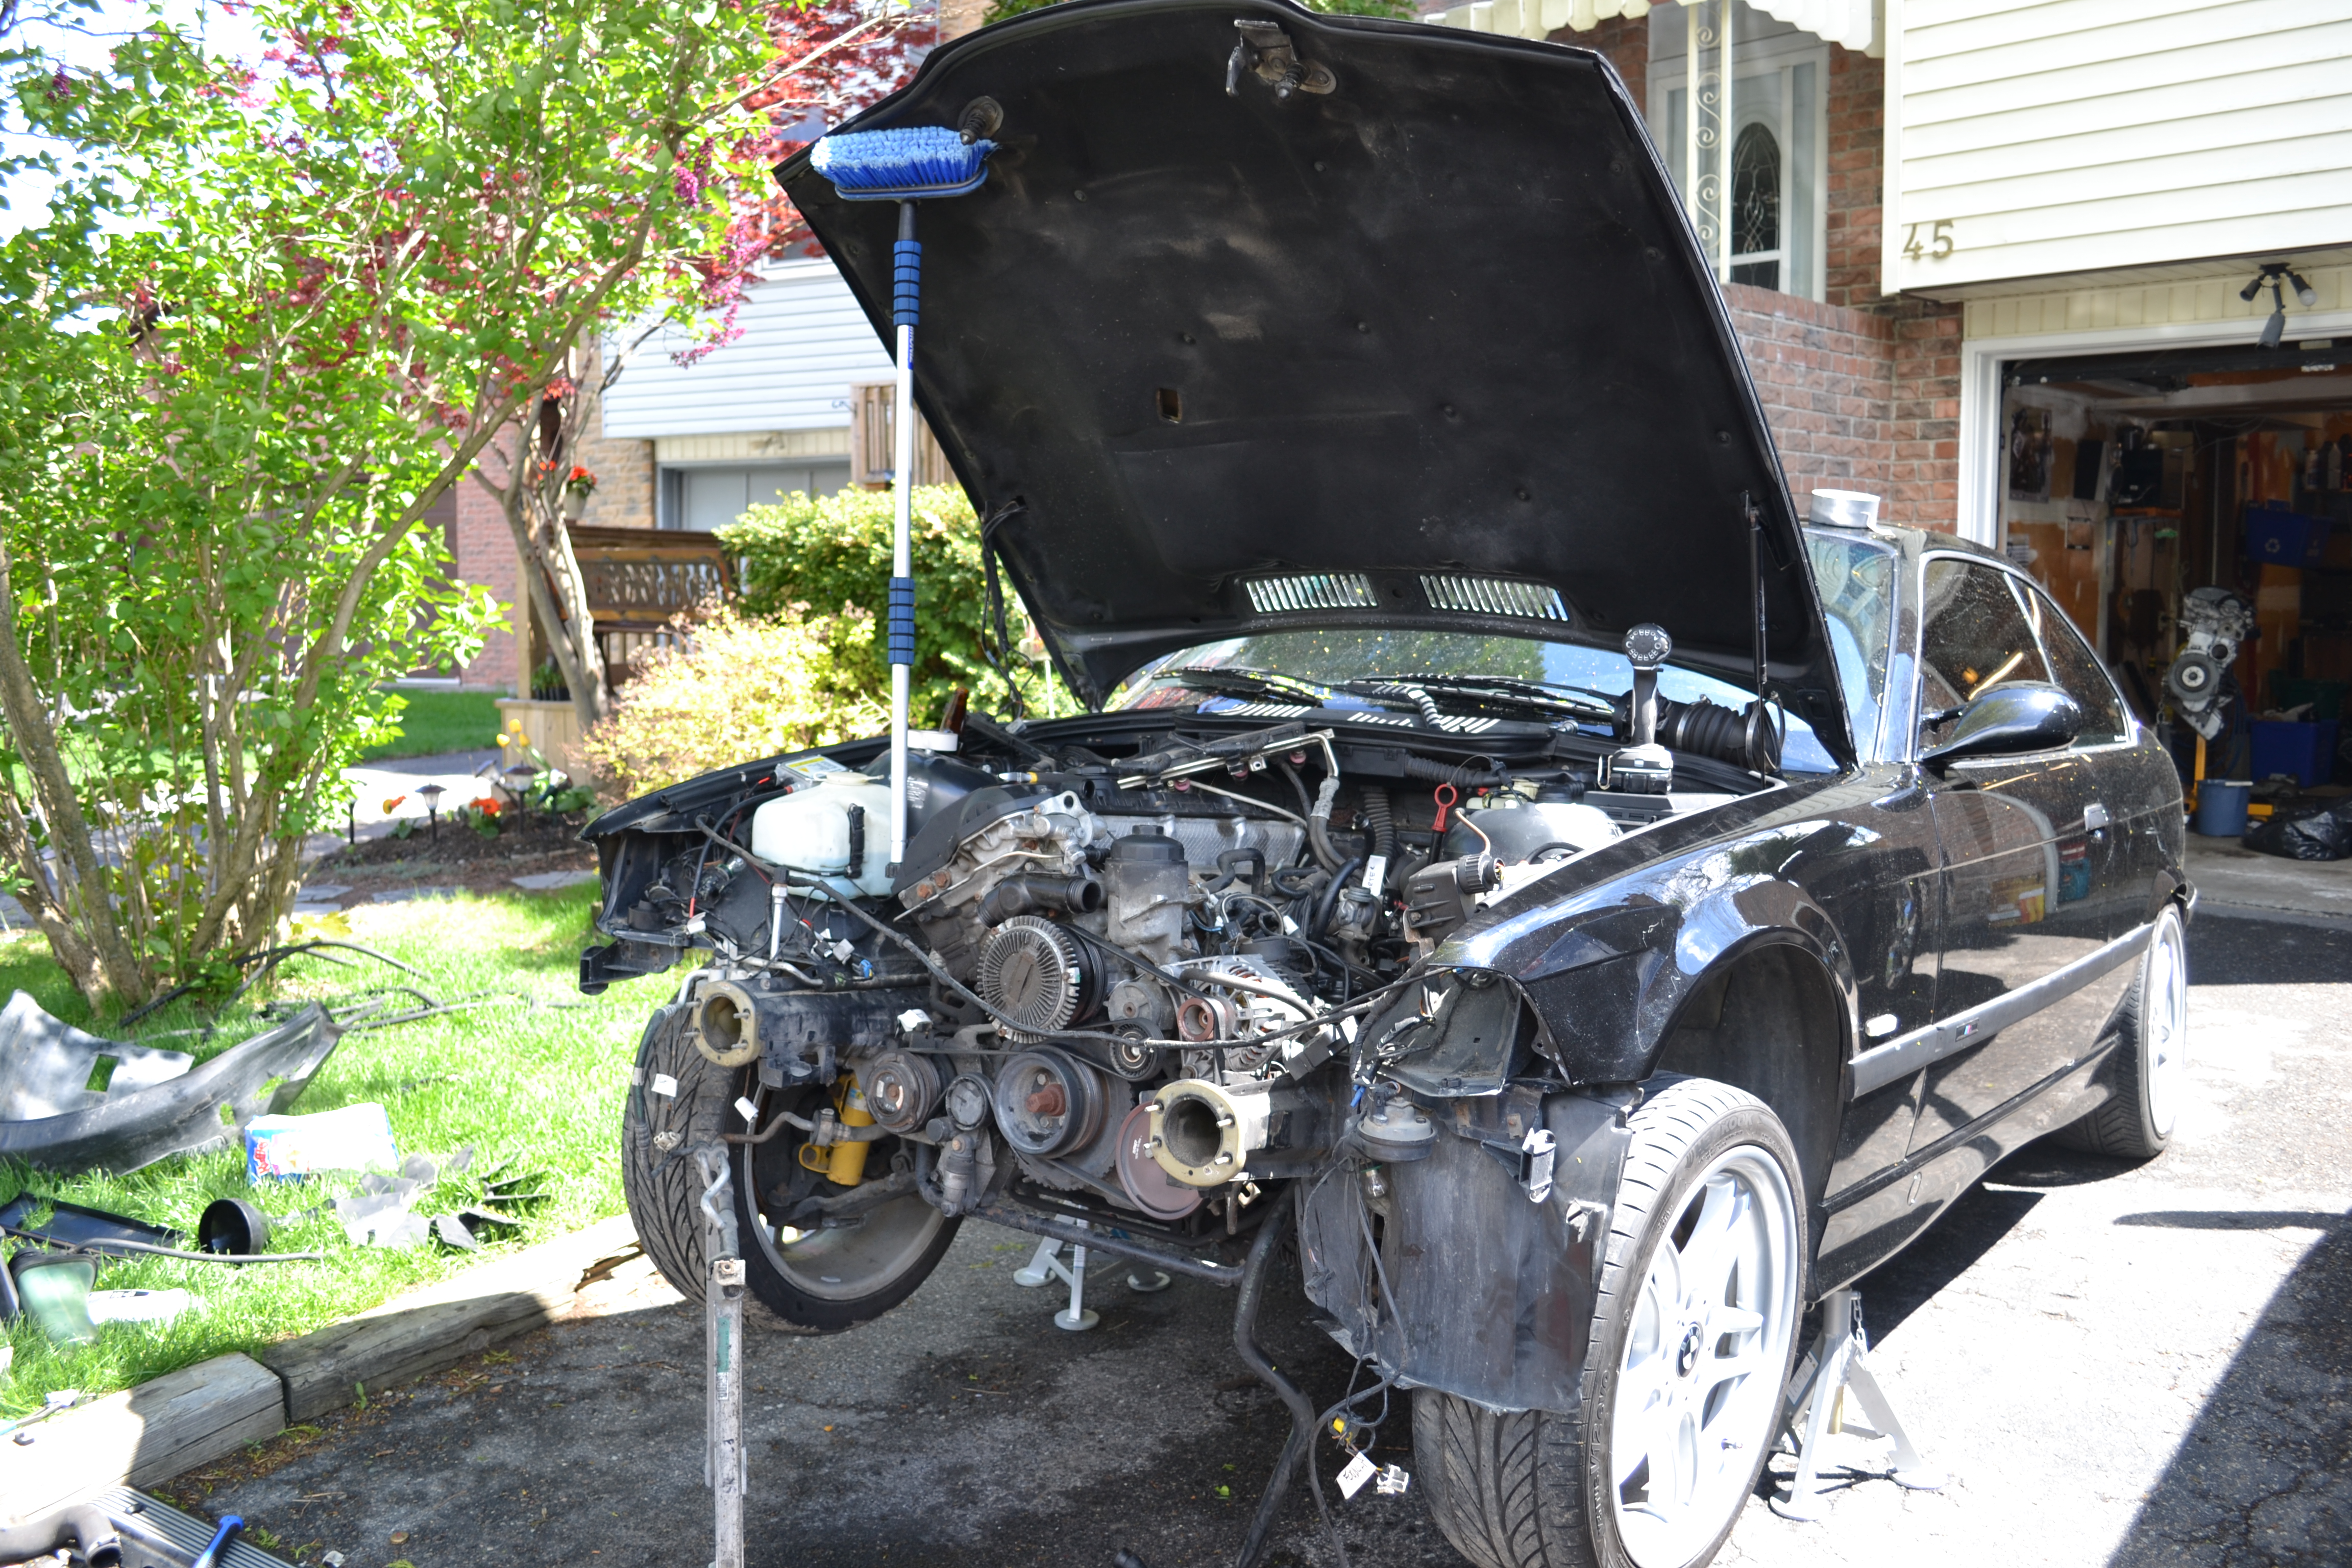
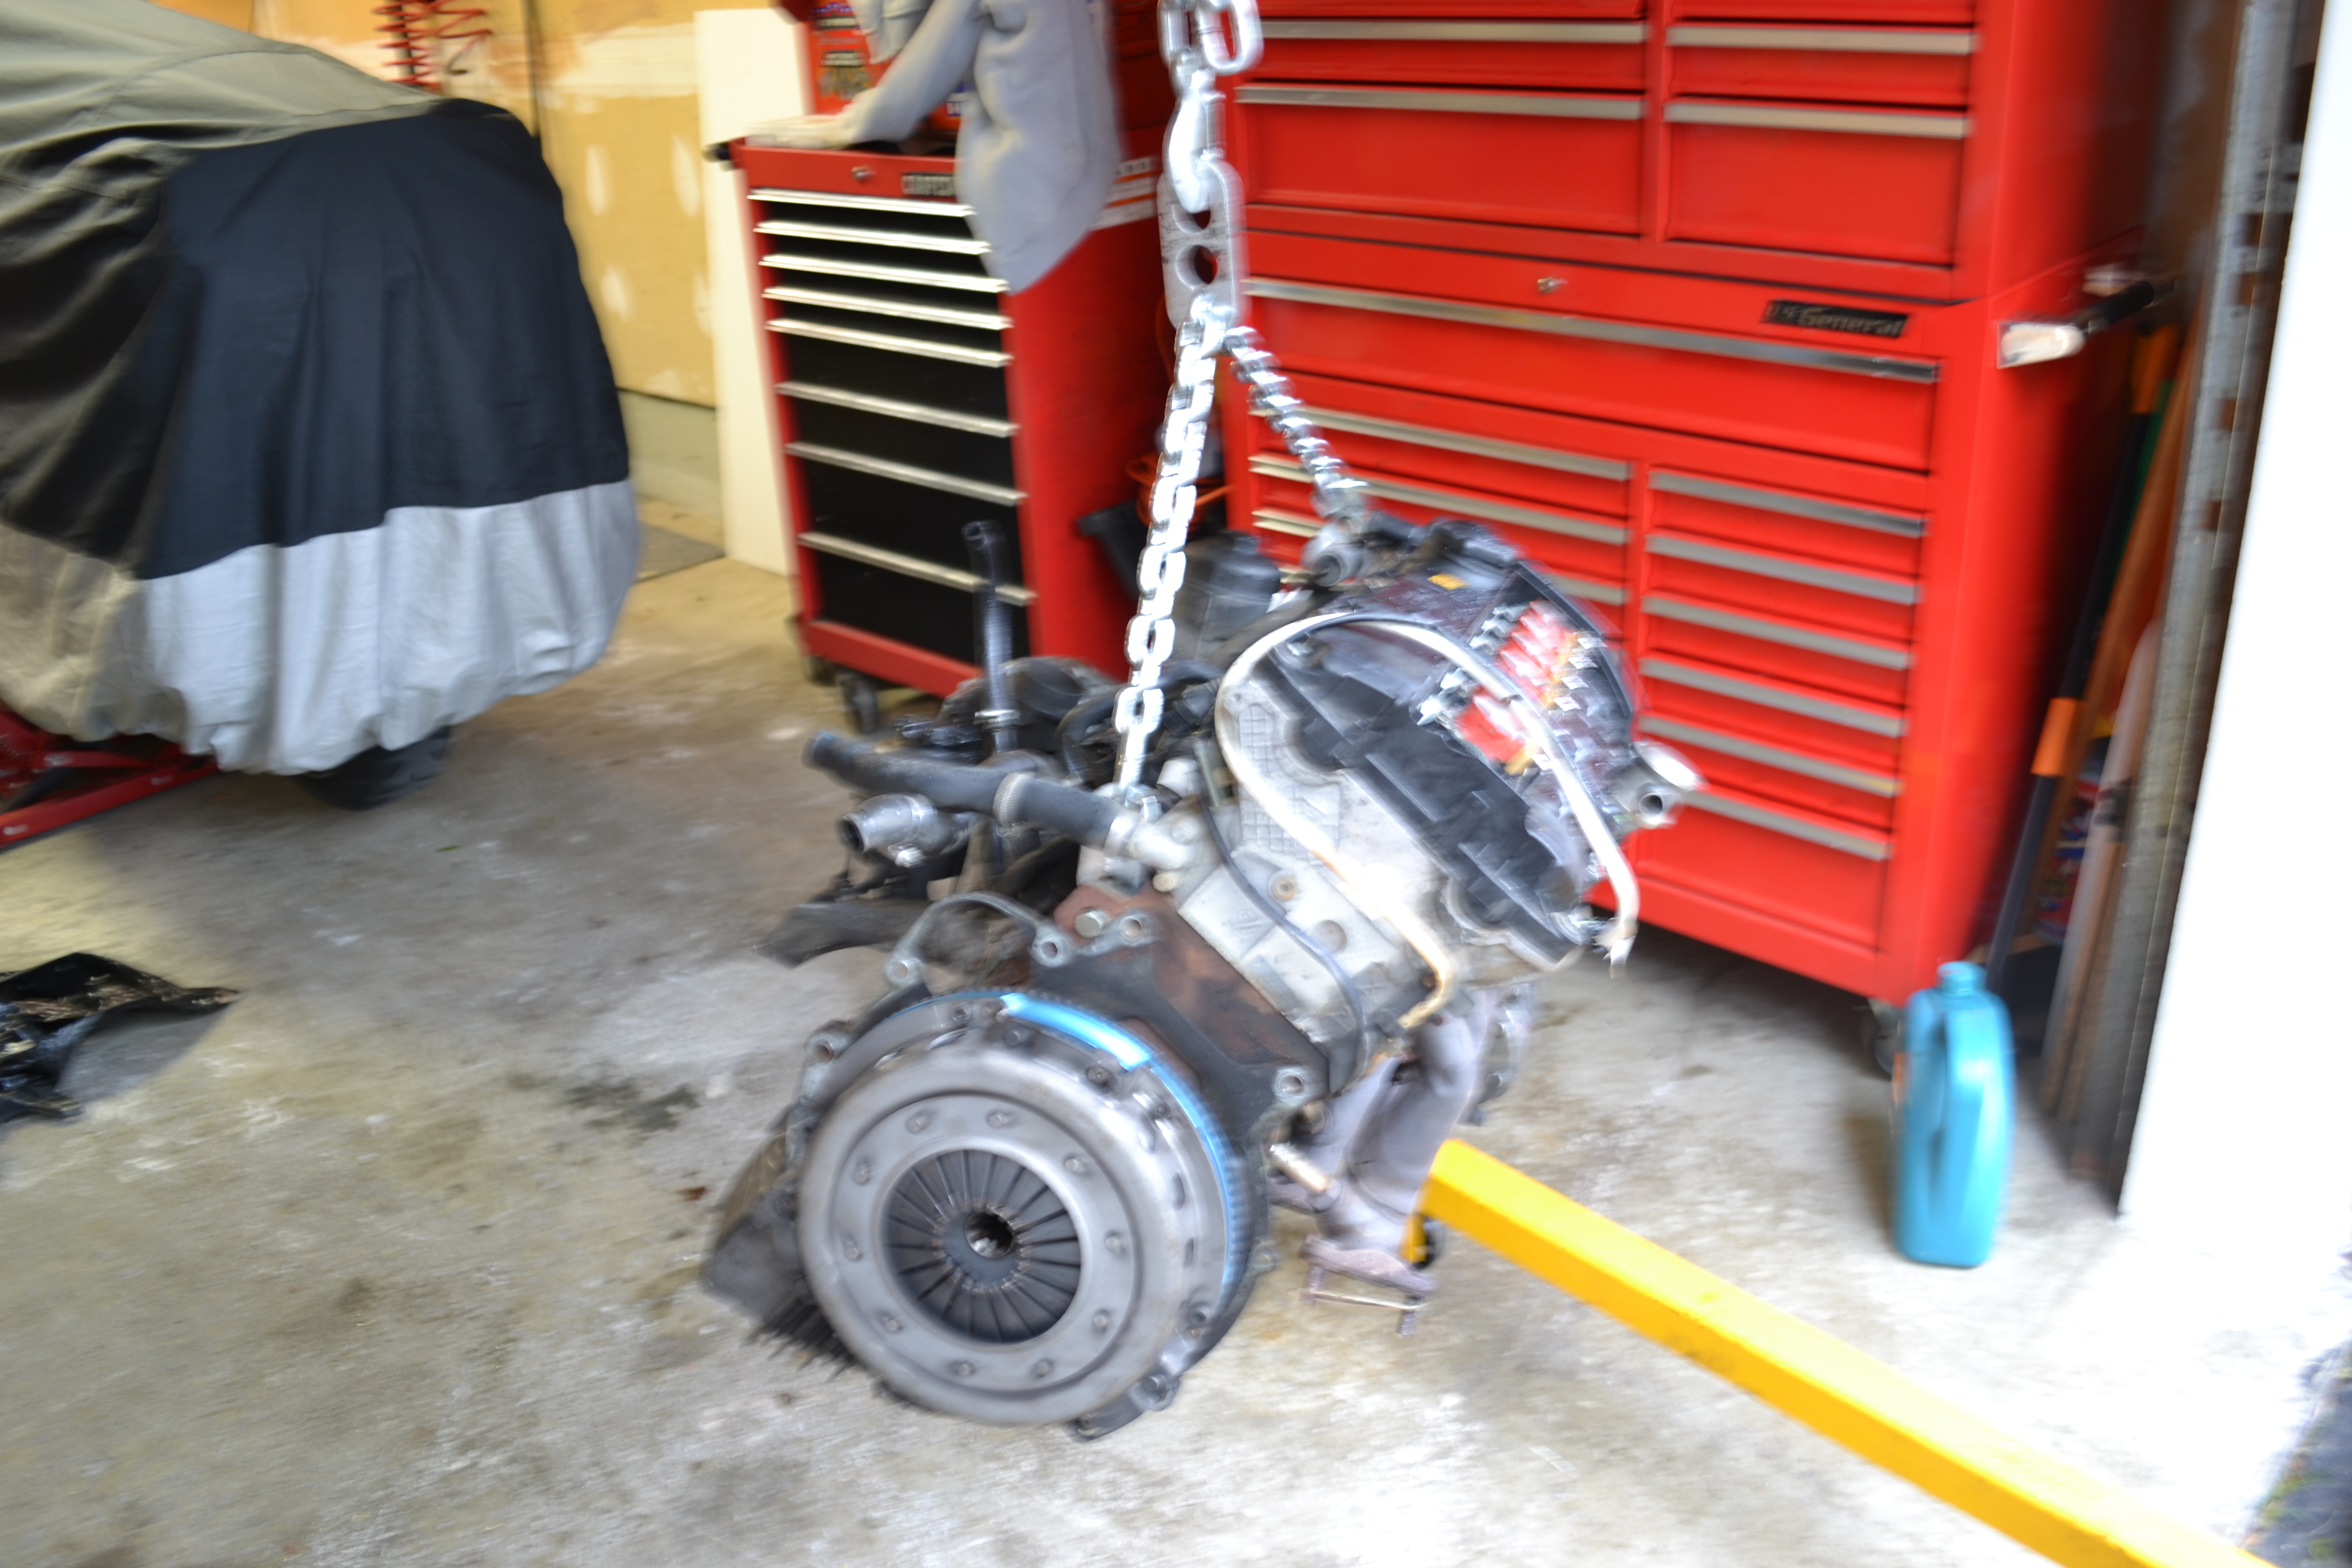
But finally the motor came out about 4 hours later!
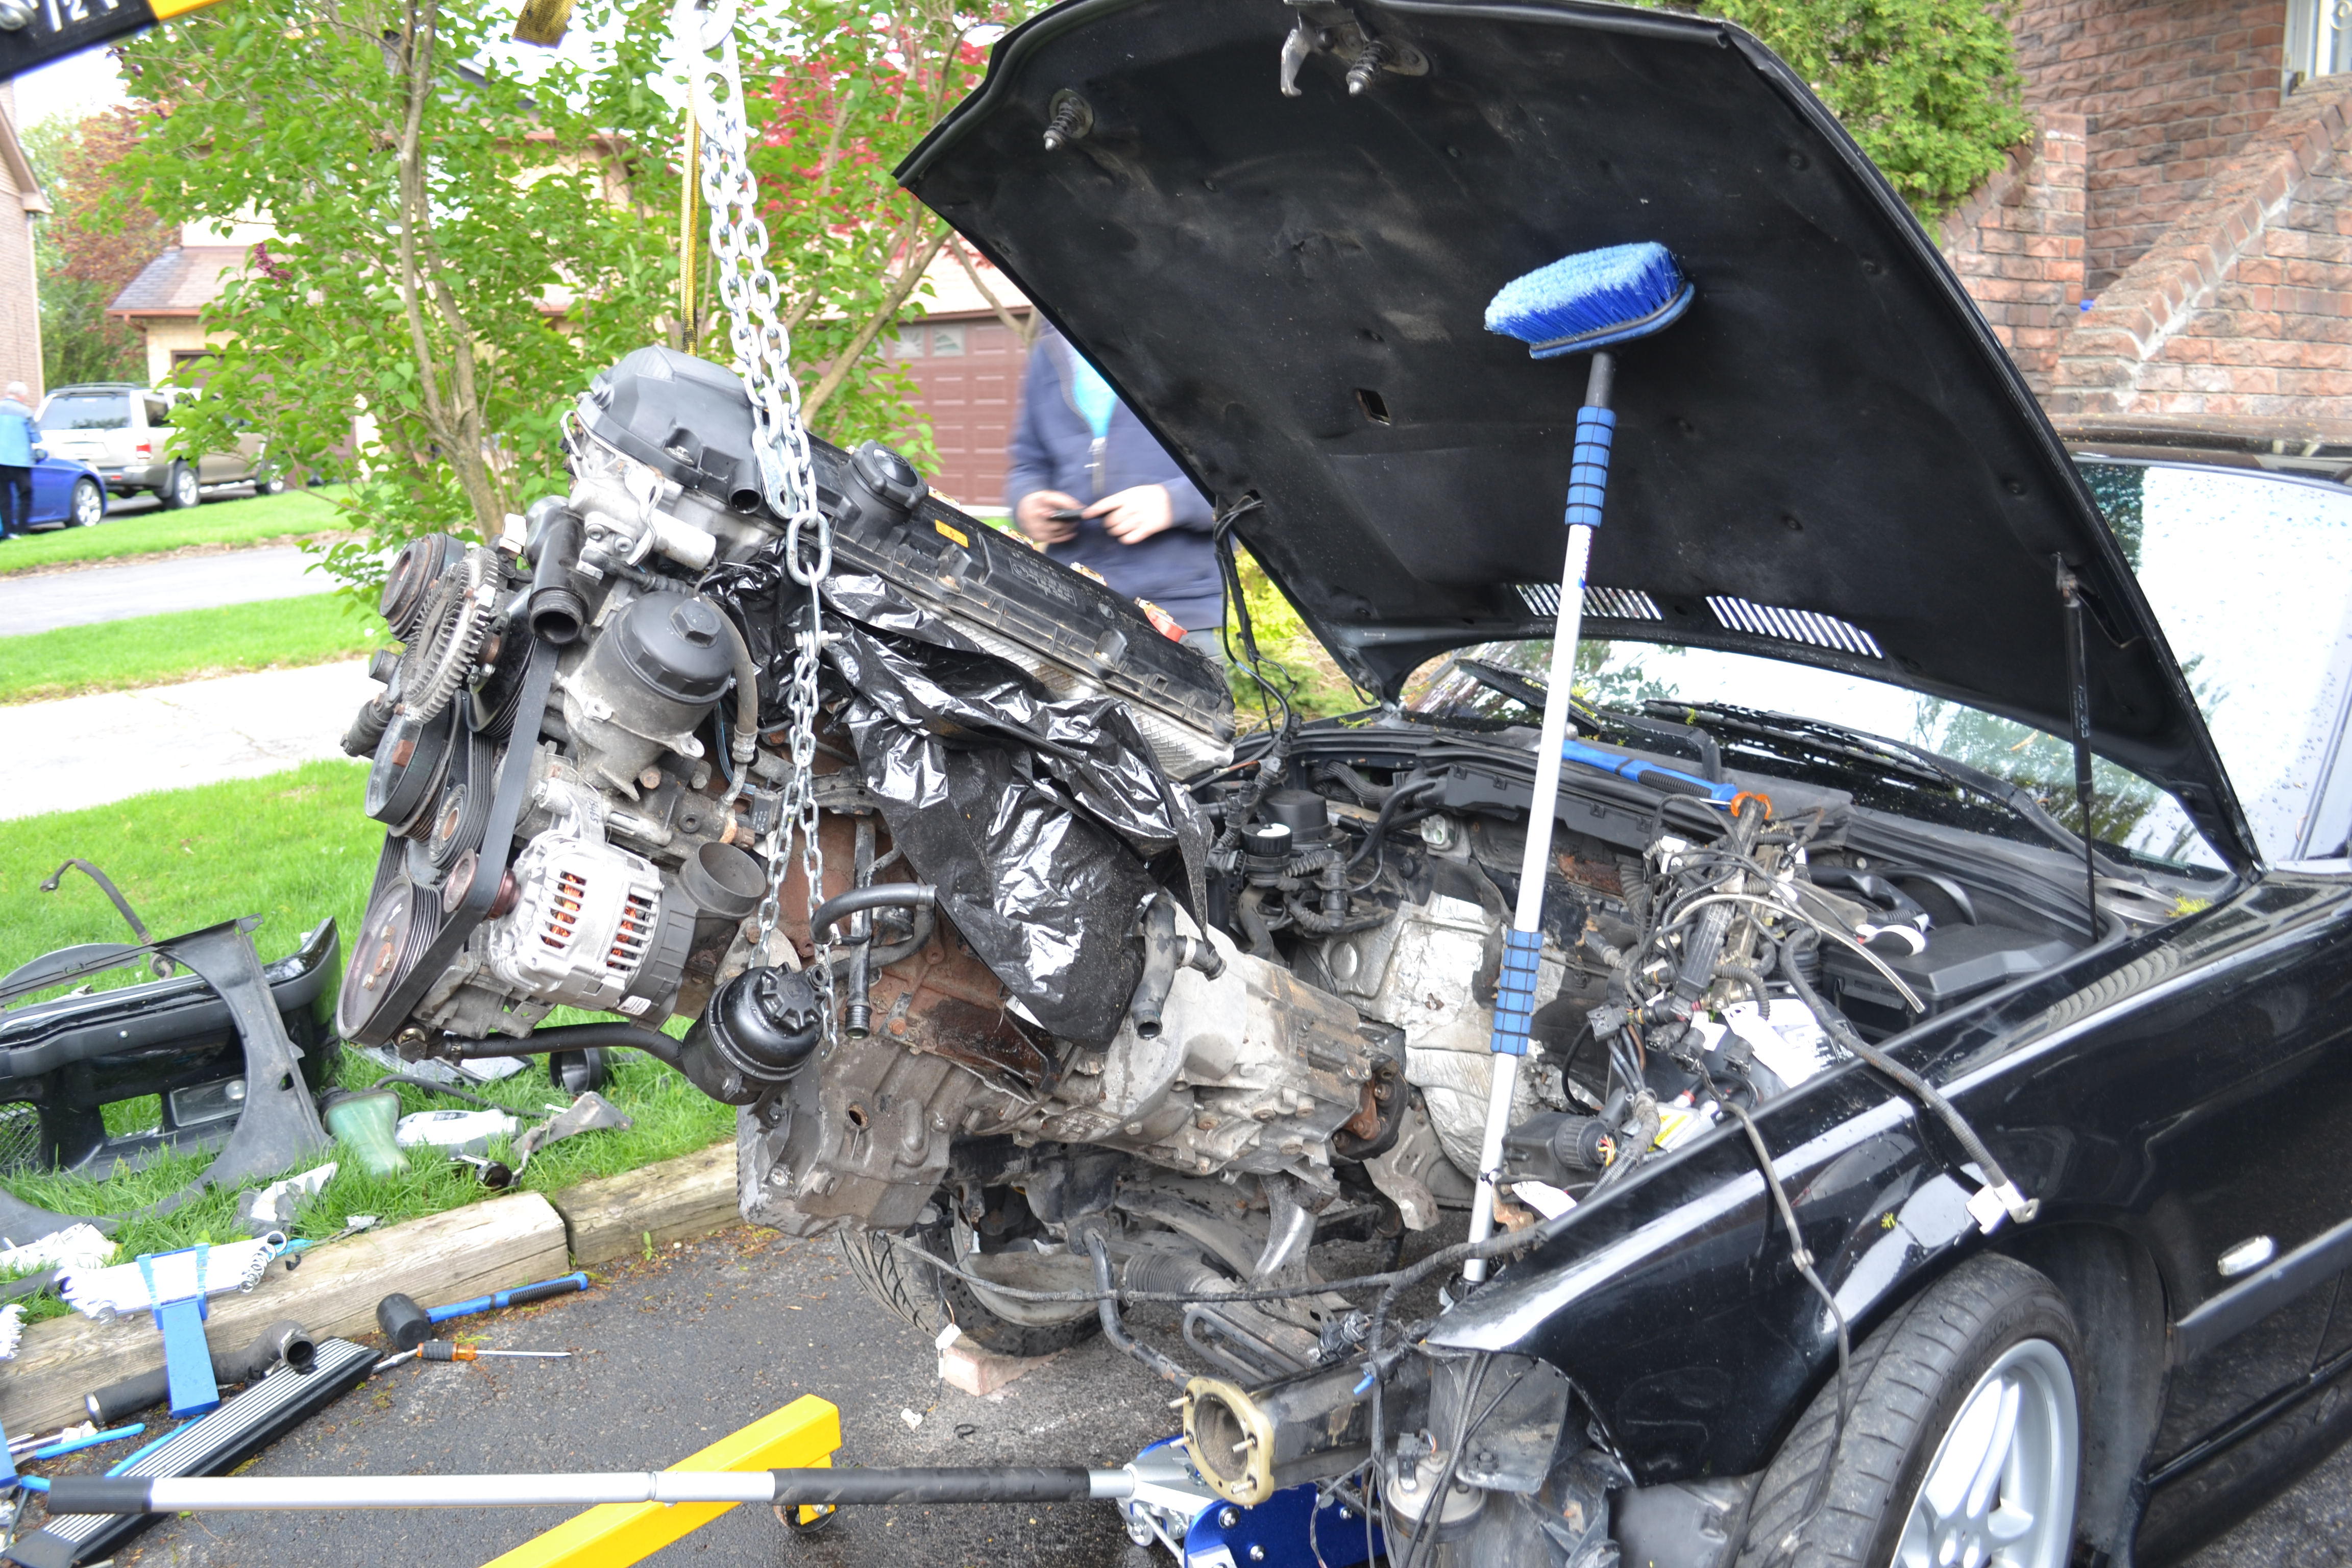
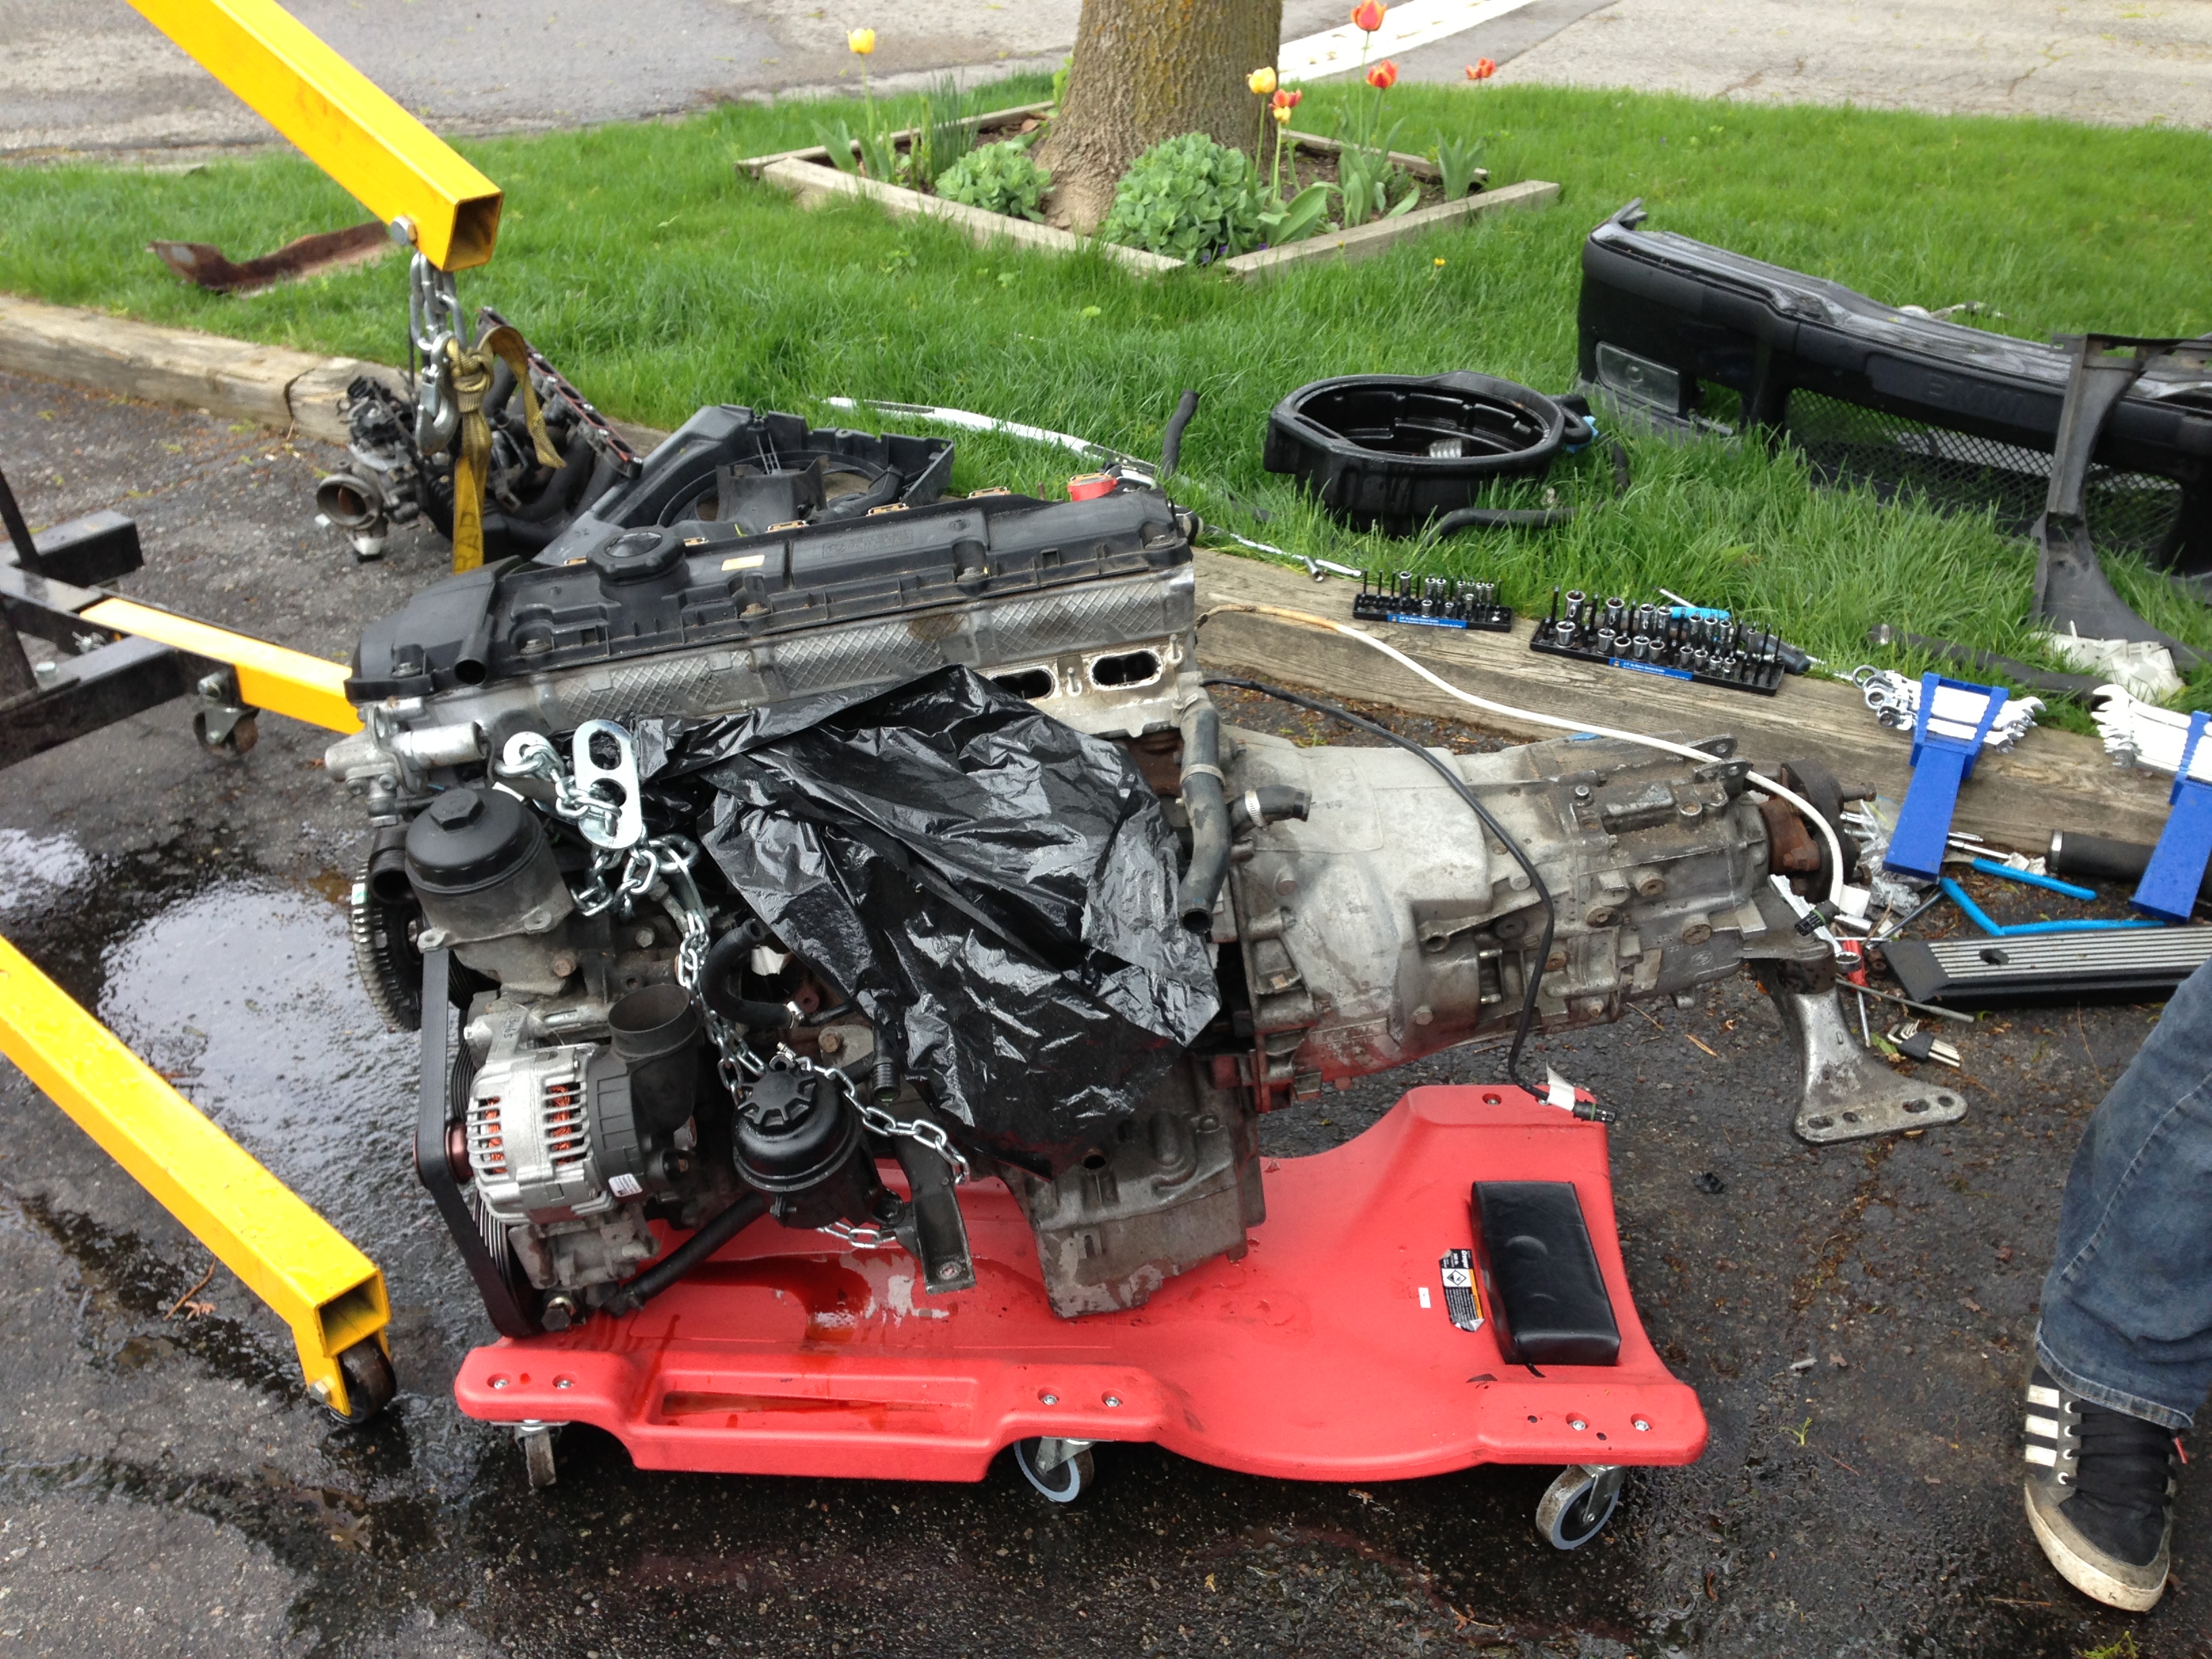
Motor was out! Man was it ever a bitch trying to maneuver the oil pan around the steering shaft. What a pain in the ass!
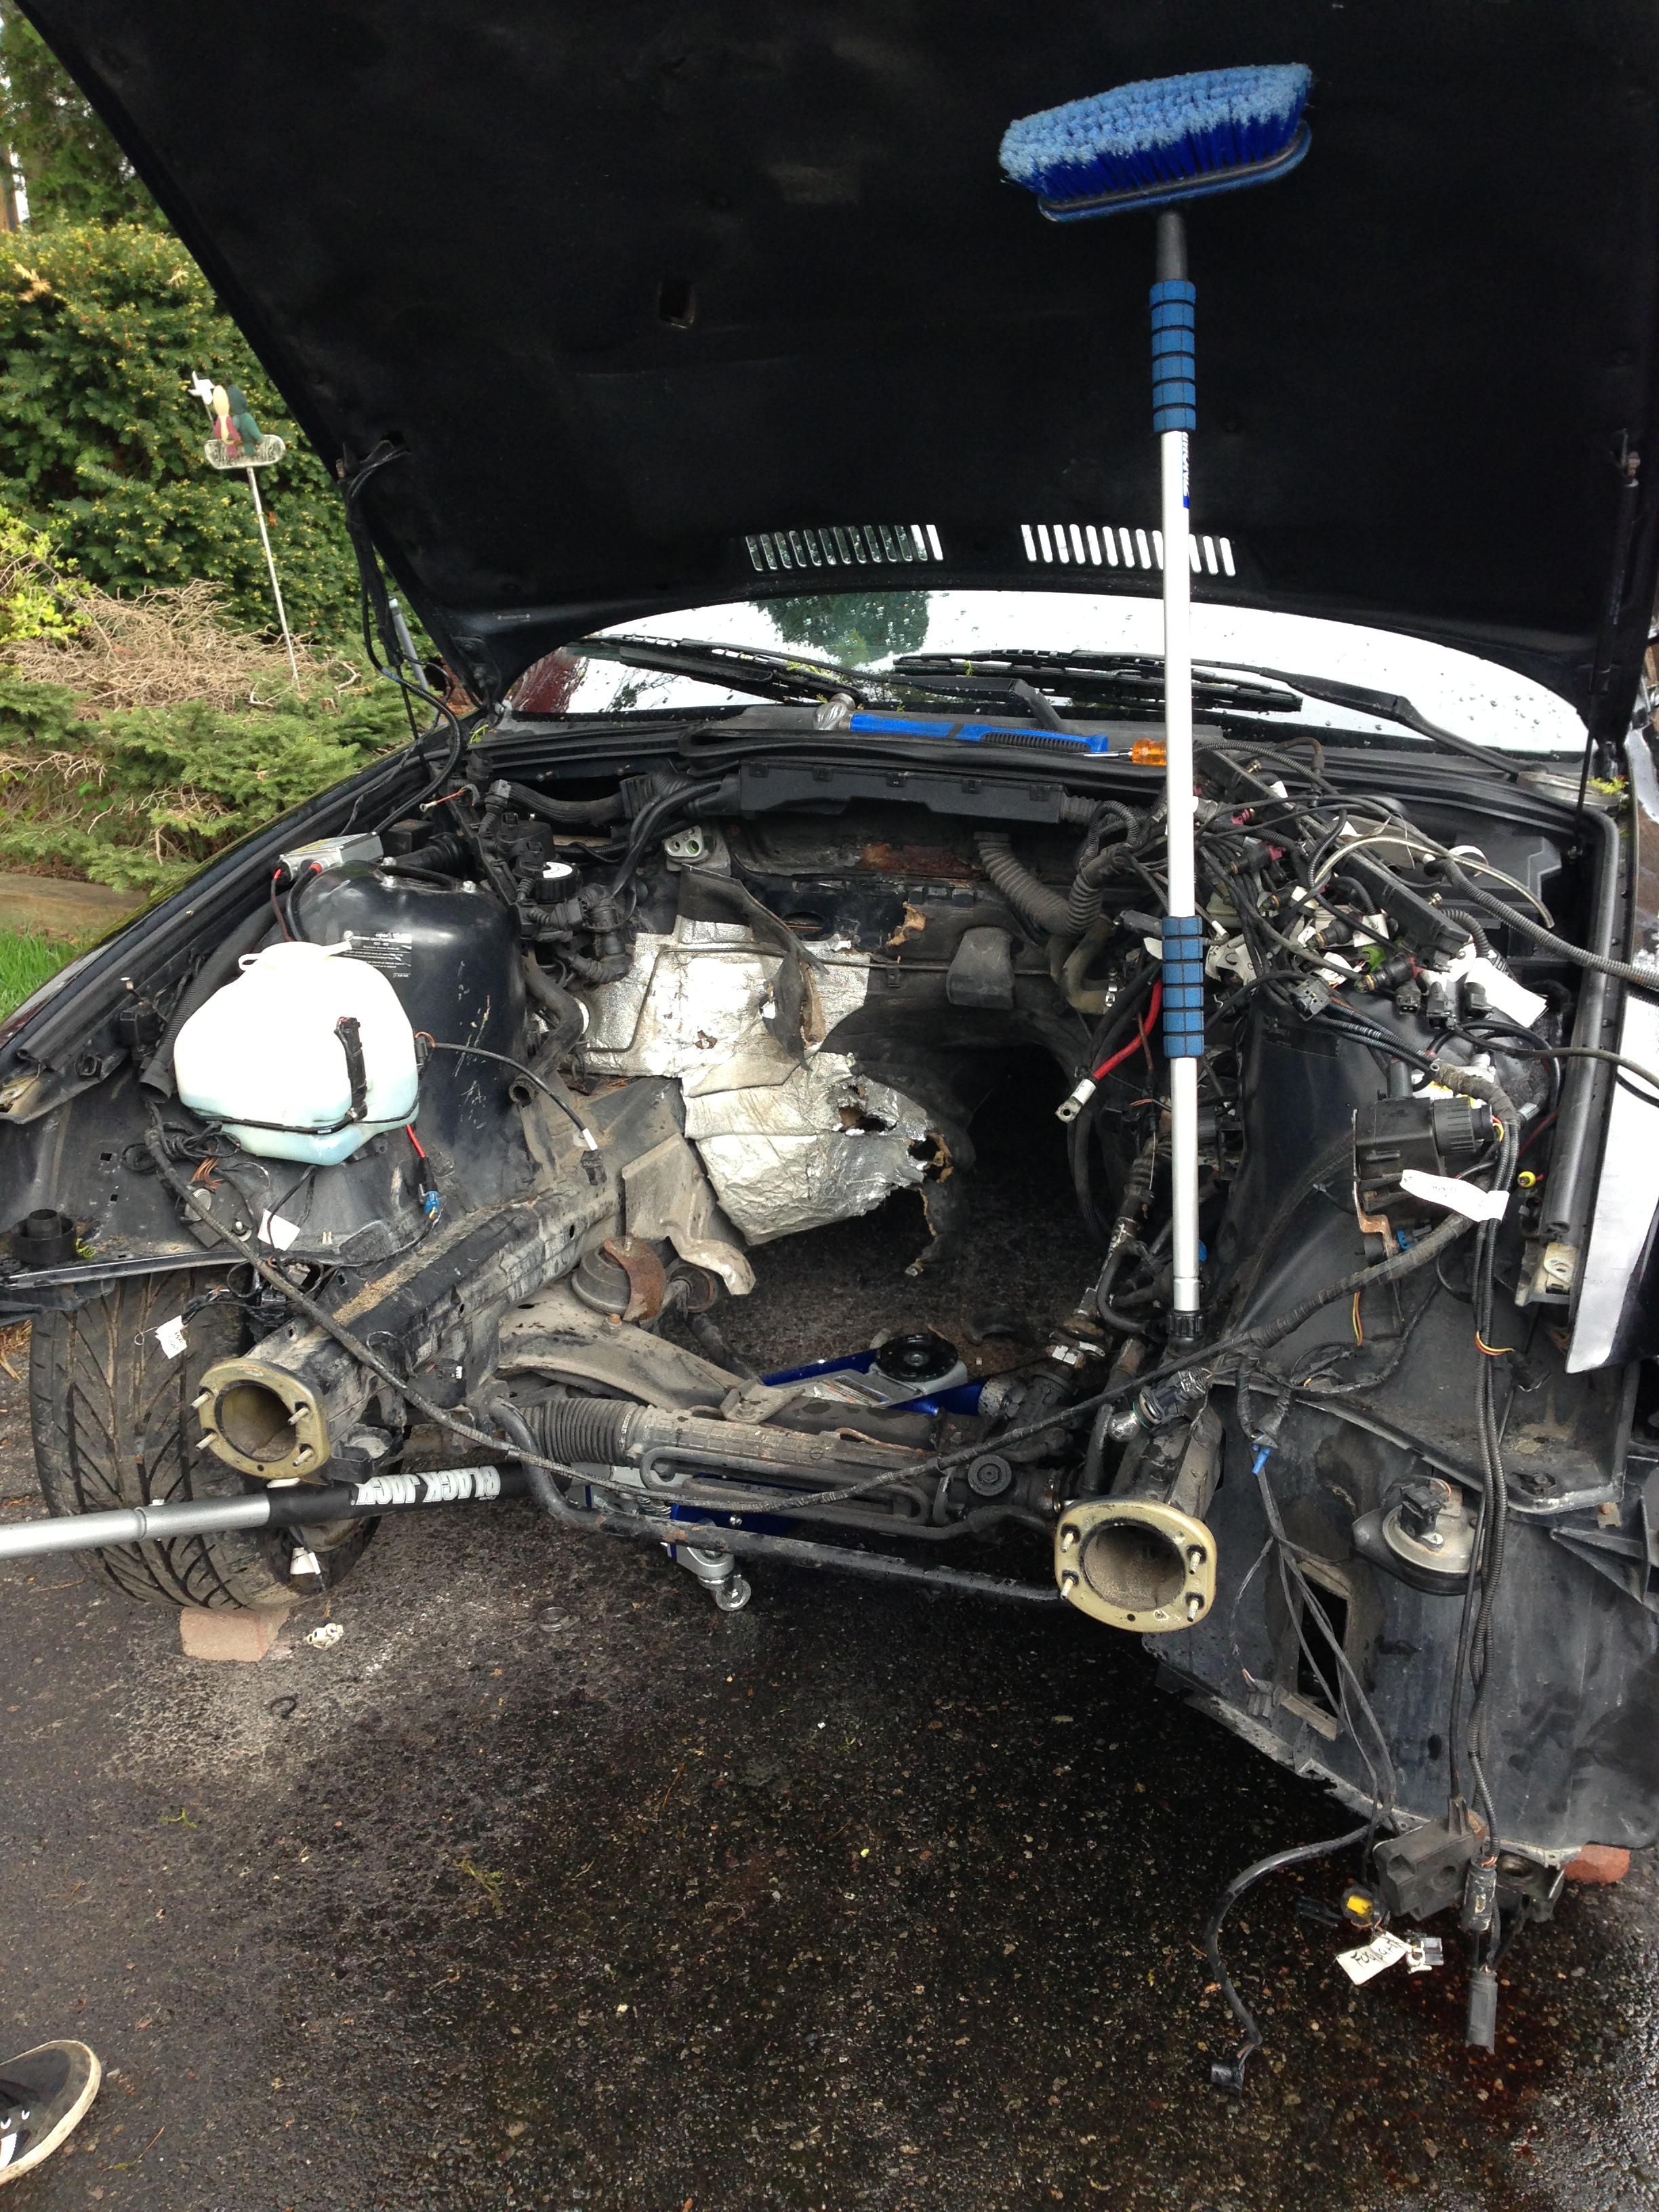
After I got the motor out, it was time to freshen up the bay, relocate my windshield washer reservoir as that’s where the turbo was going to sit and then put some heat wrap on the shock tower to protect the paint from the heat of the turbo and downpipe.
Before:
After:
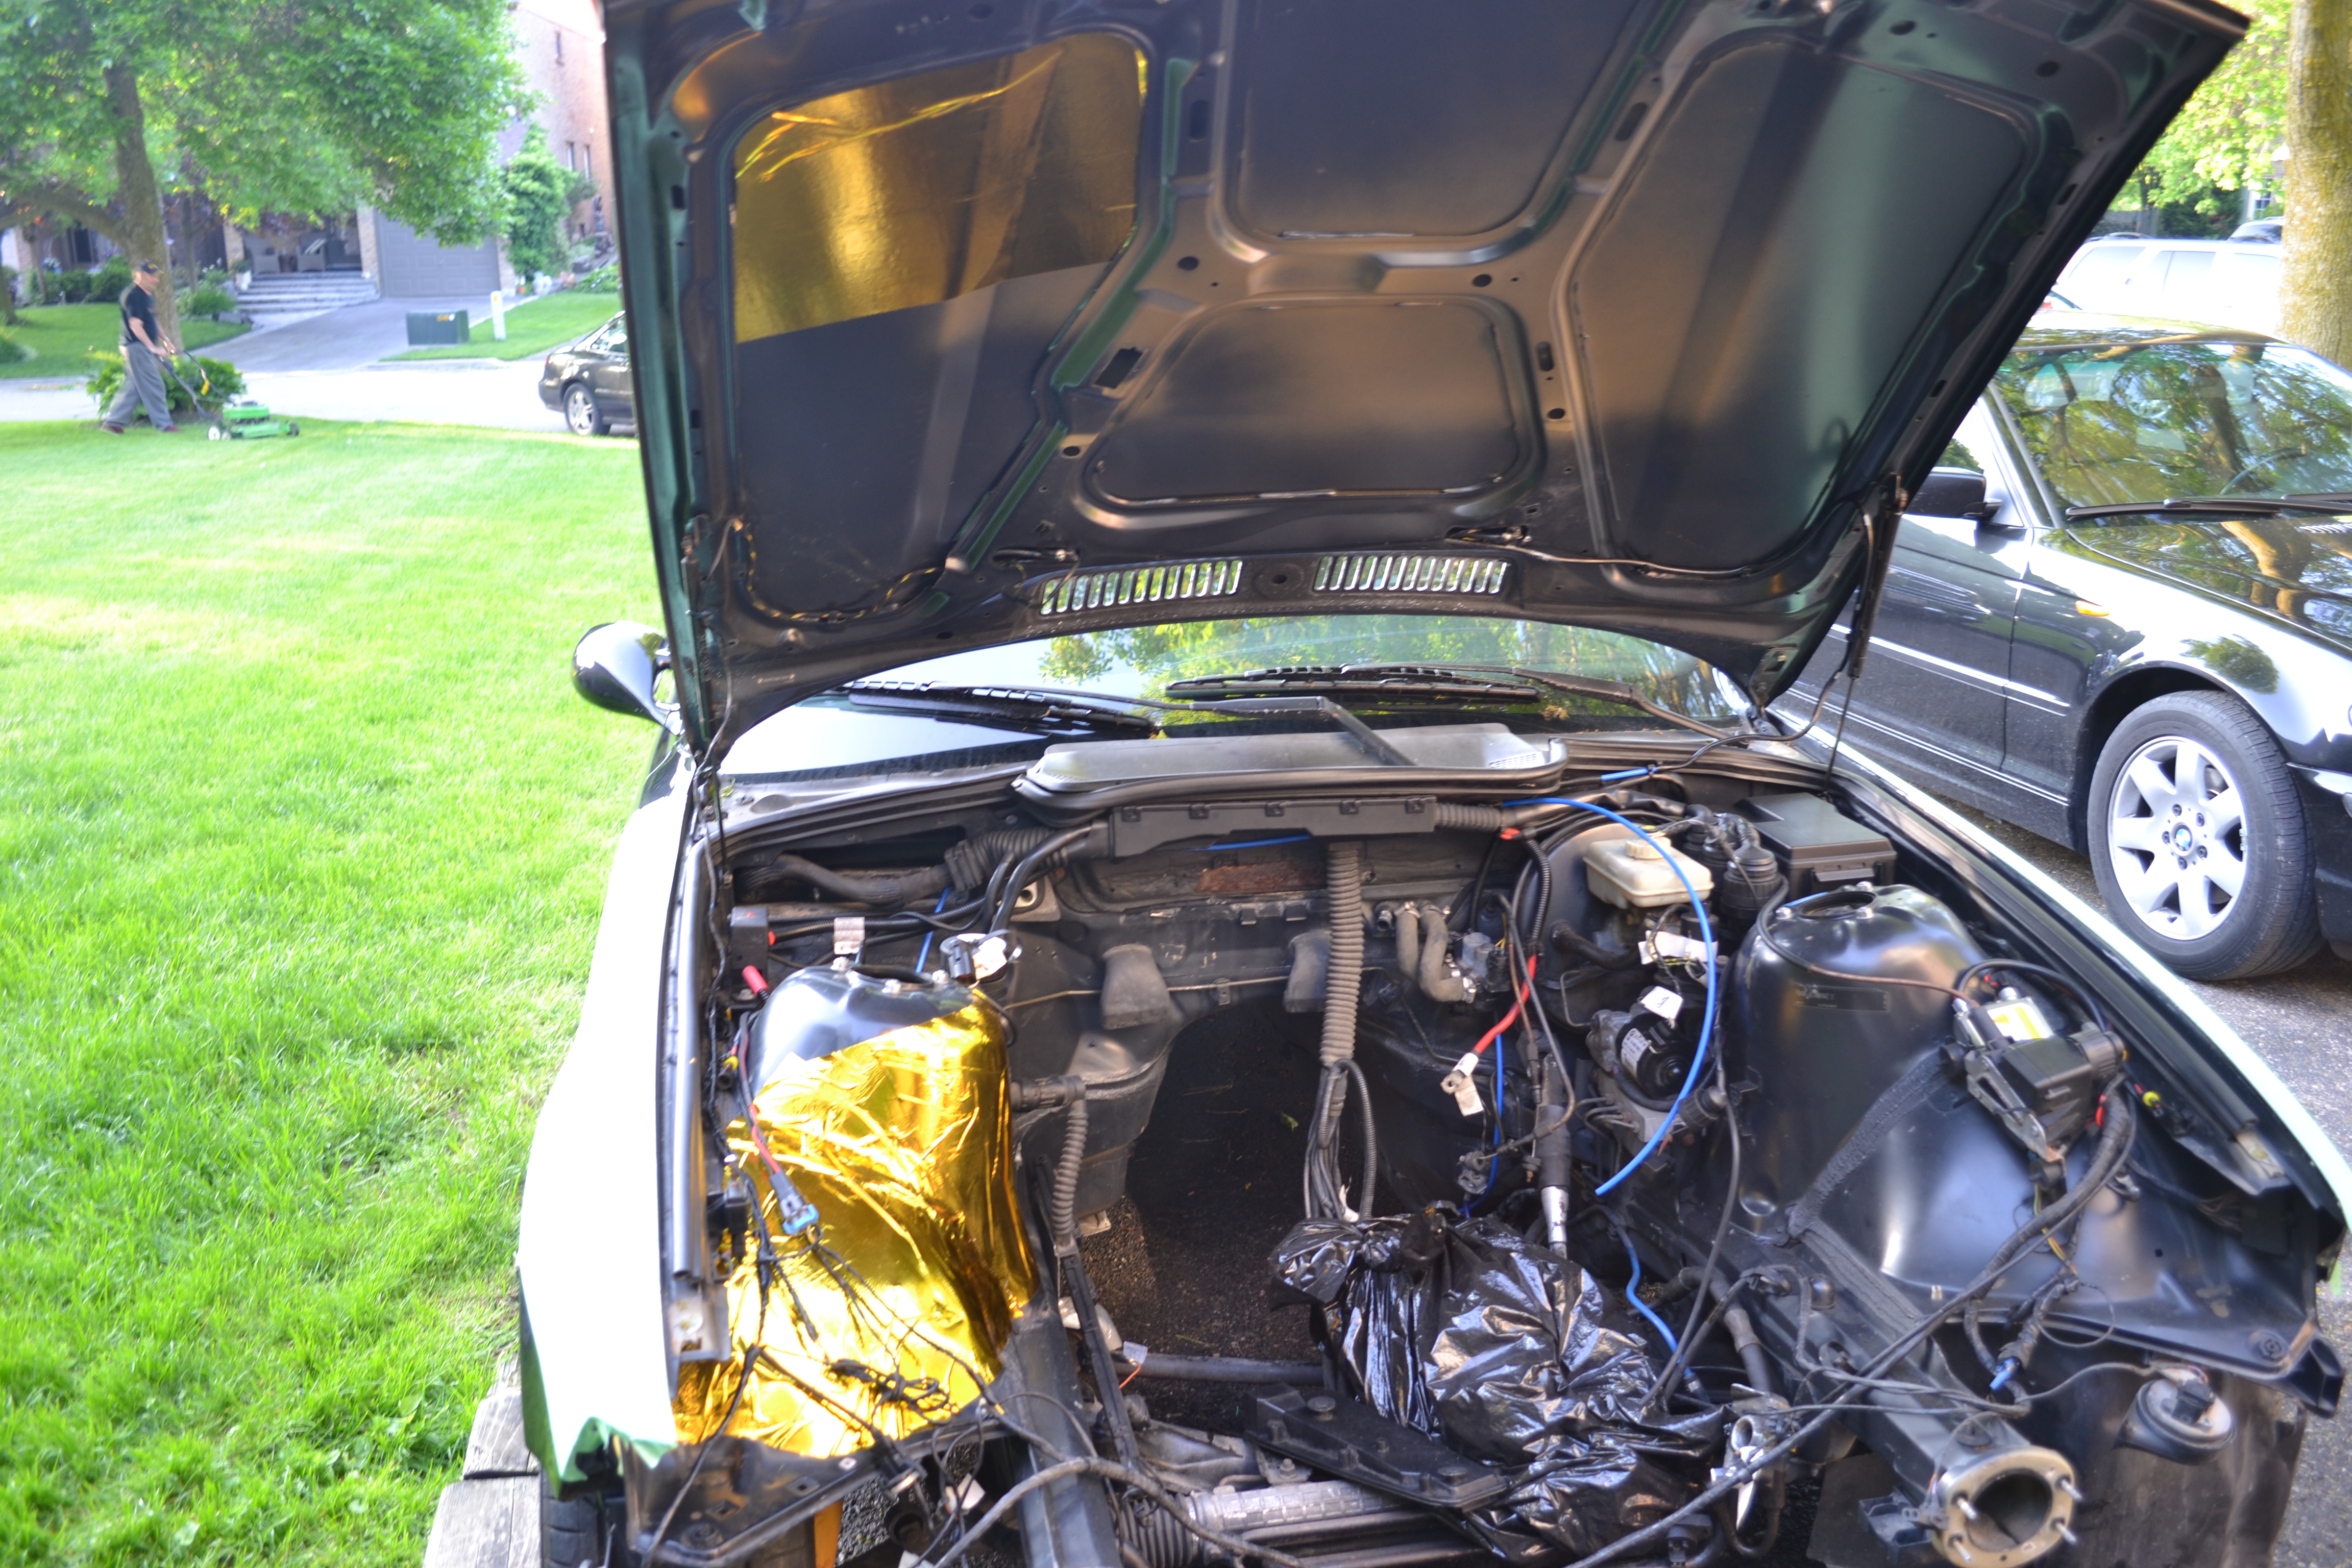
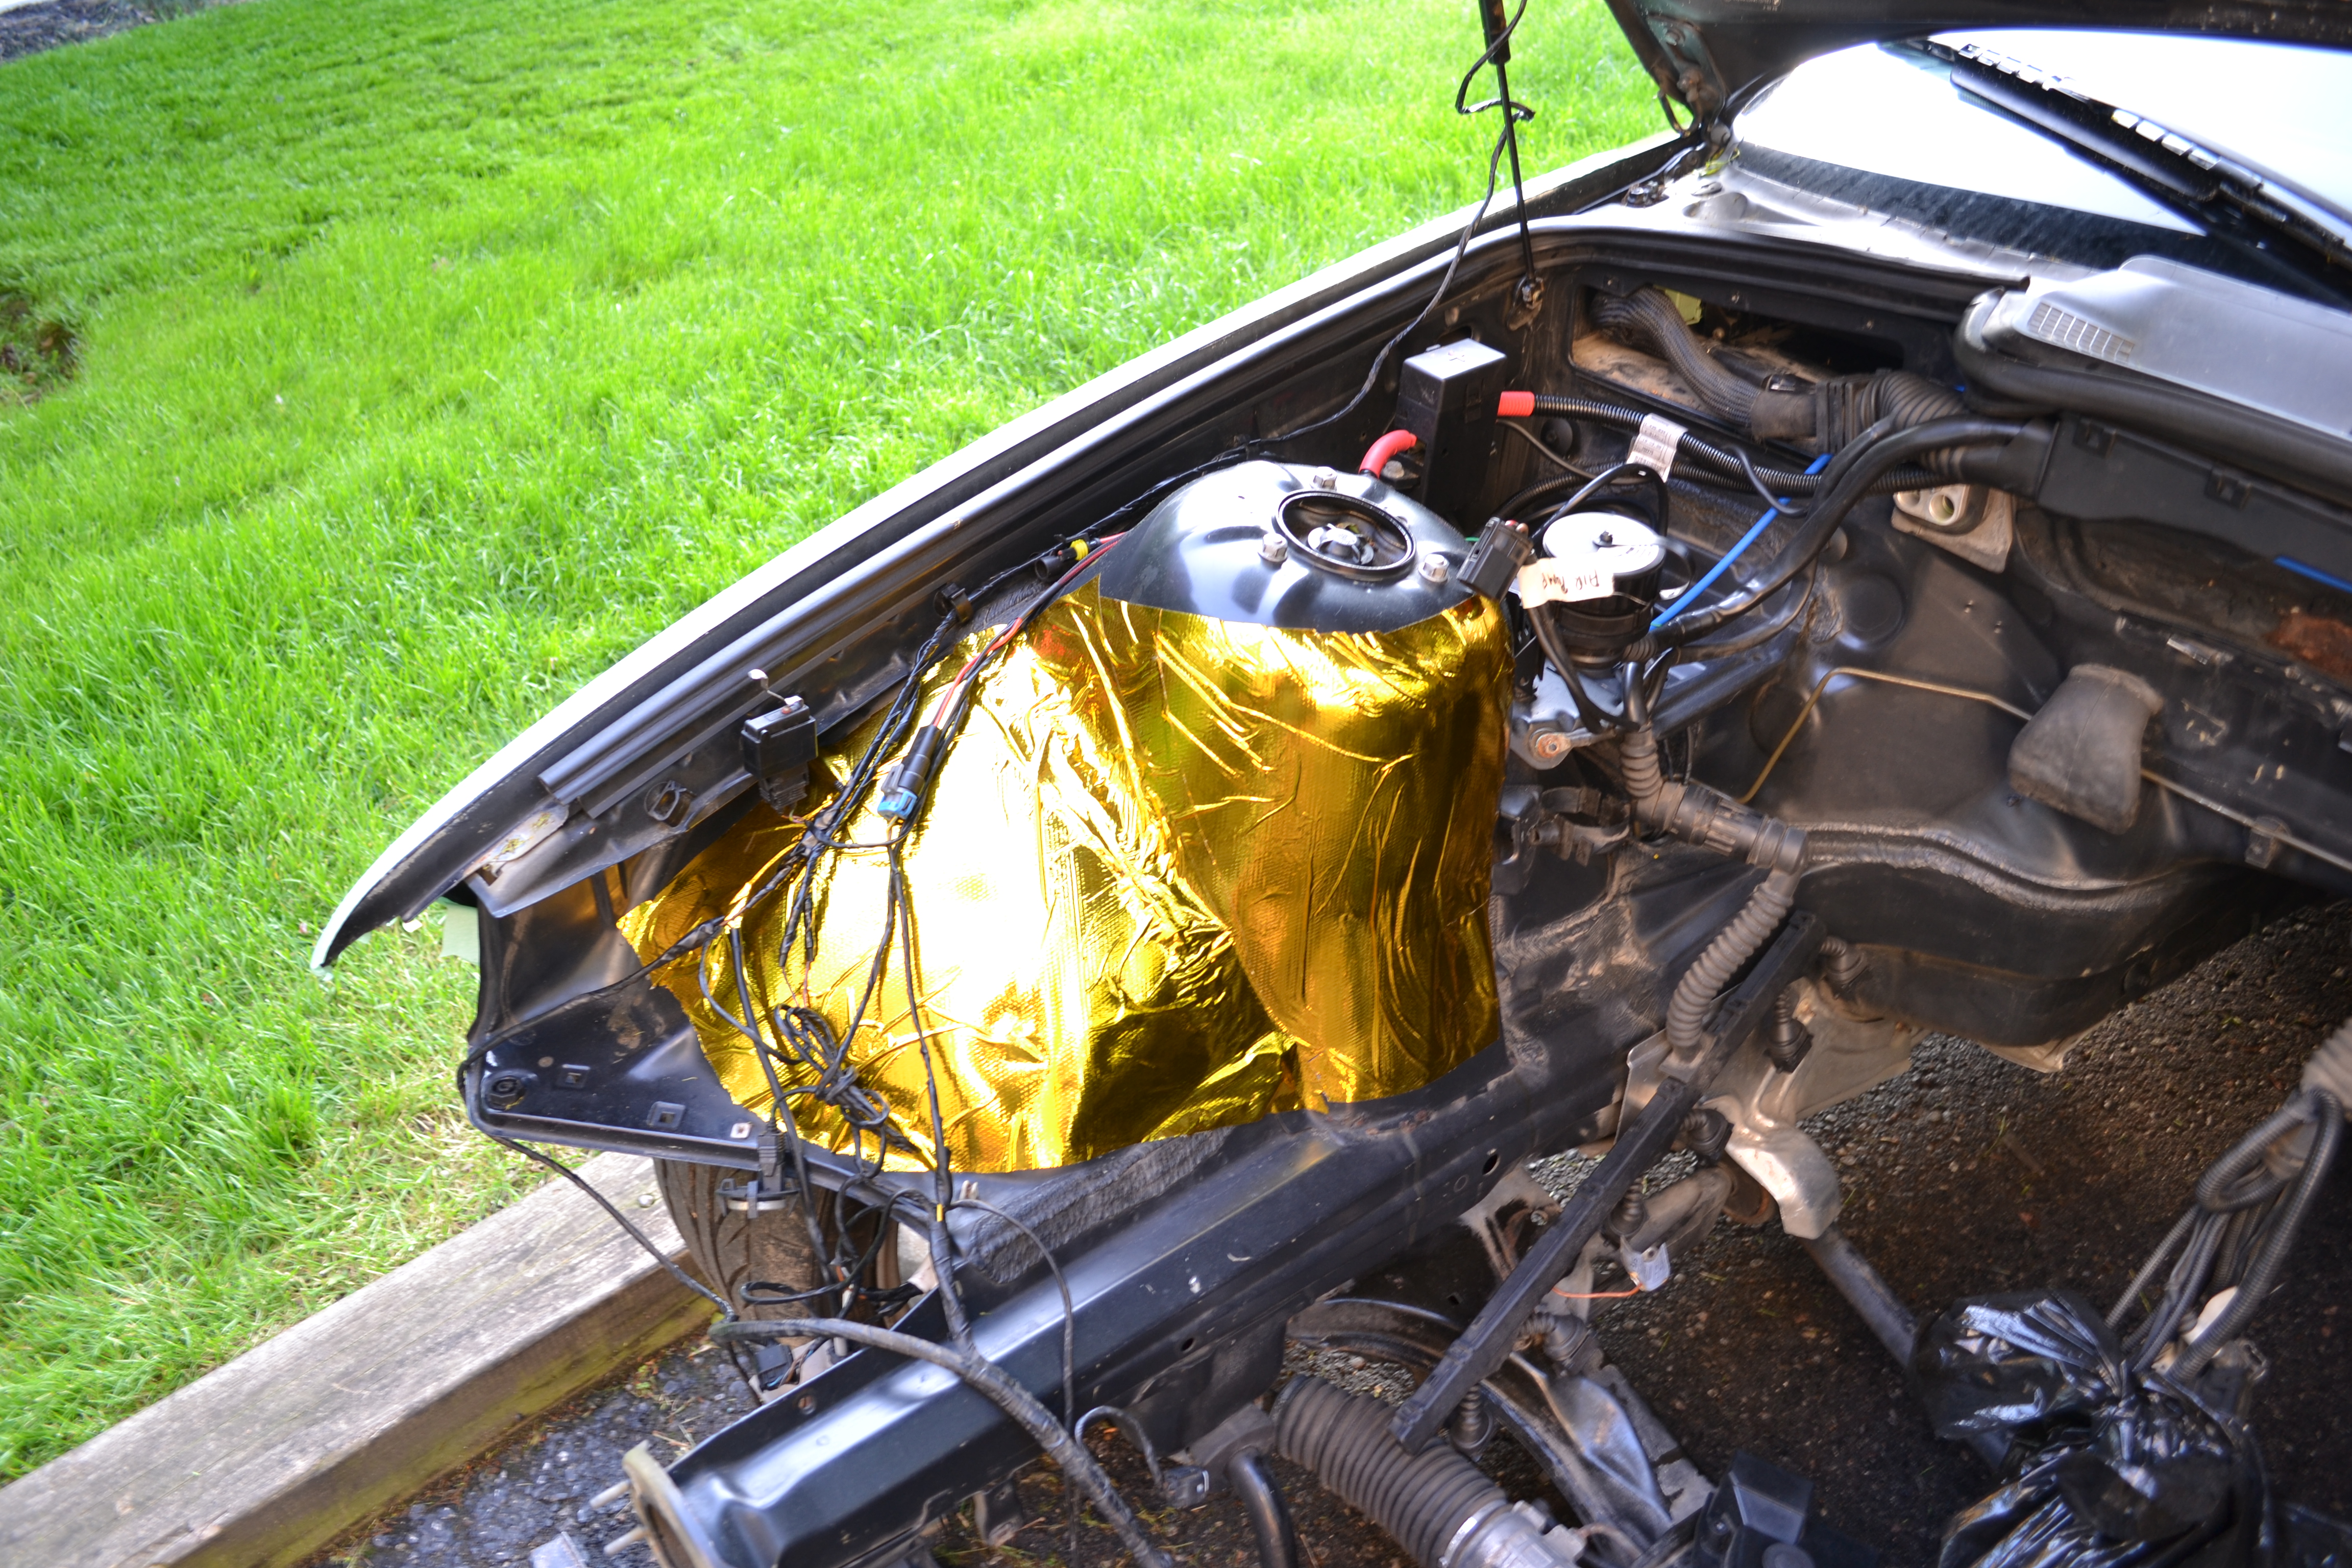
This stuff is call DEI reflective gold heat wrap and at $100 cdn per 24×24 inch sheet, is not cheap. Its really hard to work with and doesn’t adhere well to the curvature of the shock tower.
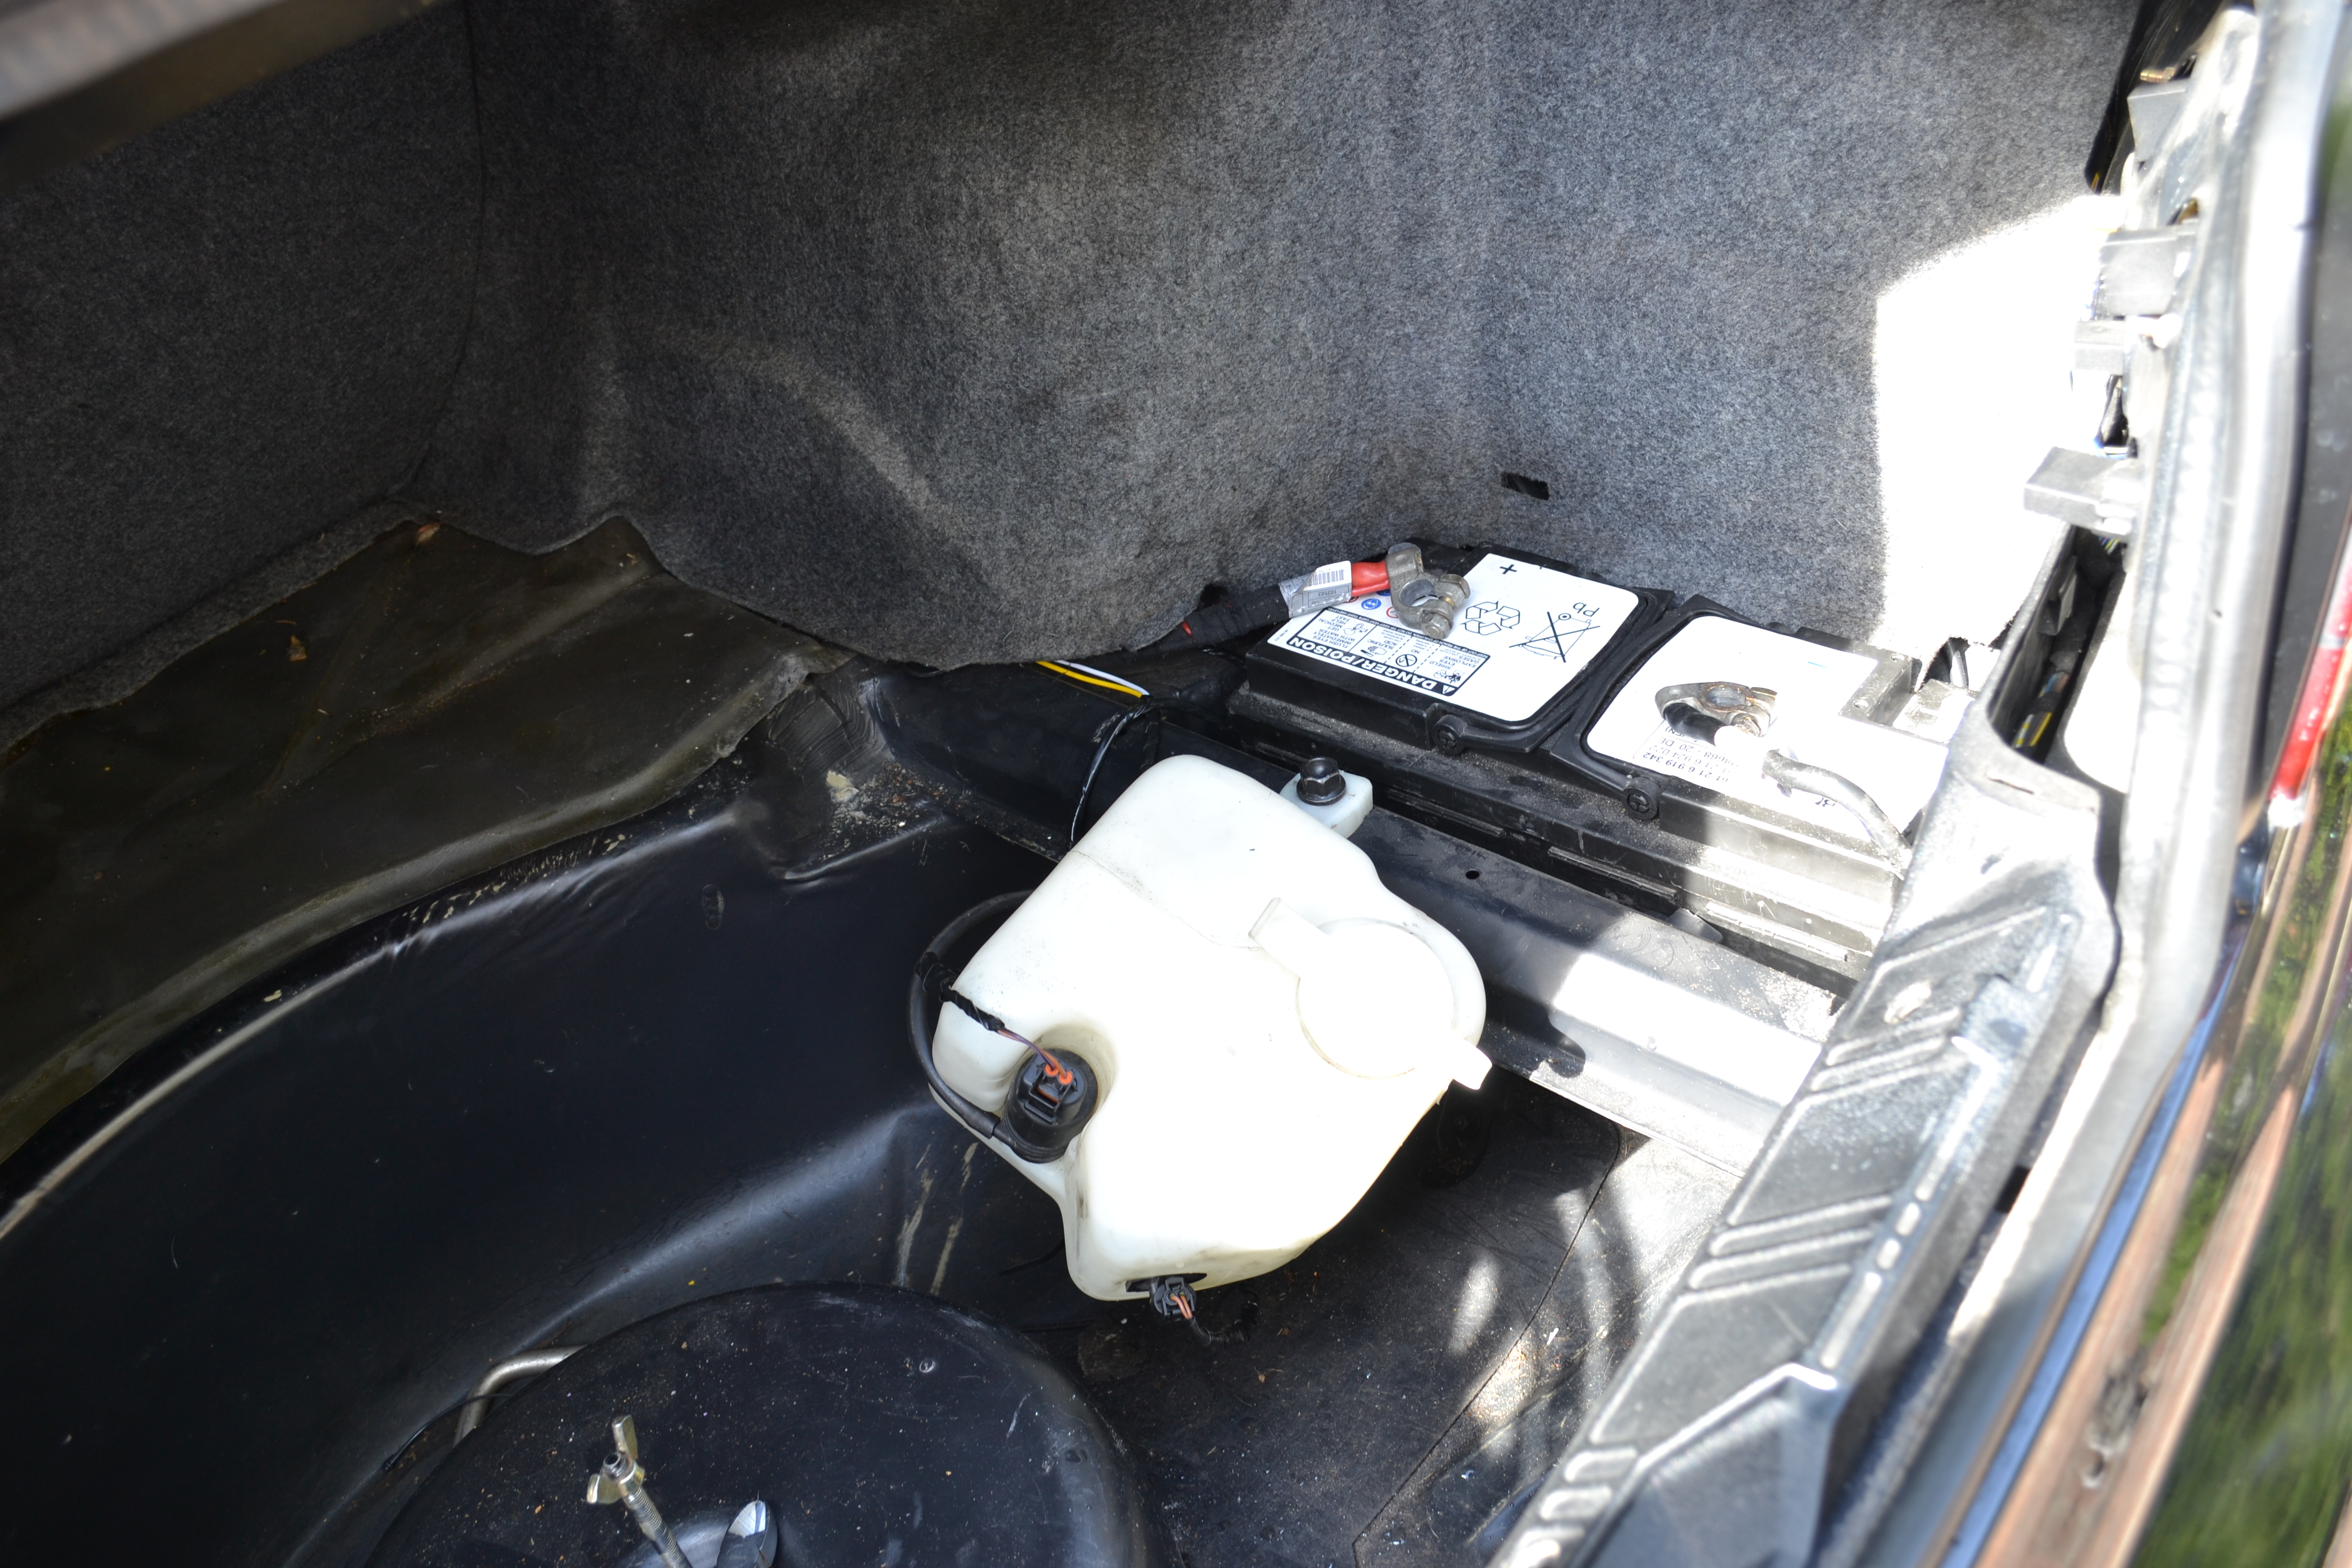
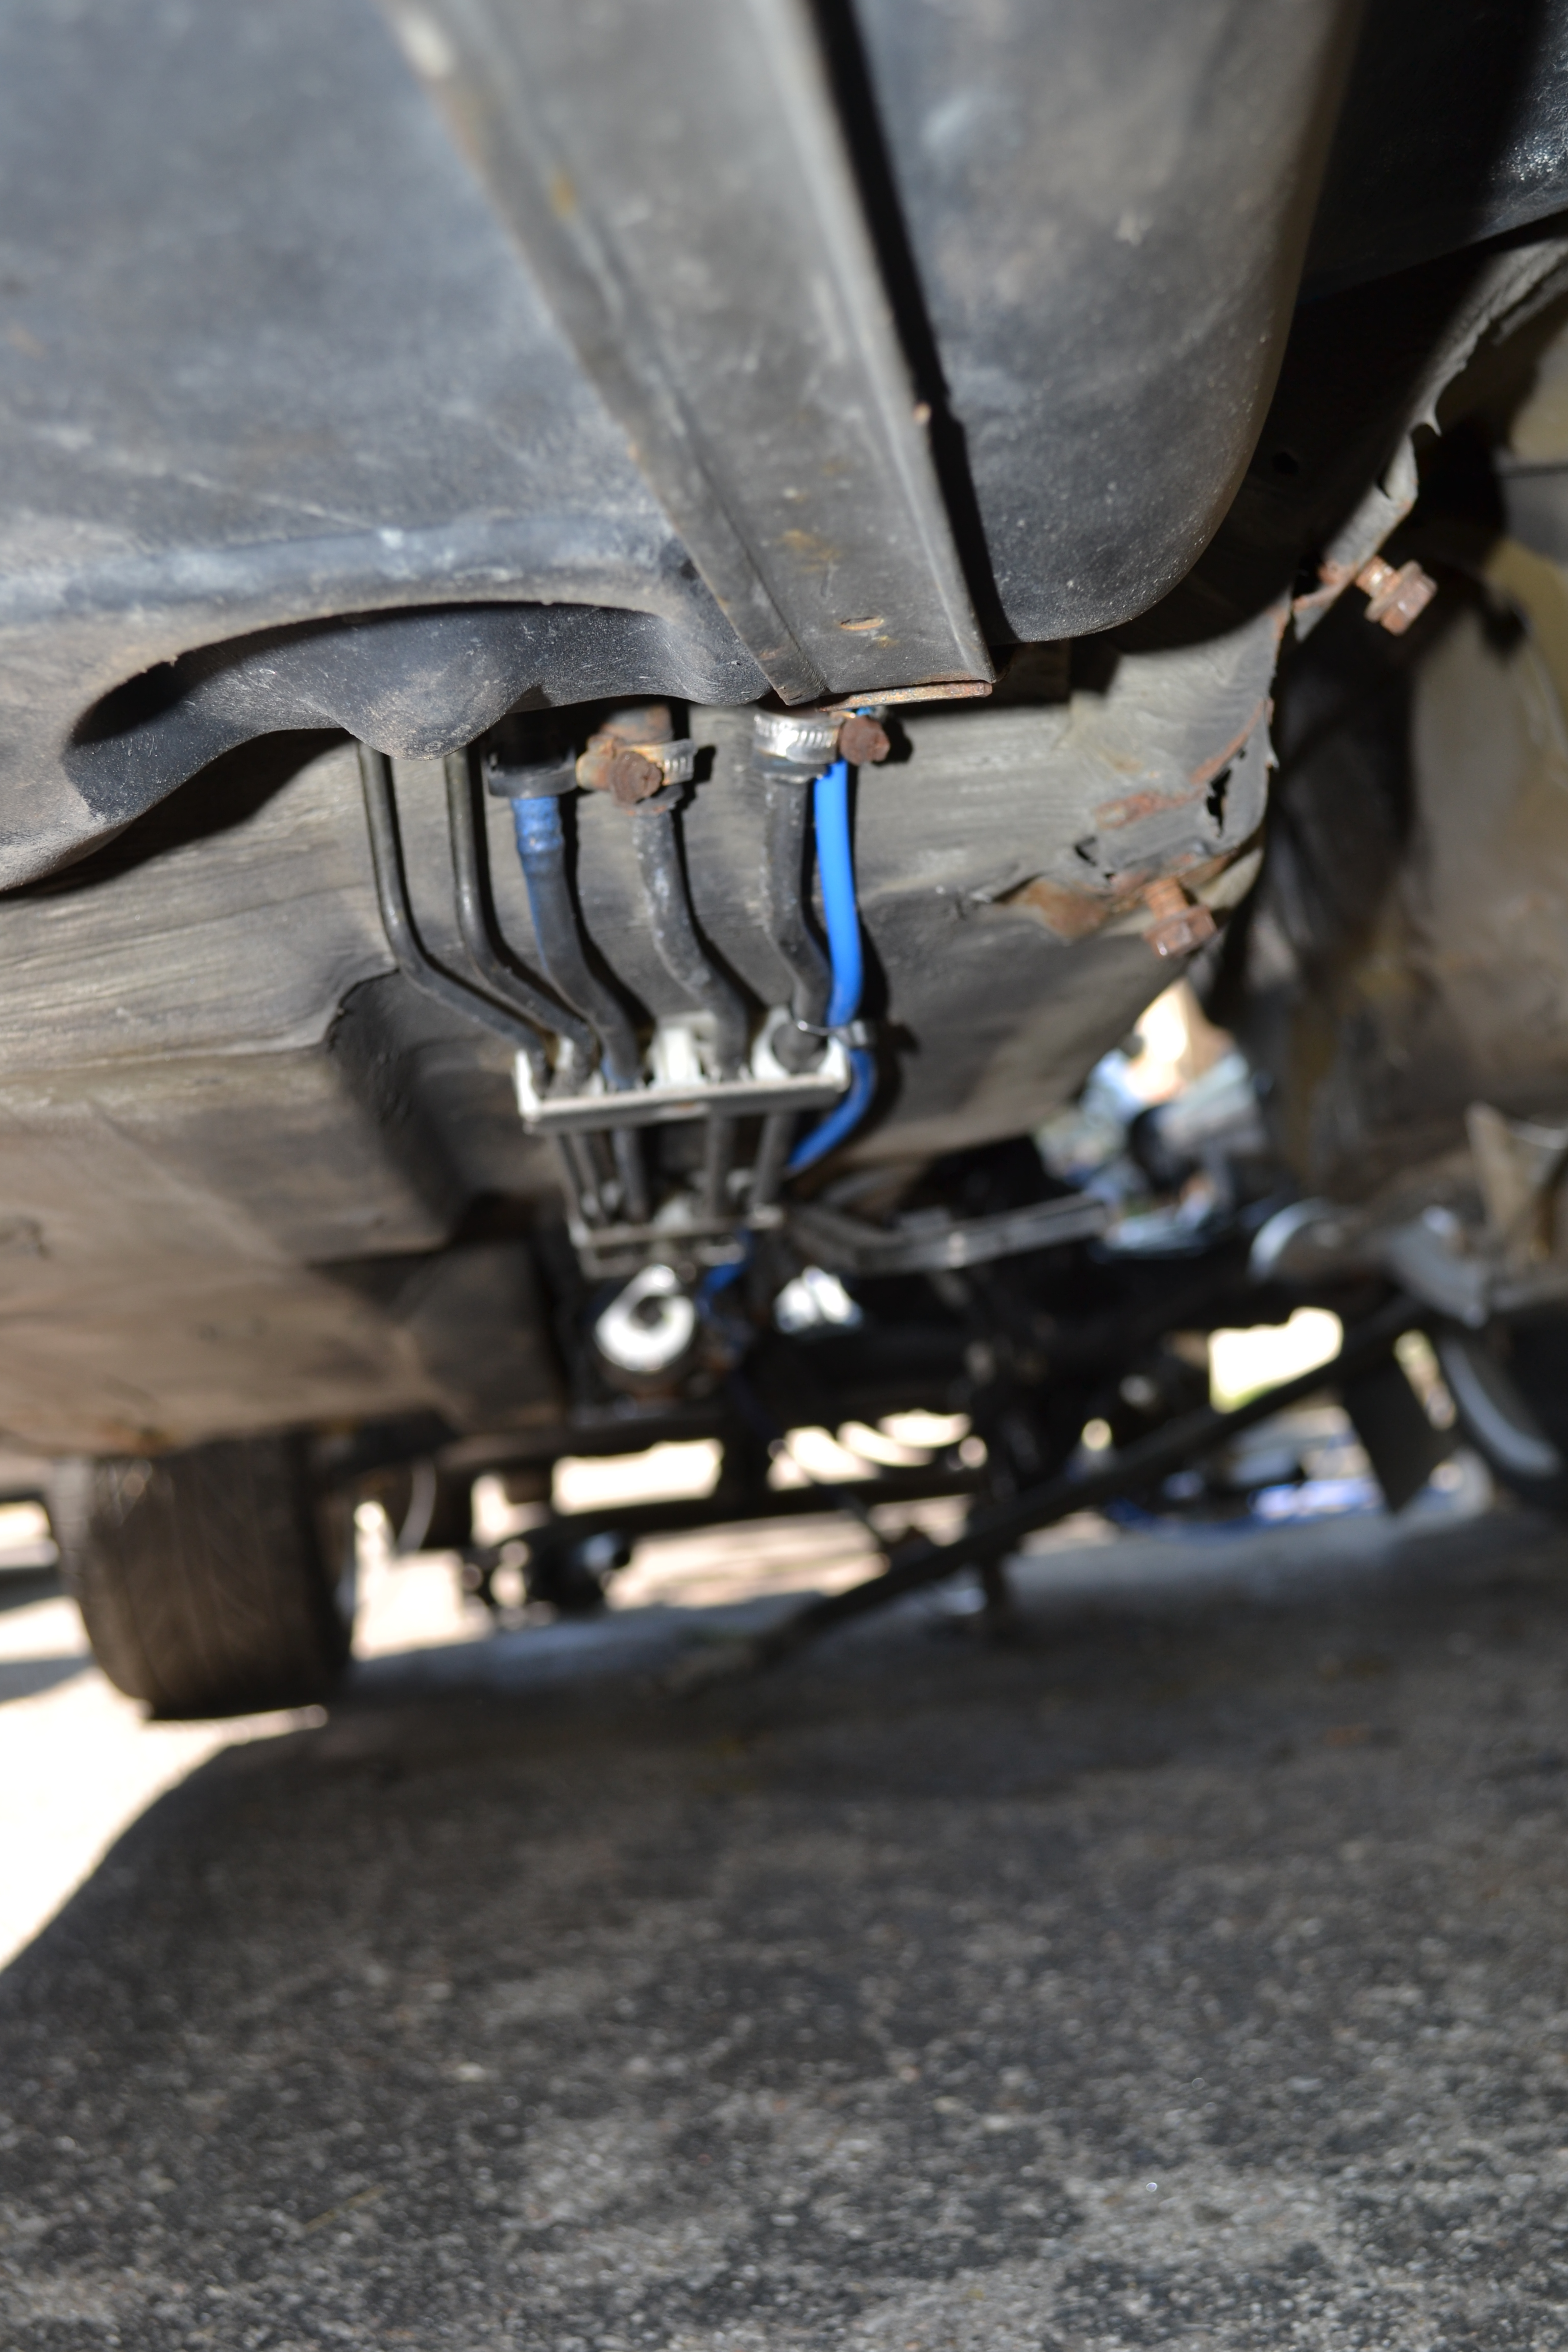
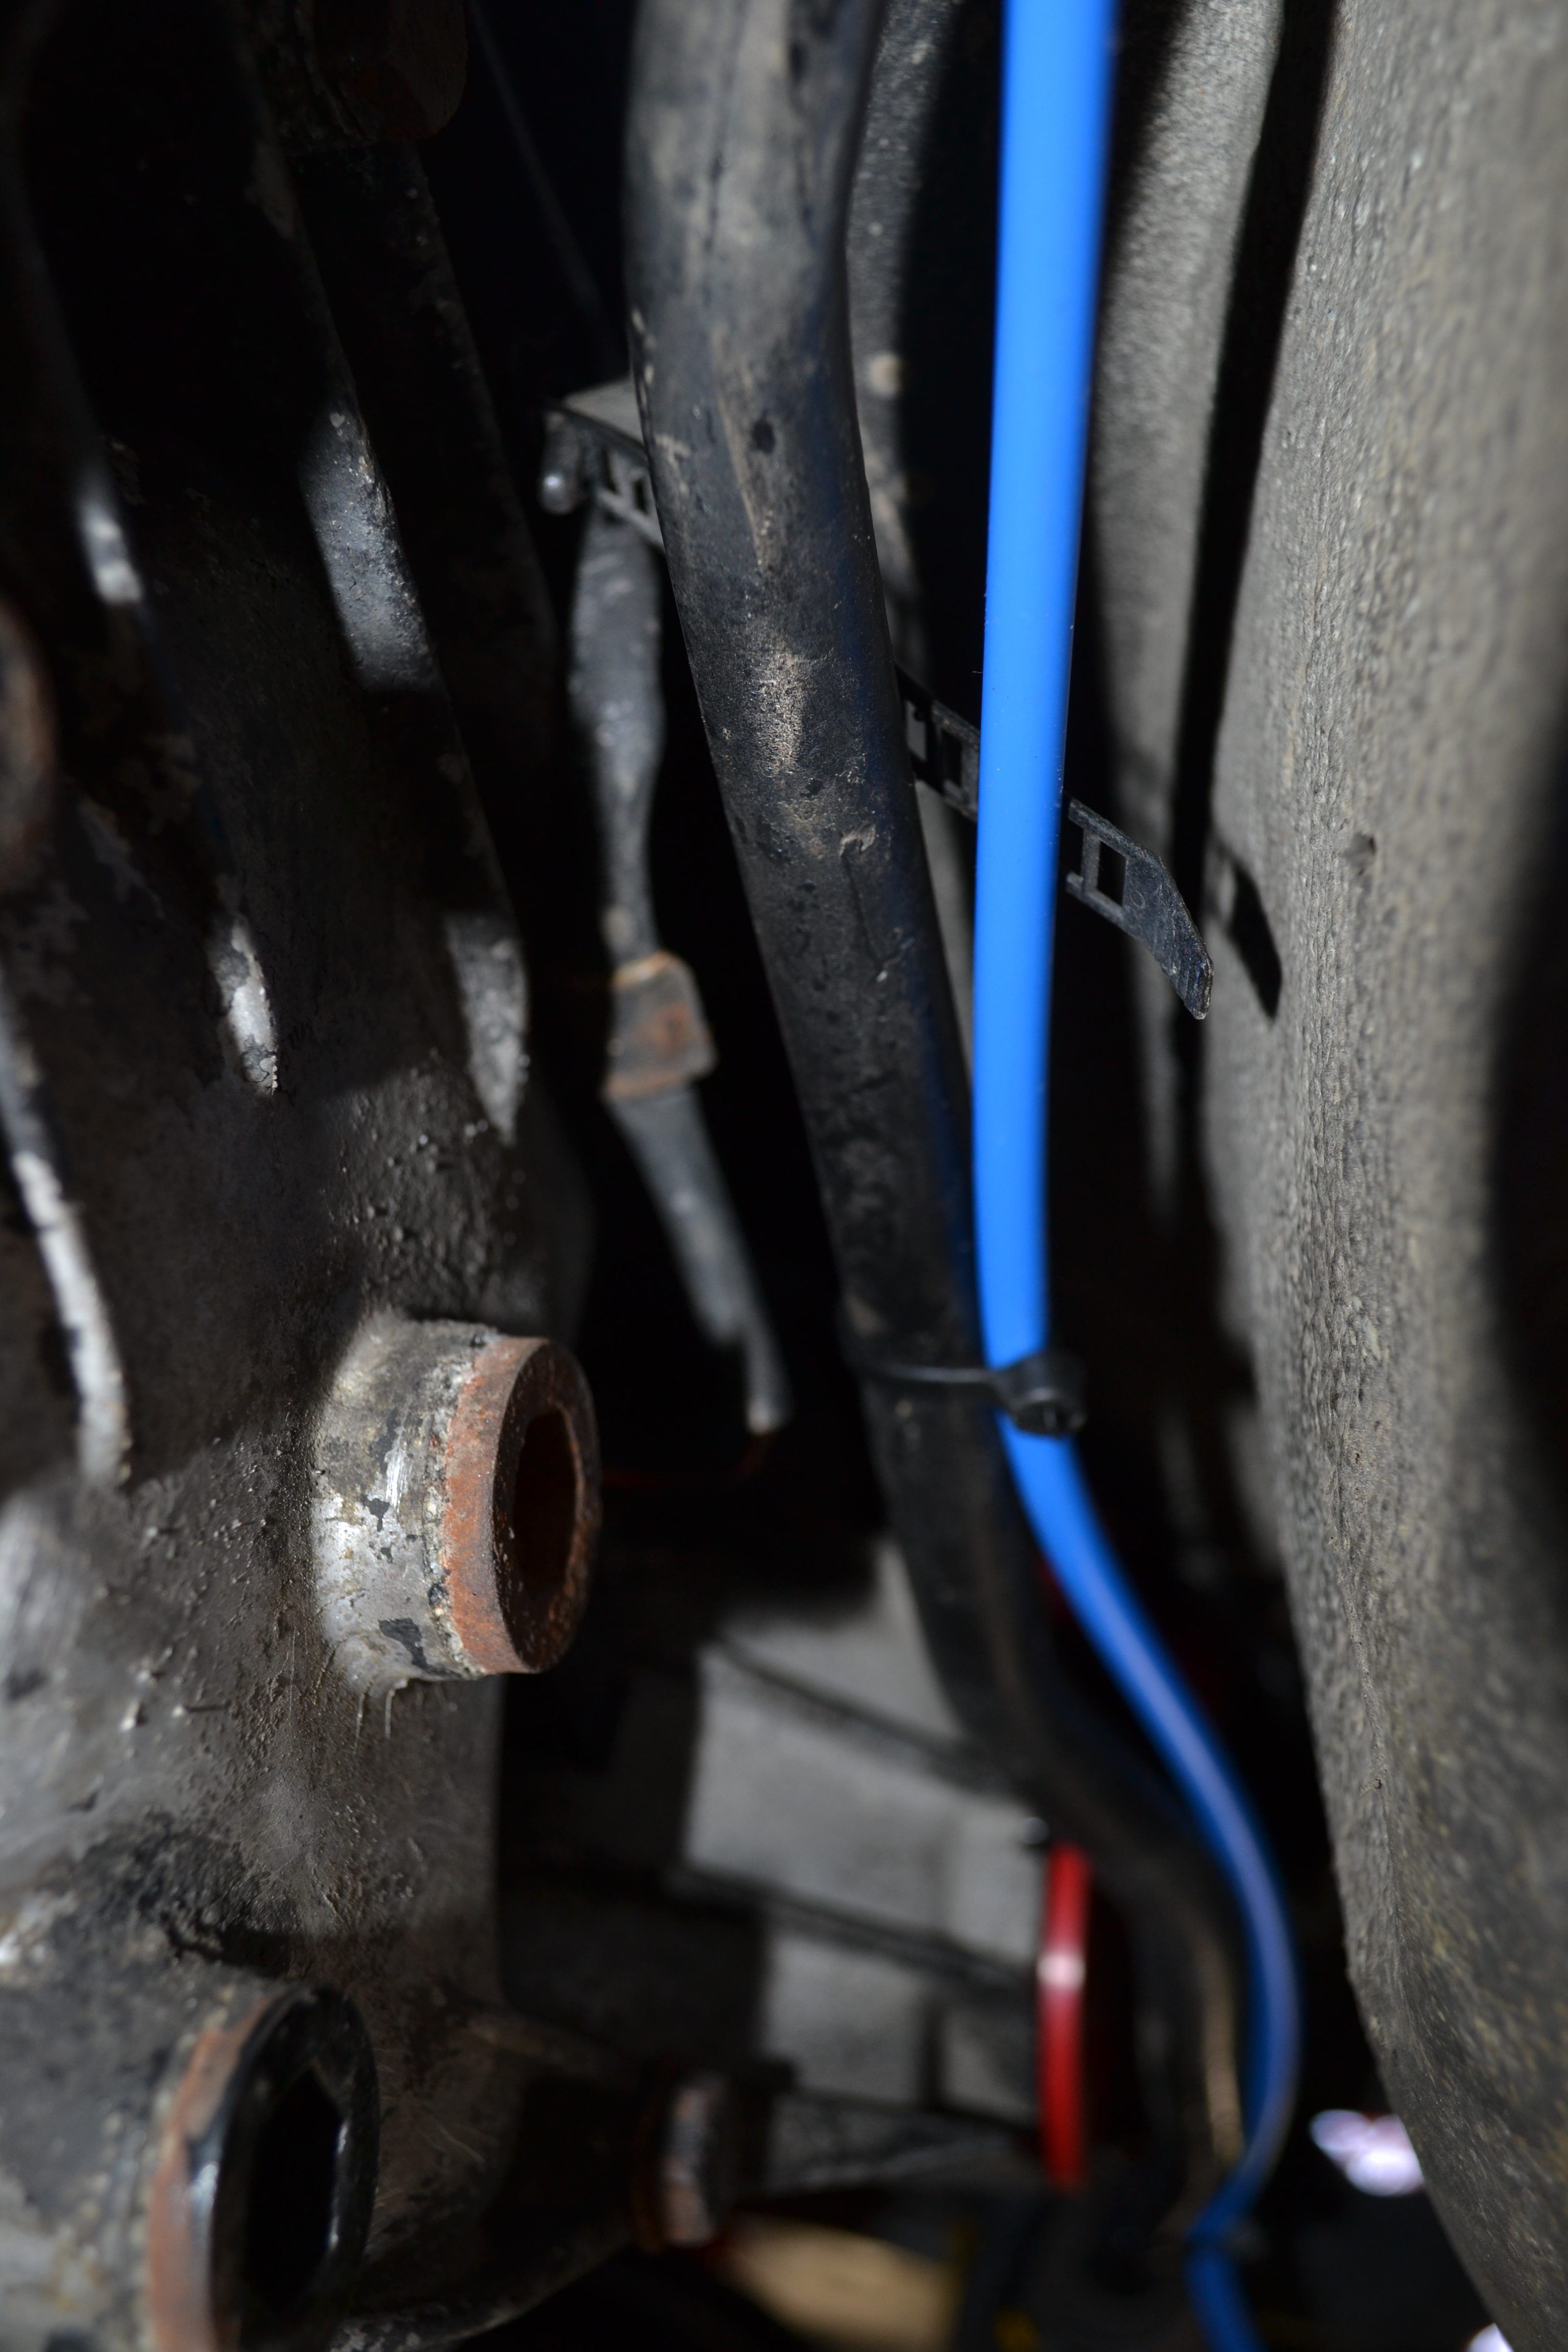
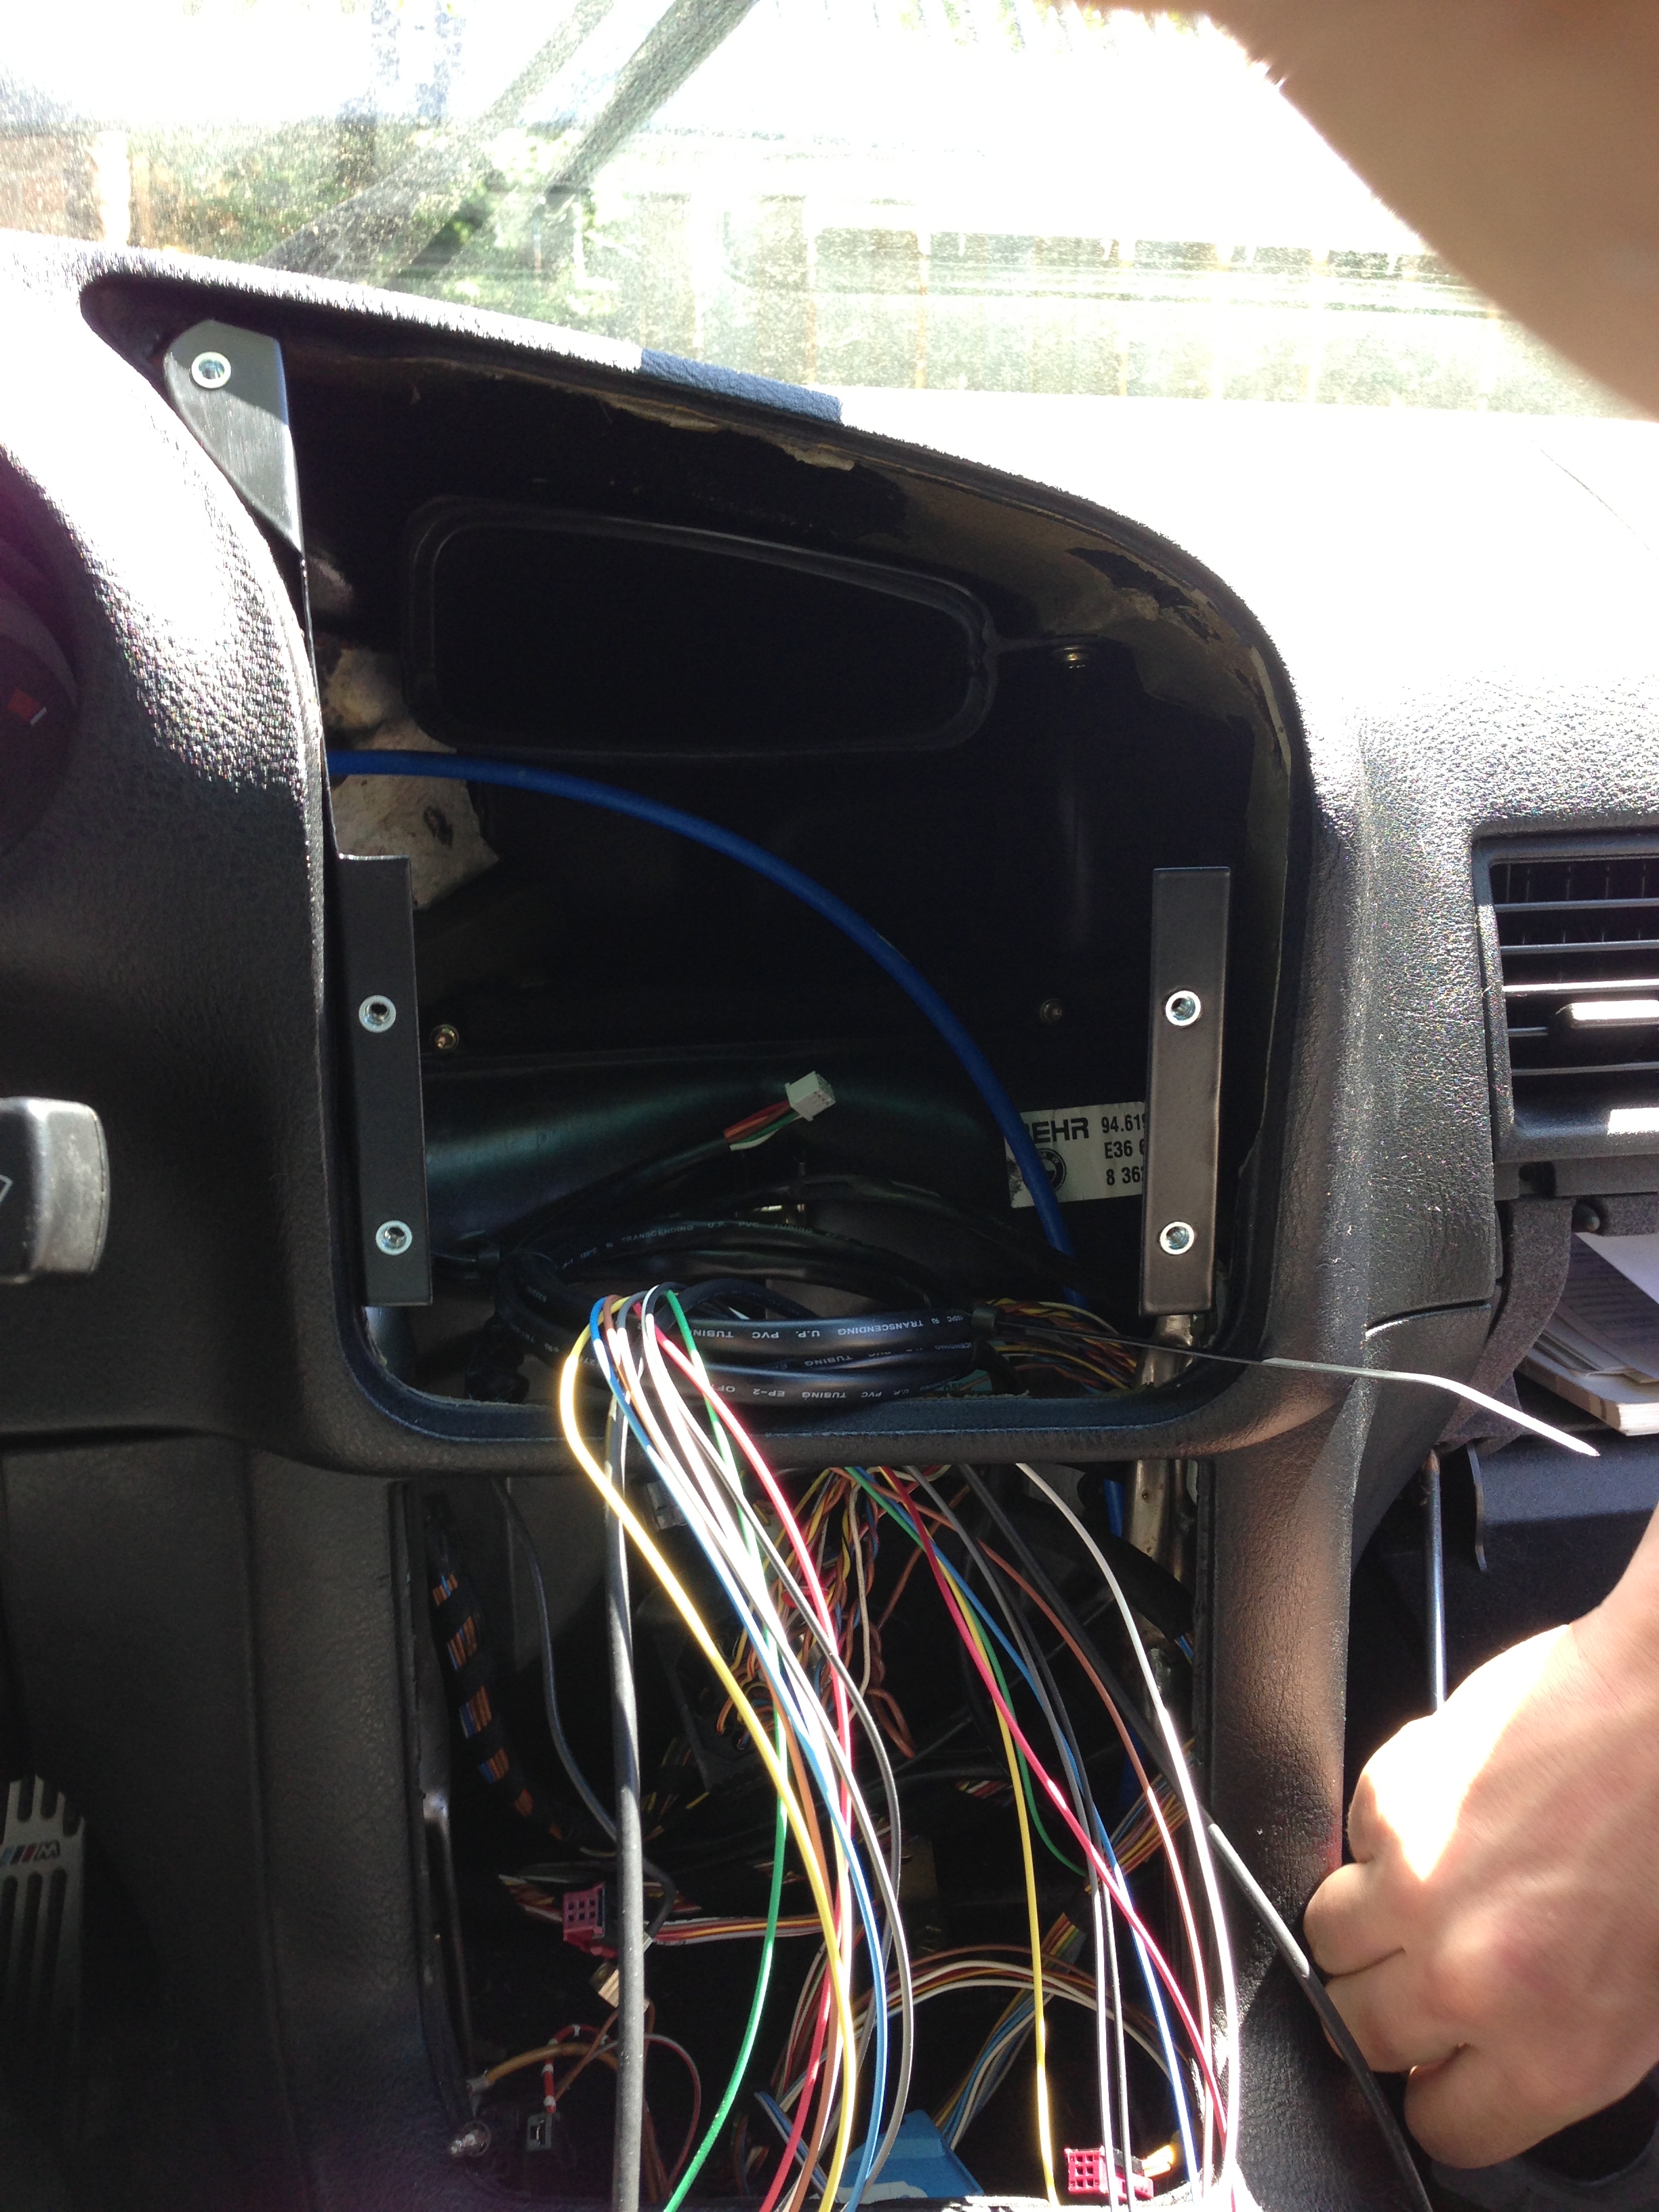
Relocating my washer fluid reservoir was a time consuming process as i had to run all the tanks senors and lines from the trunk (where i was installing it) to the front of the vehicle.
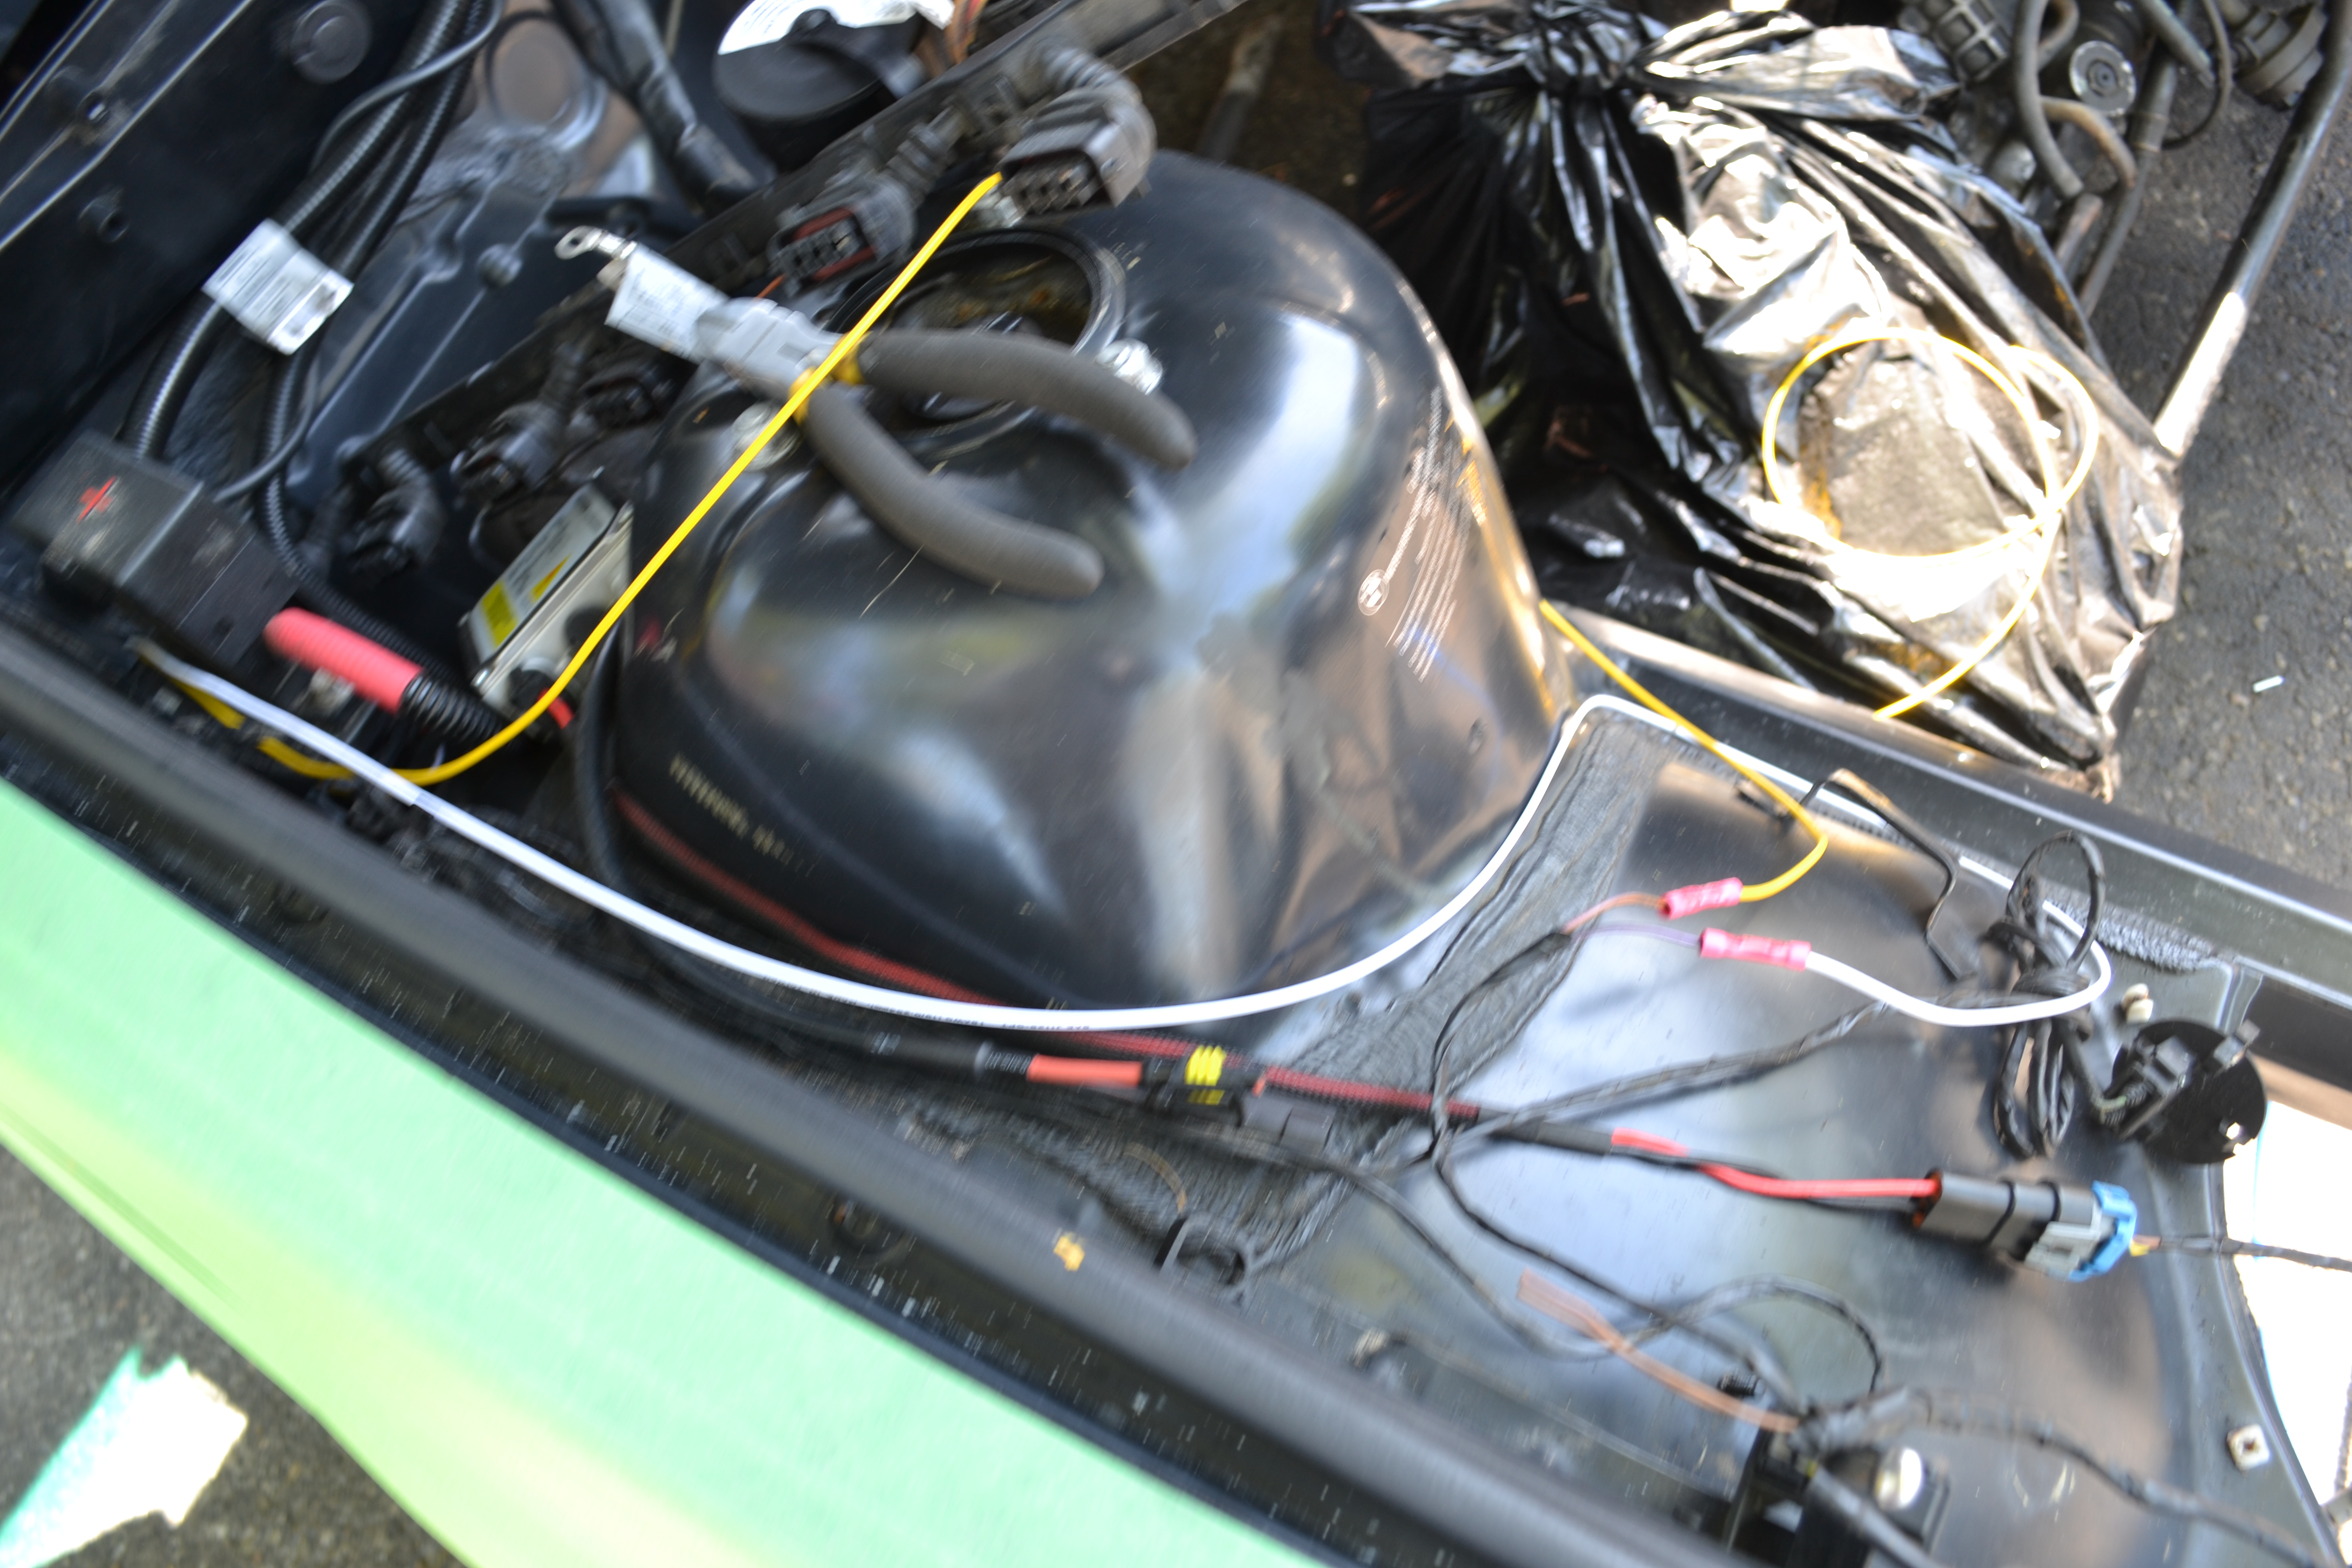
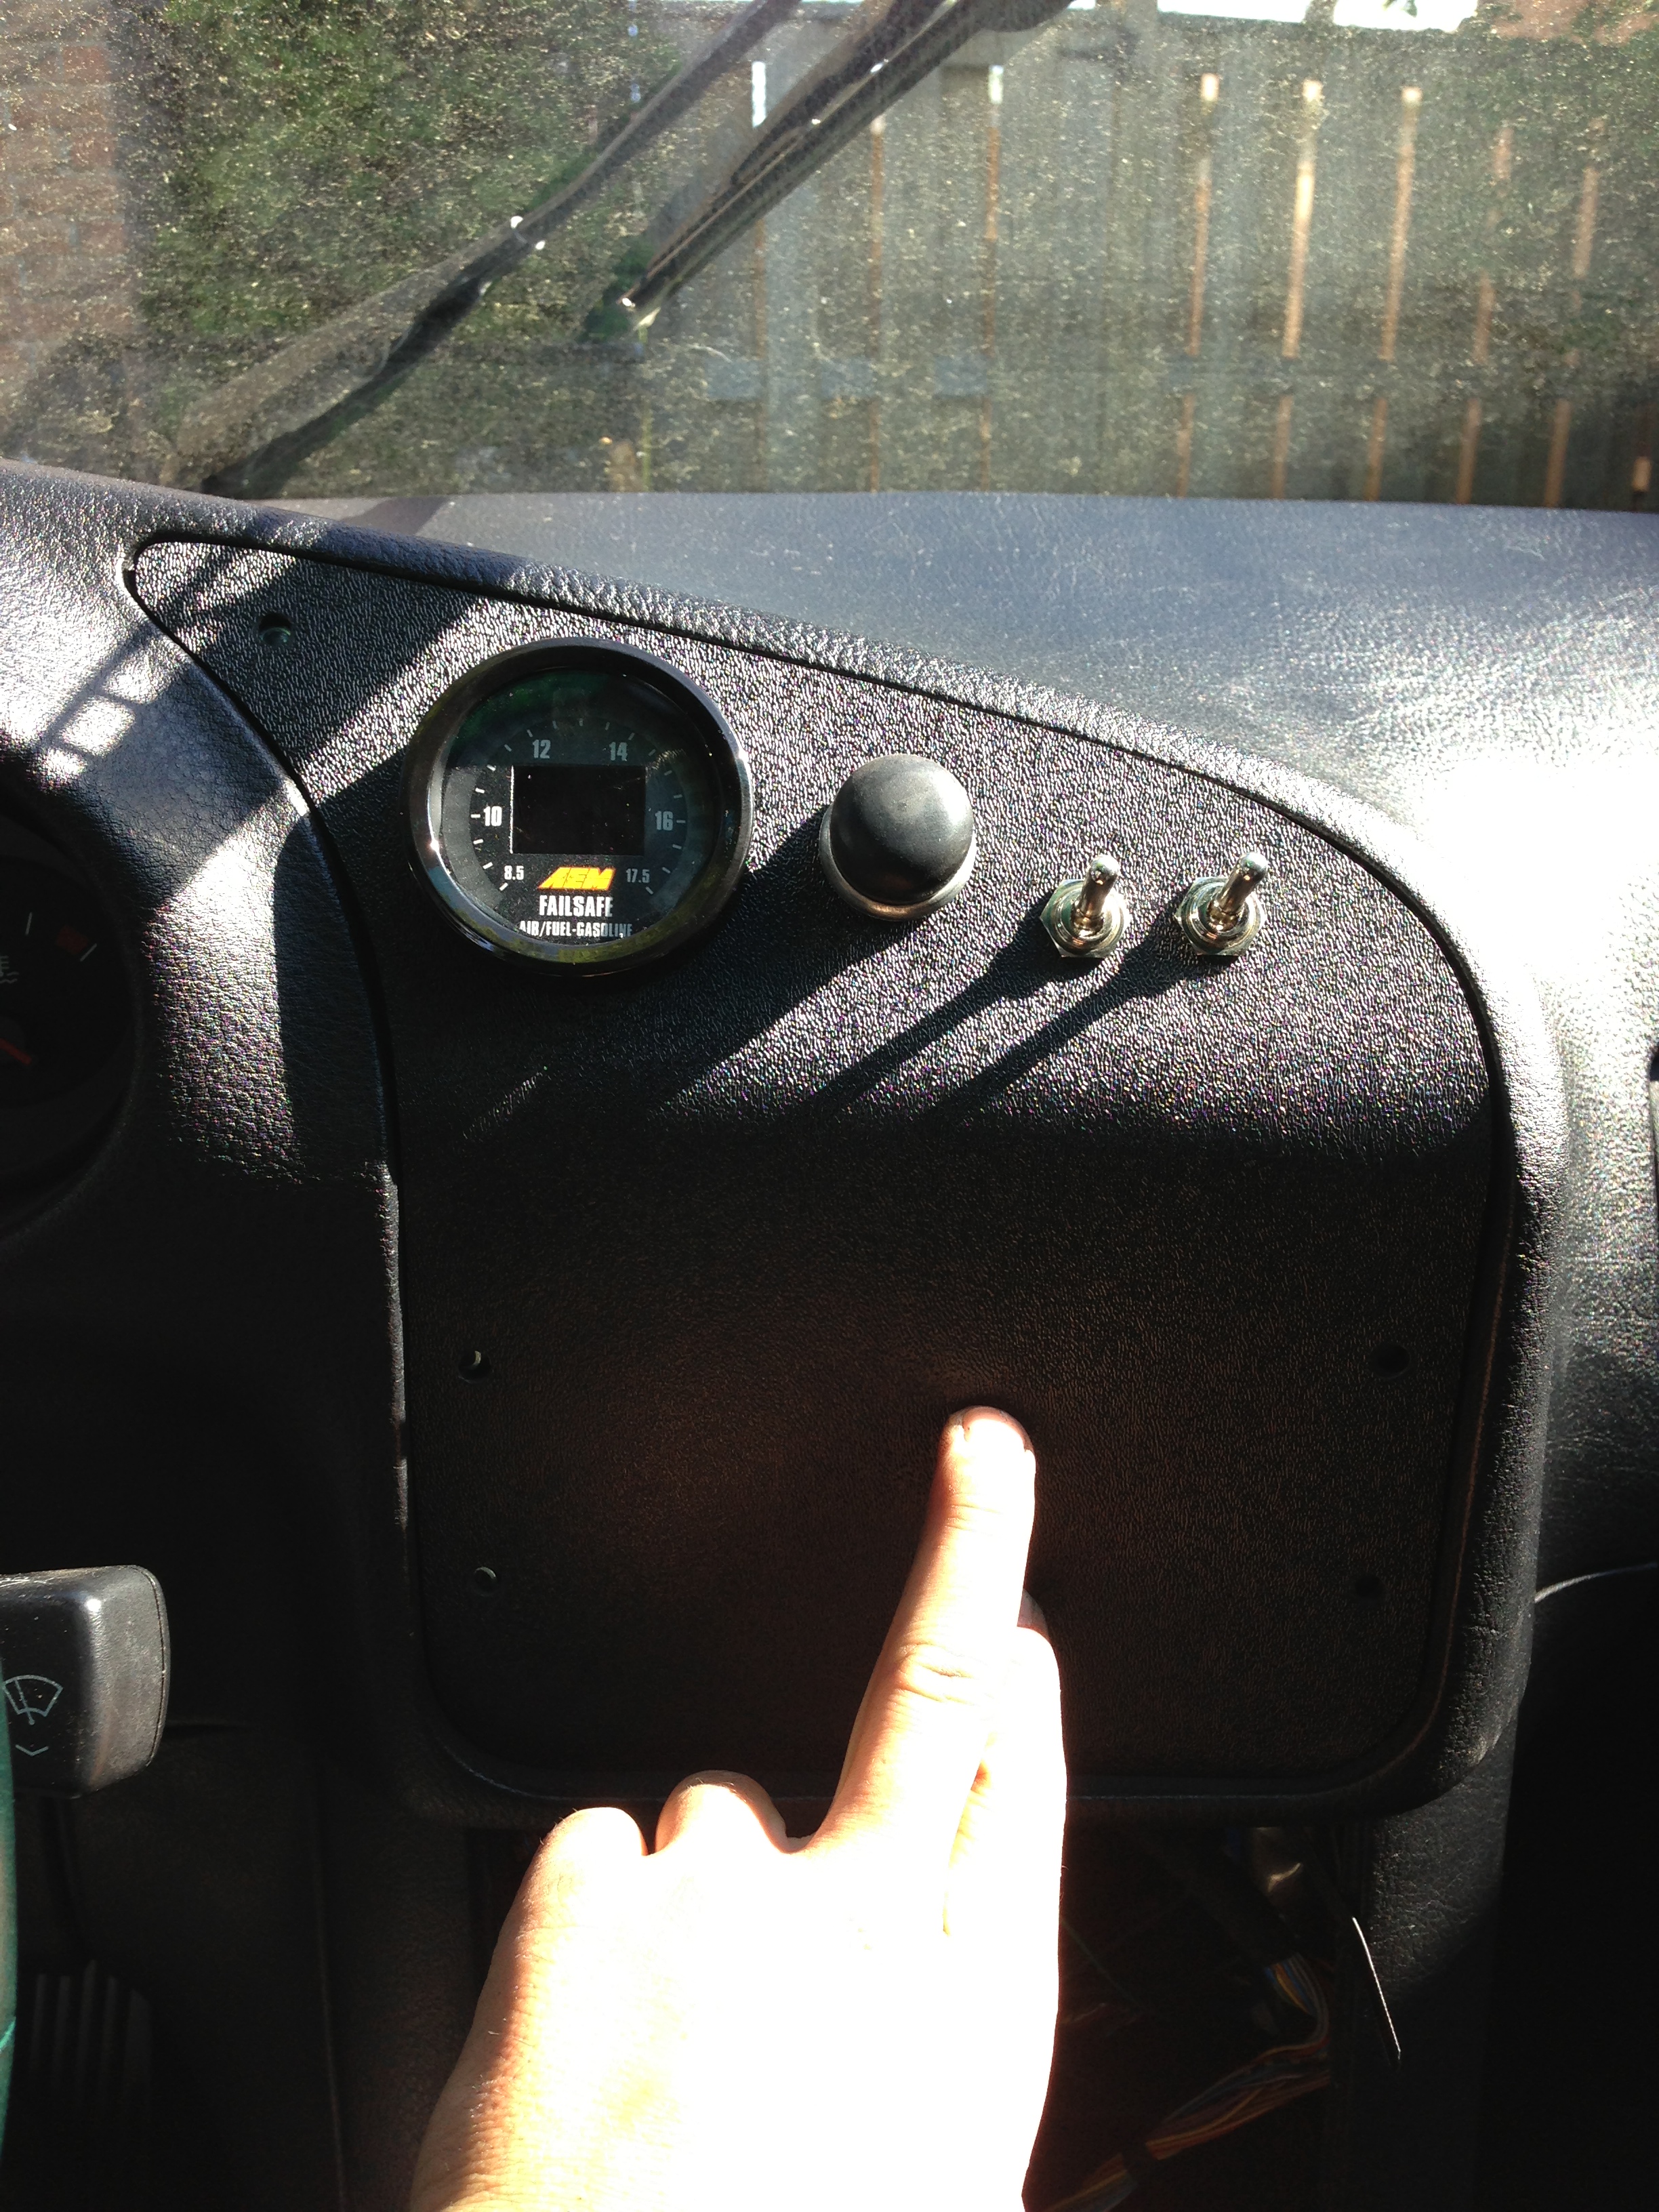
Once I had finished relocating my washer fluid tank, I installed my AEM fail safe which is a wide band that lets me data log boost vs rpm or afr vs rpm or all three at once, so I can send the logs to my tuner and he can get the most out of those 800cc injectors im going to be running.
I sourced a vent block off plate and ran the wiring for the wideband and installed a push start button and 2 auxillary switches will be later used for electric fans.
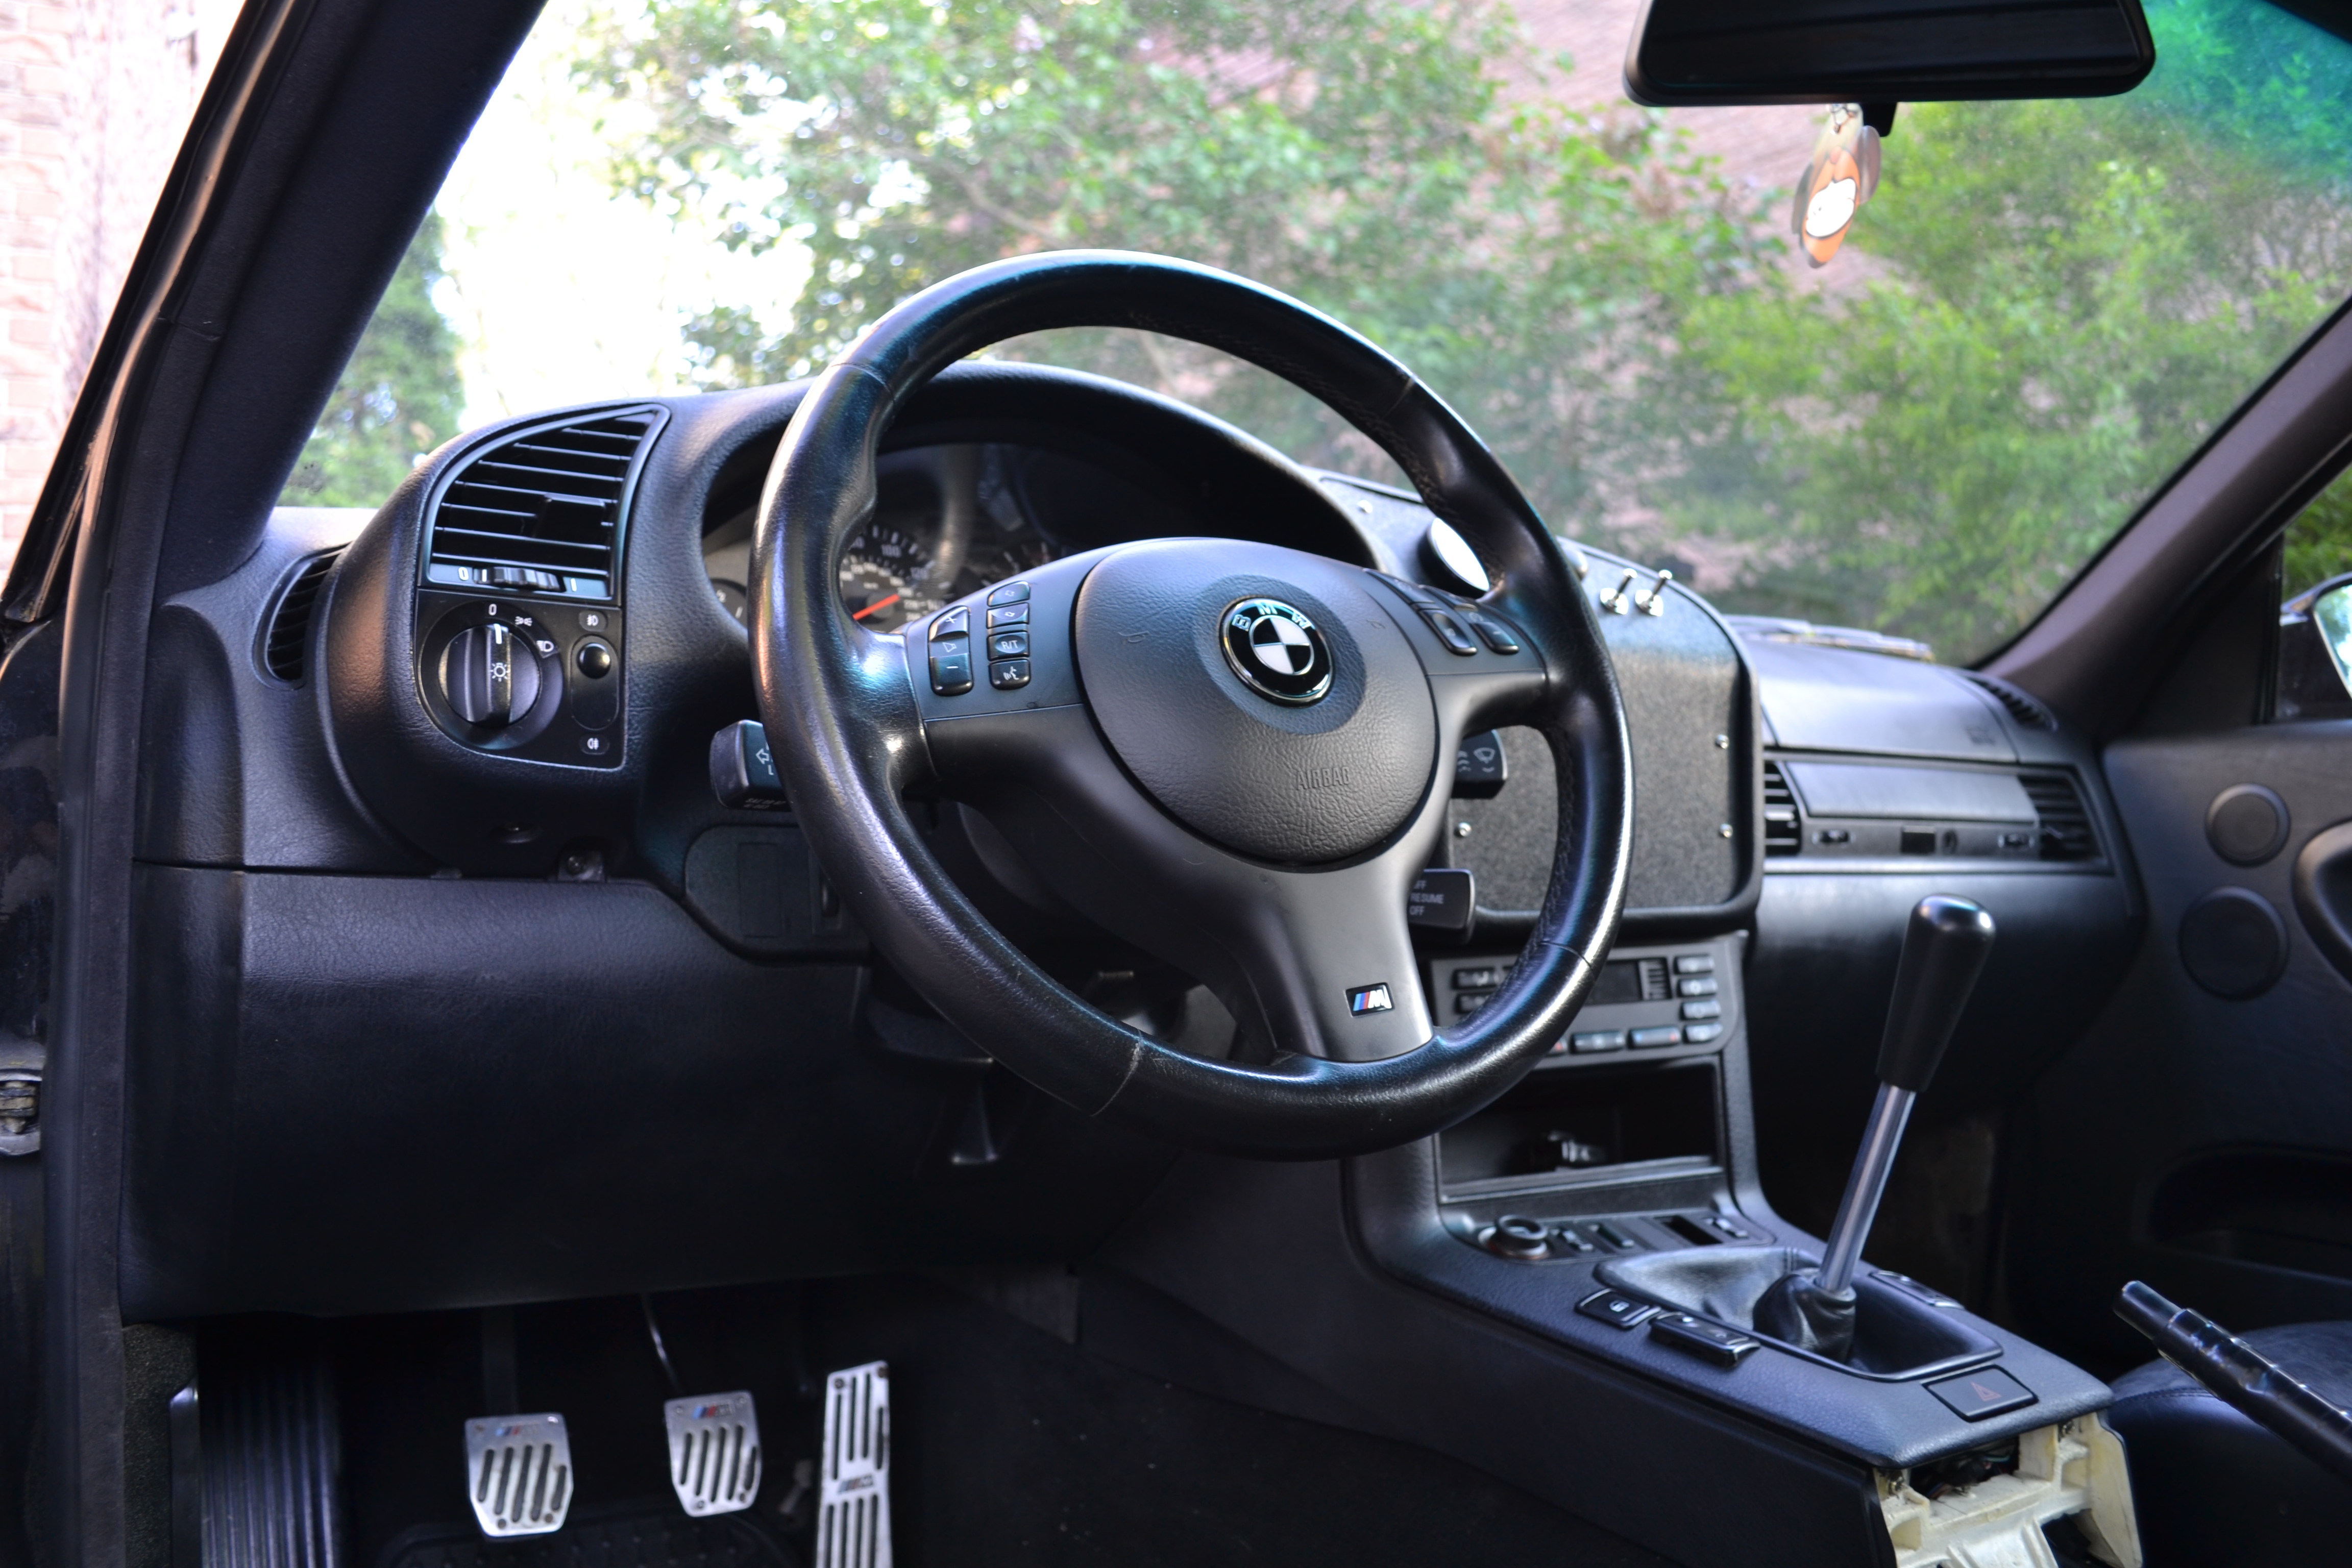
I also got around to installing my AKG race shifter so now my interior looks like:
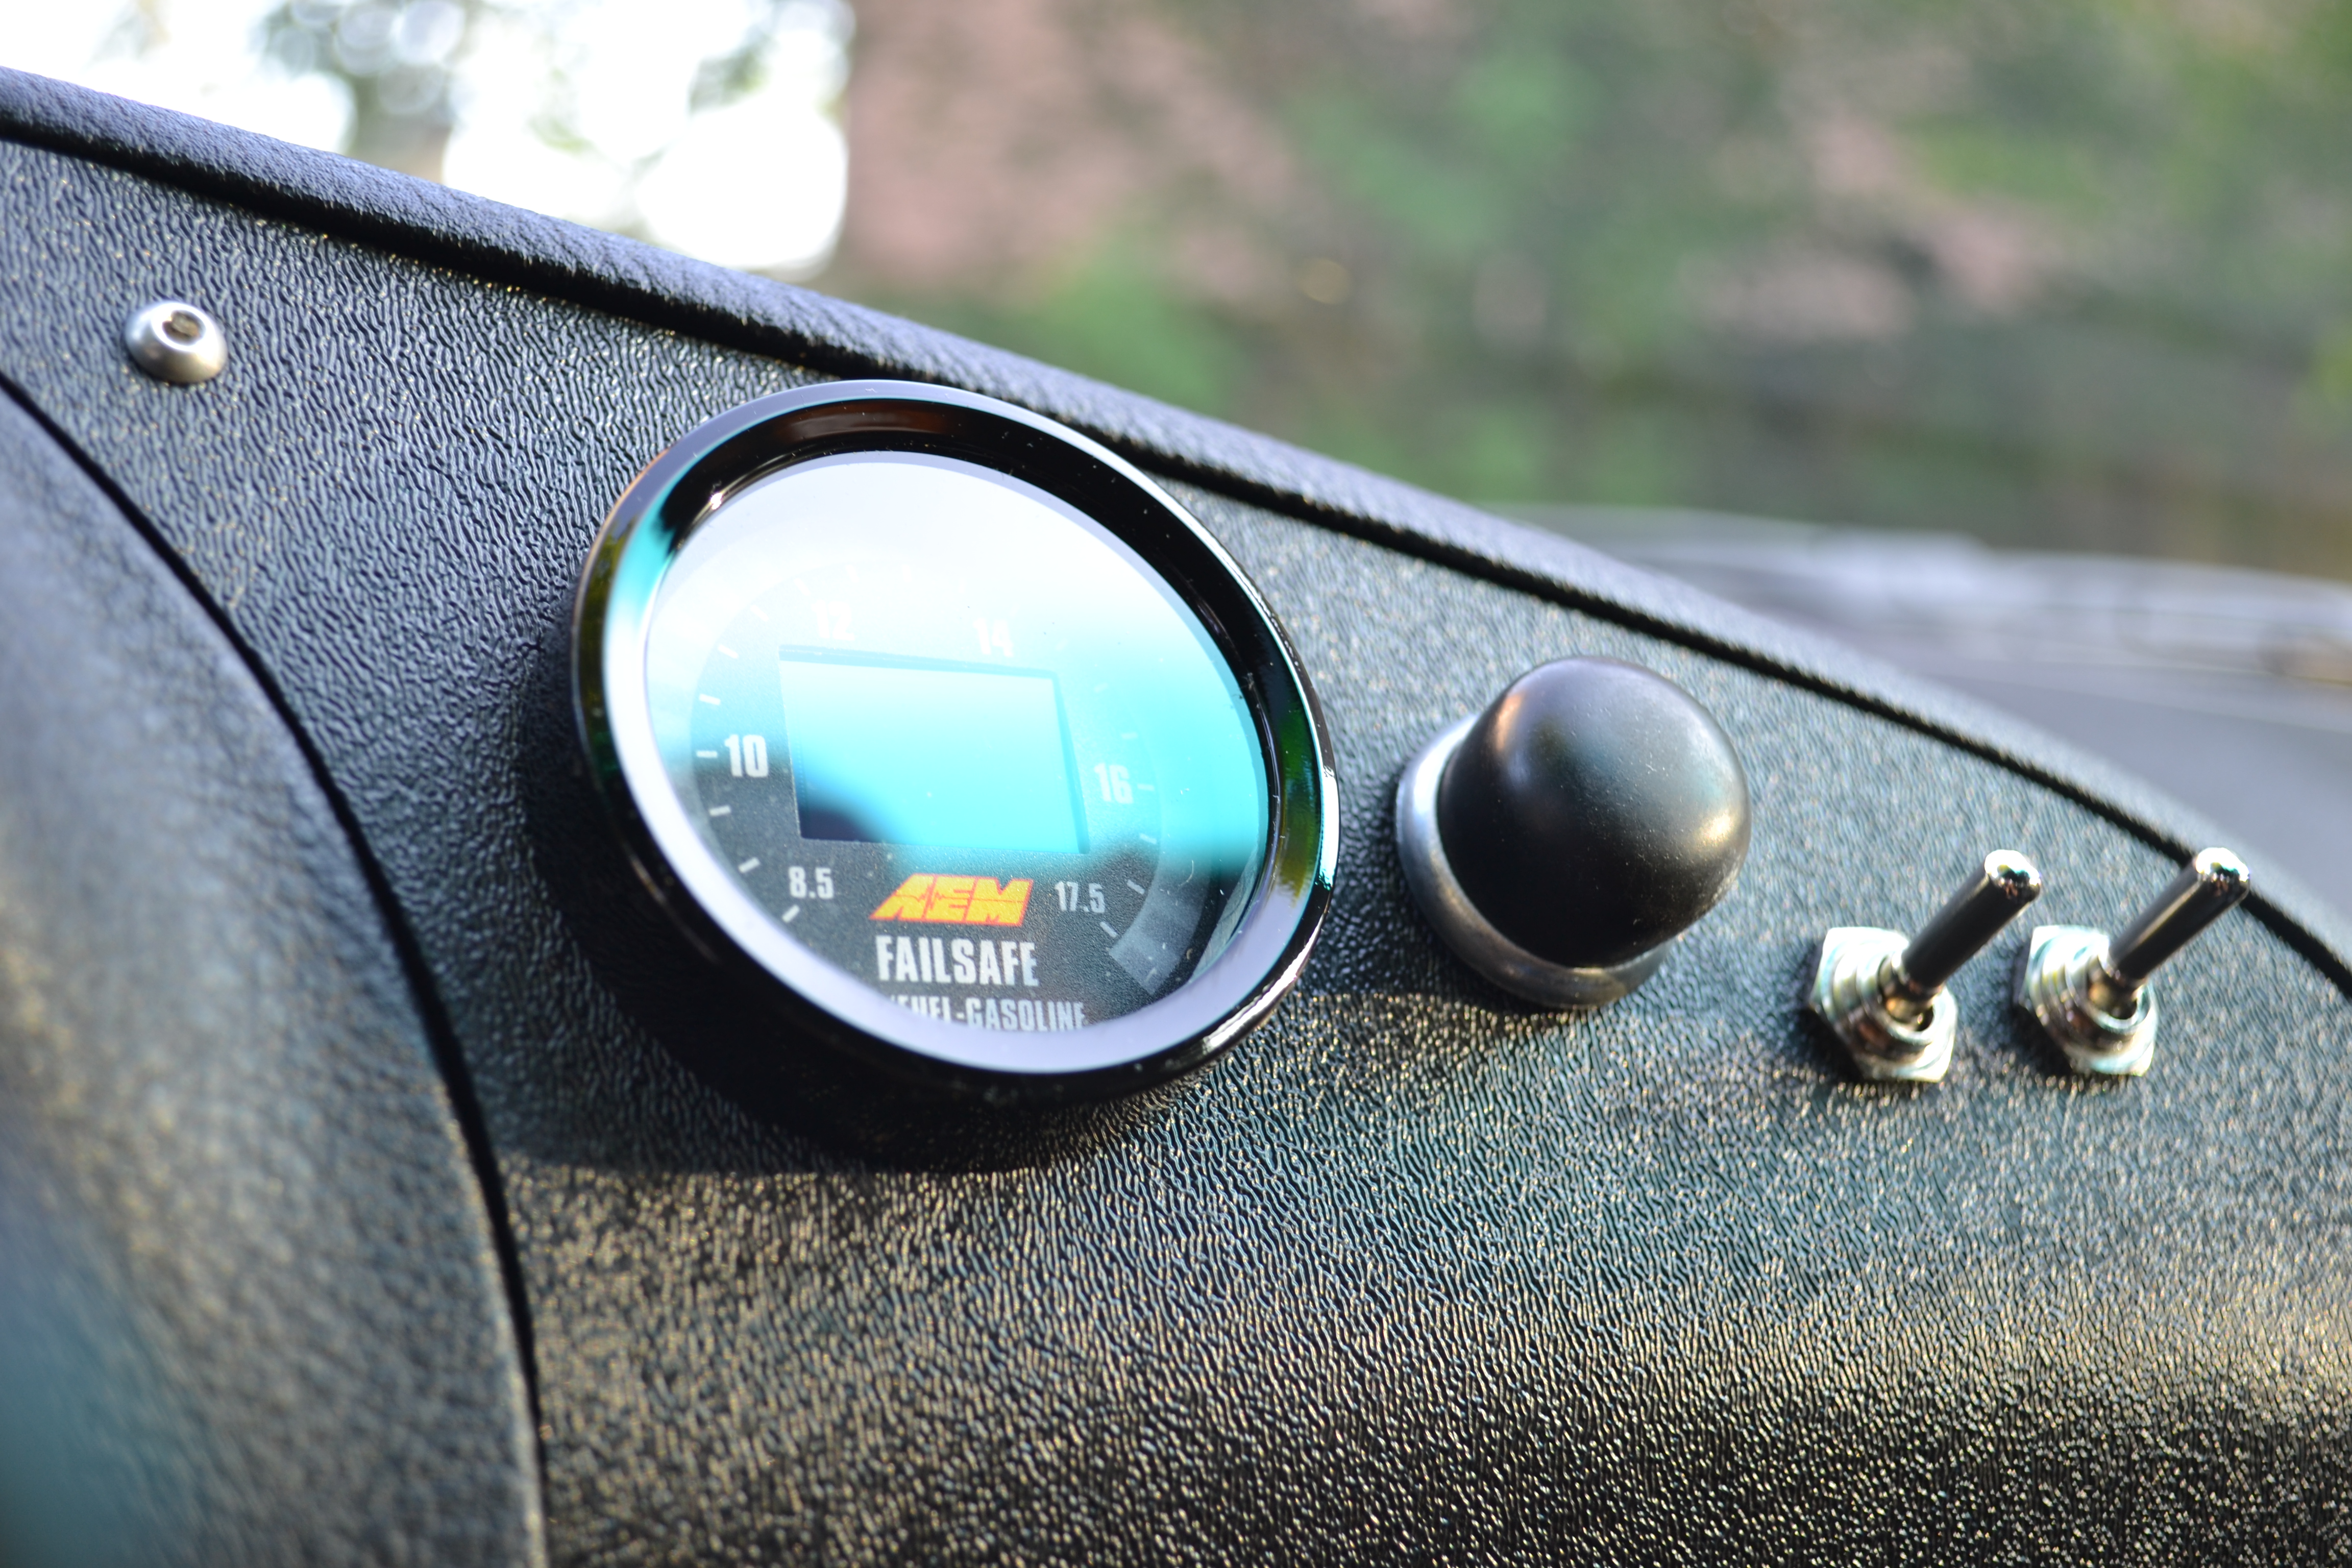
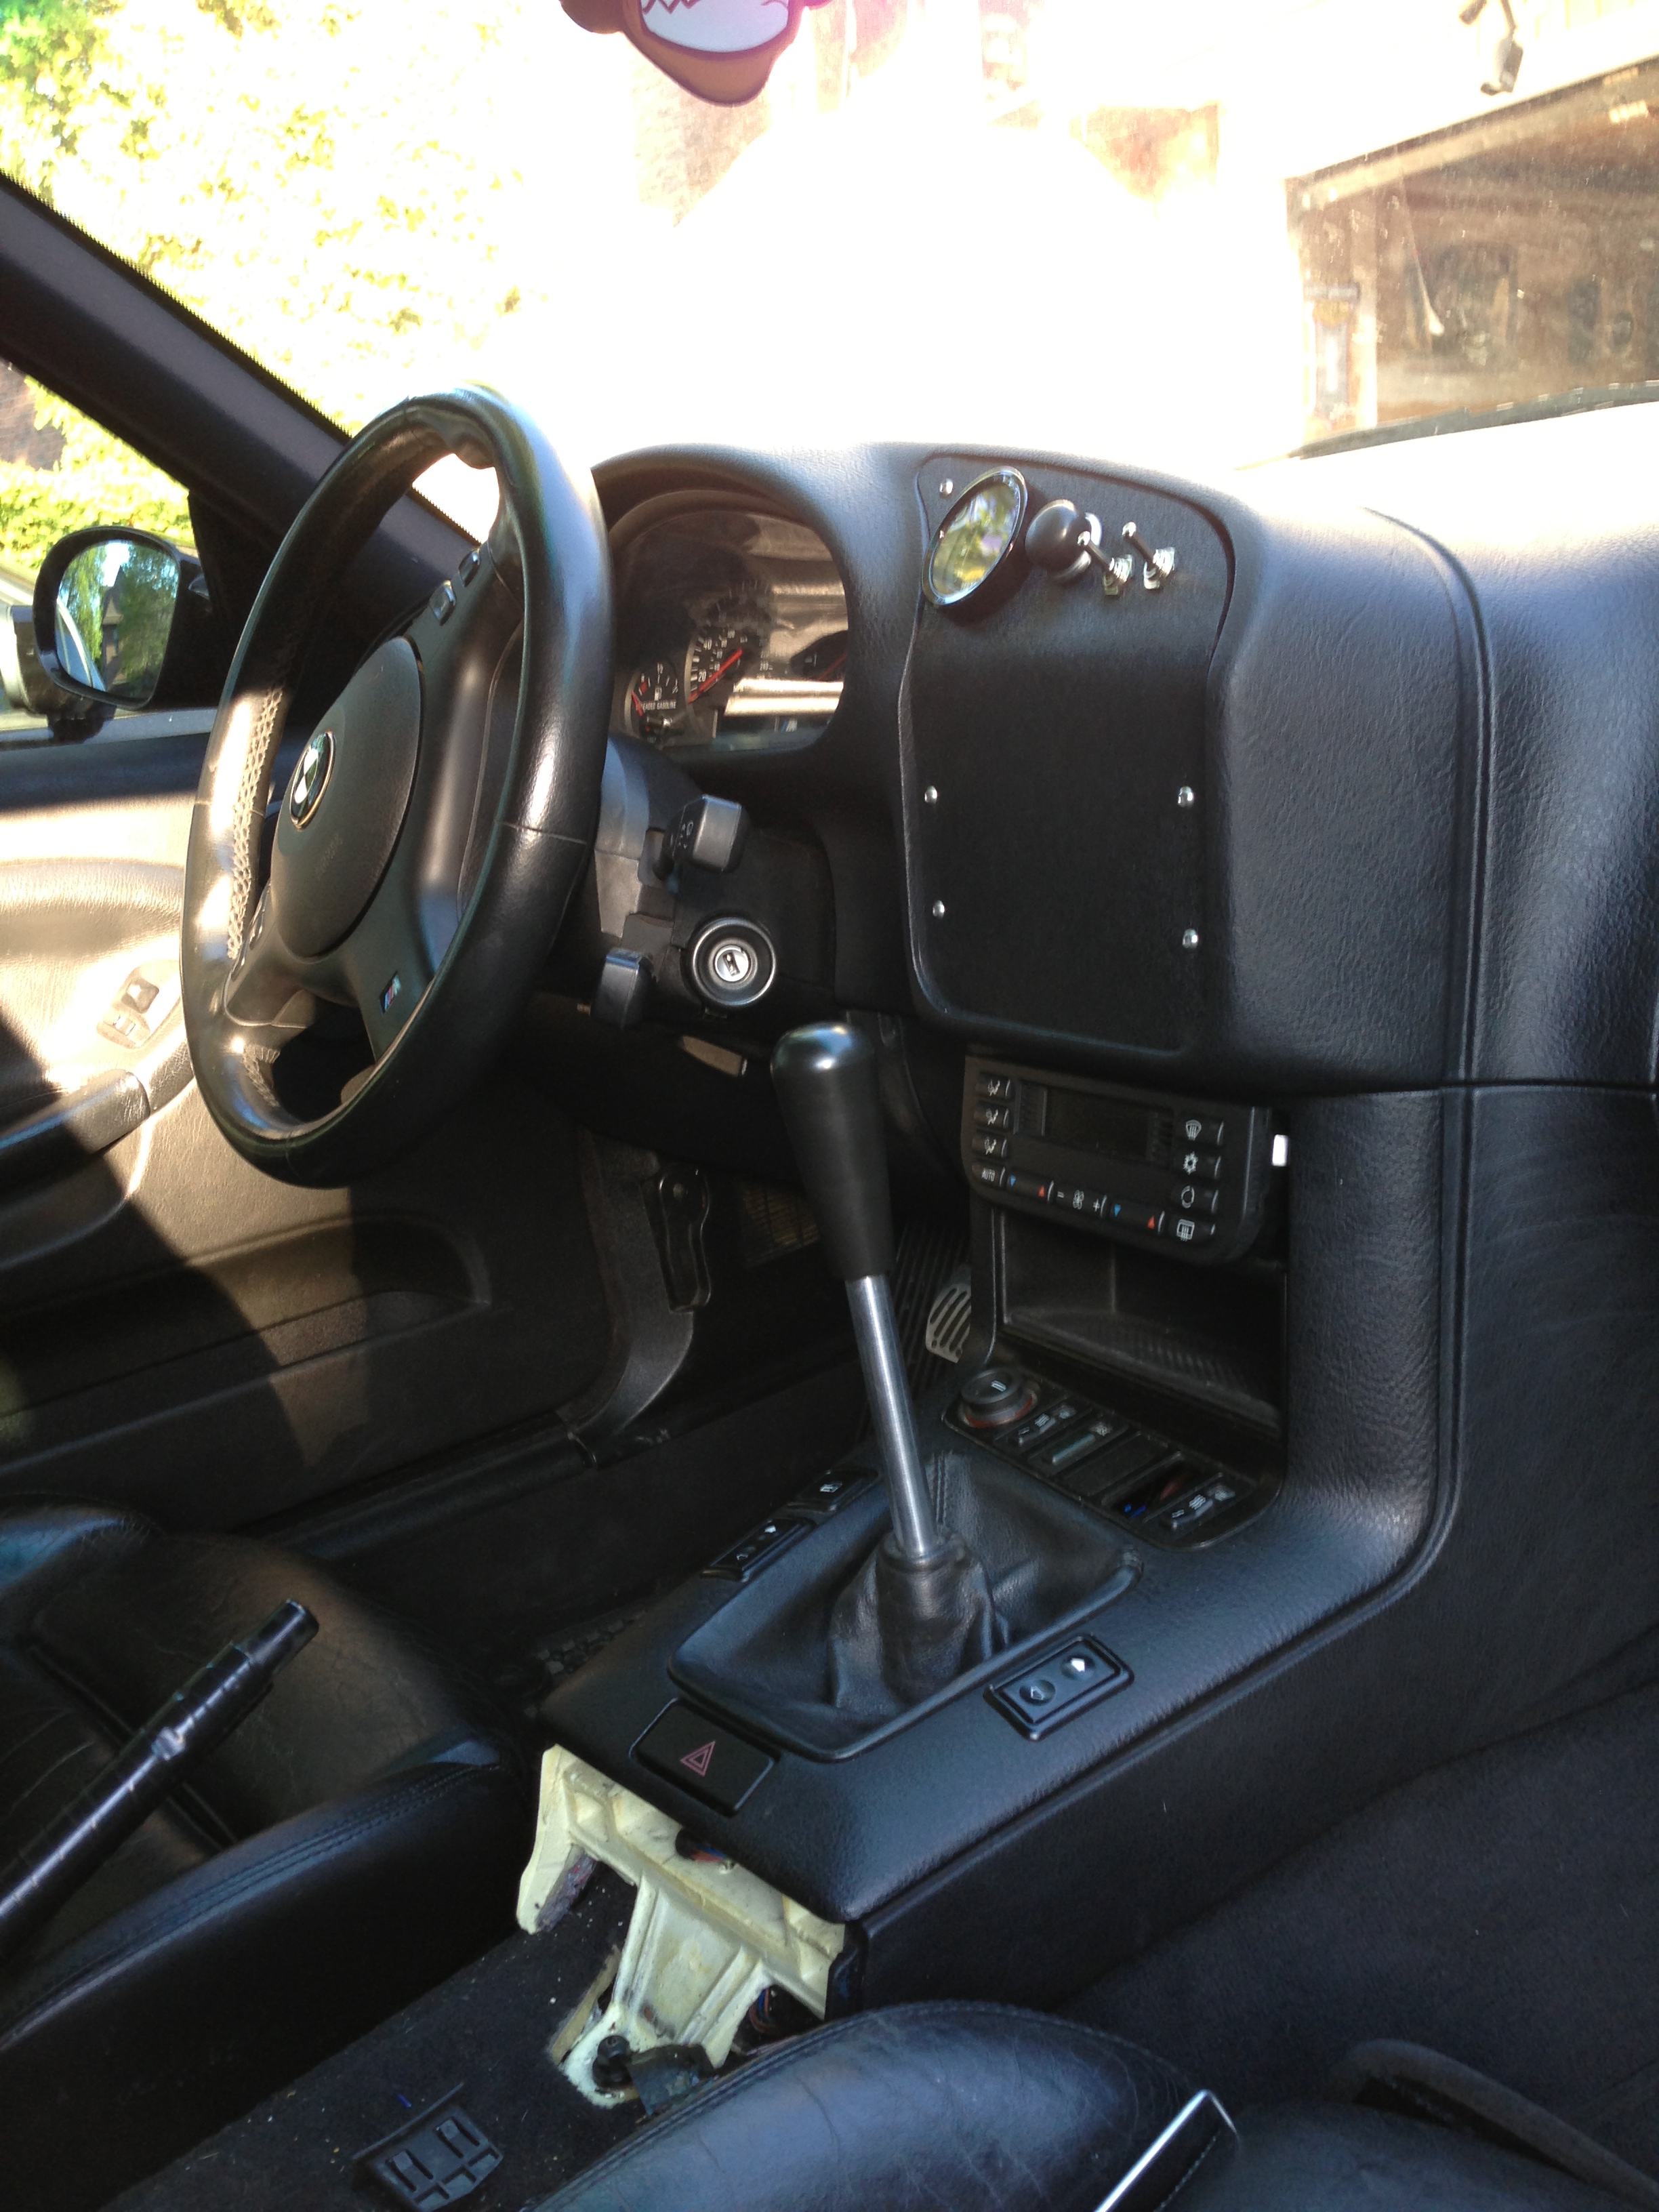
Im planning on installing another 4 gauges(oil temp/oil pressure/water temp/boost) into that lower half of that vent block off plate just deciding on which brand of gauges to run.
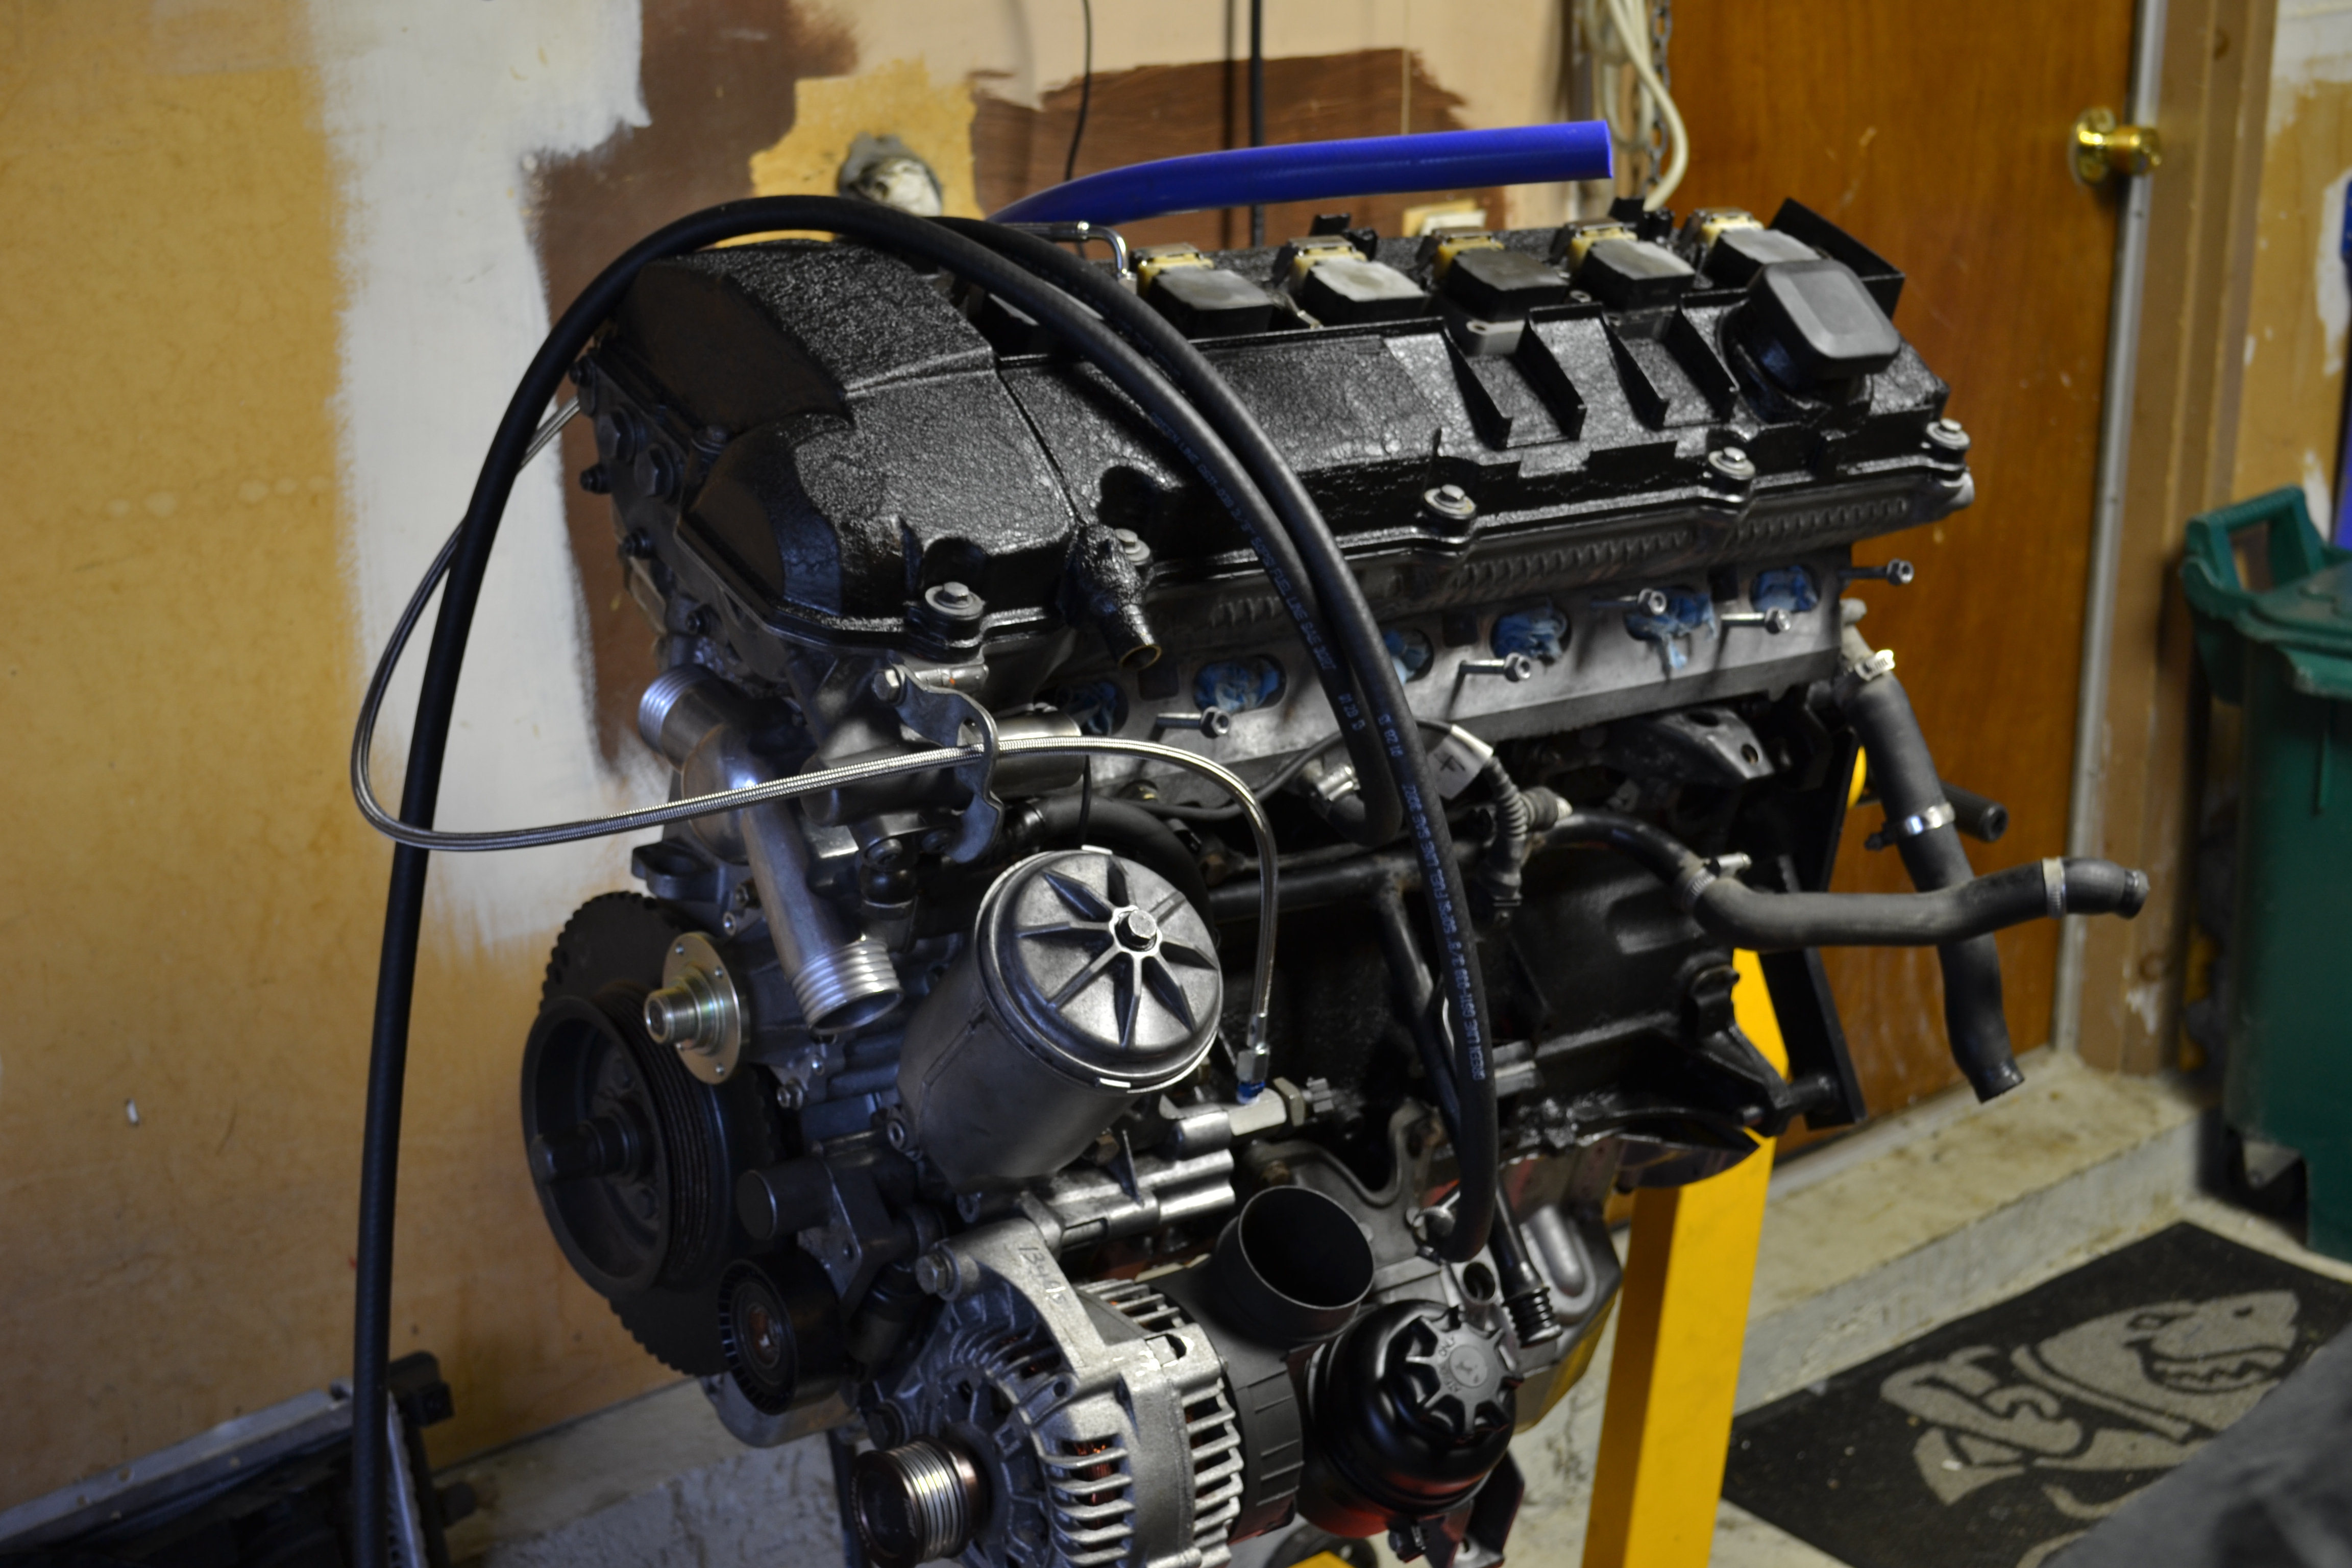
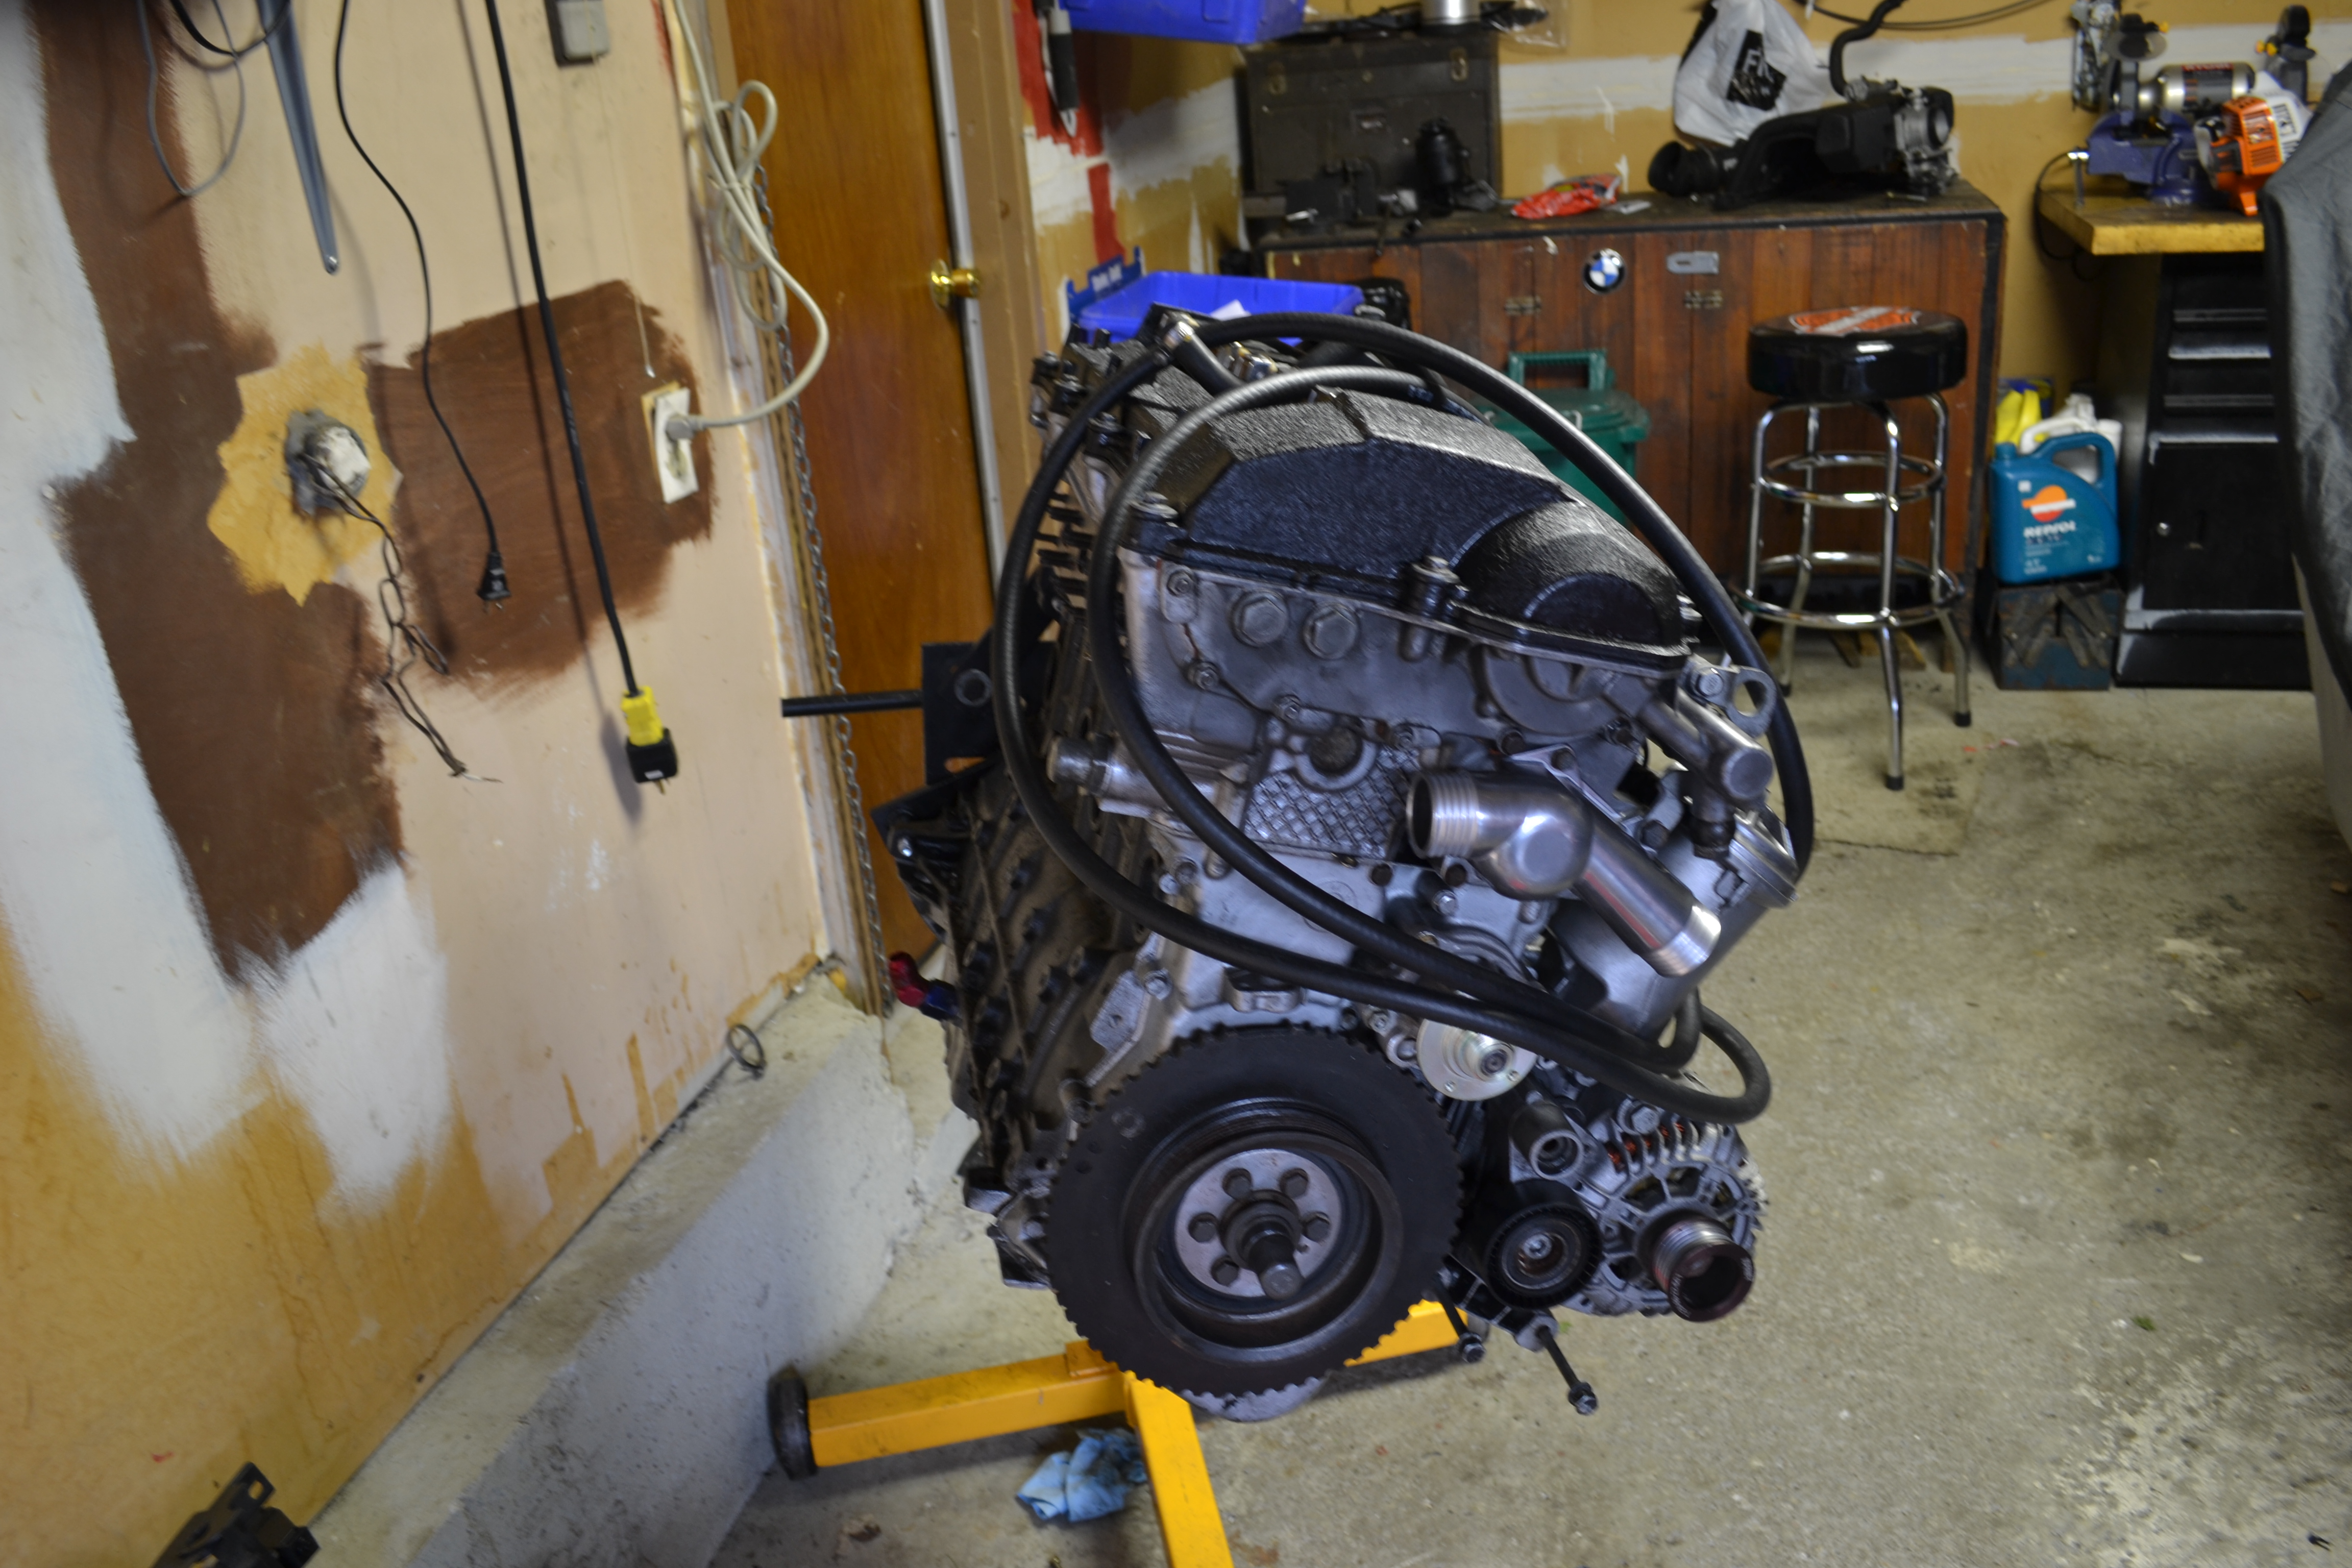
My motor started coming together and I started installing all the accessories and hoses:
before:
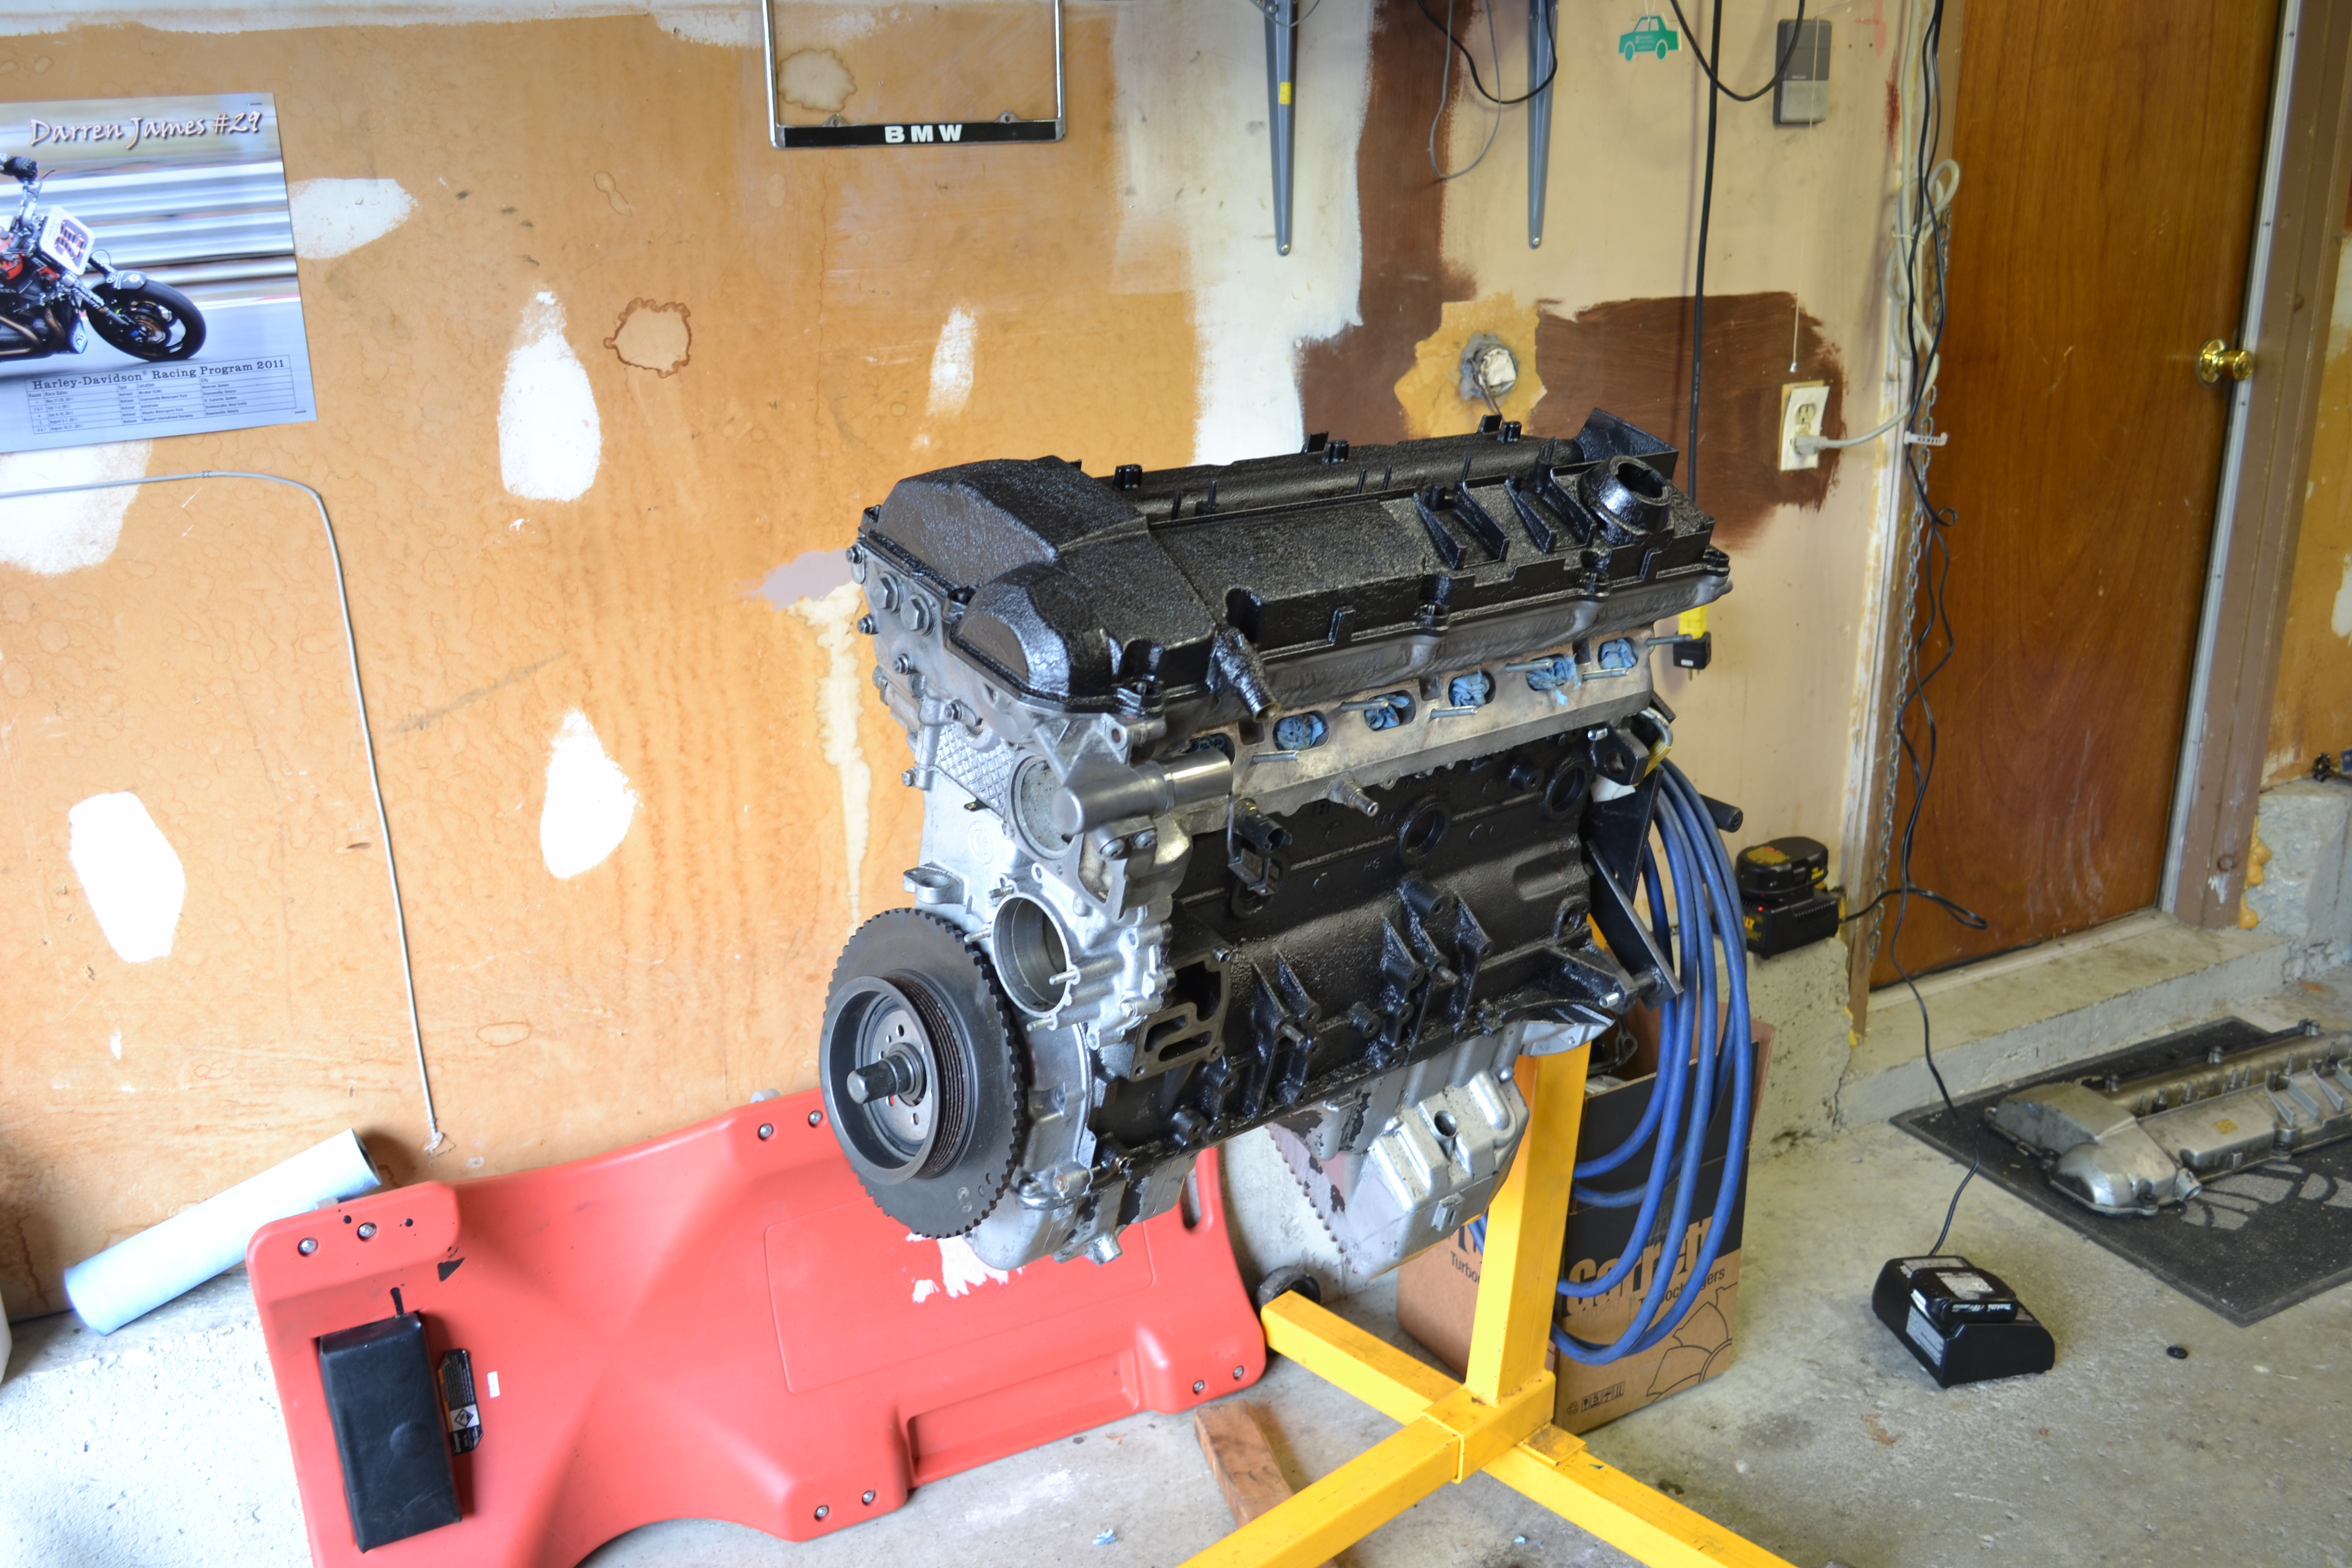
After:


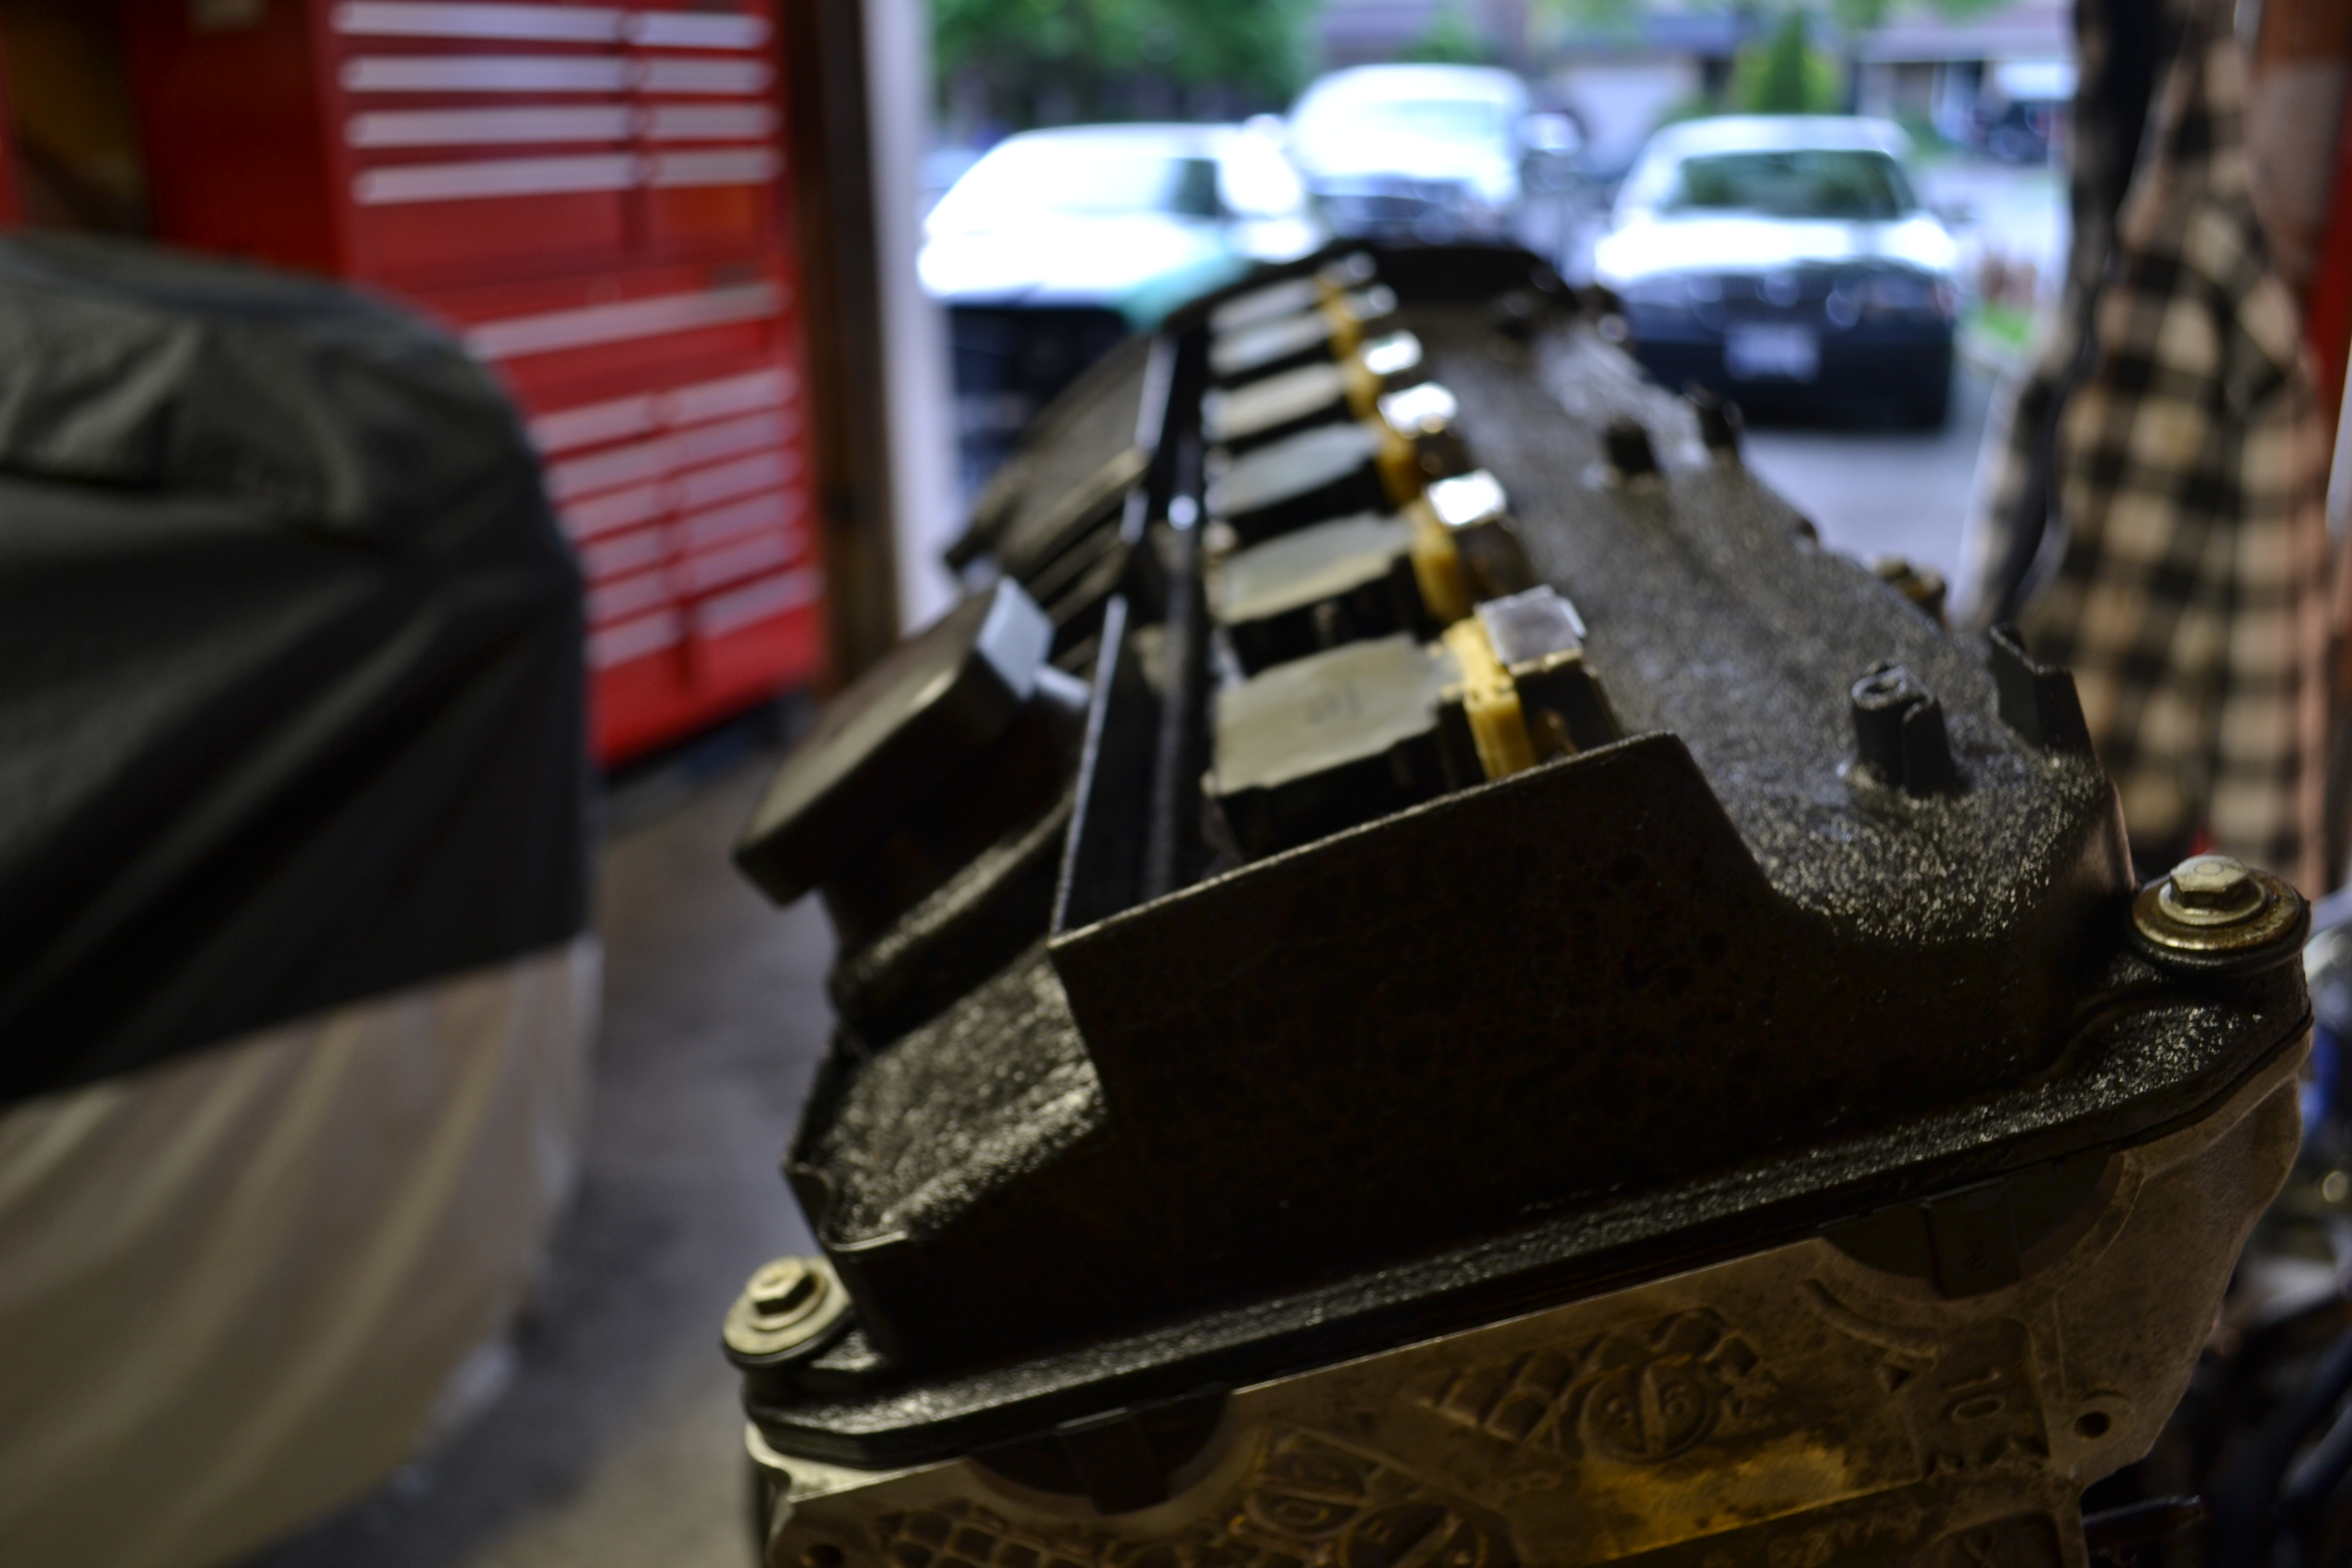
Oil distribution block

Fuel Pump Install:
Last night I got to work on installing my walbro 400lph

pulled off cover only to discover a rats nest, literally..a rats nest lol
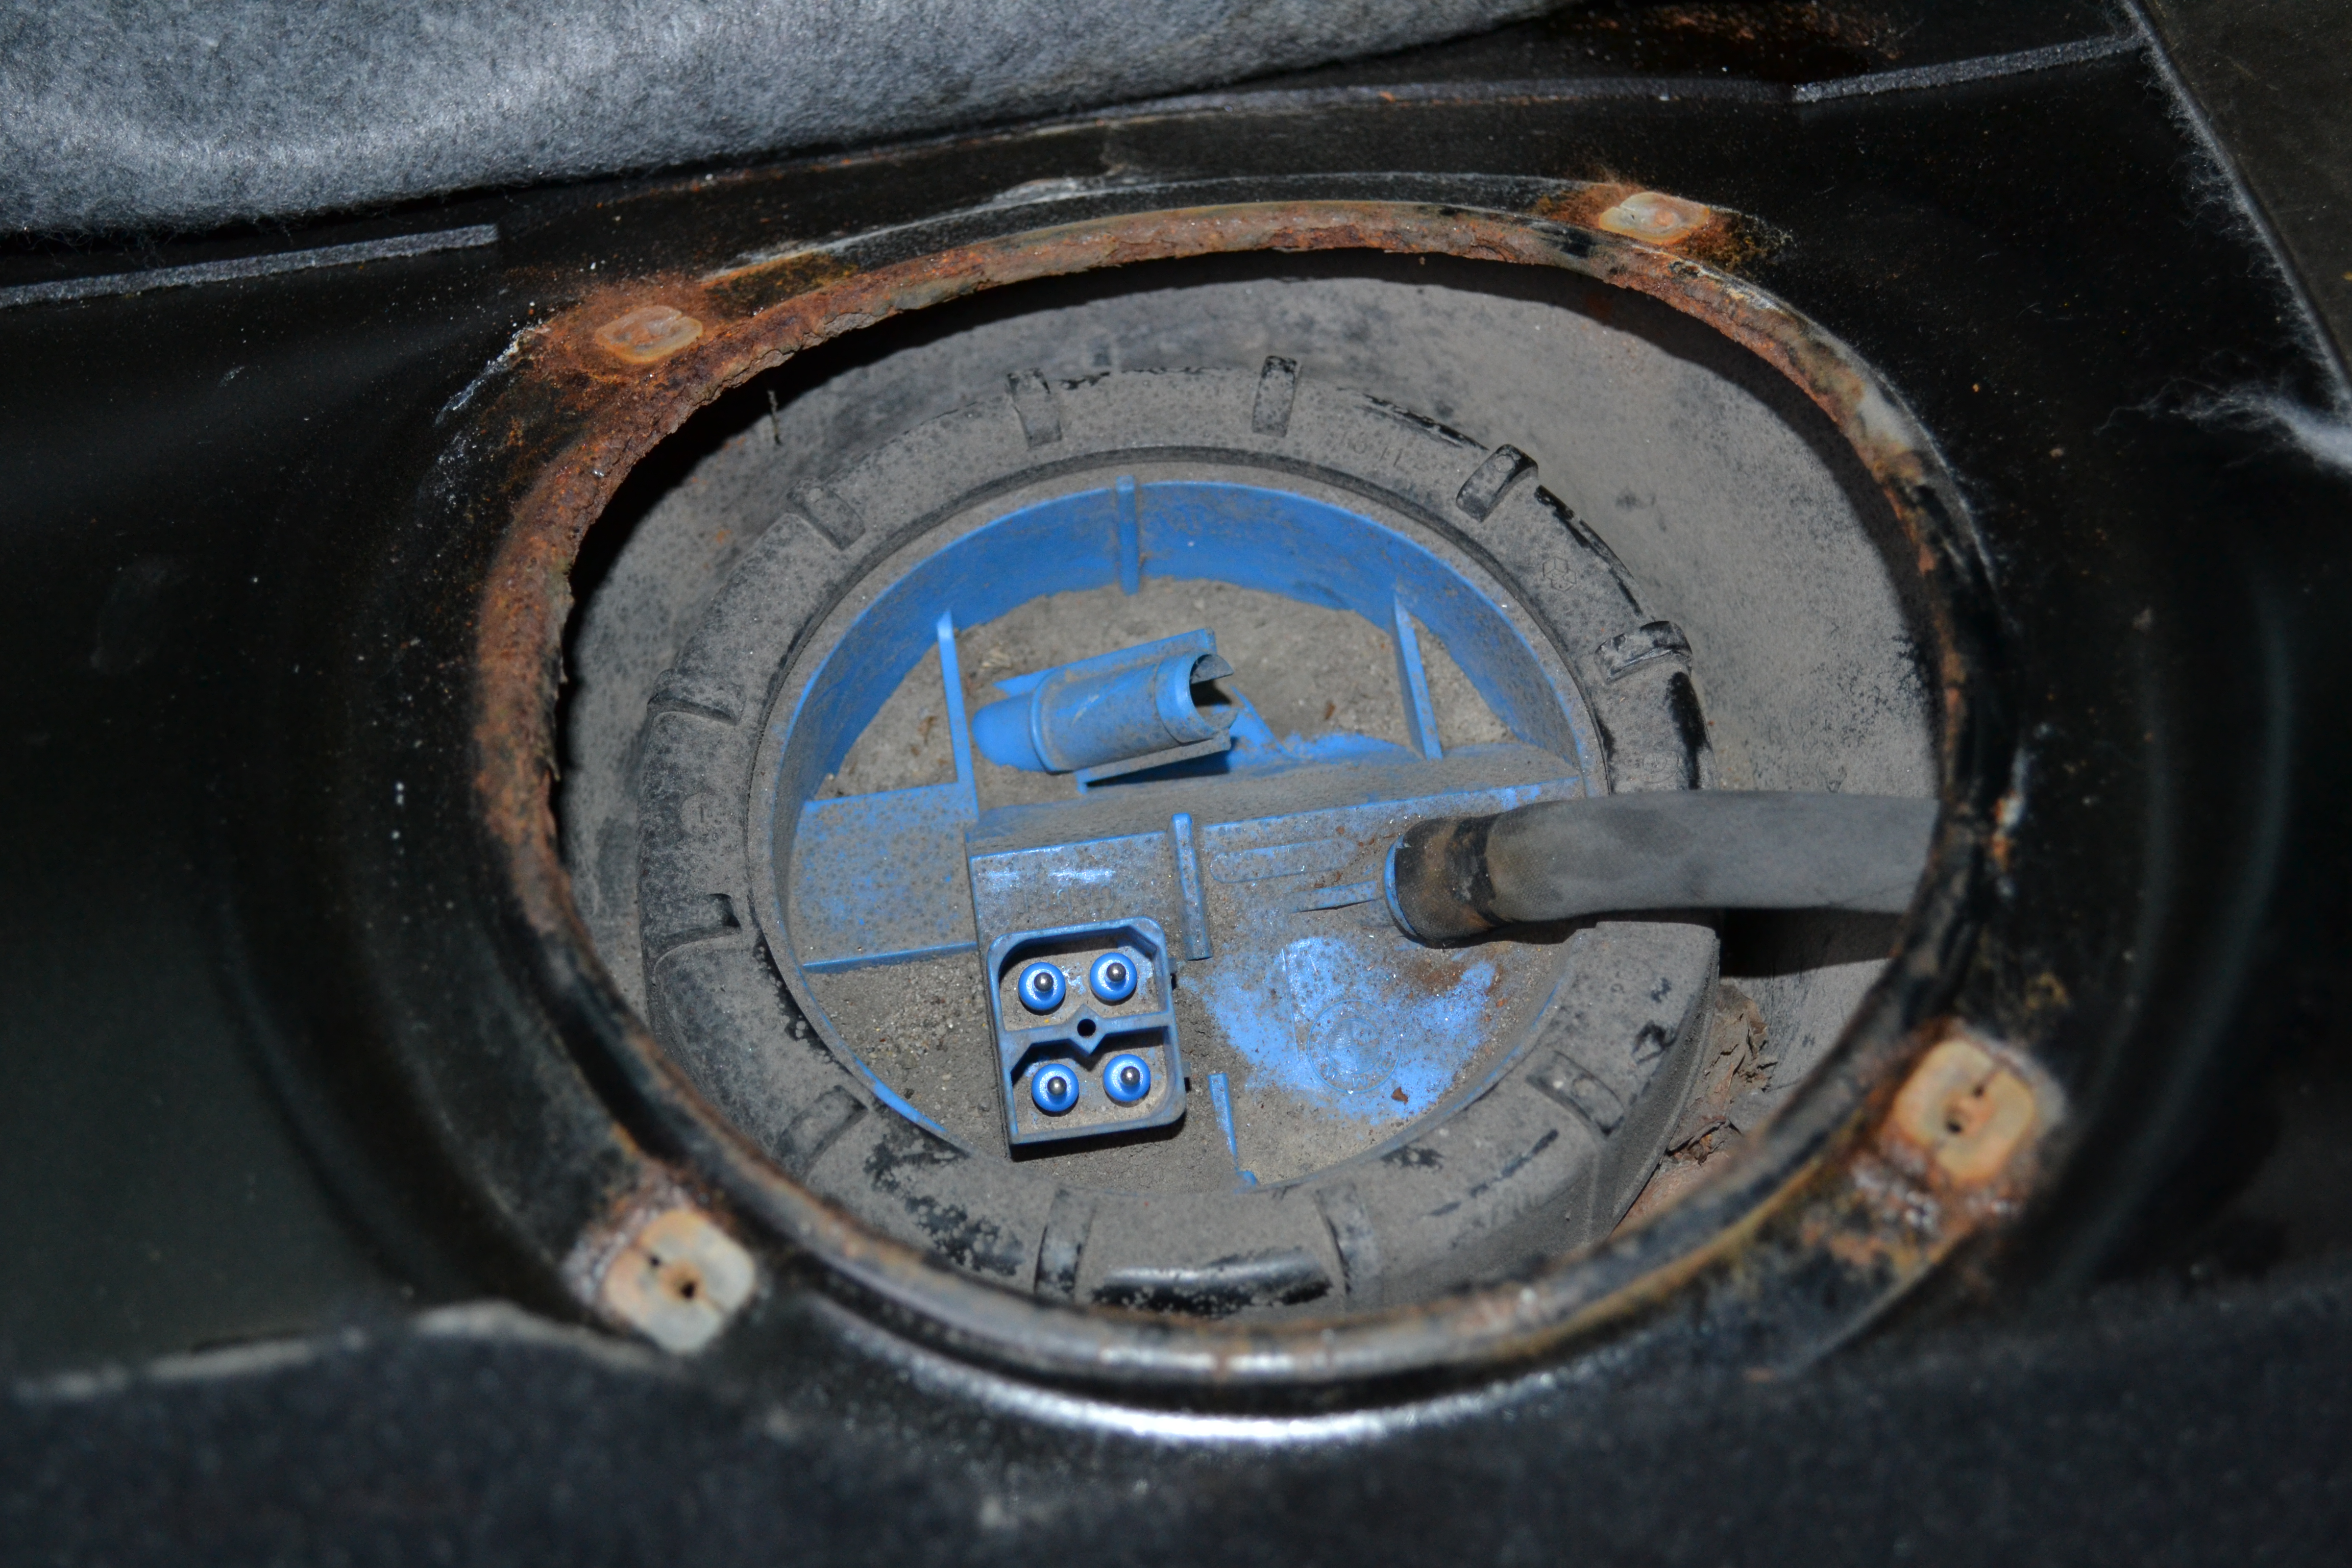
something was nesting in there as there were leaves everywhere, i got the shop vac and cleaned it all up!

I got the sending unit out and pulled out the fuel pump
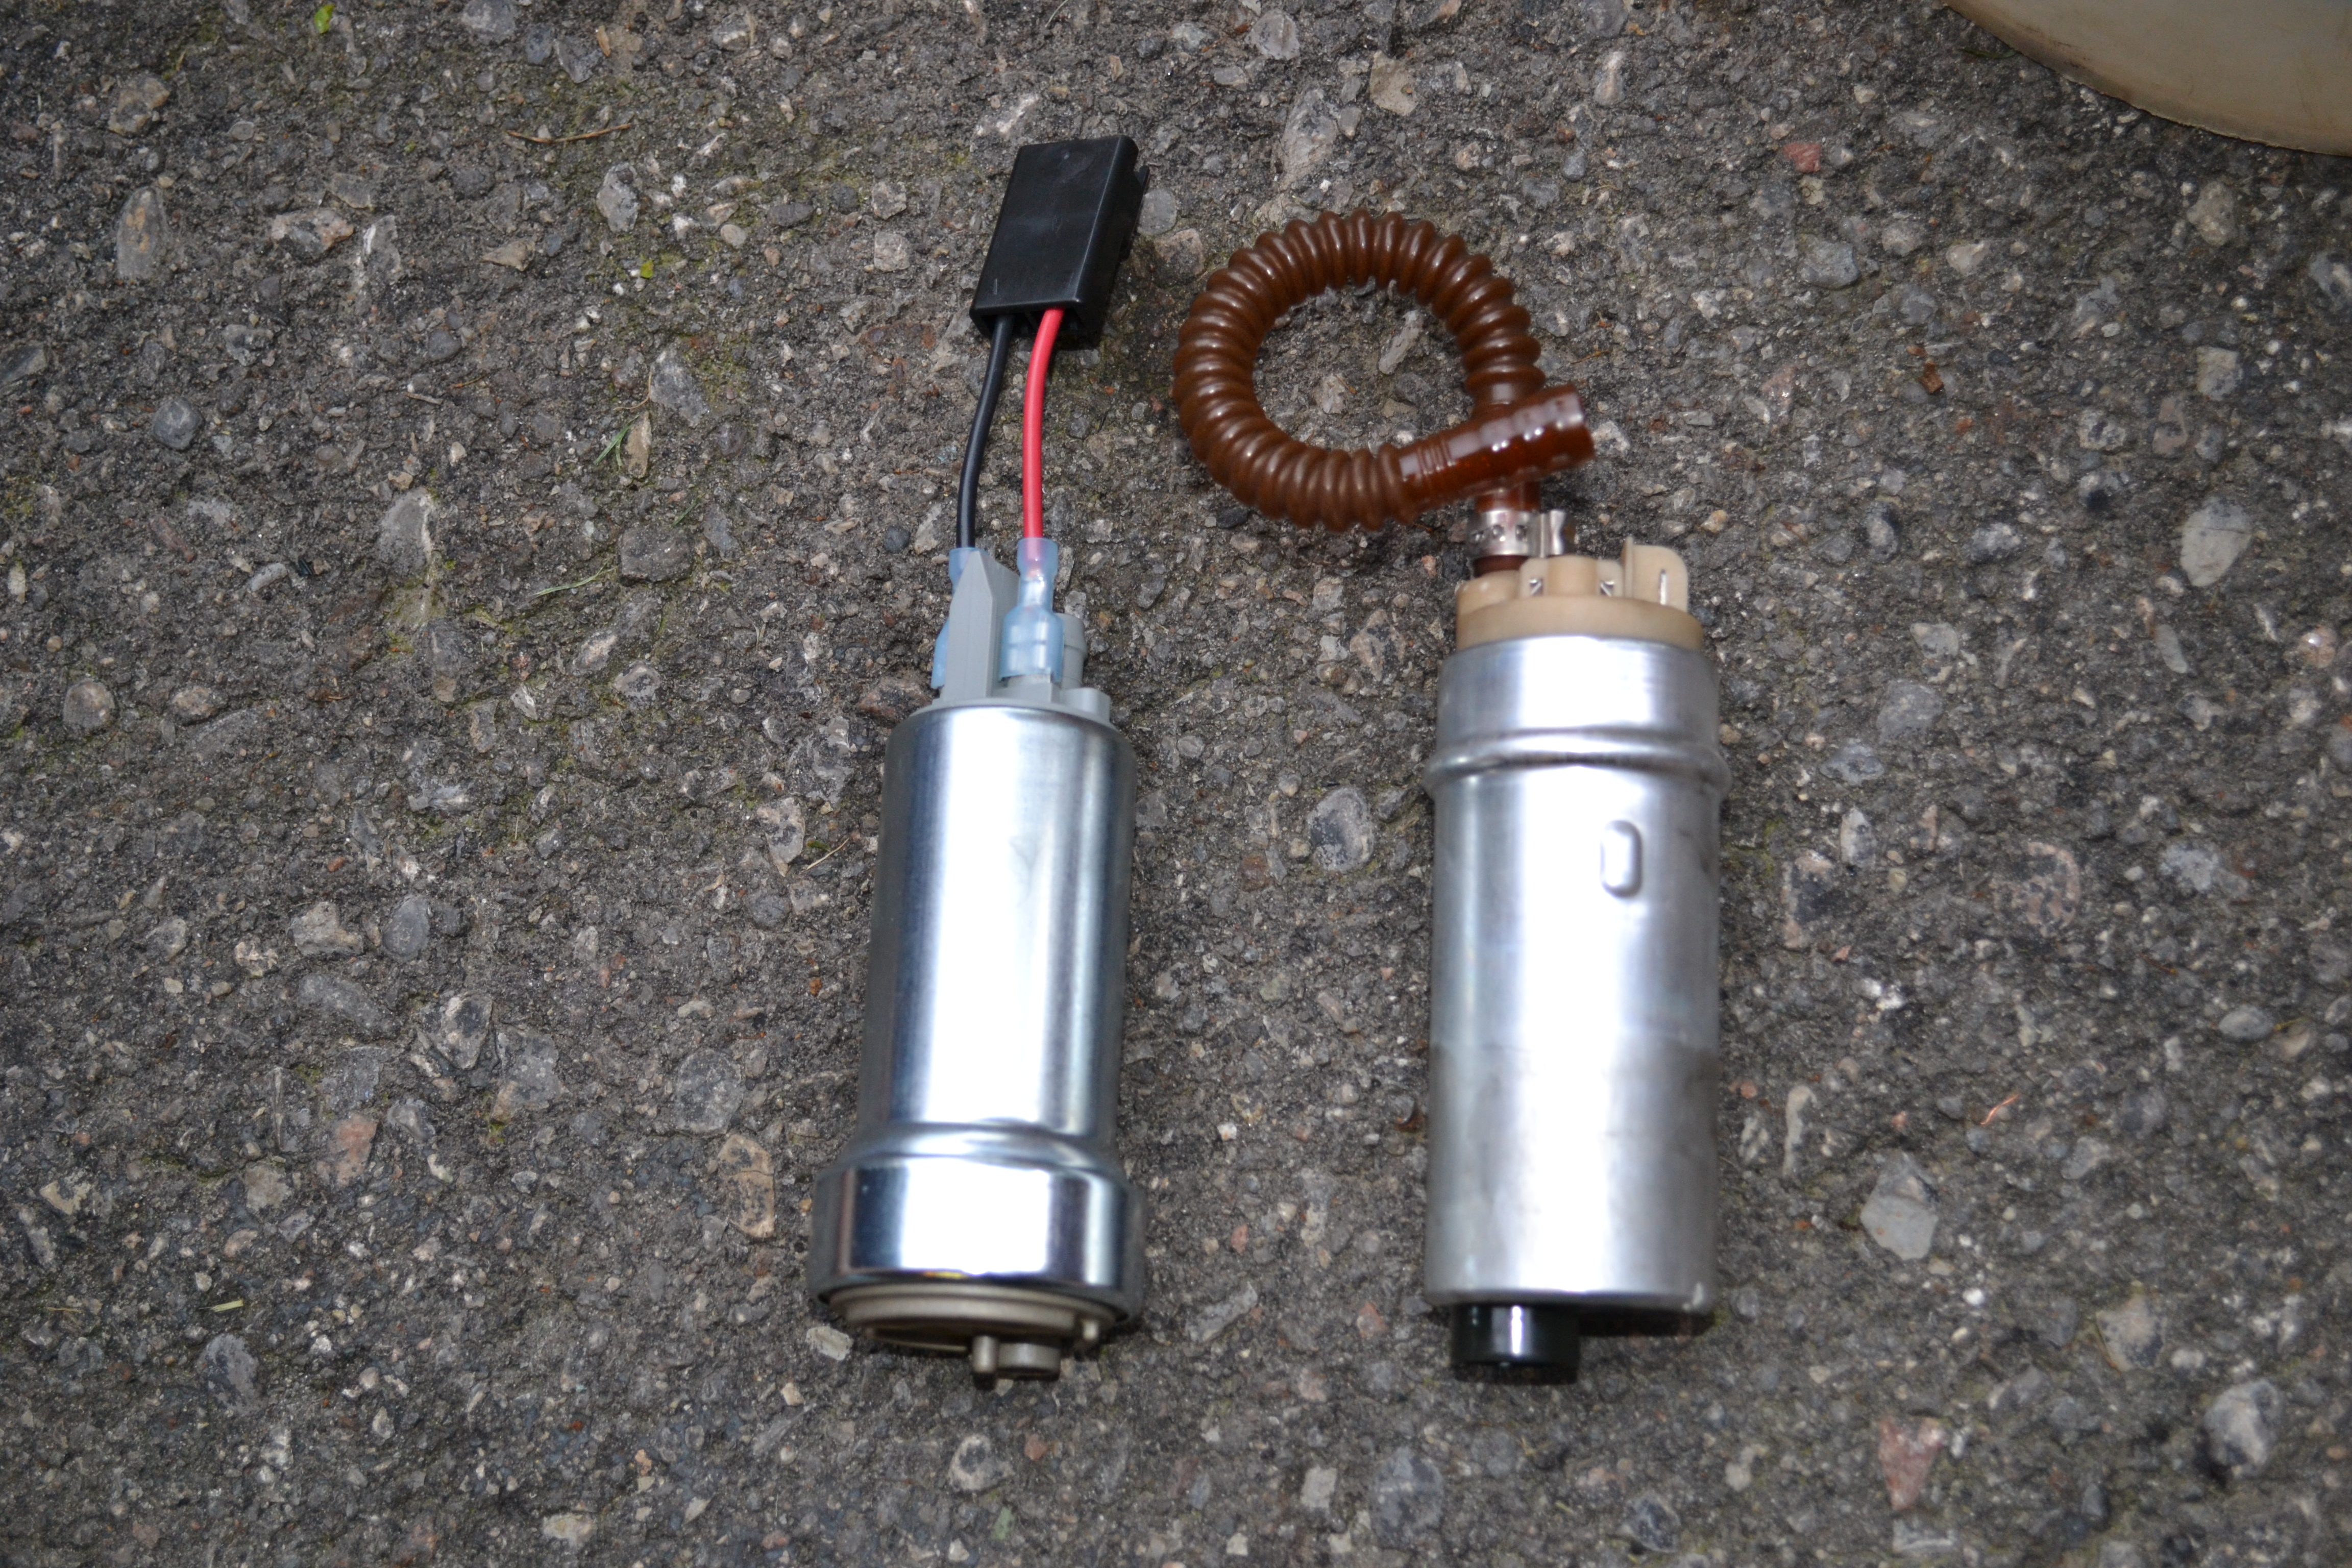
walbro on left vs oem on the right
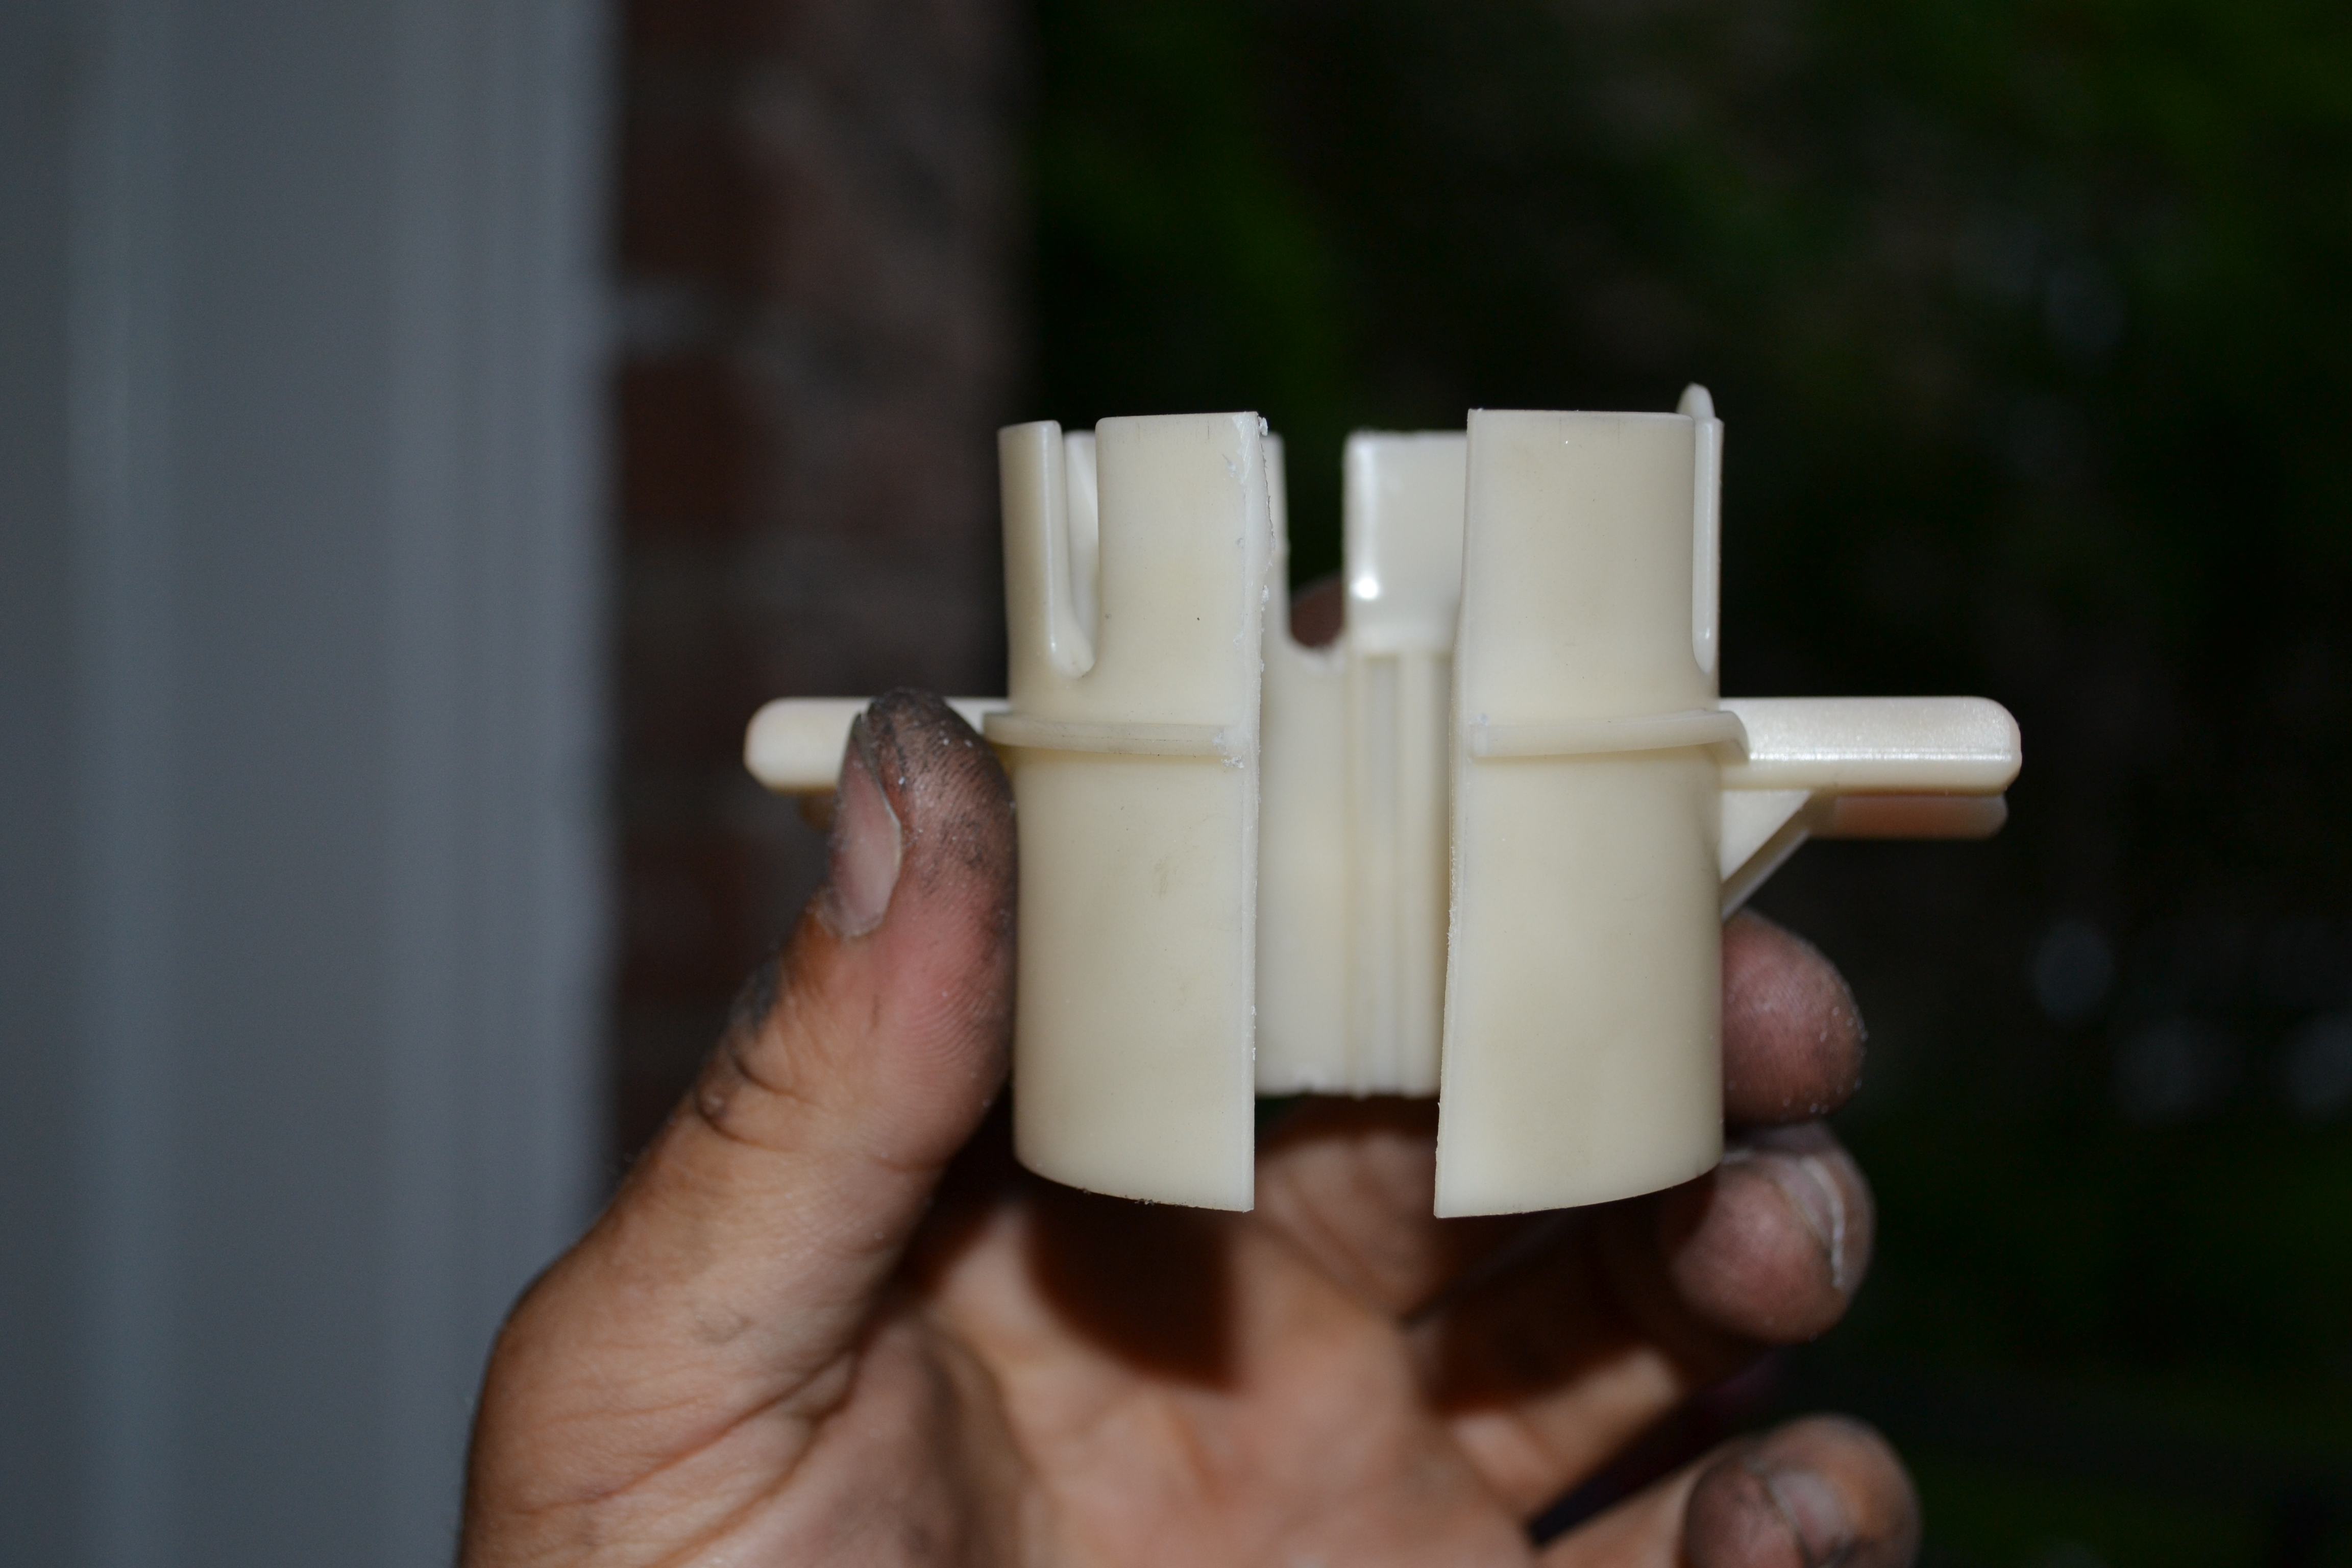
it didnt fit in the stock holder so I cut a section of it out and then just hose clamped it together!
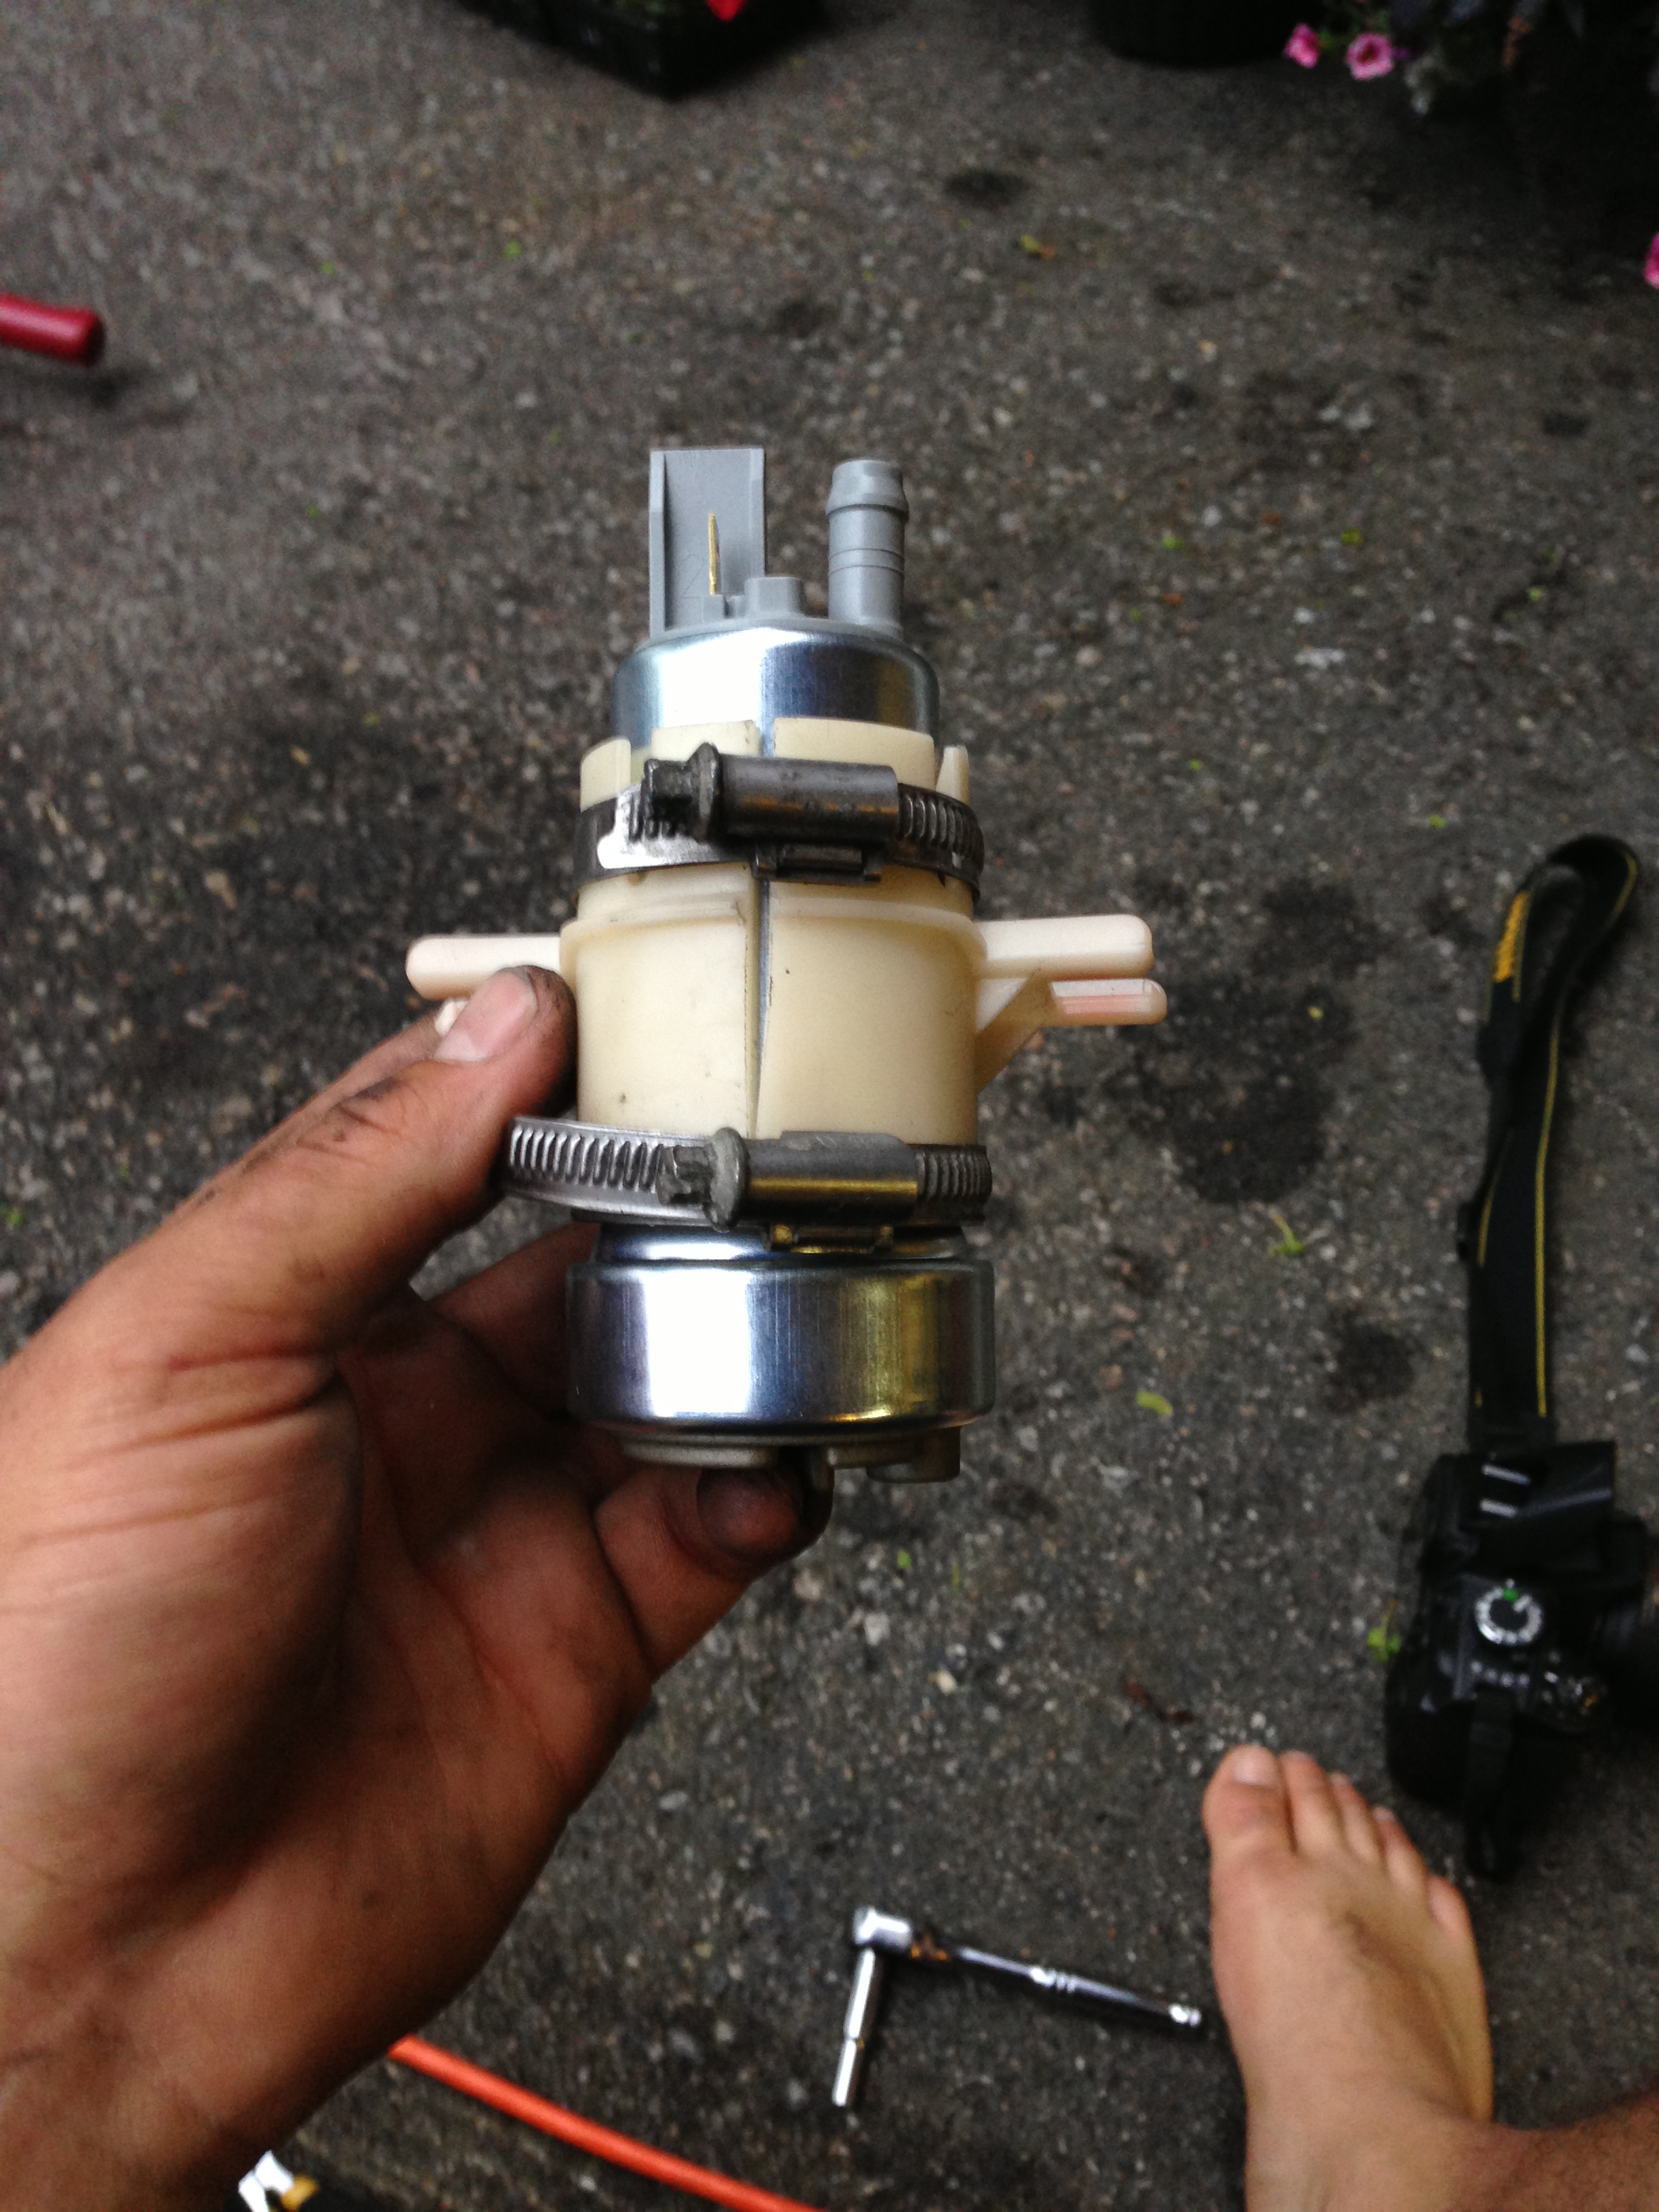
Done! I just reassembled everything back together and that was that!
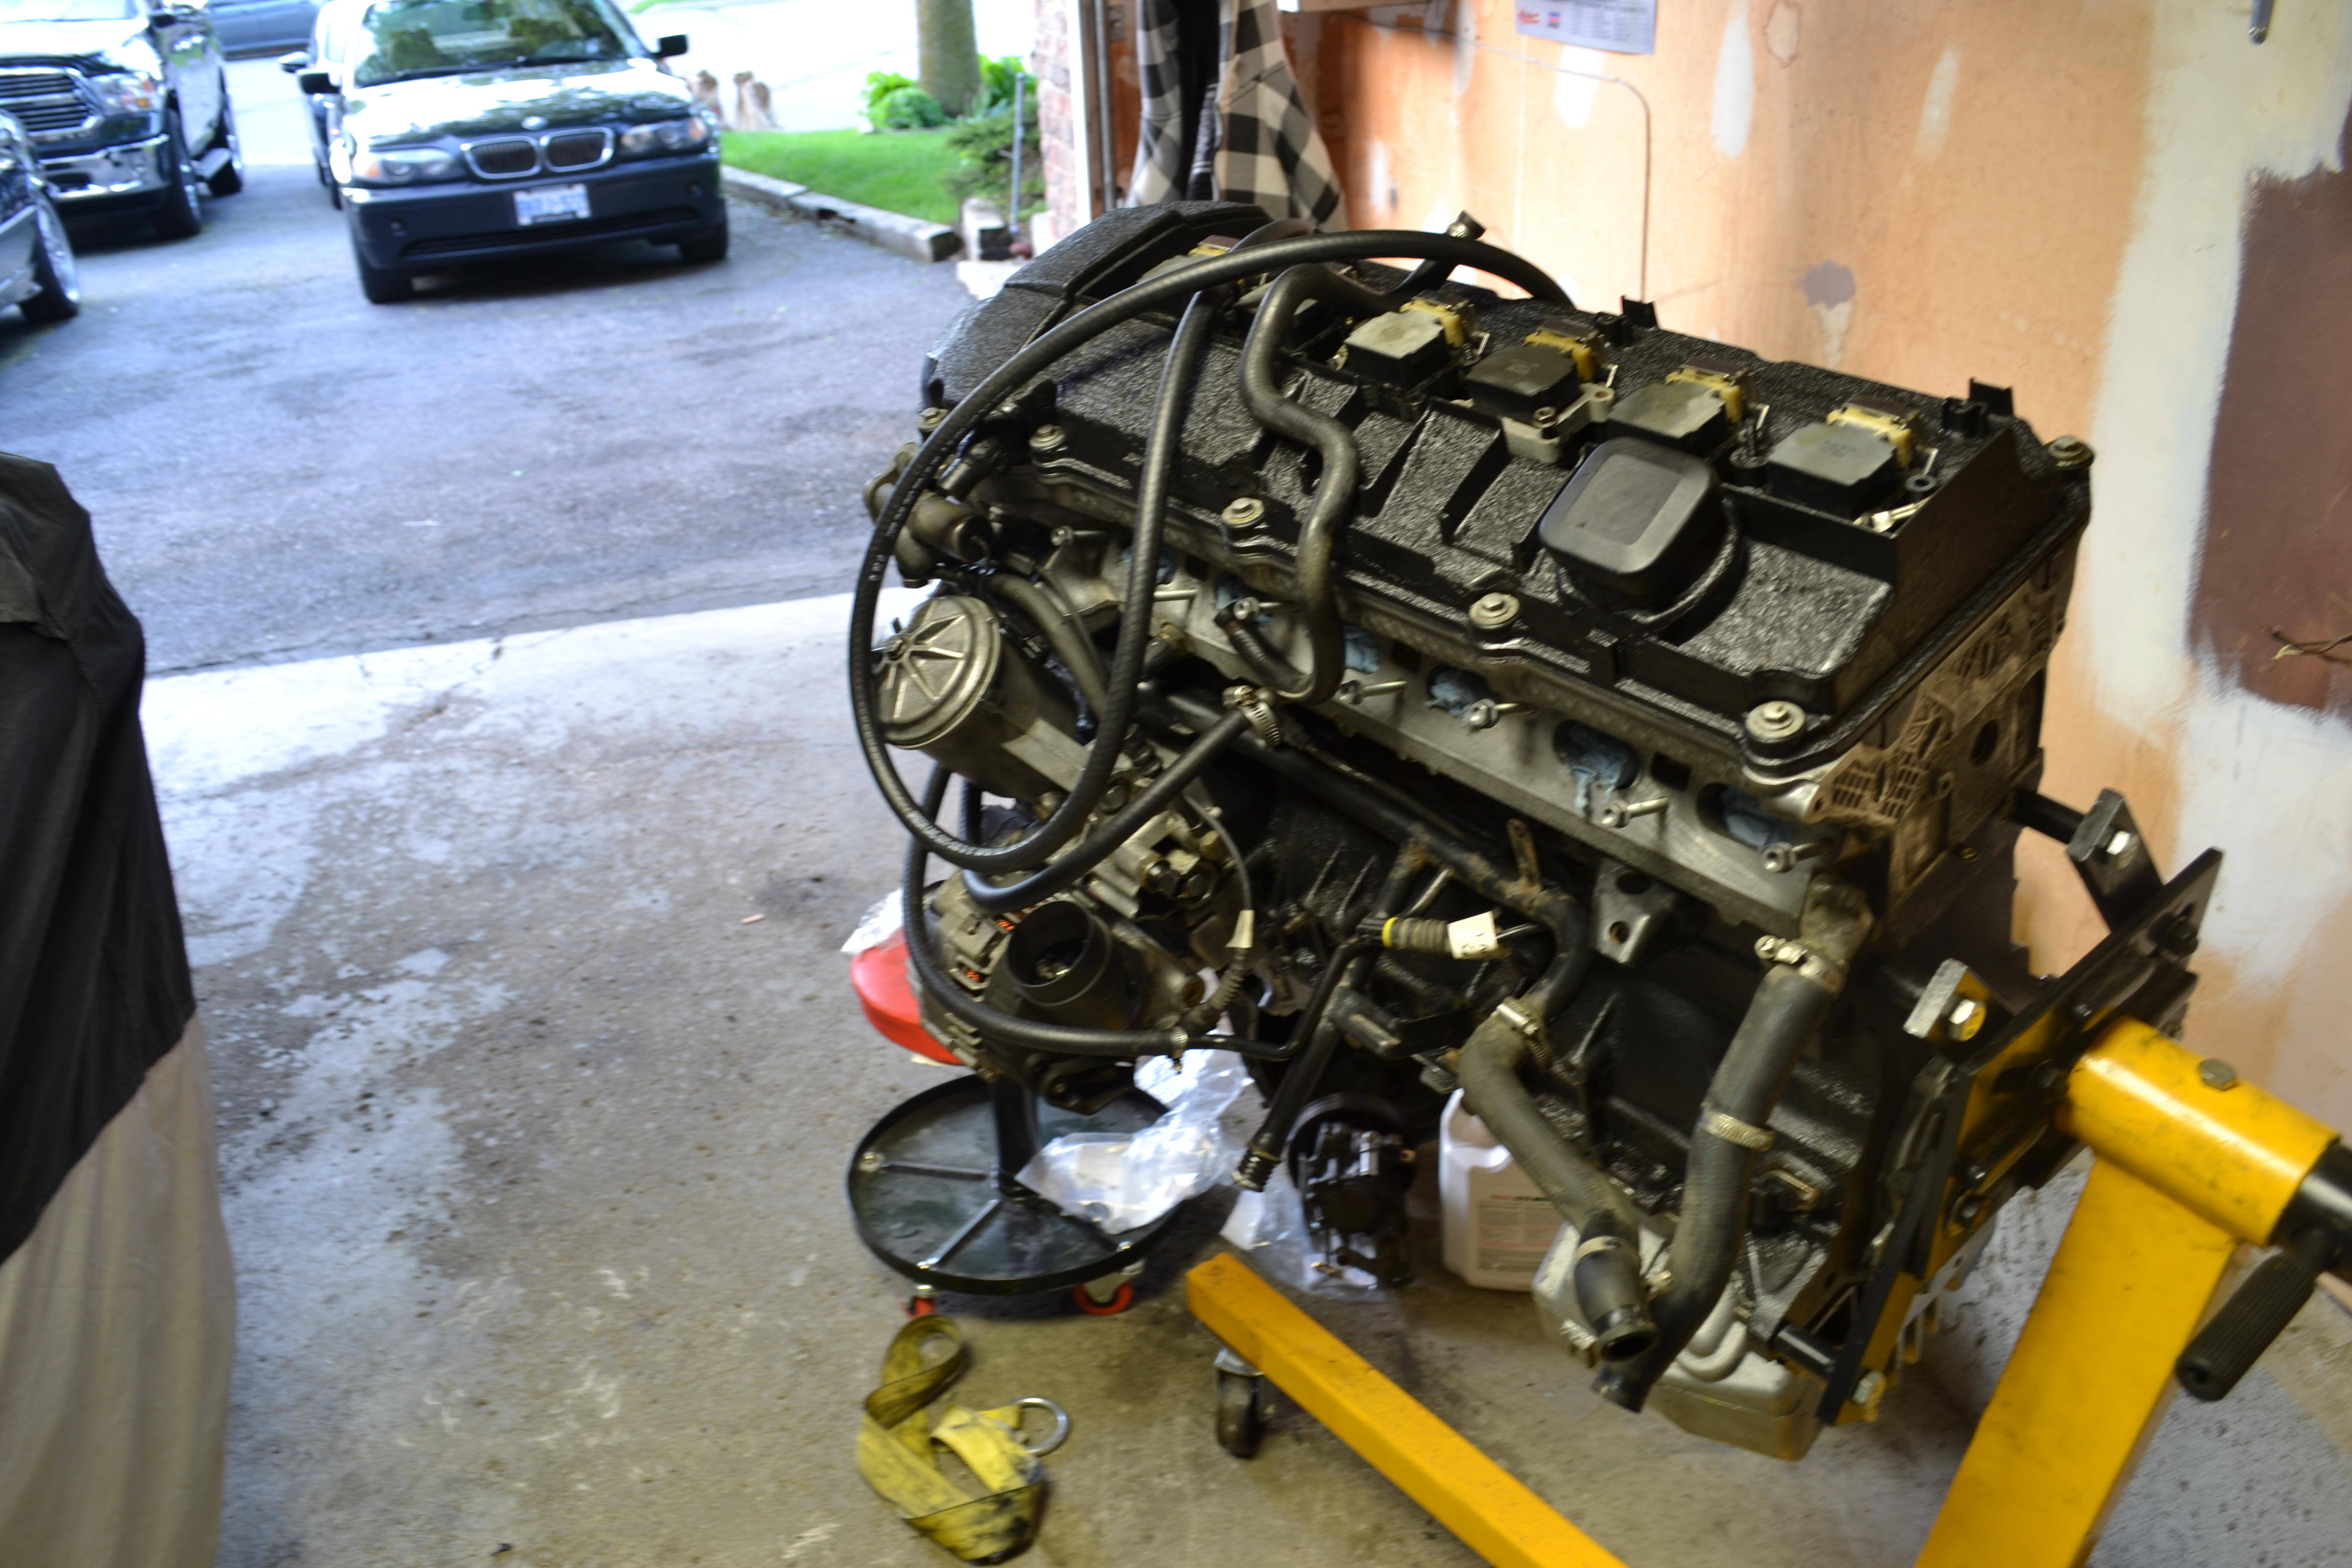
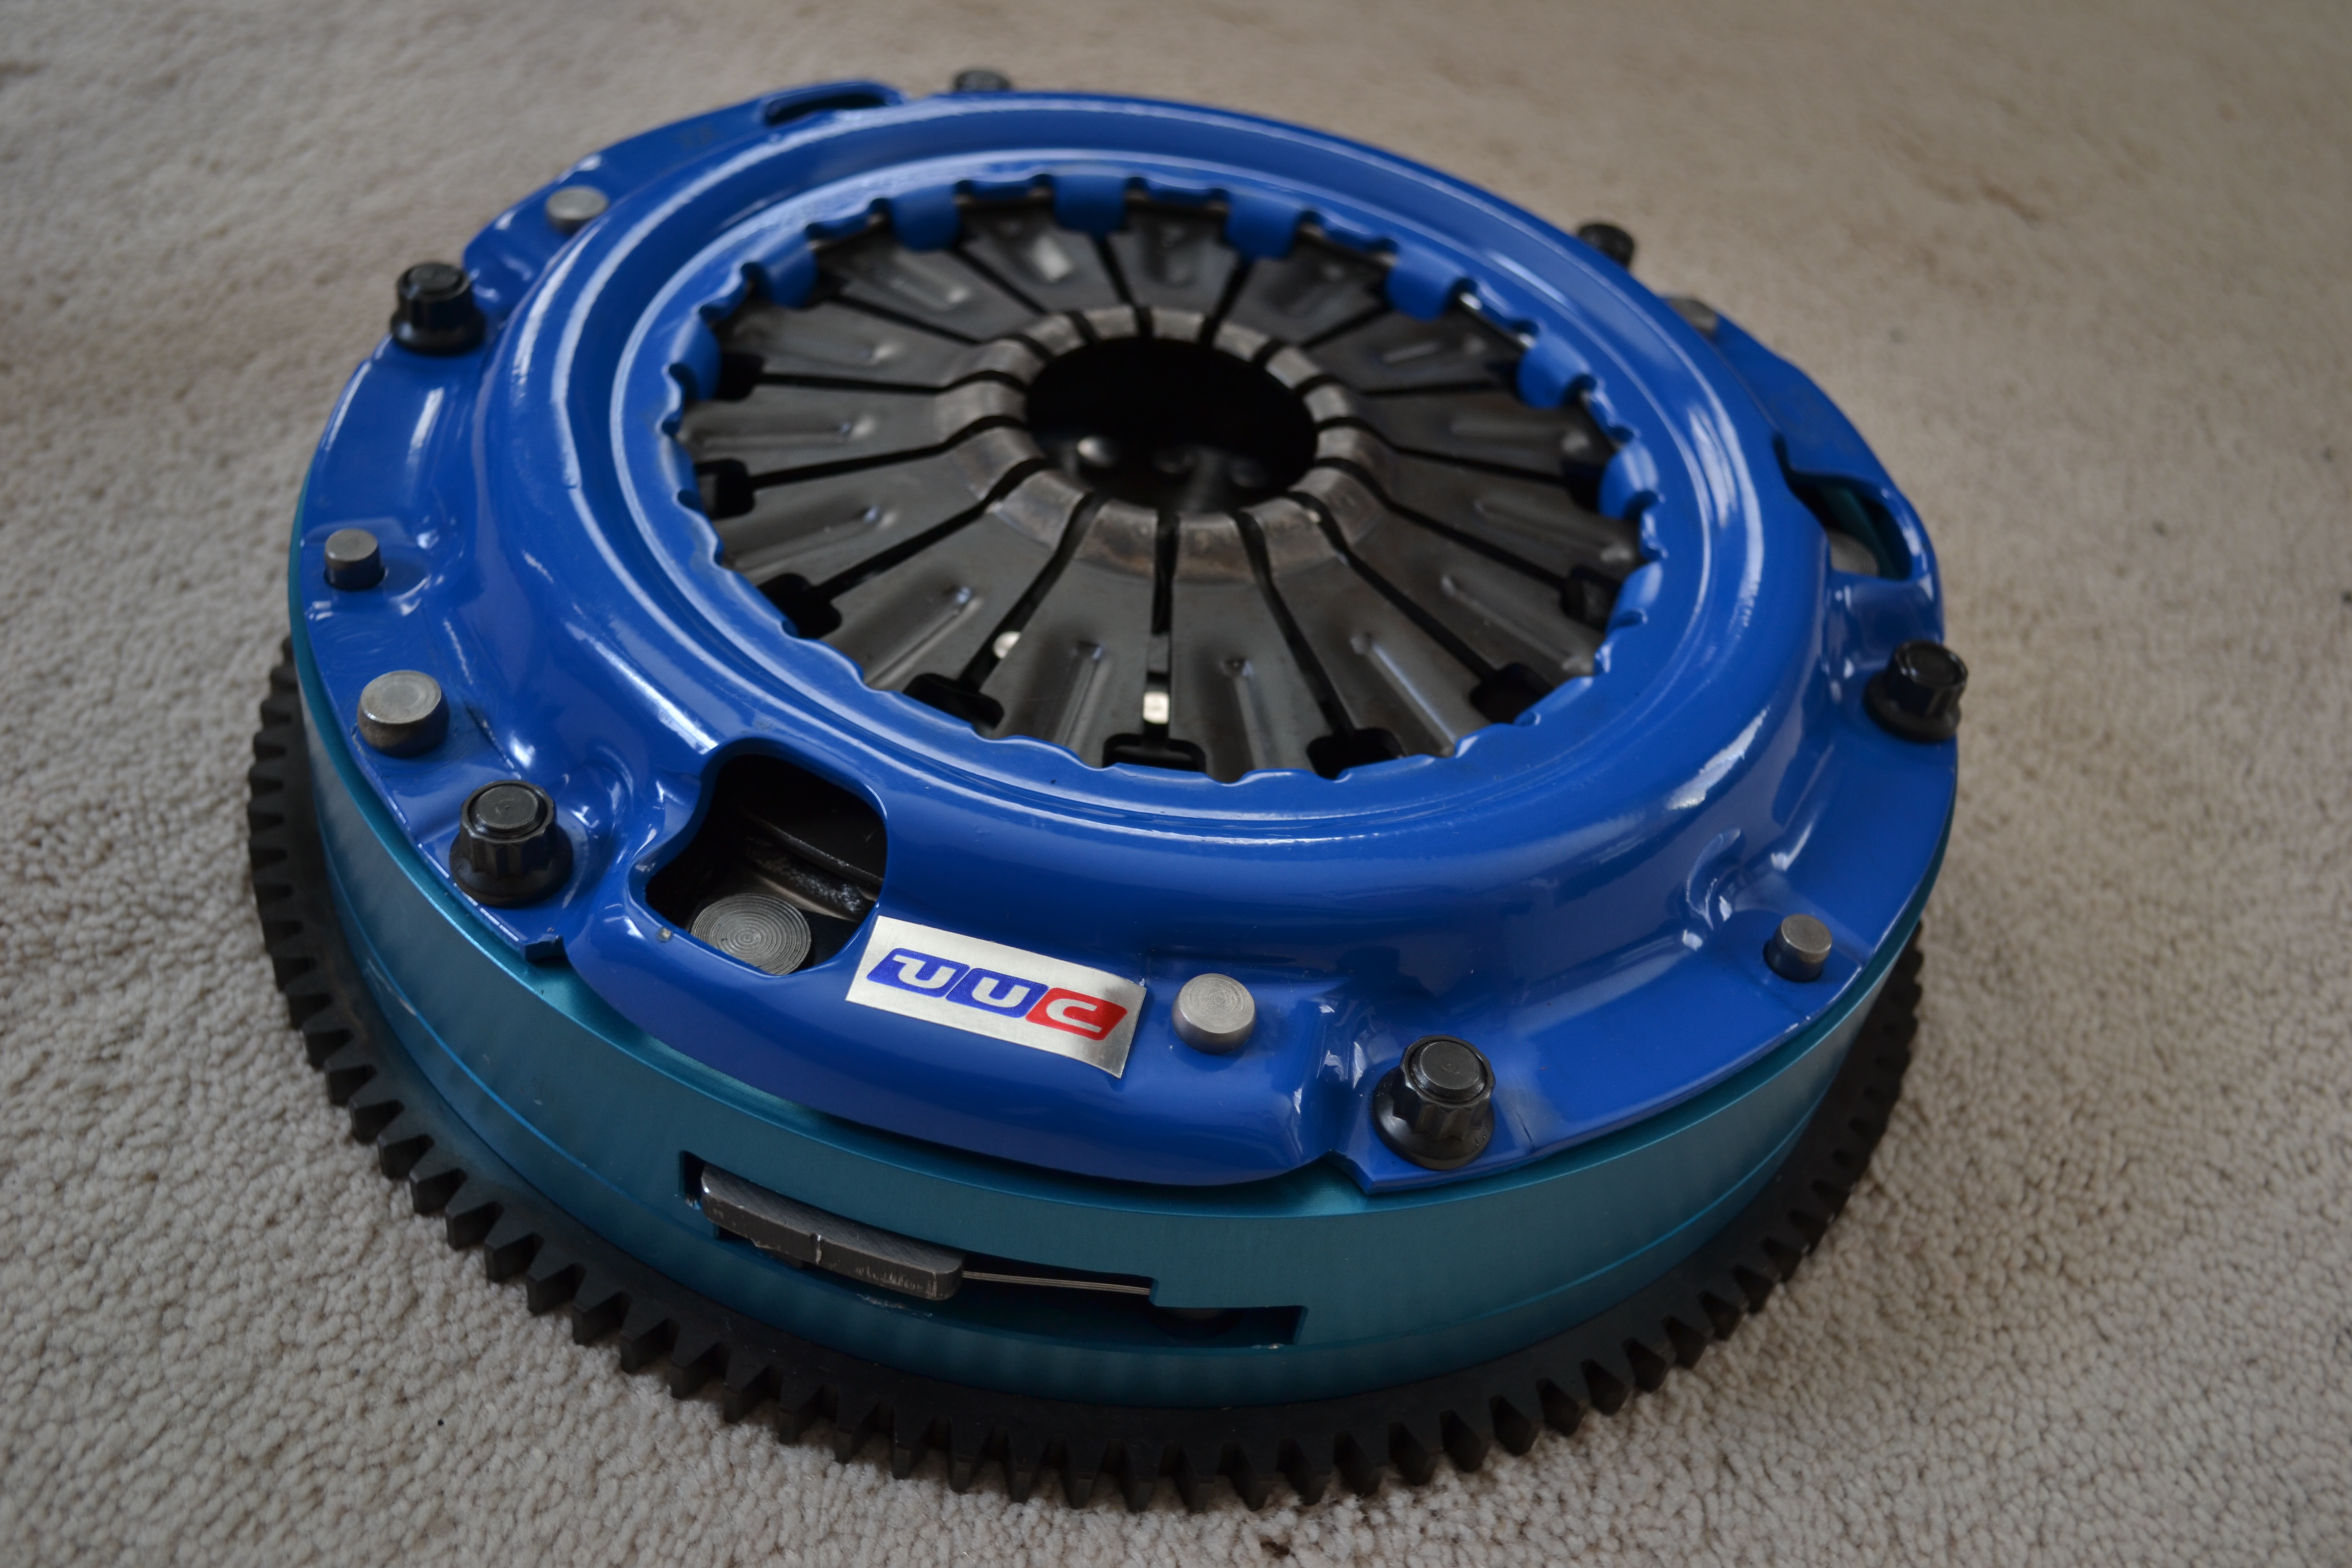
So right now I’m just waiting on my manifold to arrive which should be here any day now, i received my clutch a few days ago too. I went with a twin disk to be able to hold the power and torque.
And that’s where im at right now, just waiting on my manifold to arrive so i can install it on the motor and drop the motor in. After that, its intercooler piping mock up then start up! Be sure to keep checking this space frequently as there should be another update very soon! Happy Blogging!

Beautiful