
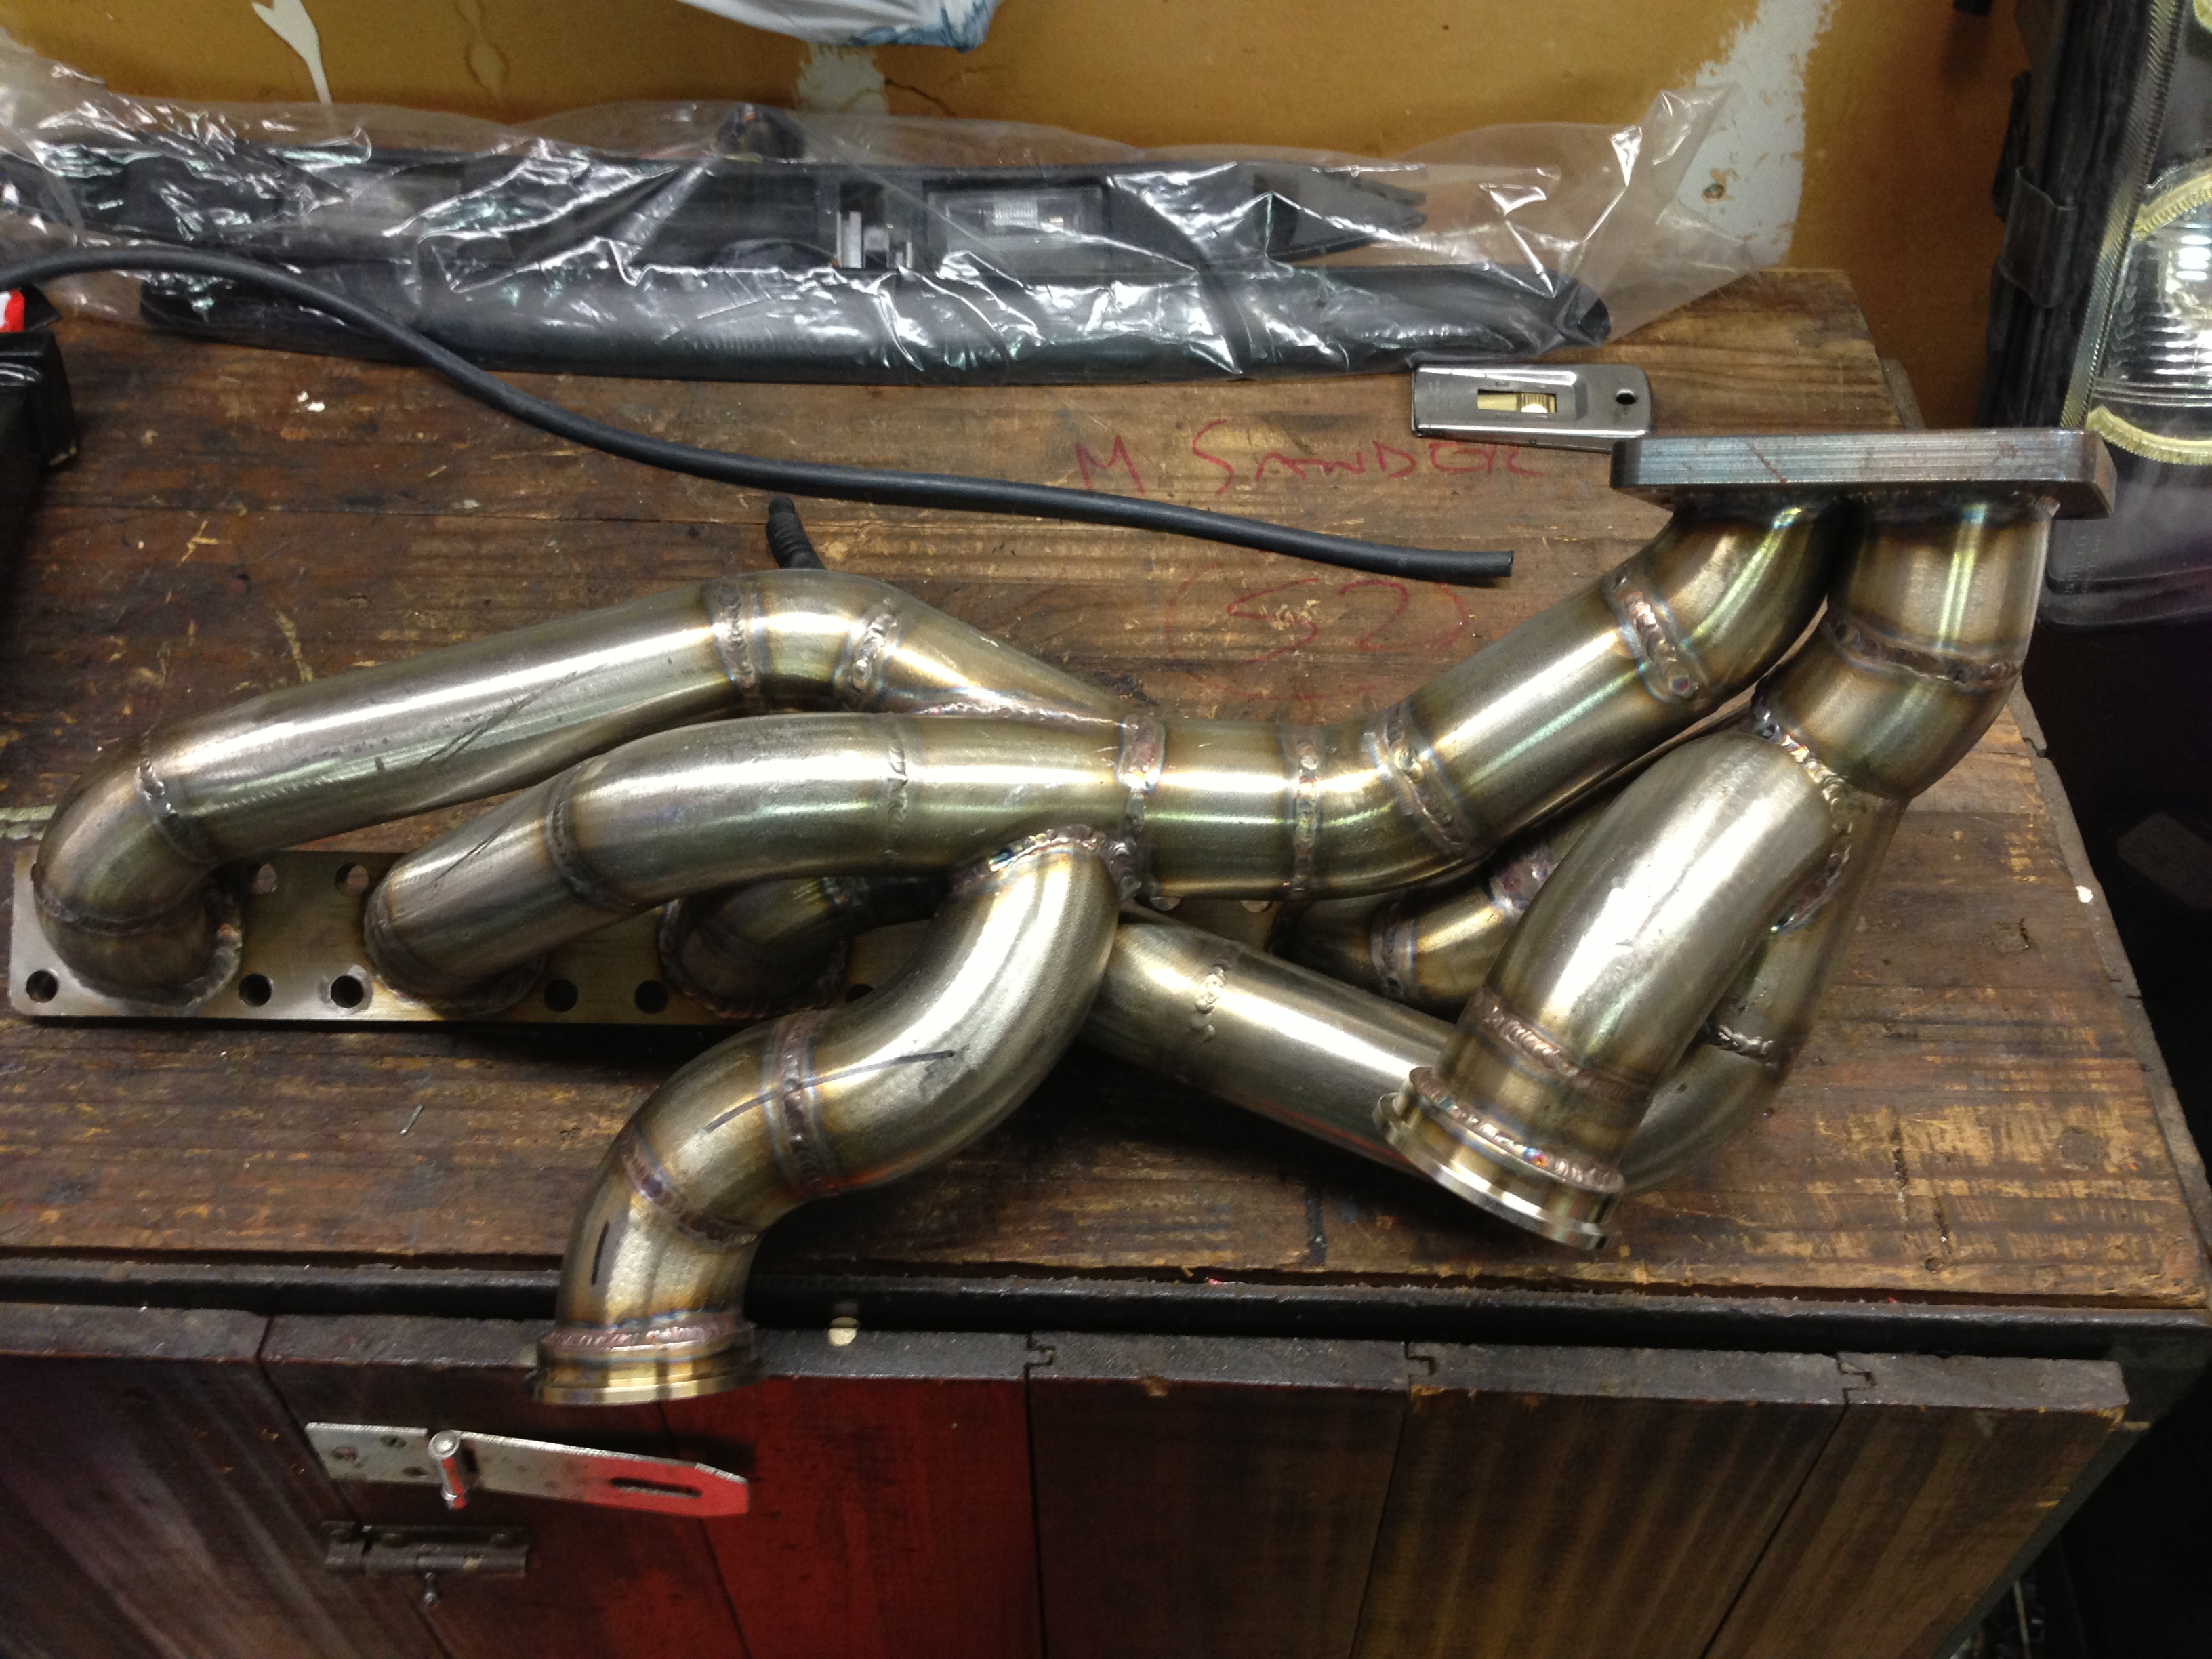
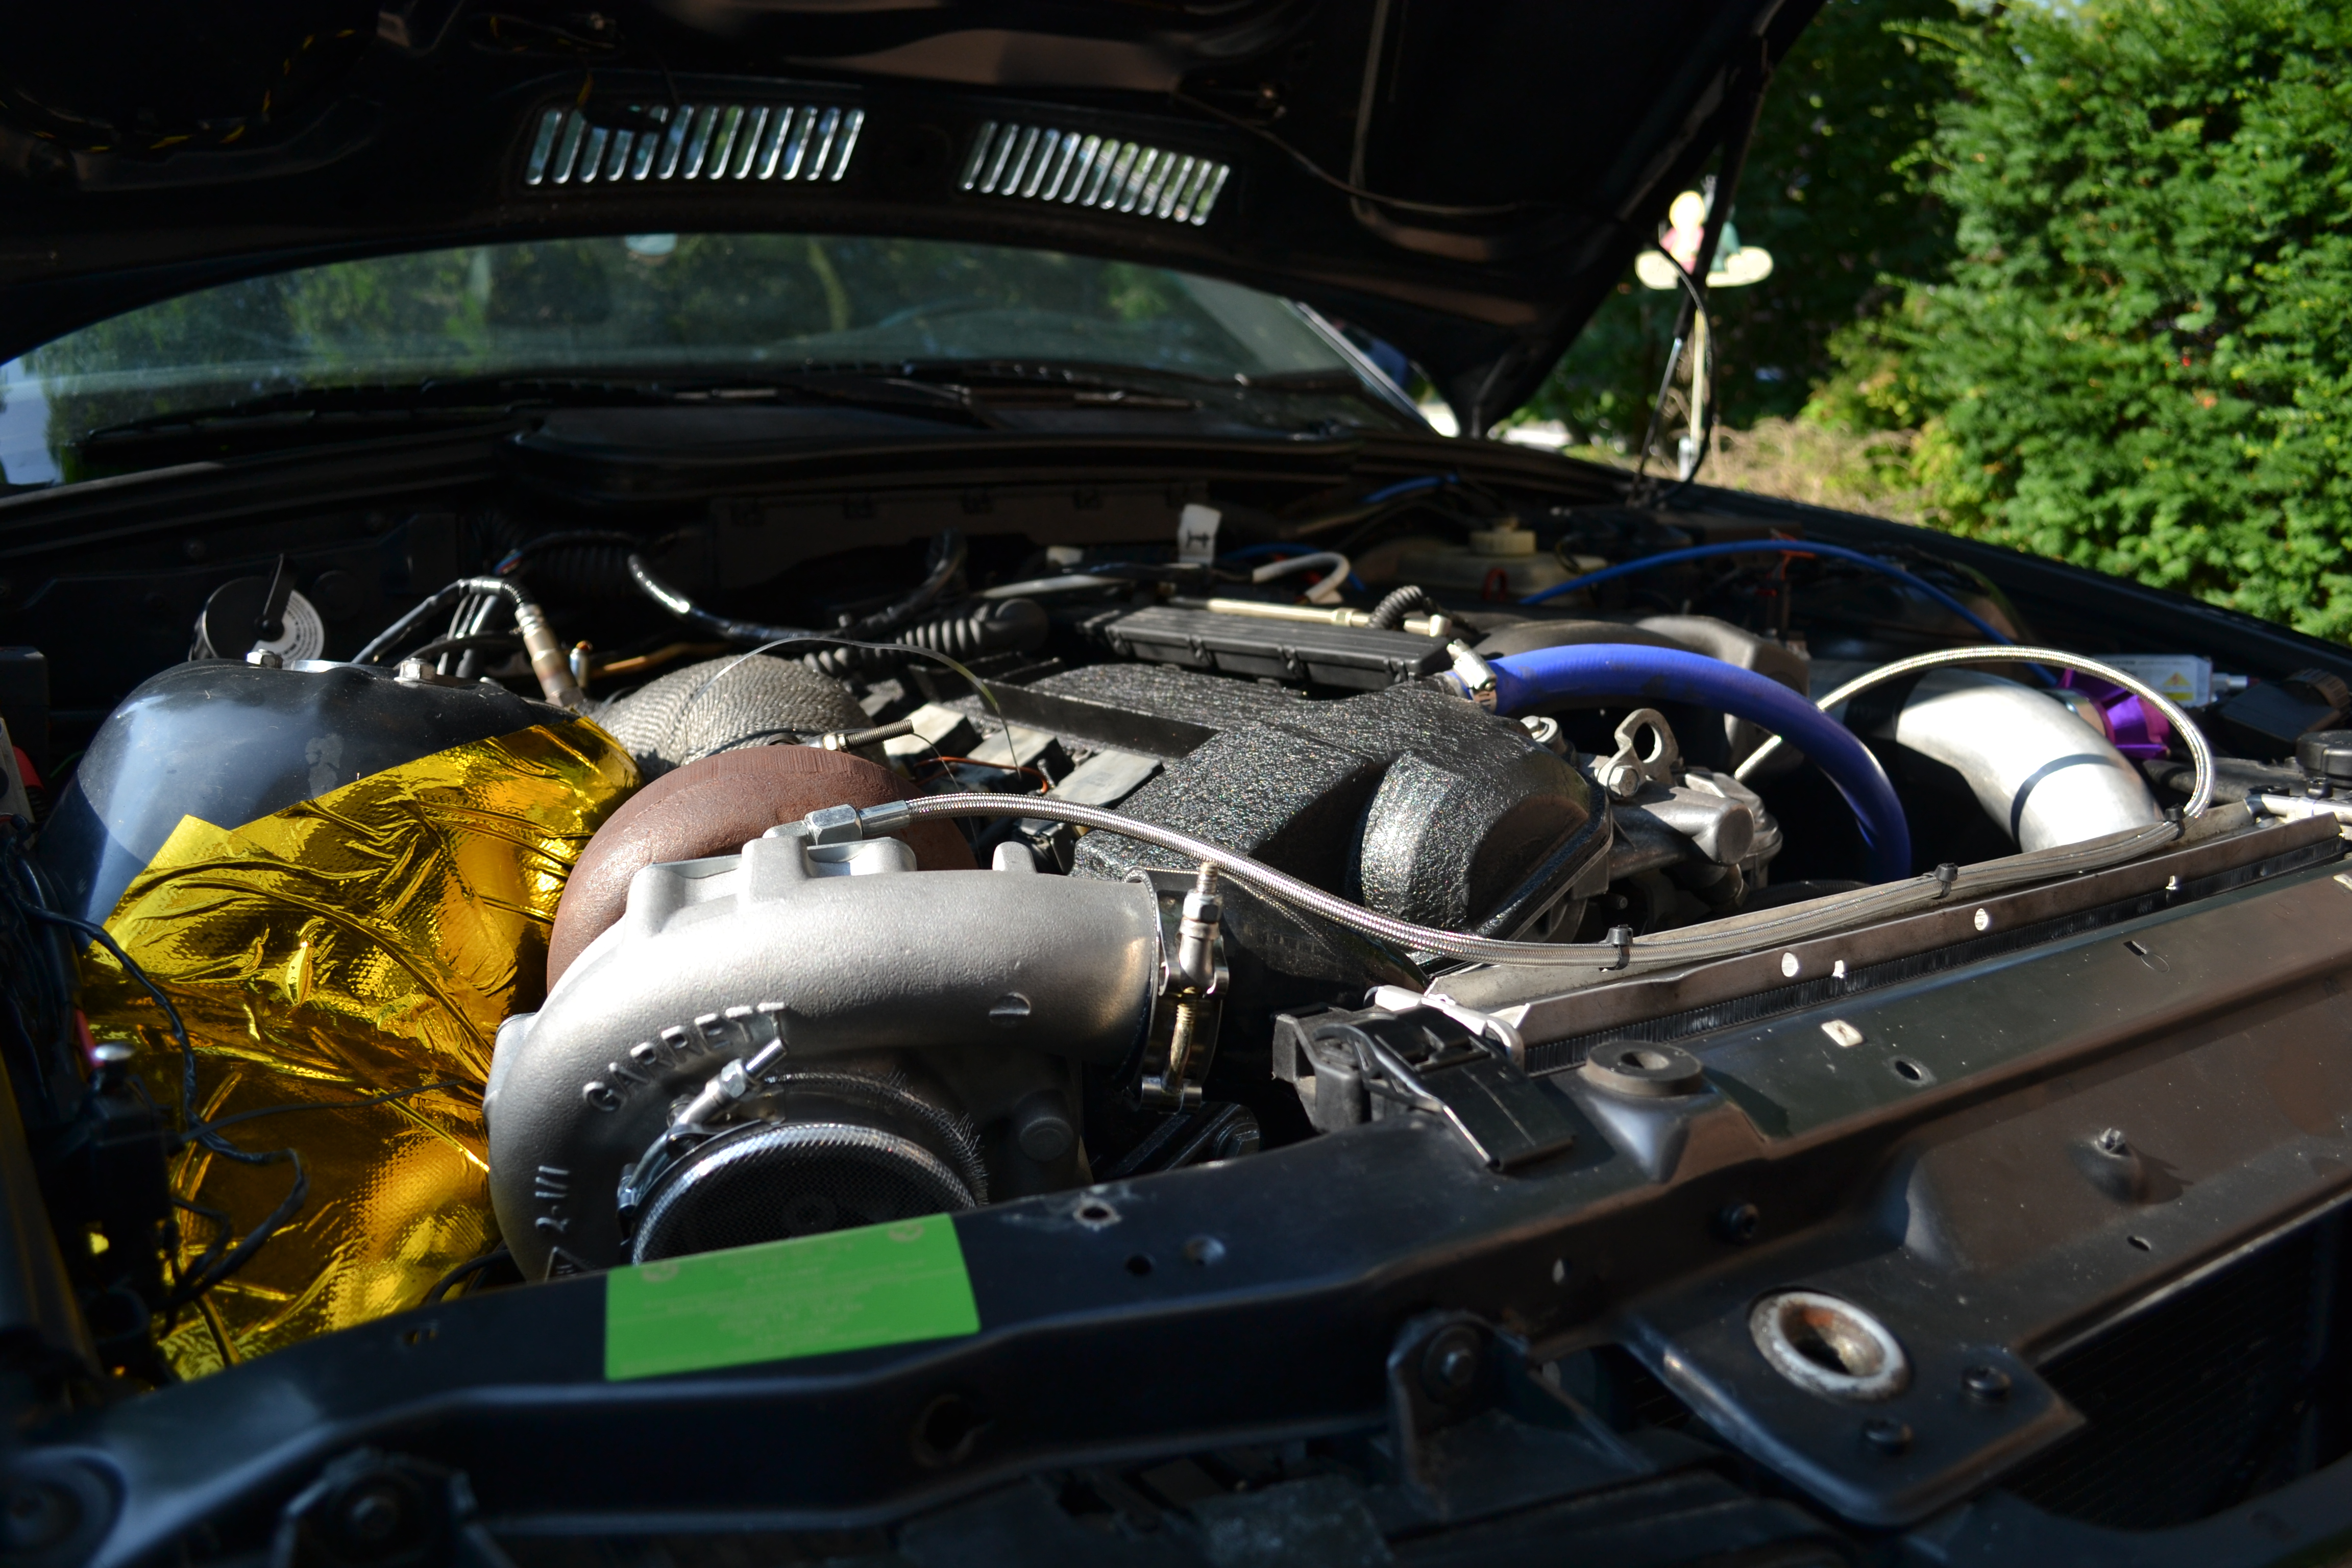
So onto the final leg of the build, parts continued to roll in and progress was steady. My manifold arrived from florida from a mad scientist named Otis, who creates these beautiful pieces of artwork from time to time. He owns an old bmw 3 series (e30) that runs a 3.5L SOHC inline 6 with a massive BWS300sx 91/79 strapped on to it. The manifold he built me is a twin scroll T4 topmount with dual 44mm wastegate dumps. The wastegates re-circ into a 3.5″ downpipe, which was also created by the mad scientist himself.
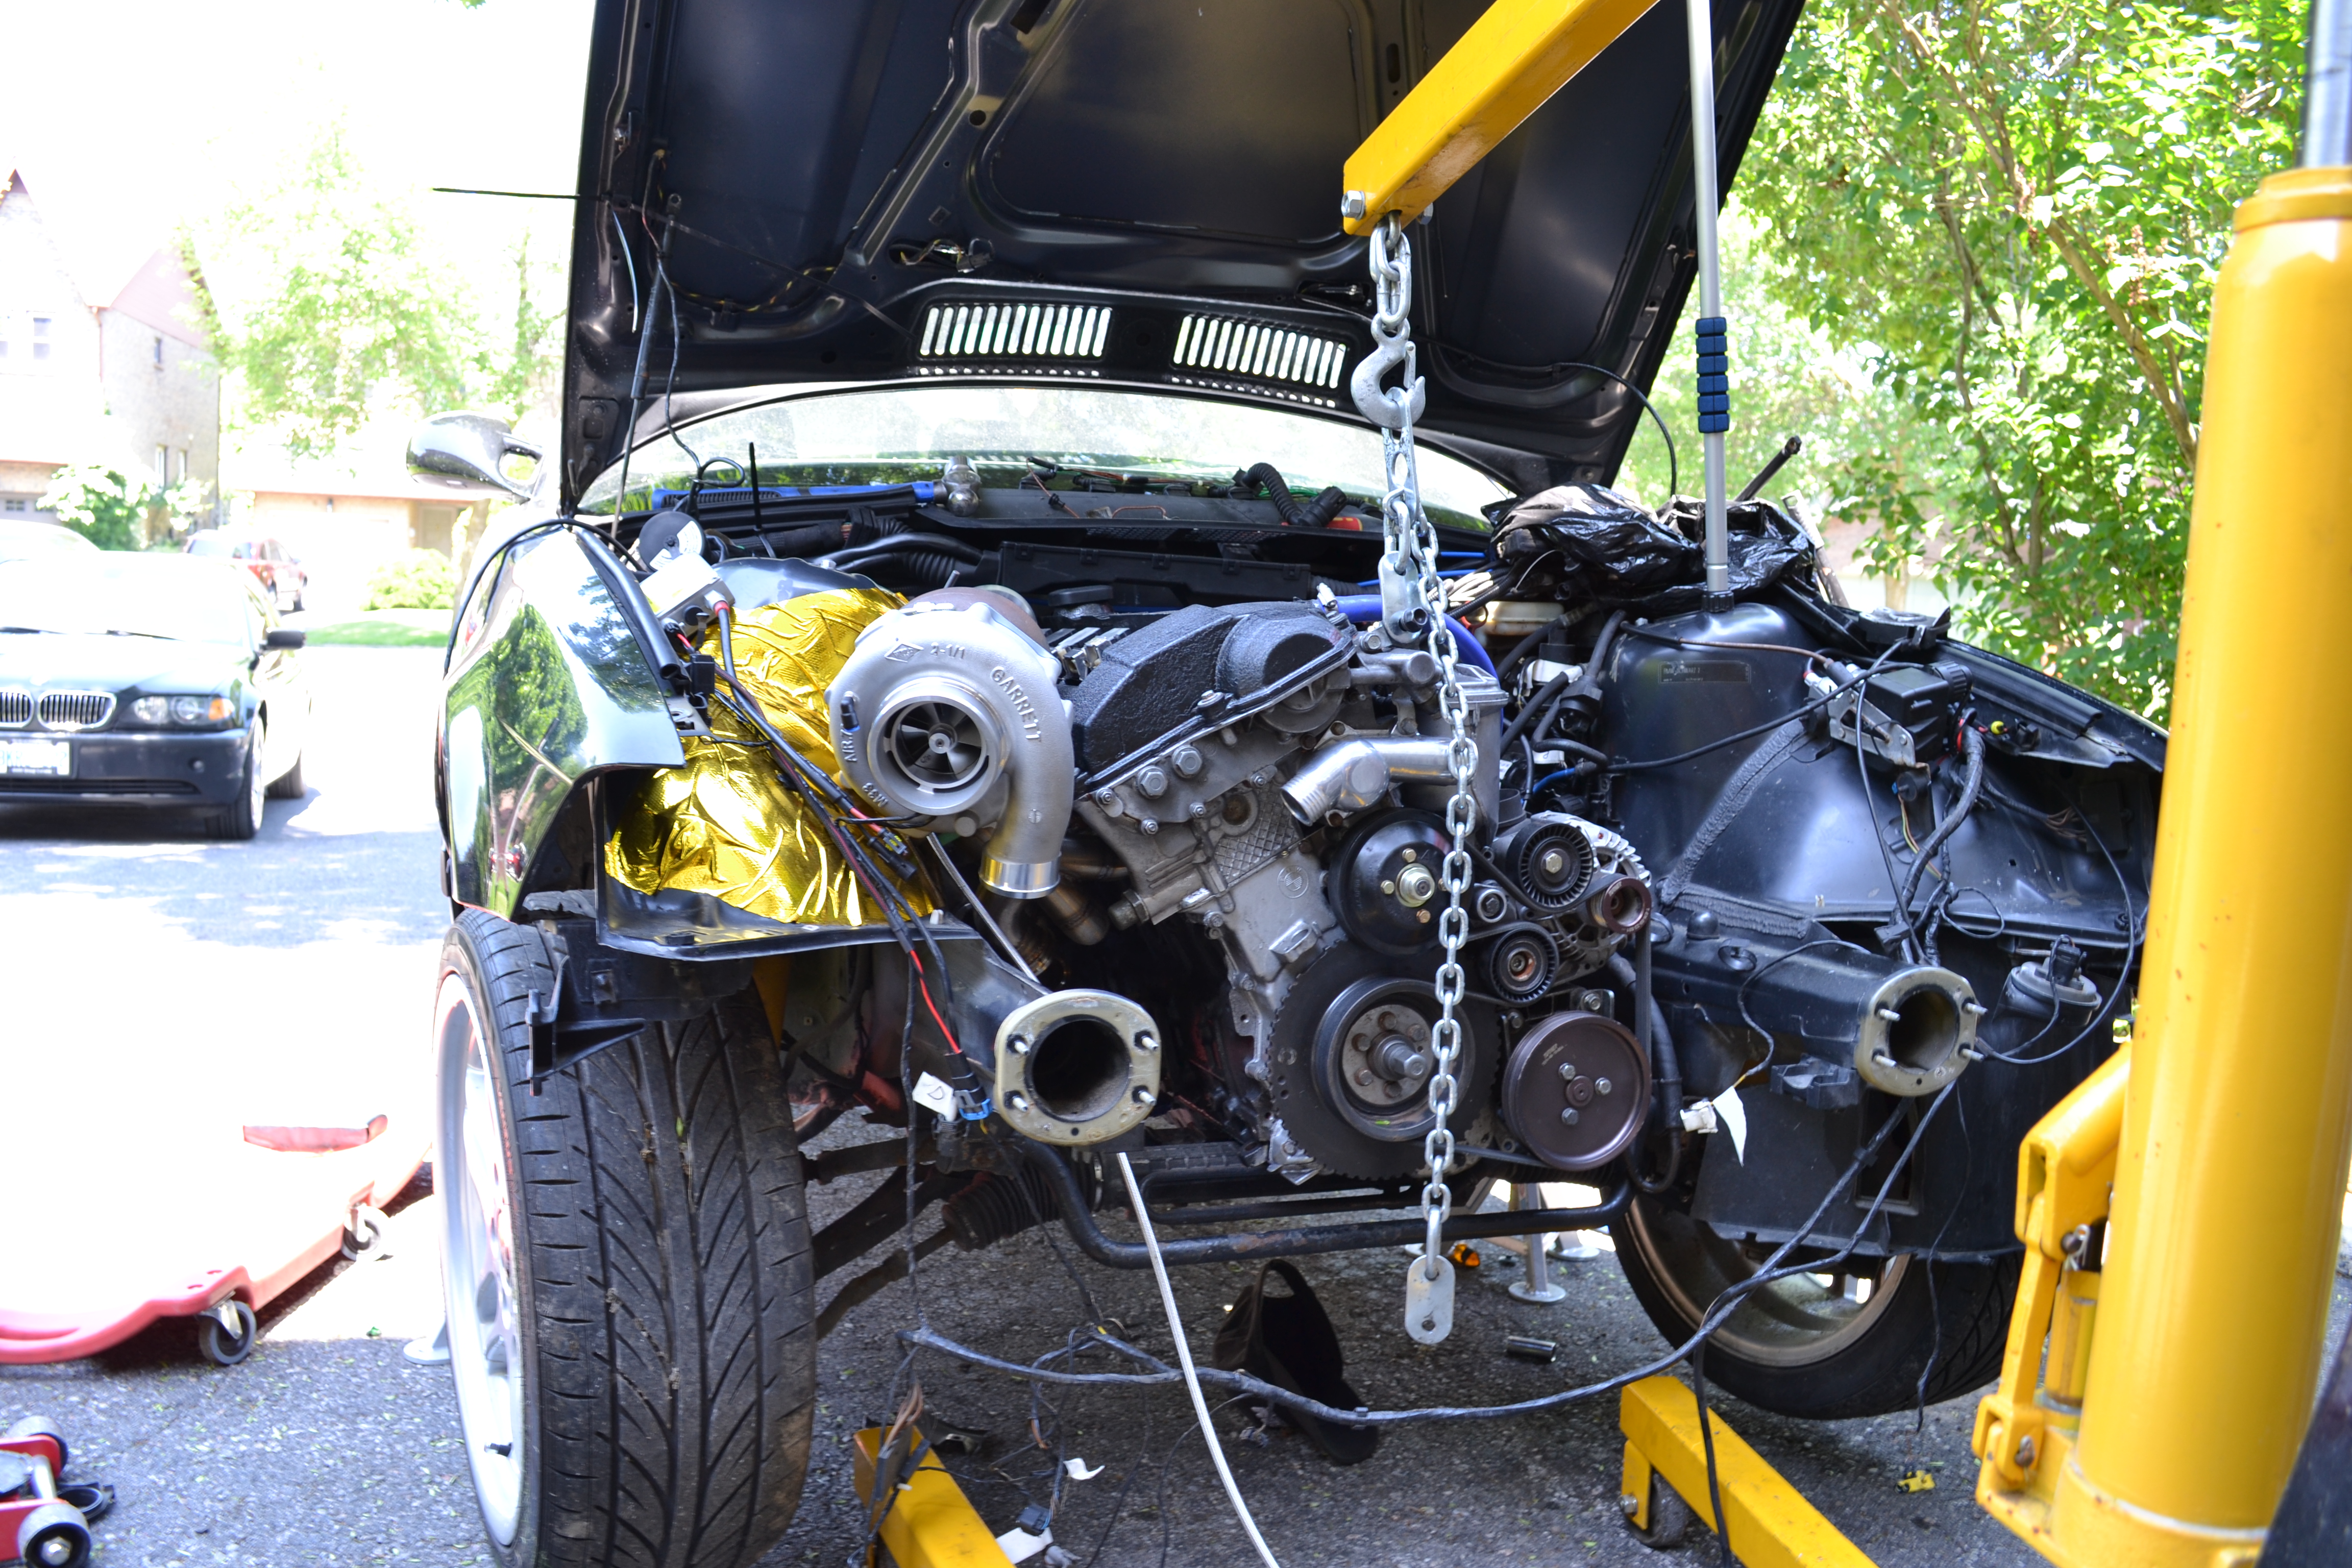
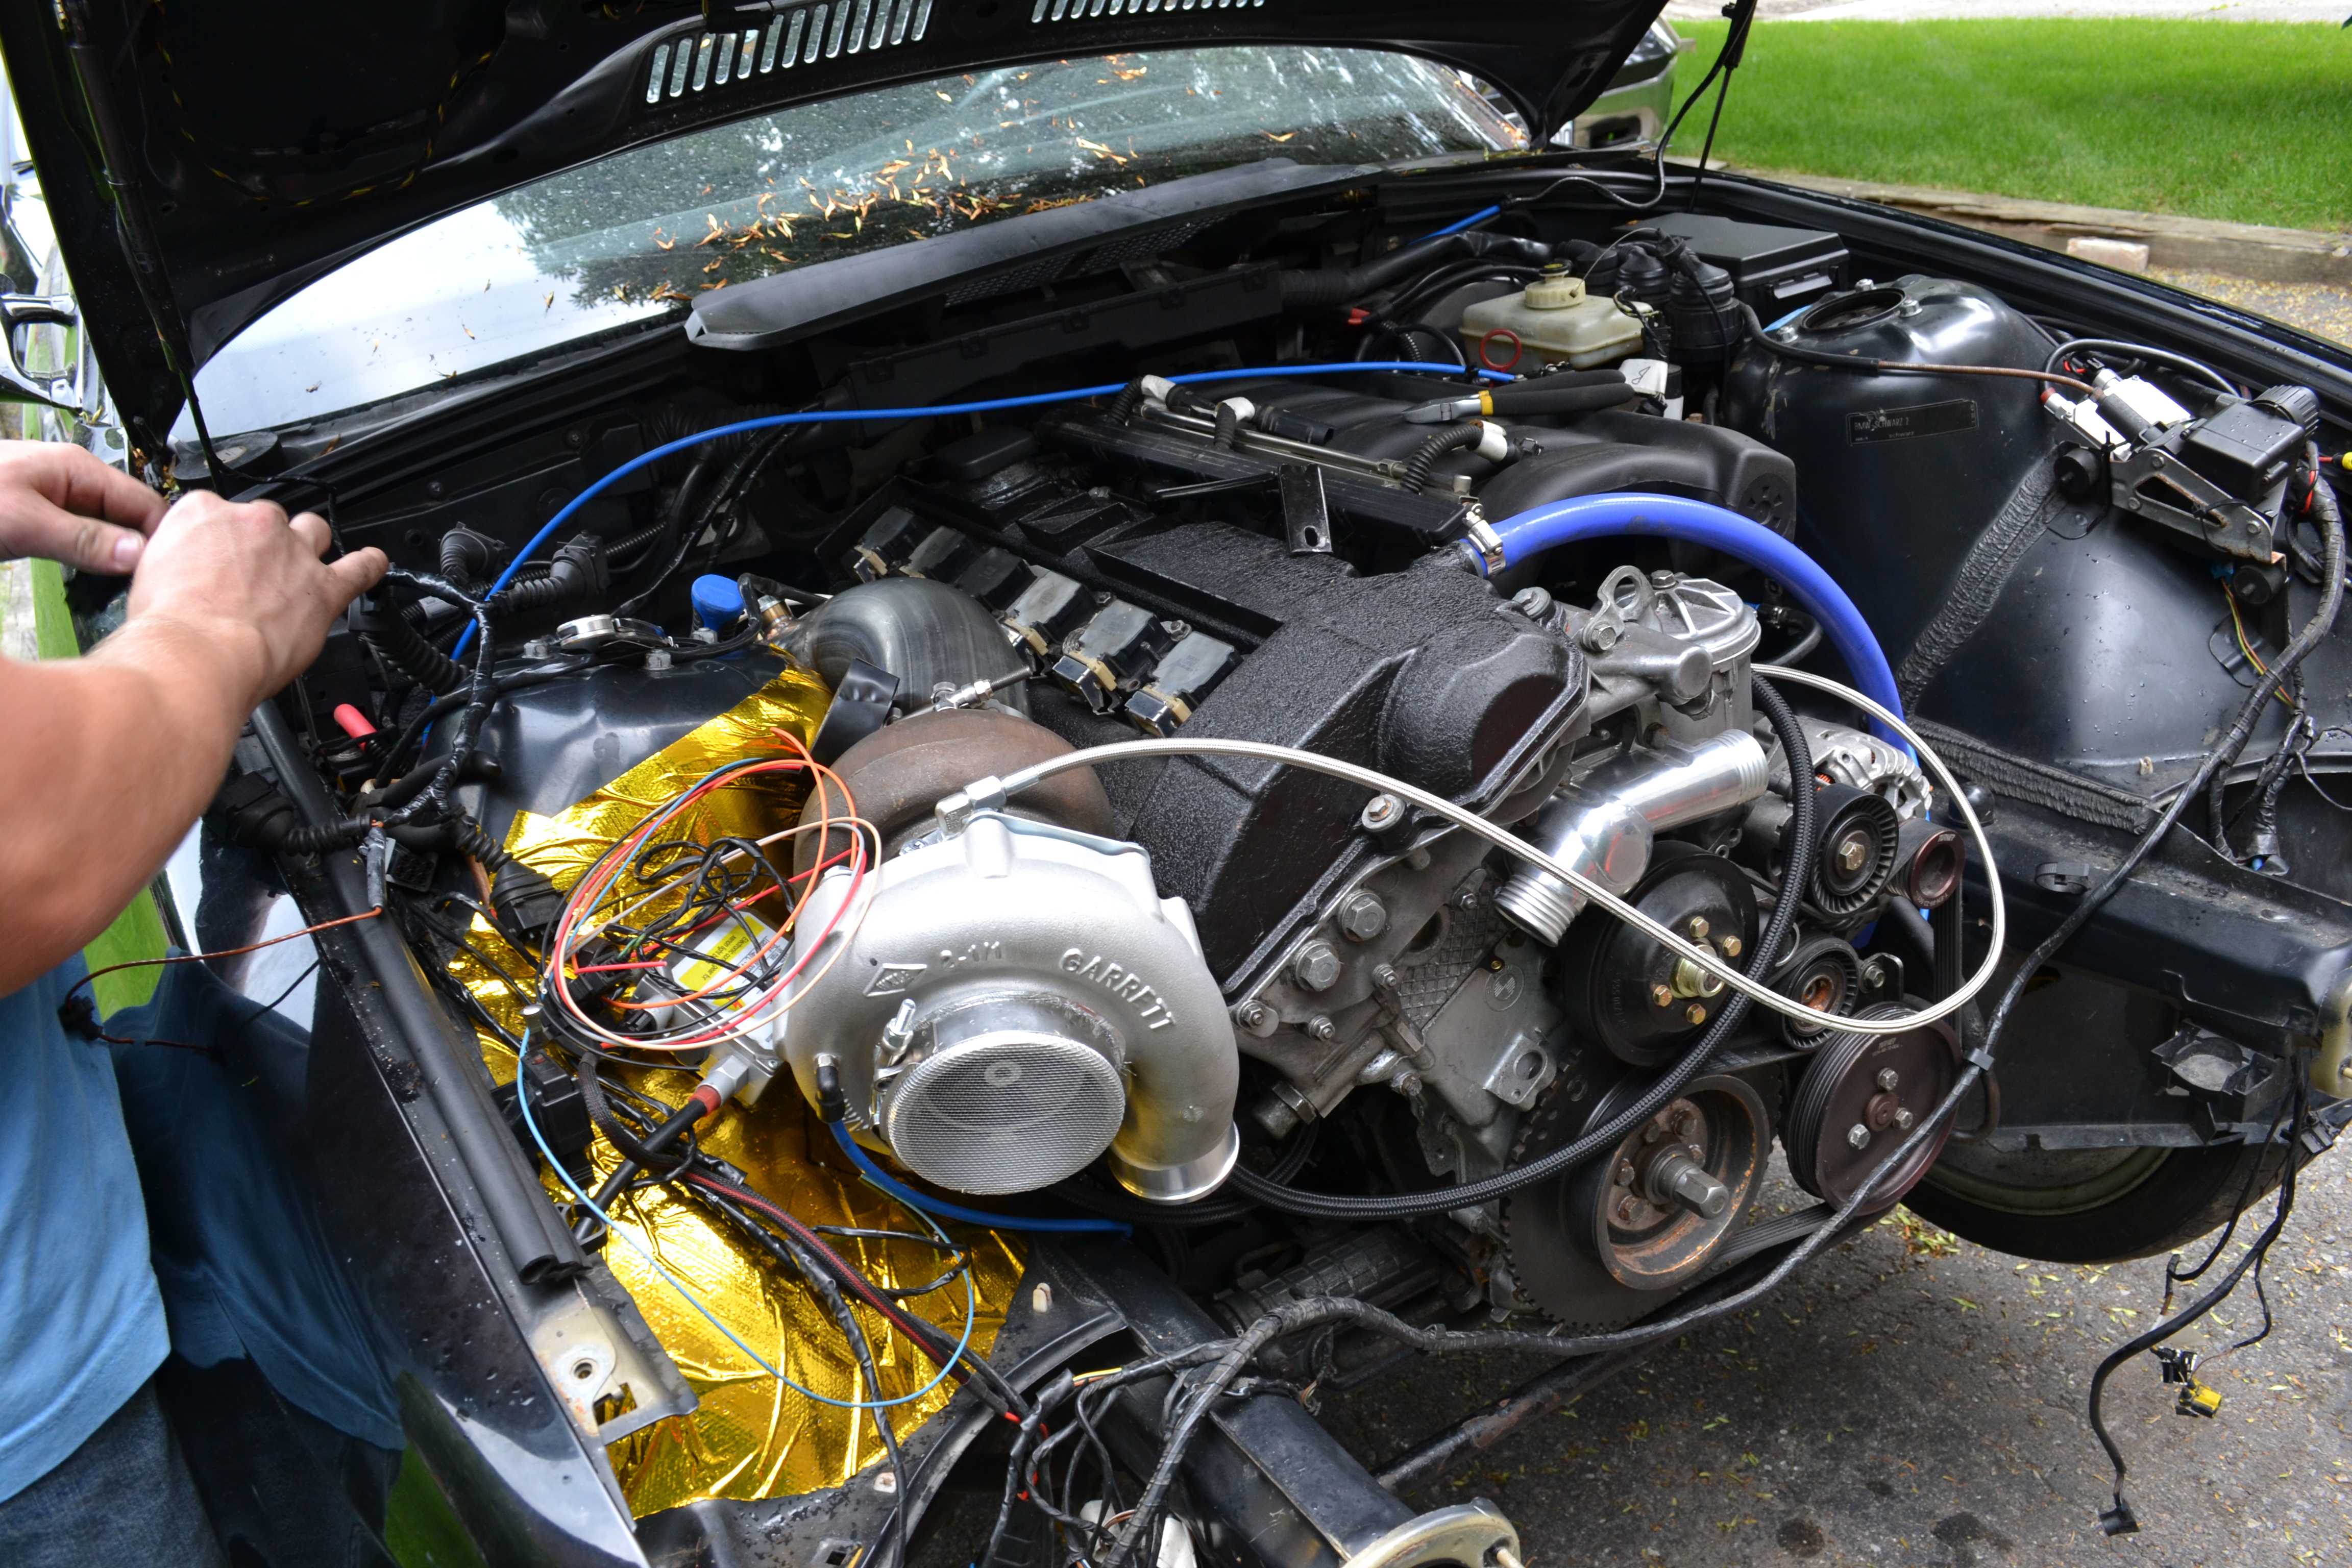
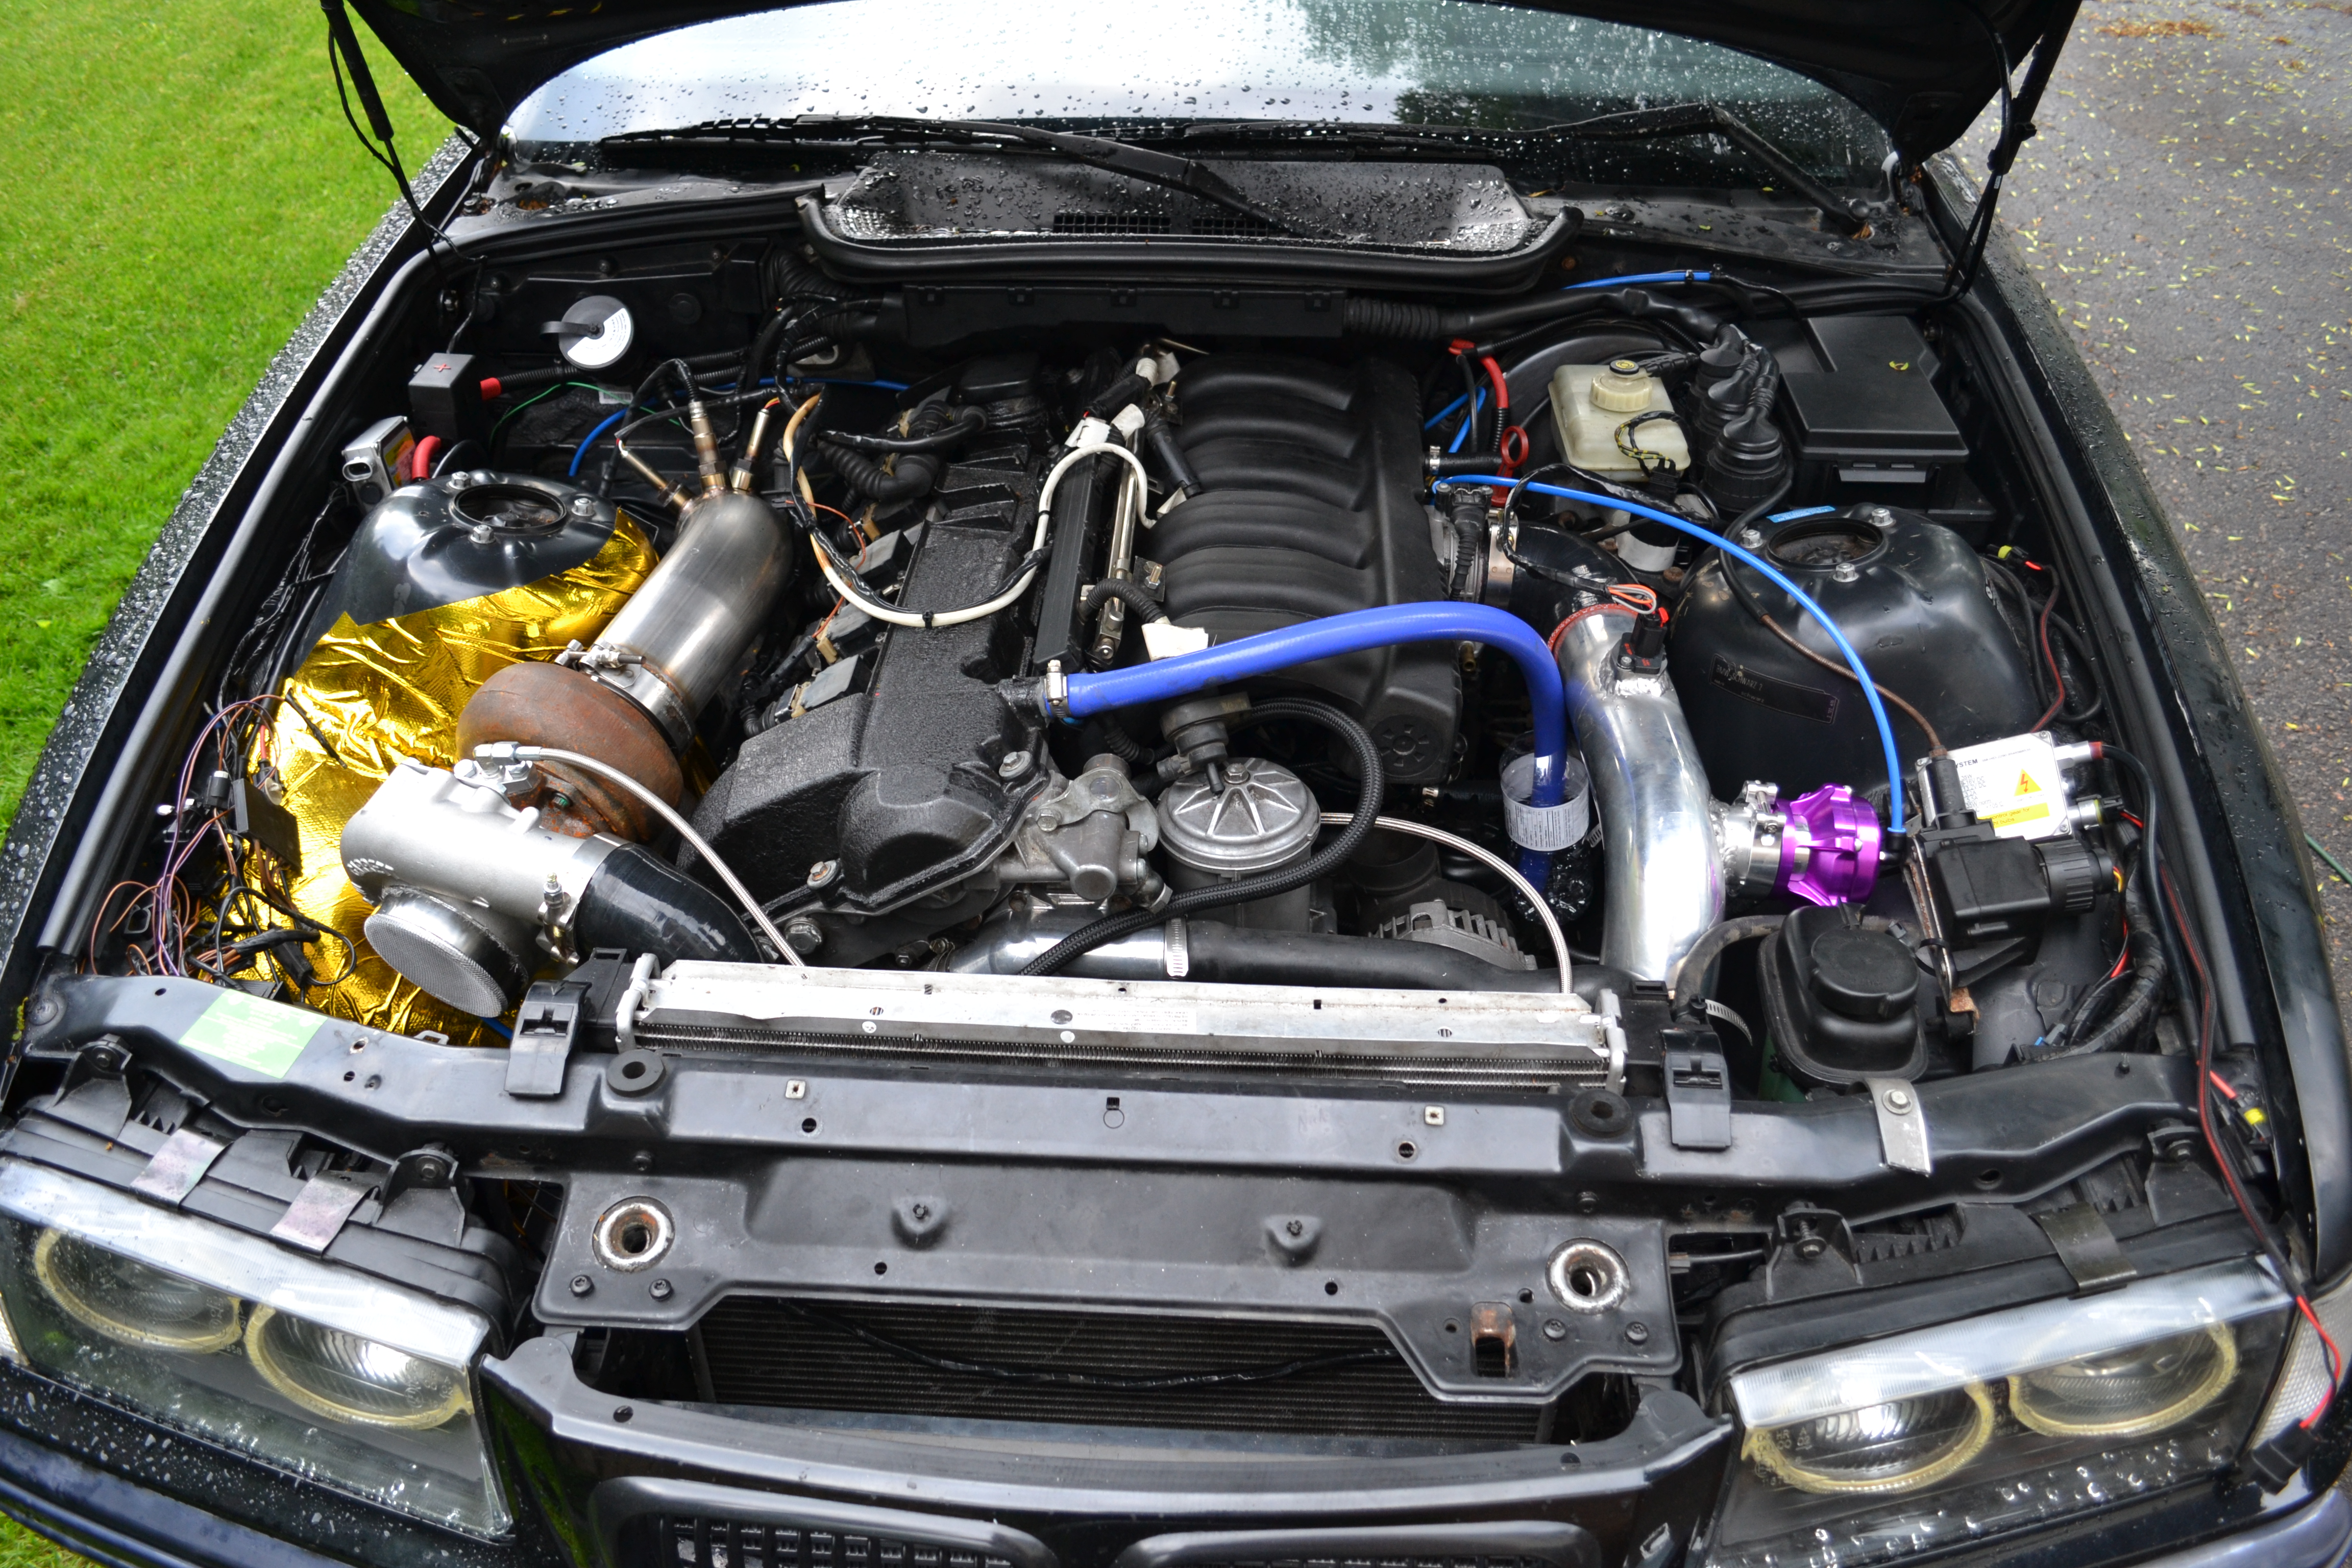
After i received the manifold i couldn’t contain my excitement, so I put everything together to see how it would look. So without further a due, I present you with:
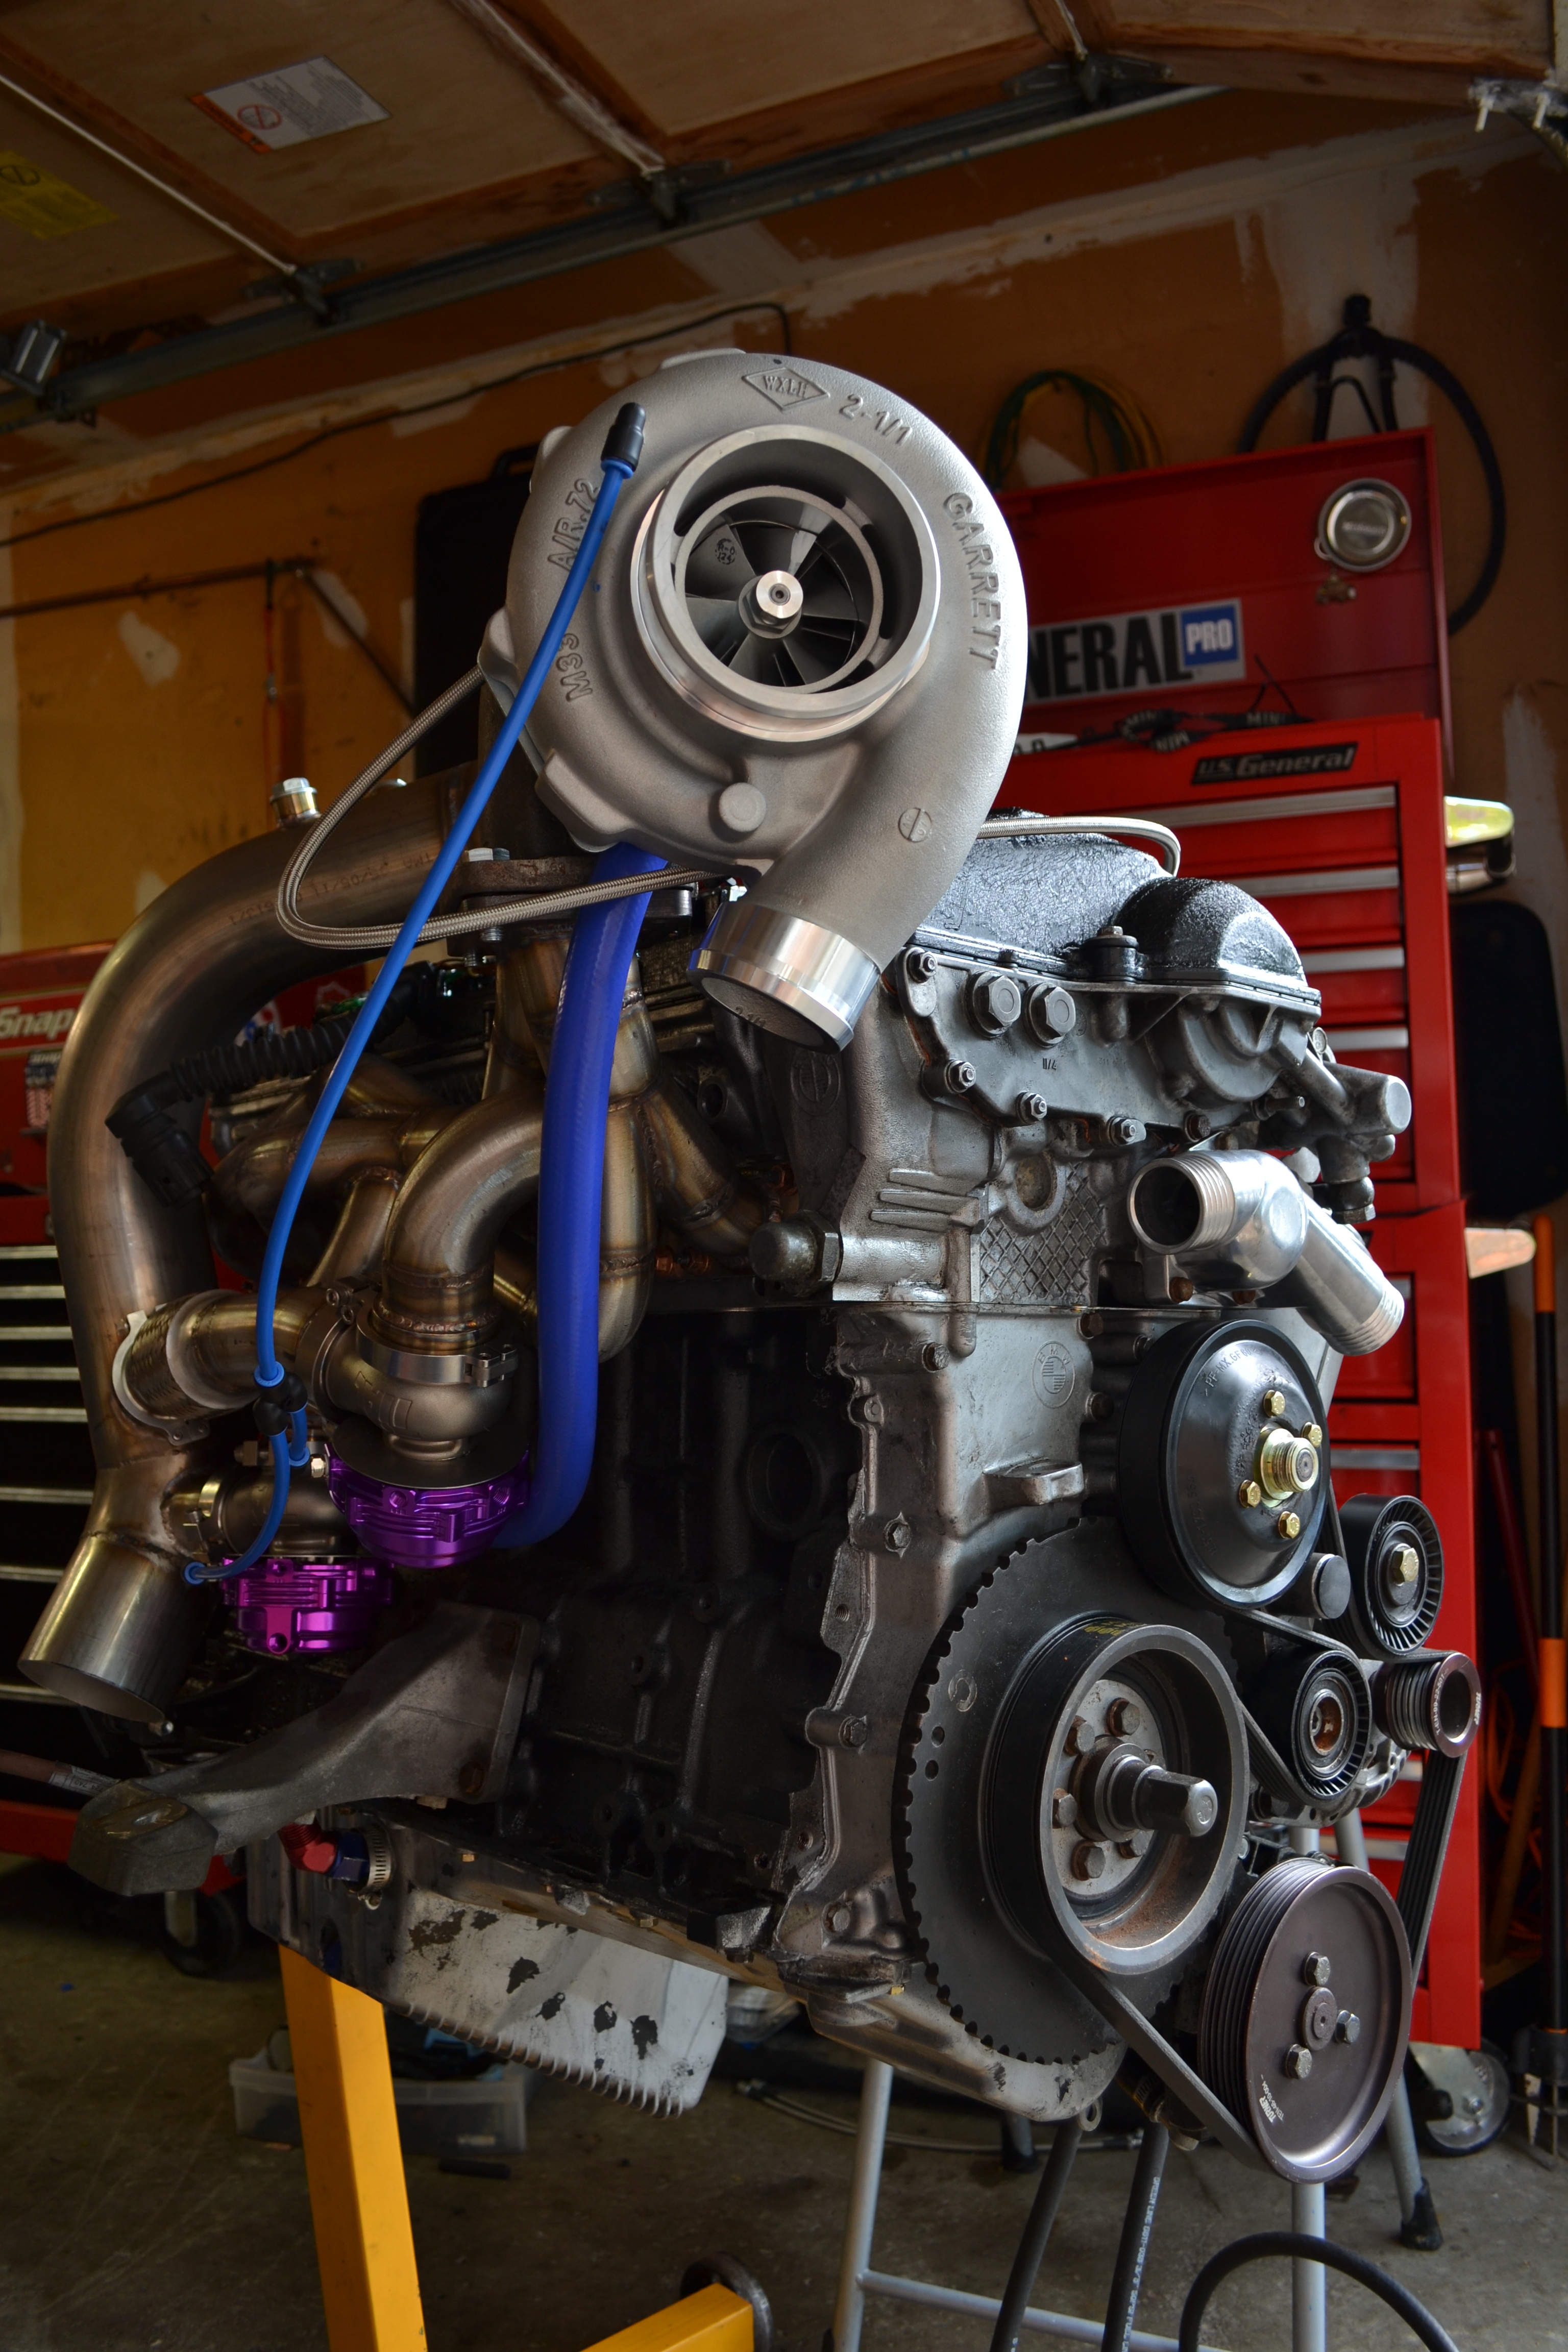
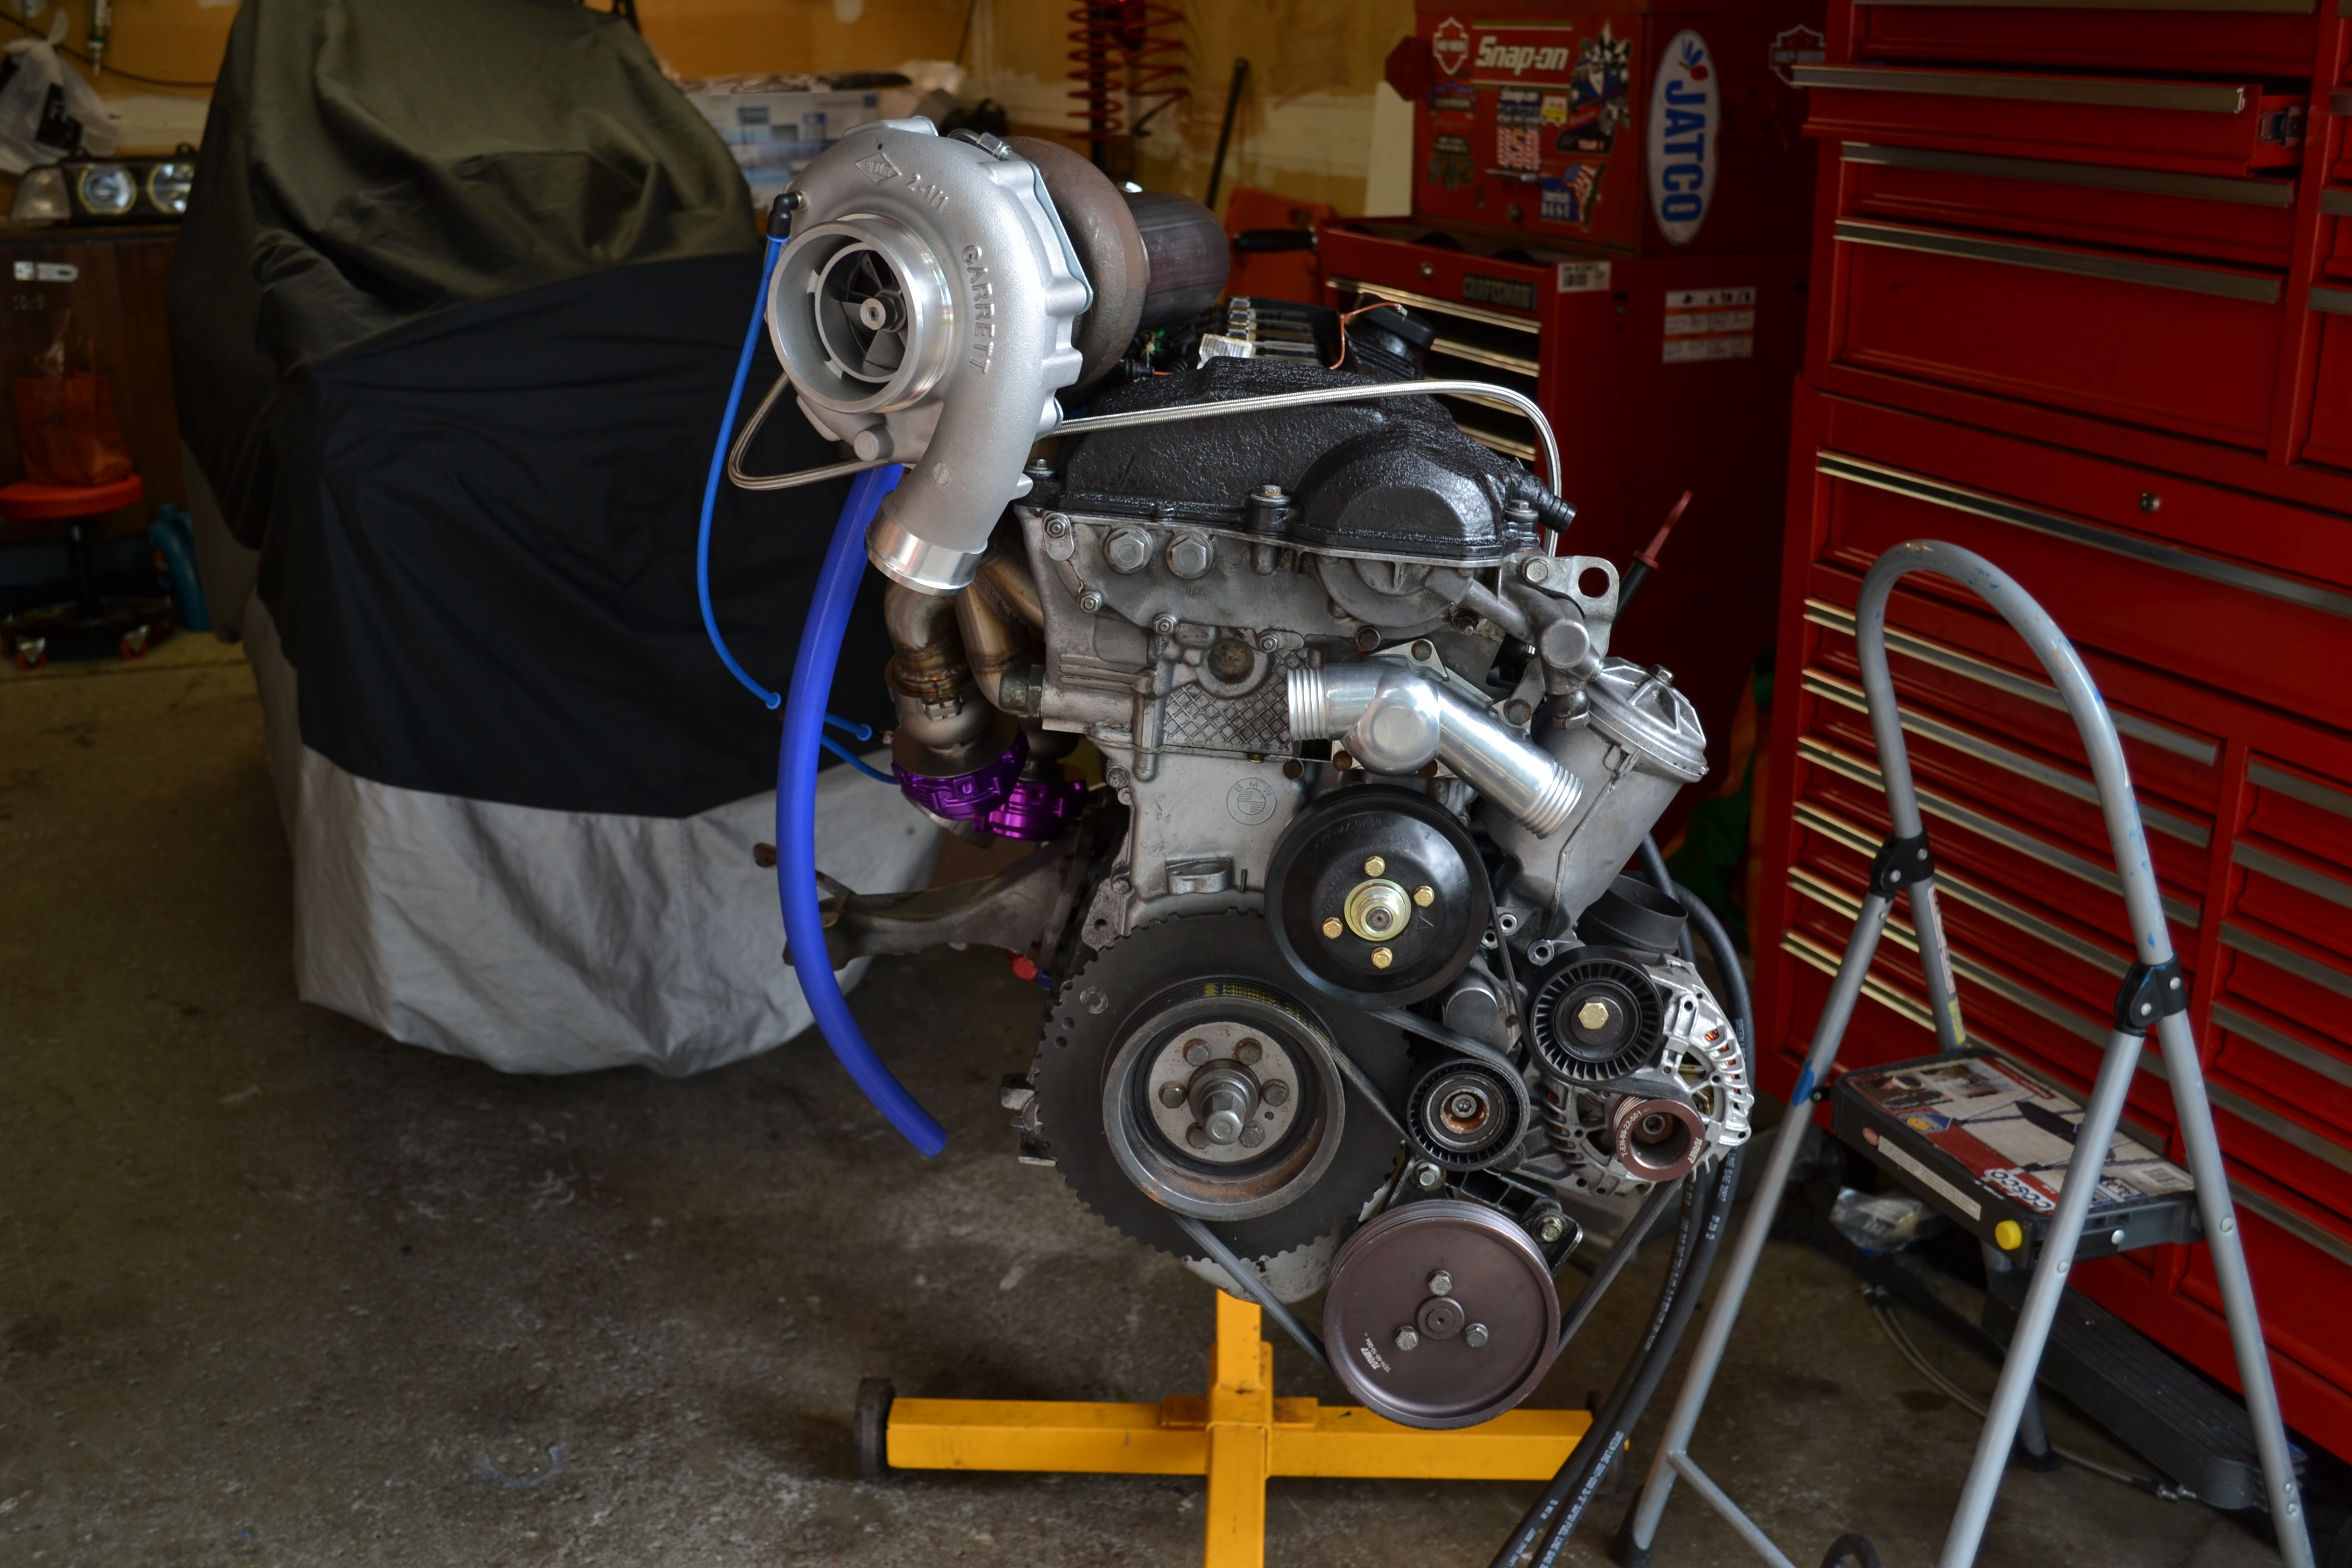
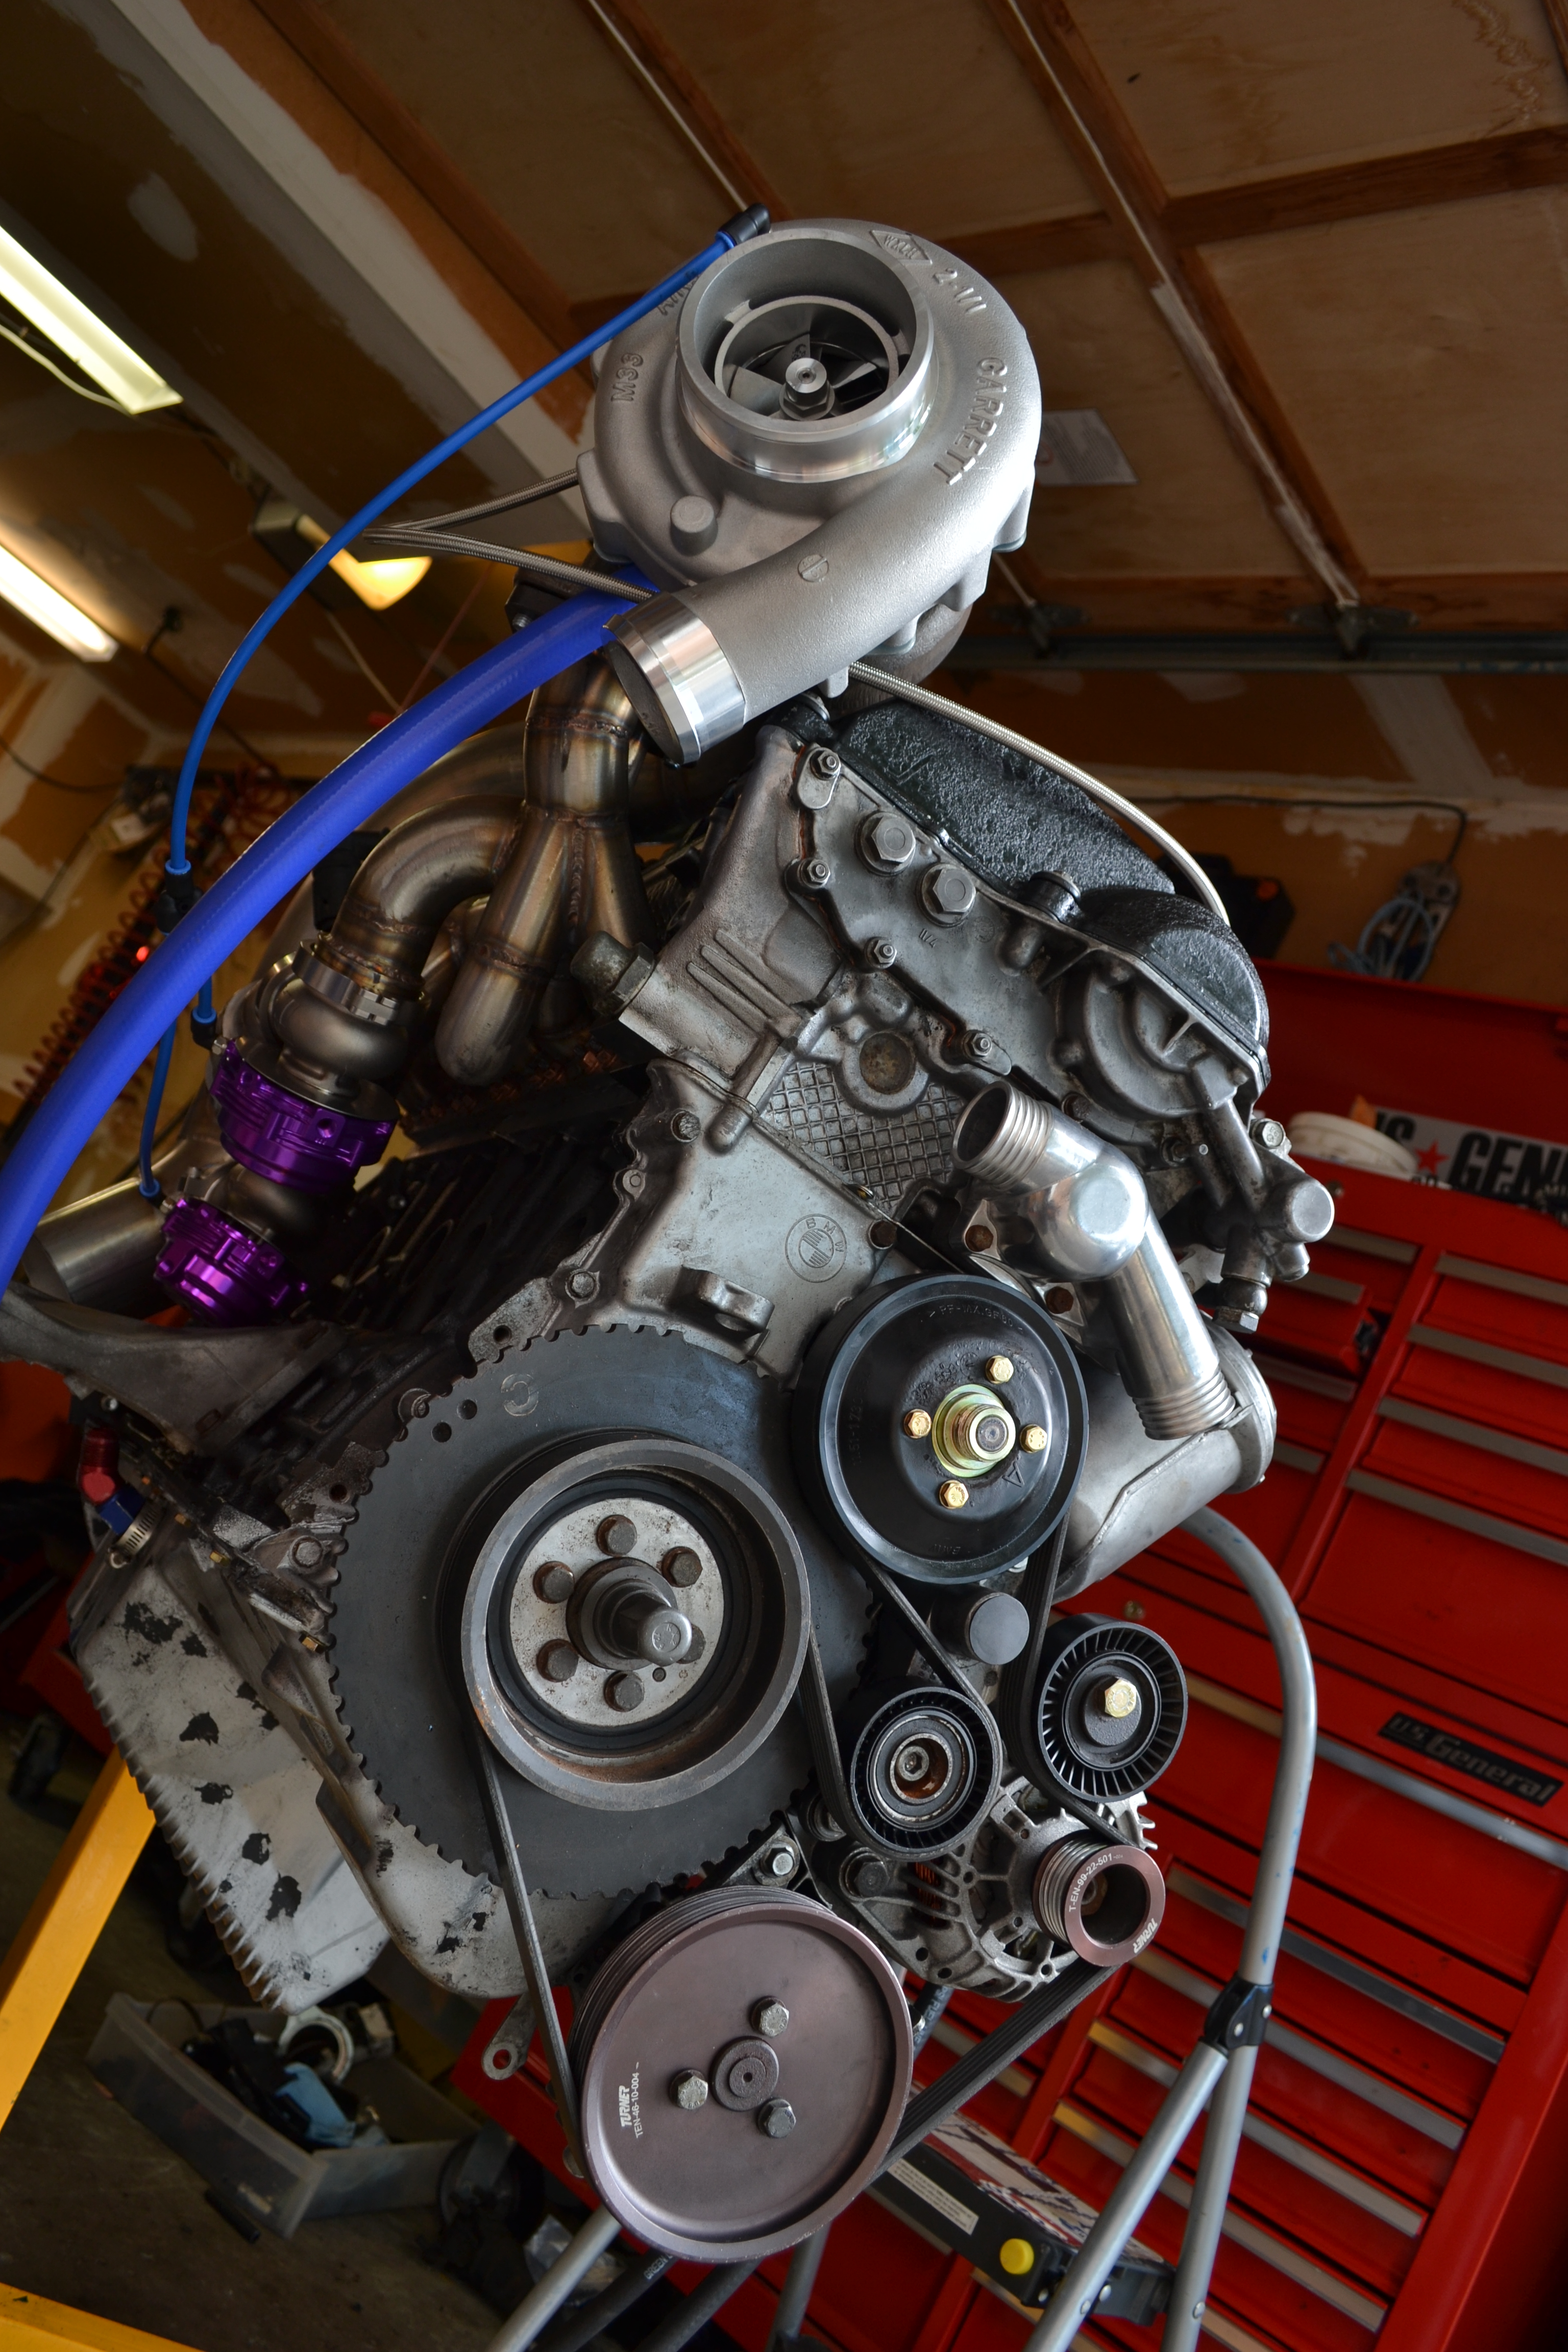
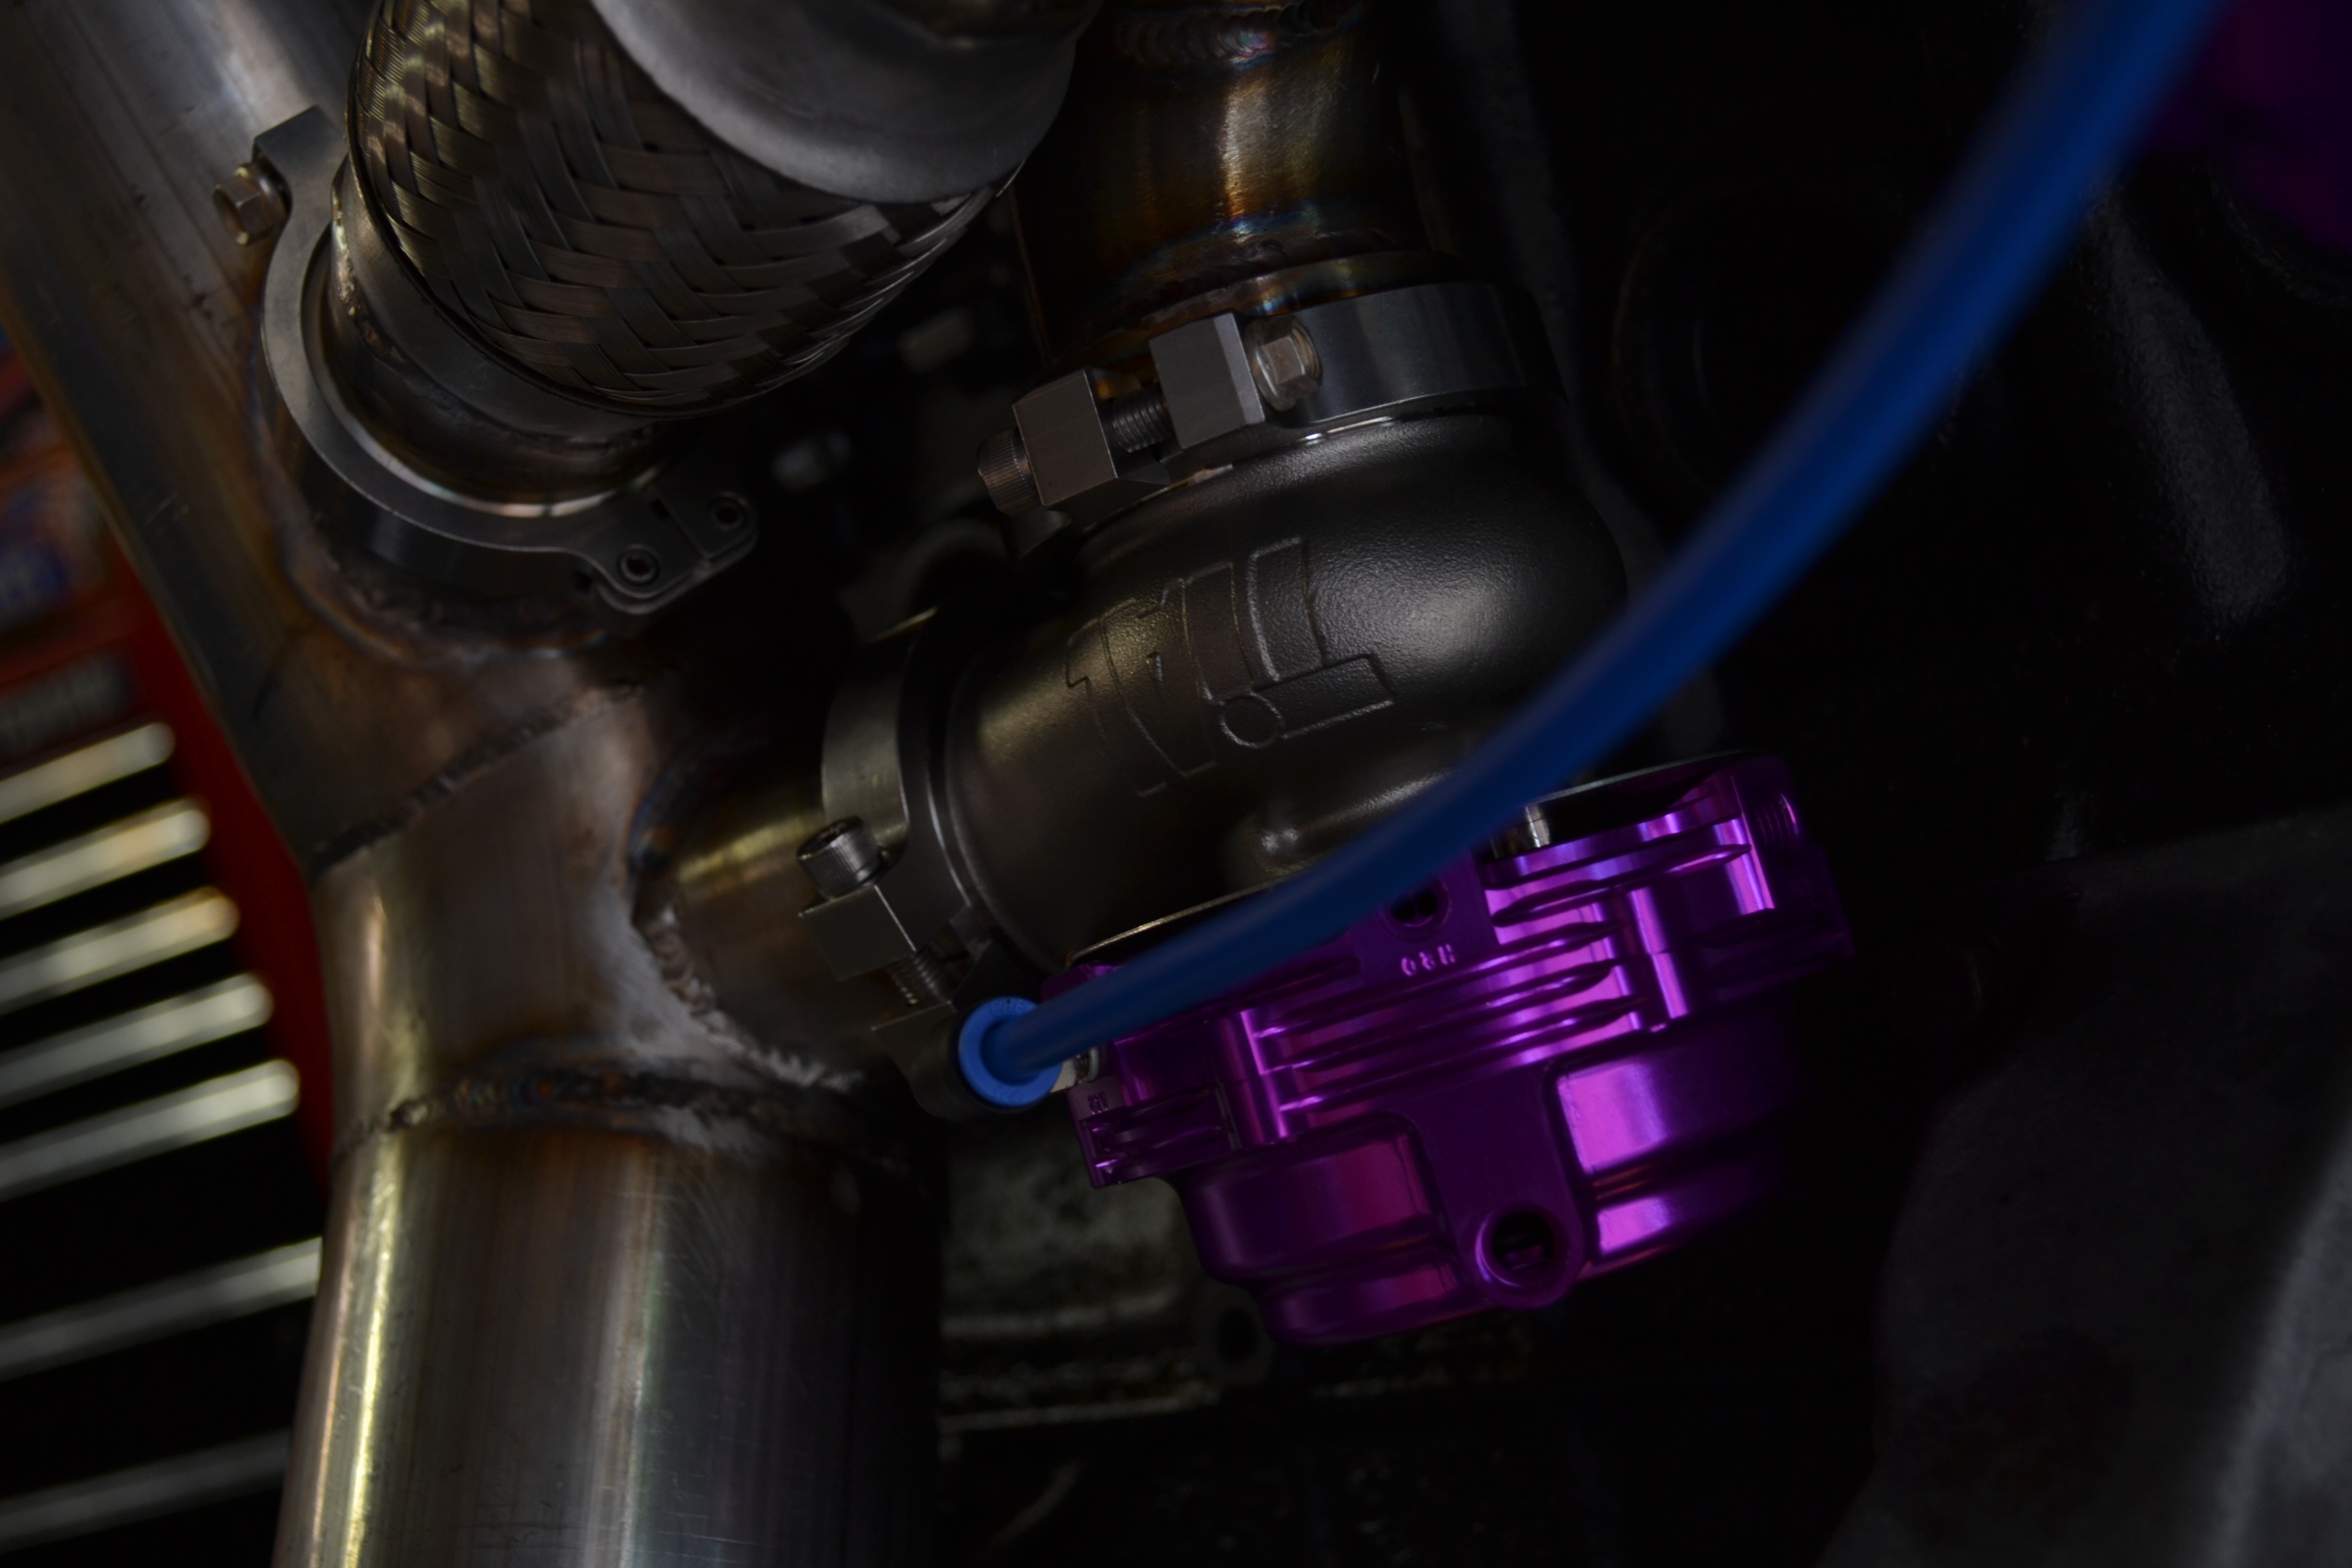
Big thanks again to Otis for the manifold and downpipe. It looks as if my turbo grew legs and evolved into a hermit crab. While the turbo and wastegates were on there I routed all the lines for the plumbing of the wastegate boost reference lines and the turbo water cooler lines.
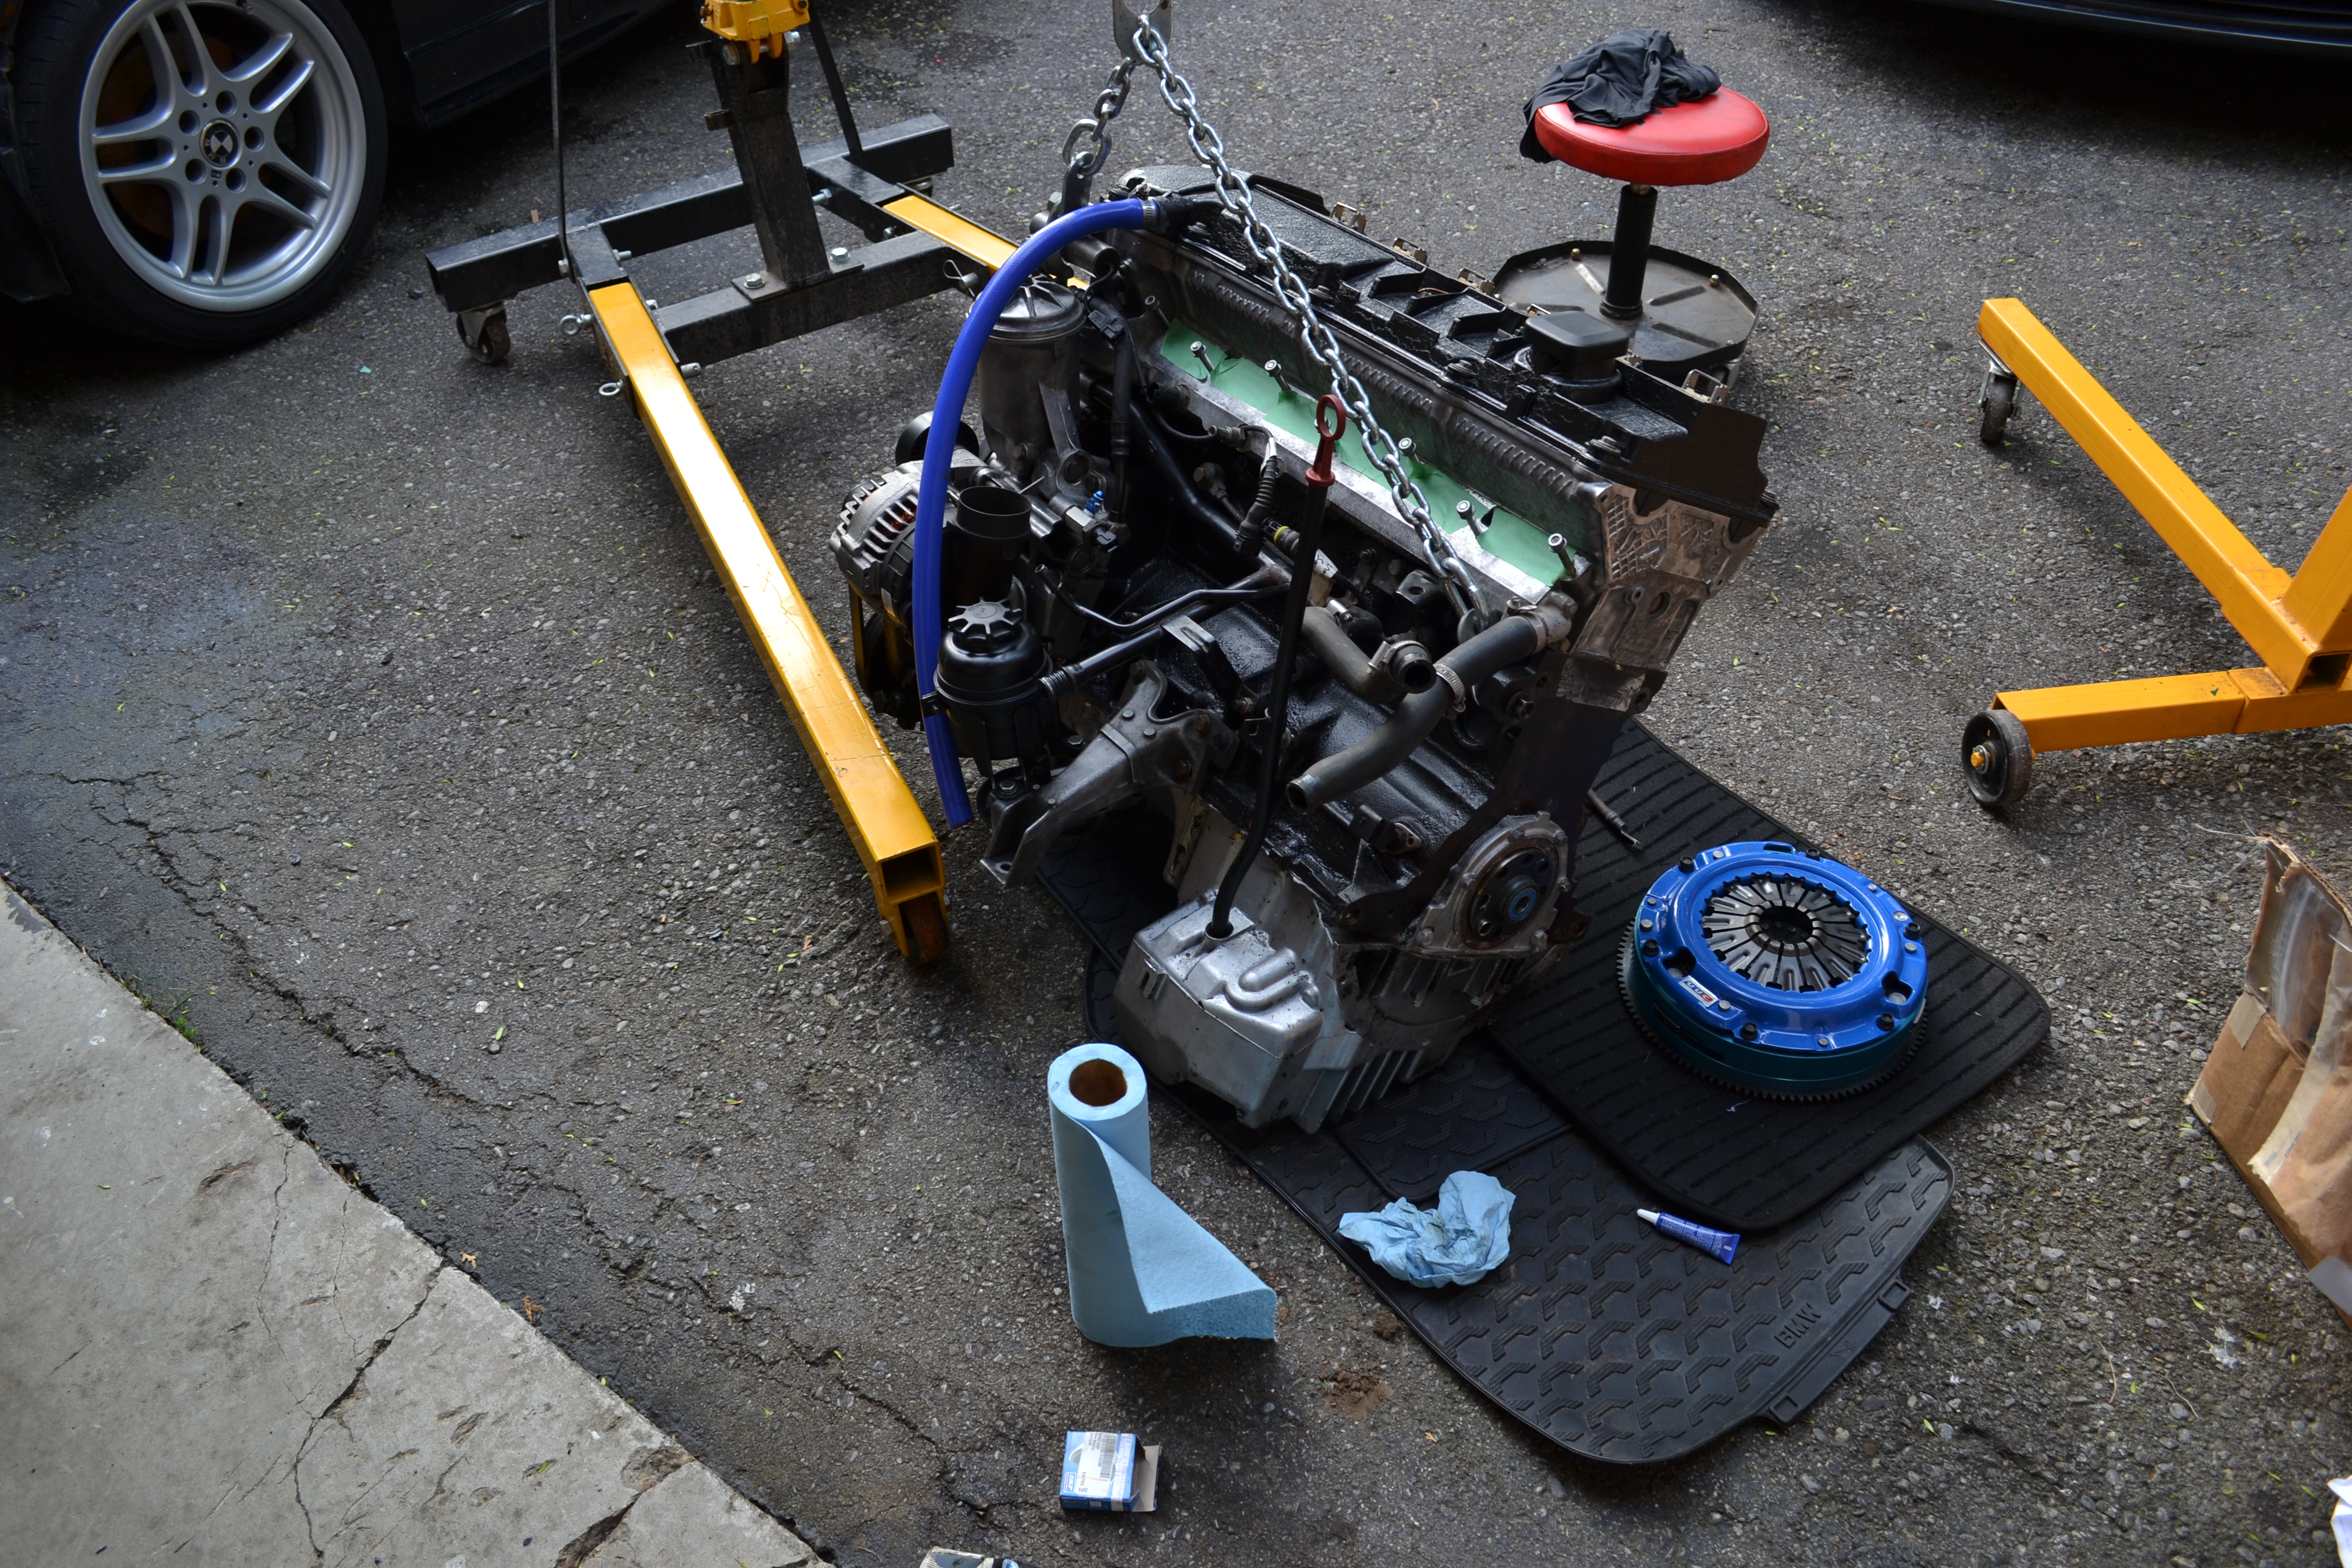
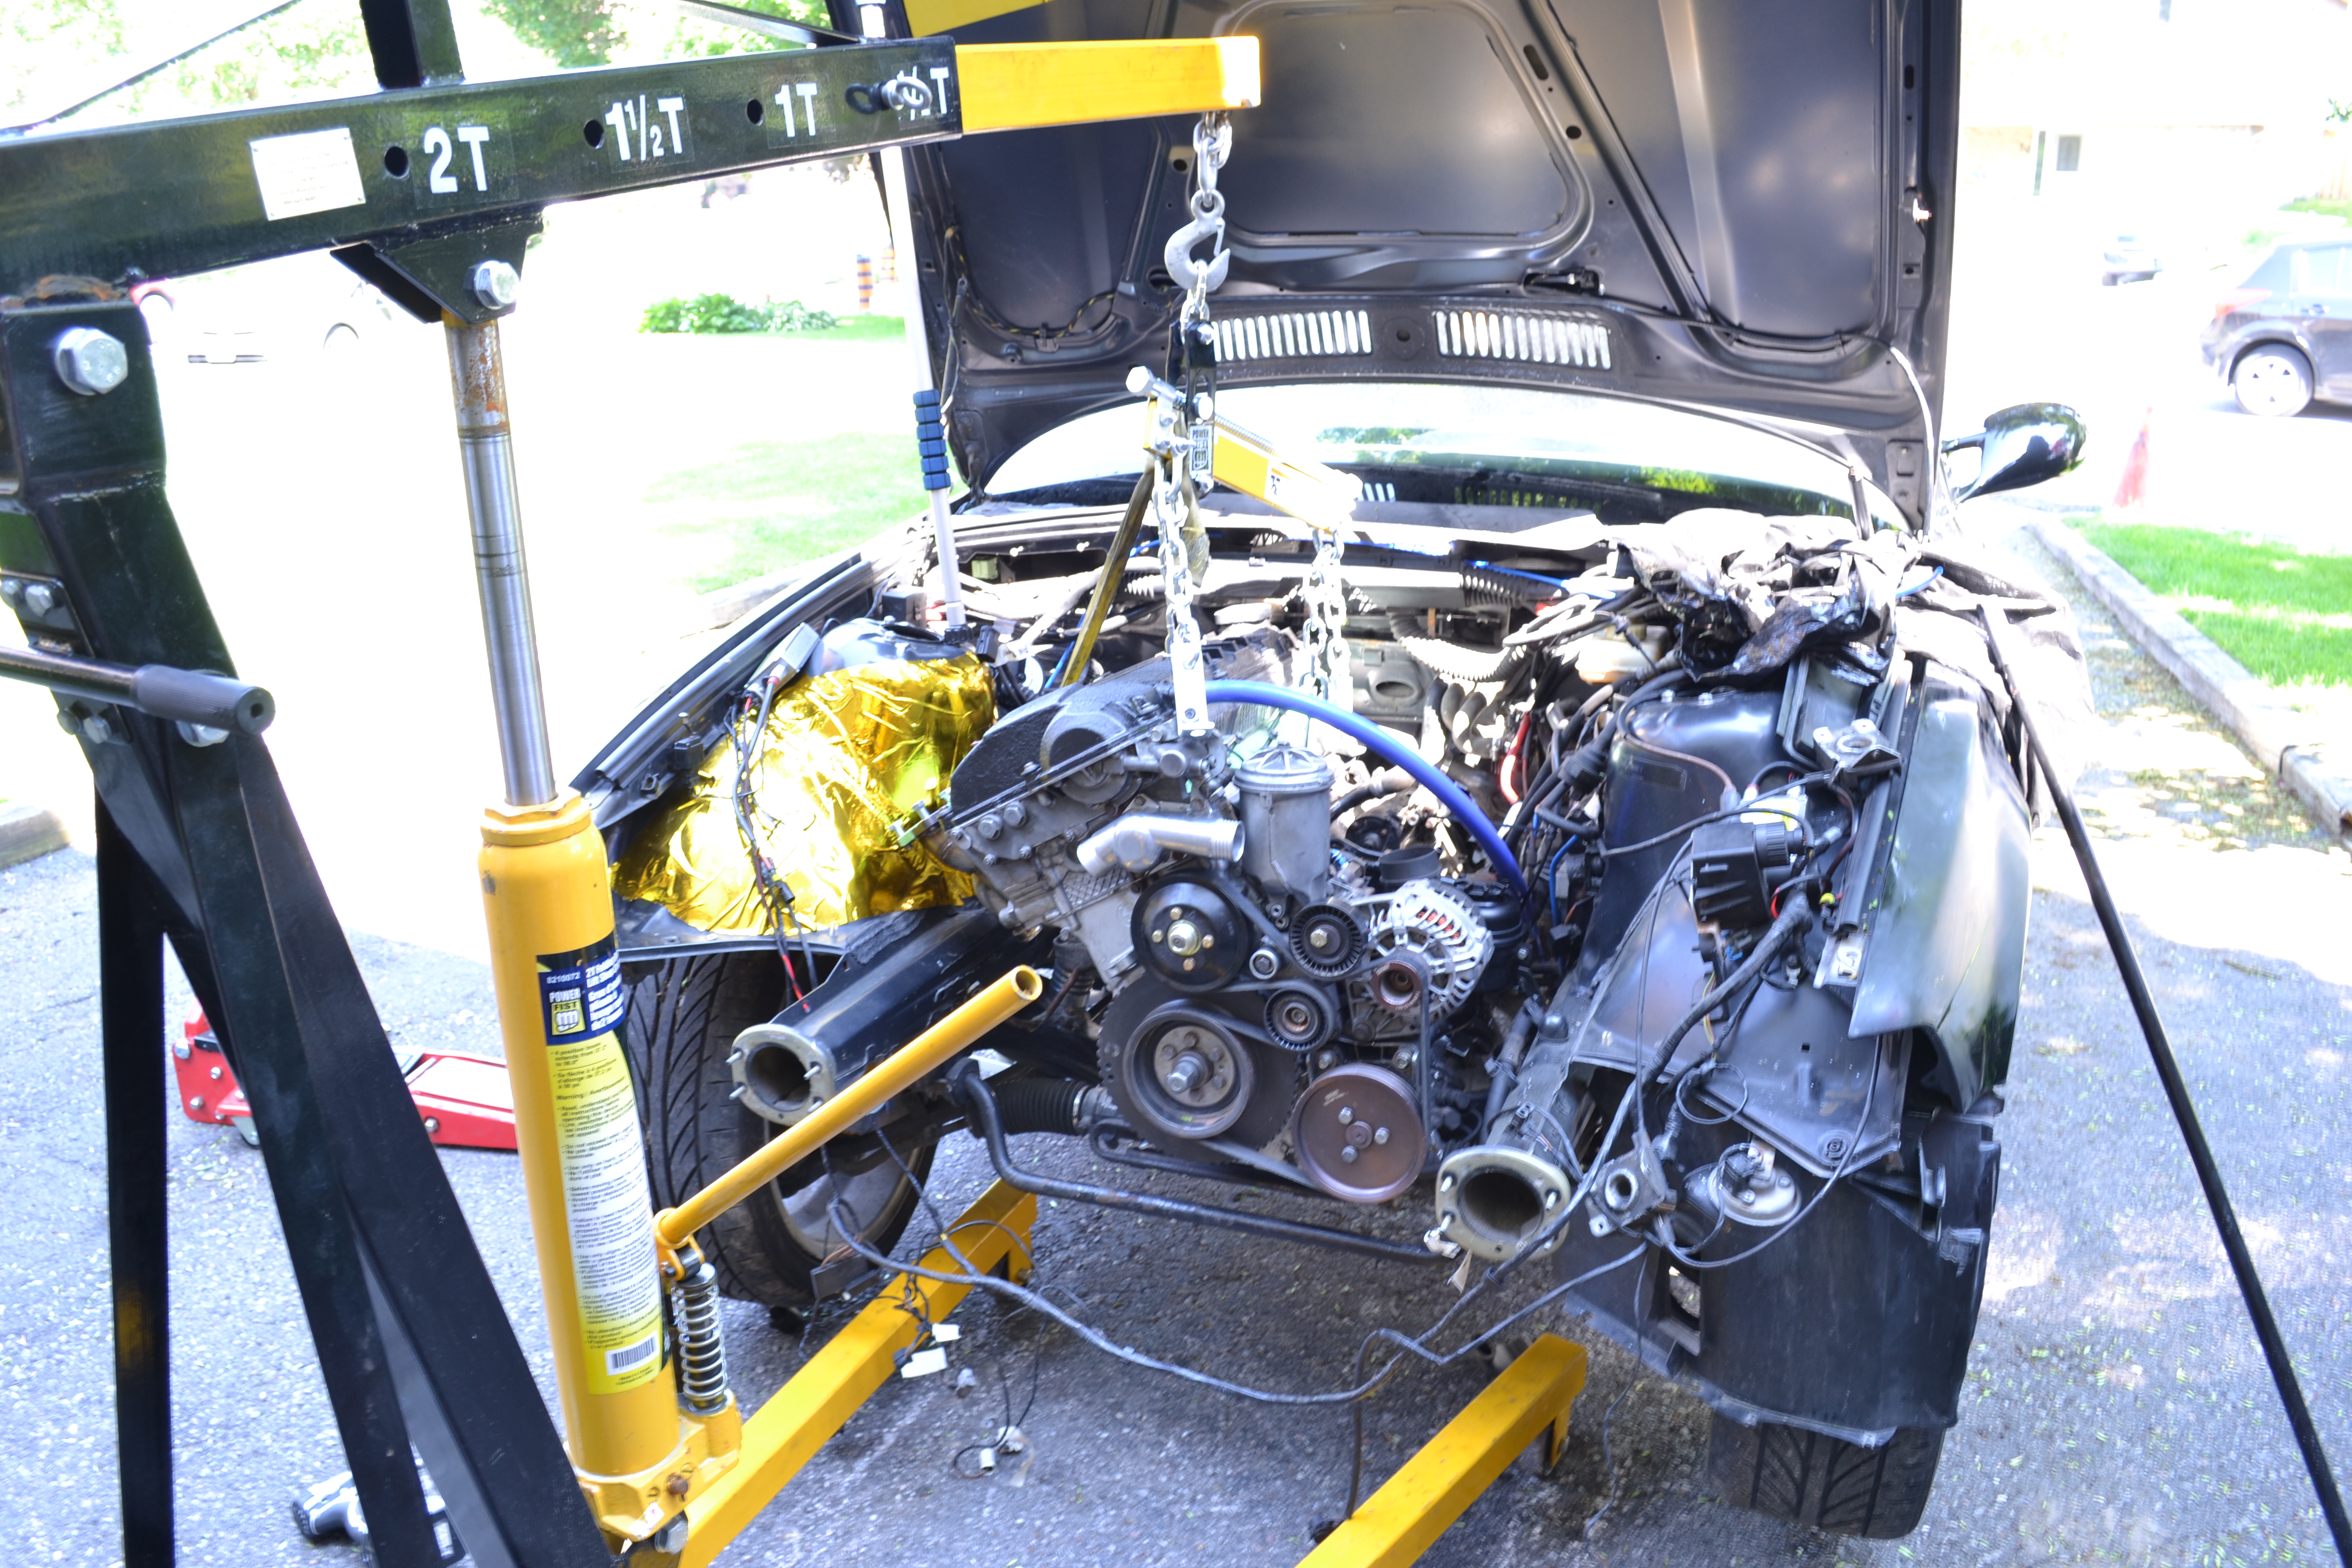
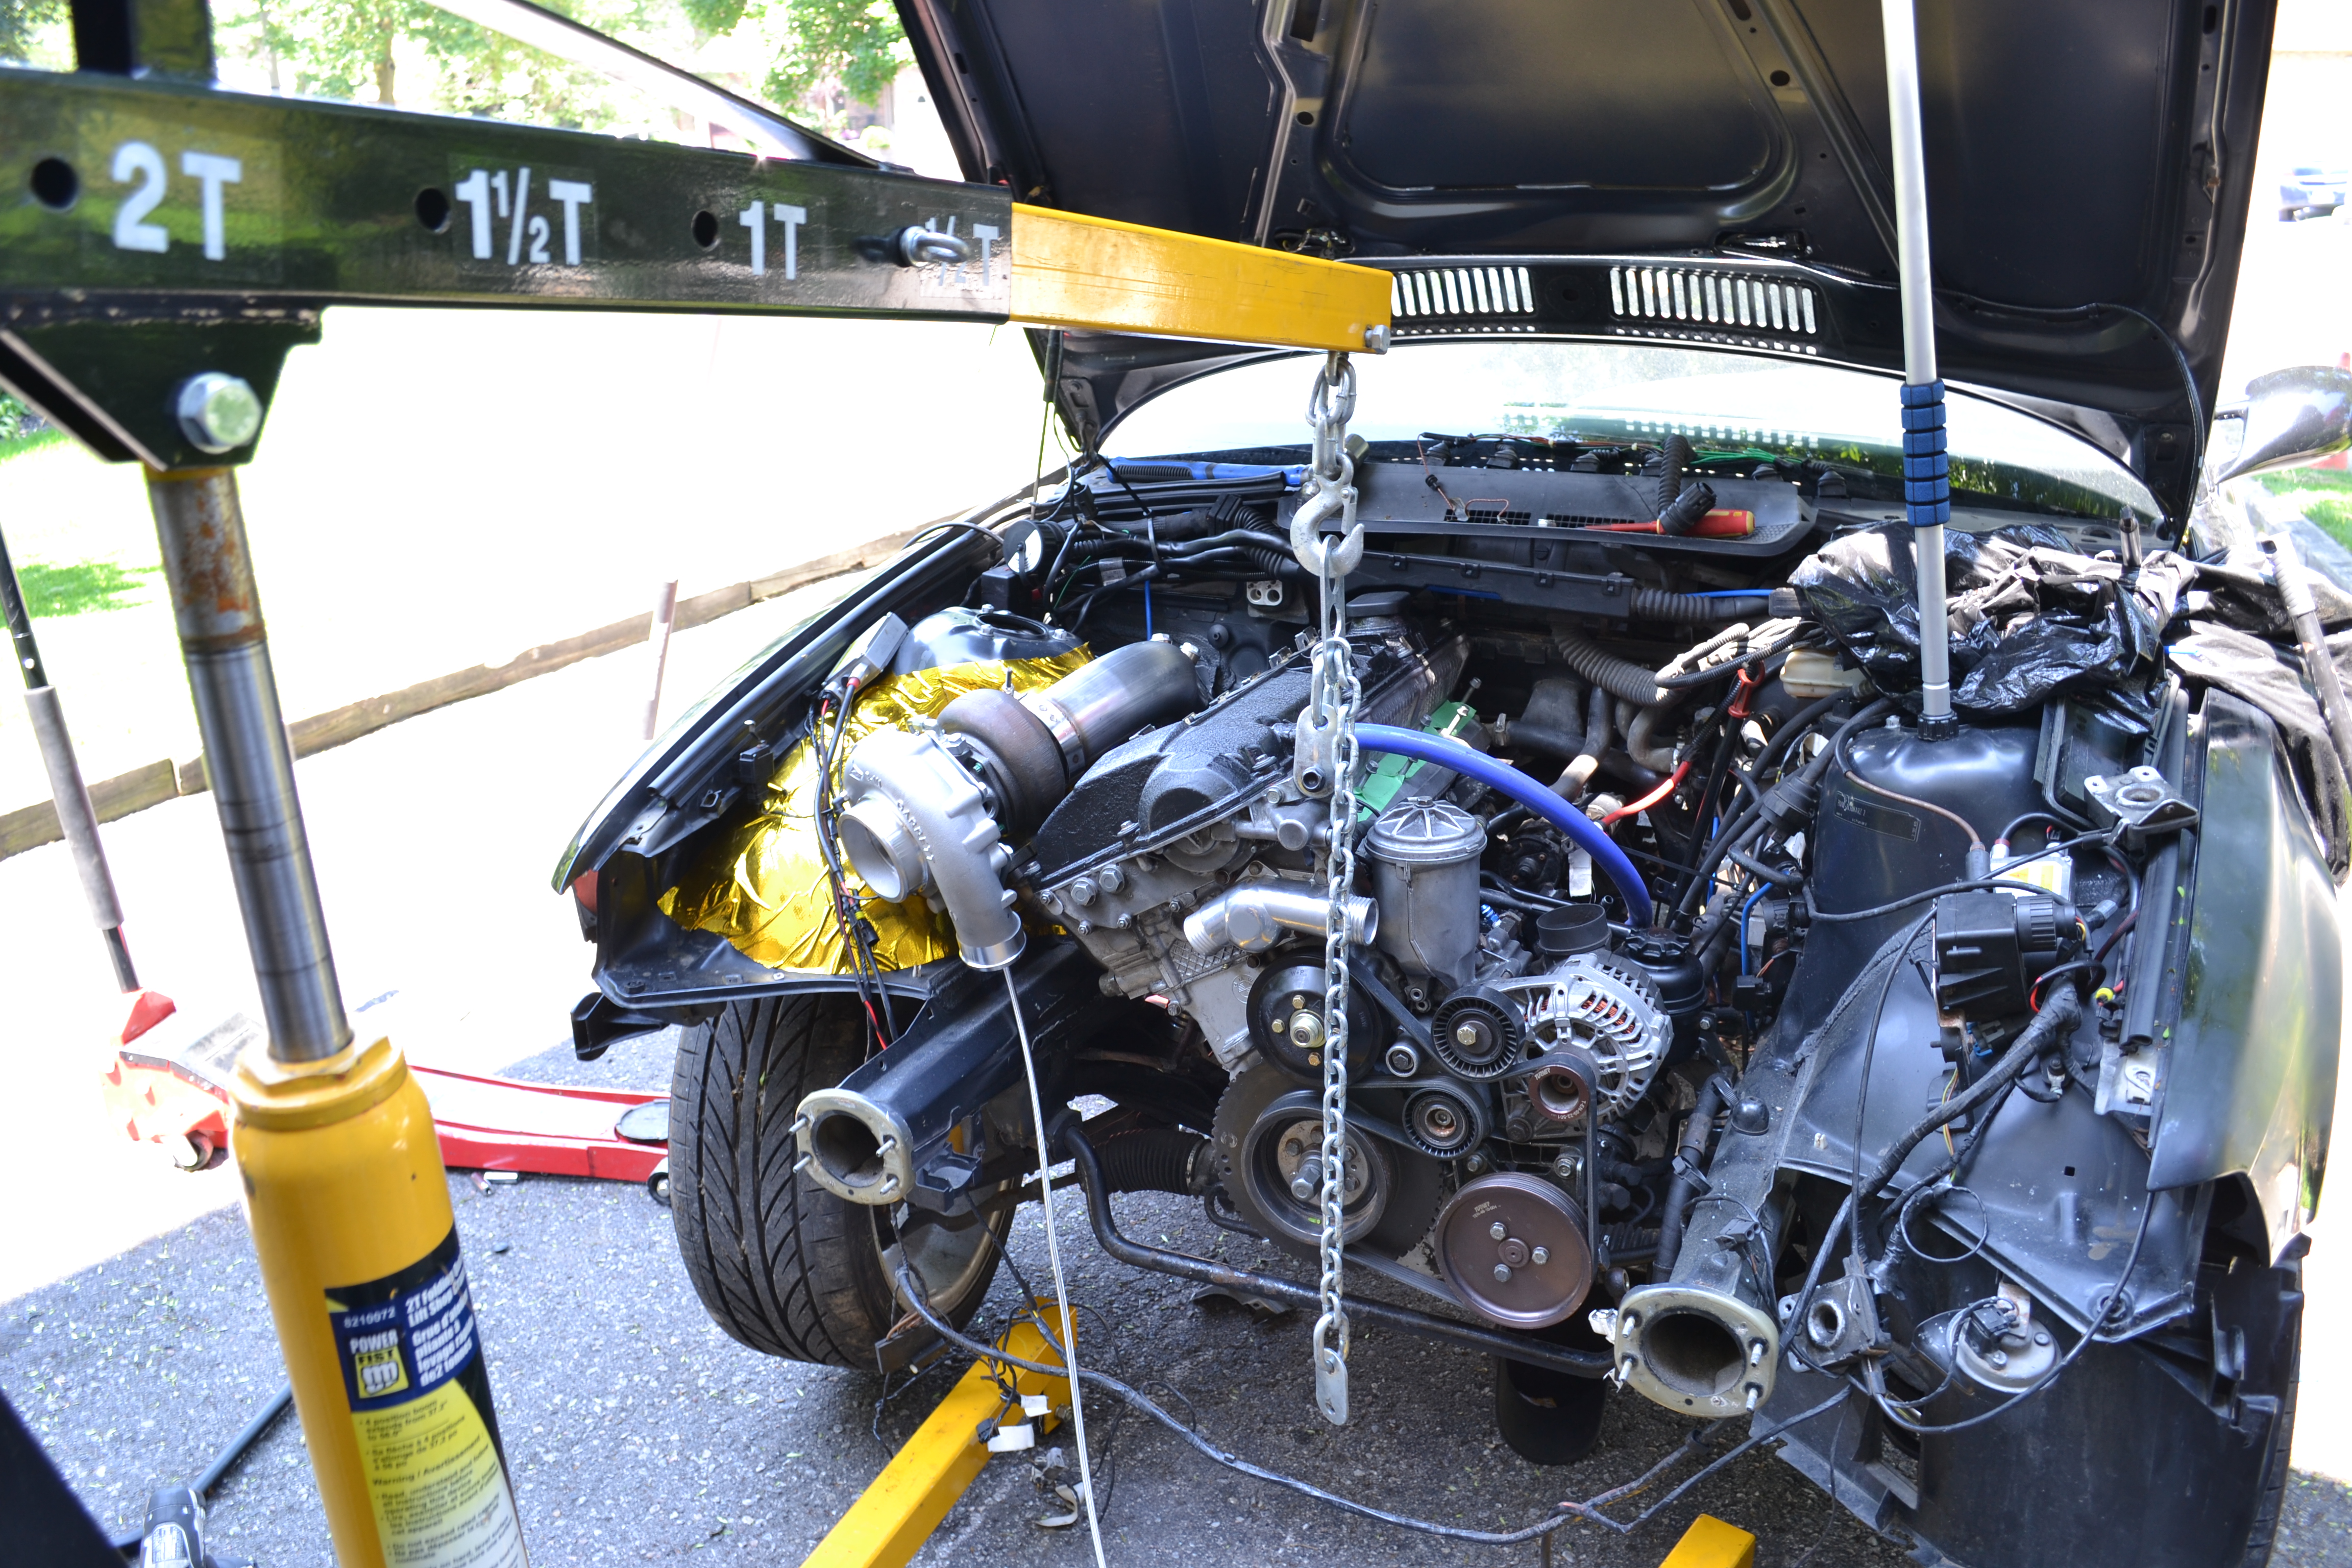
So it was time for dis-assembly, I disassembled the motor but left the manifold on as it was time to drop the motor in, there was no way it would drop in with the turbo/downpipe etc bolted up so they had to go!
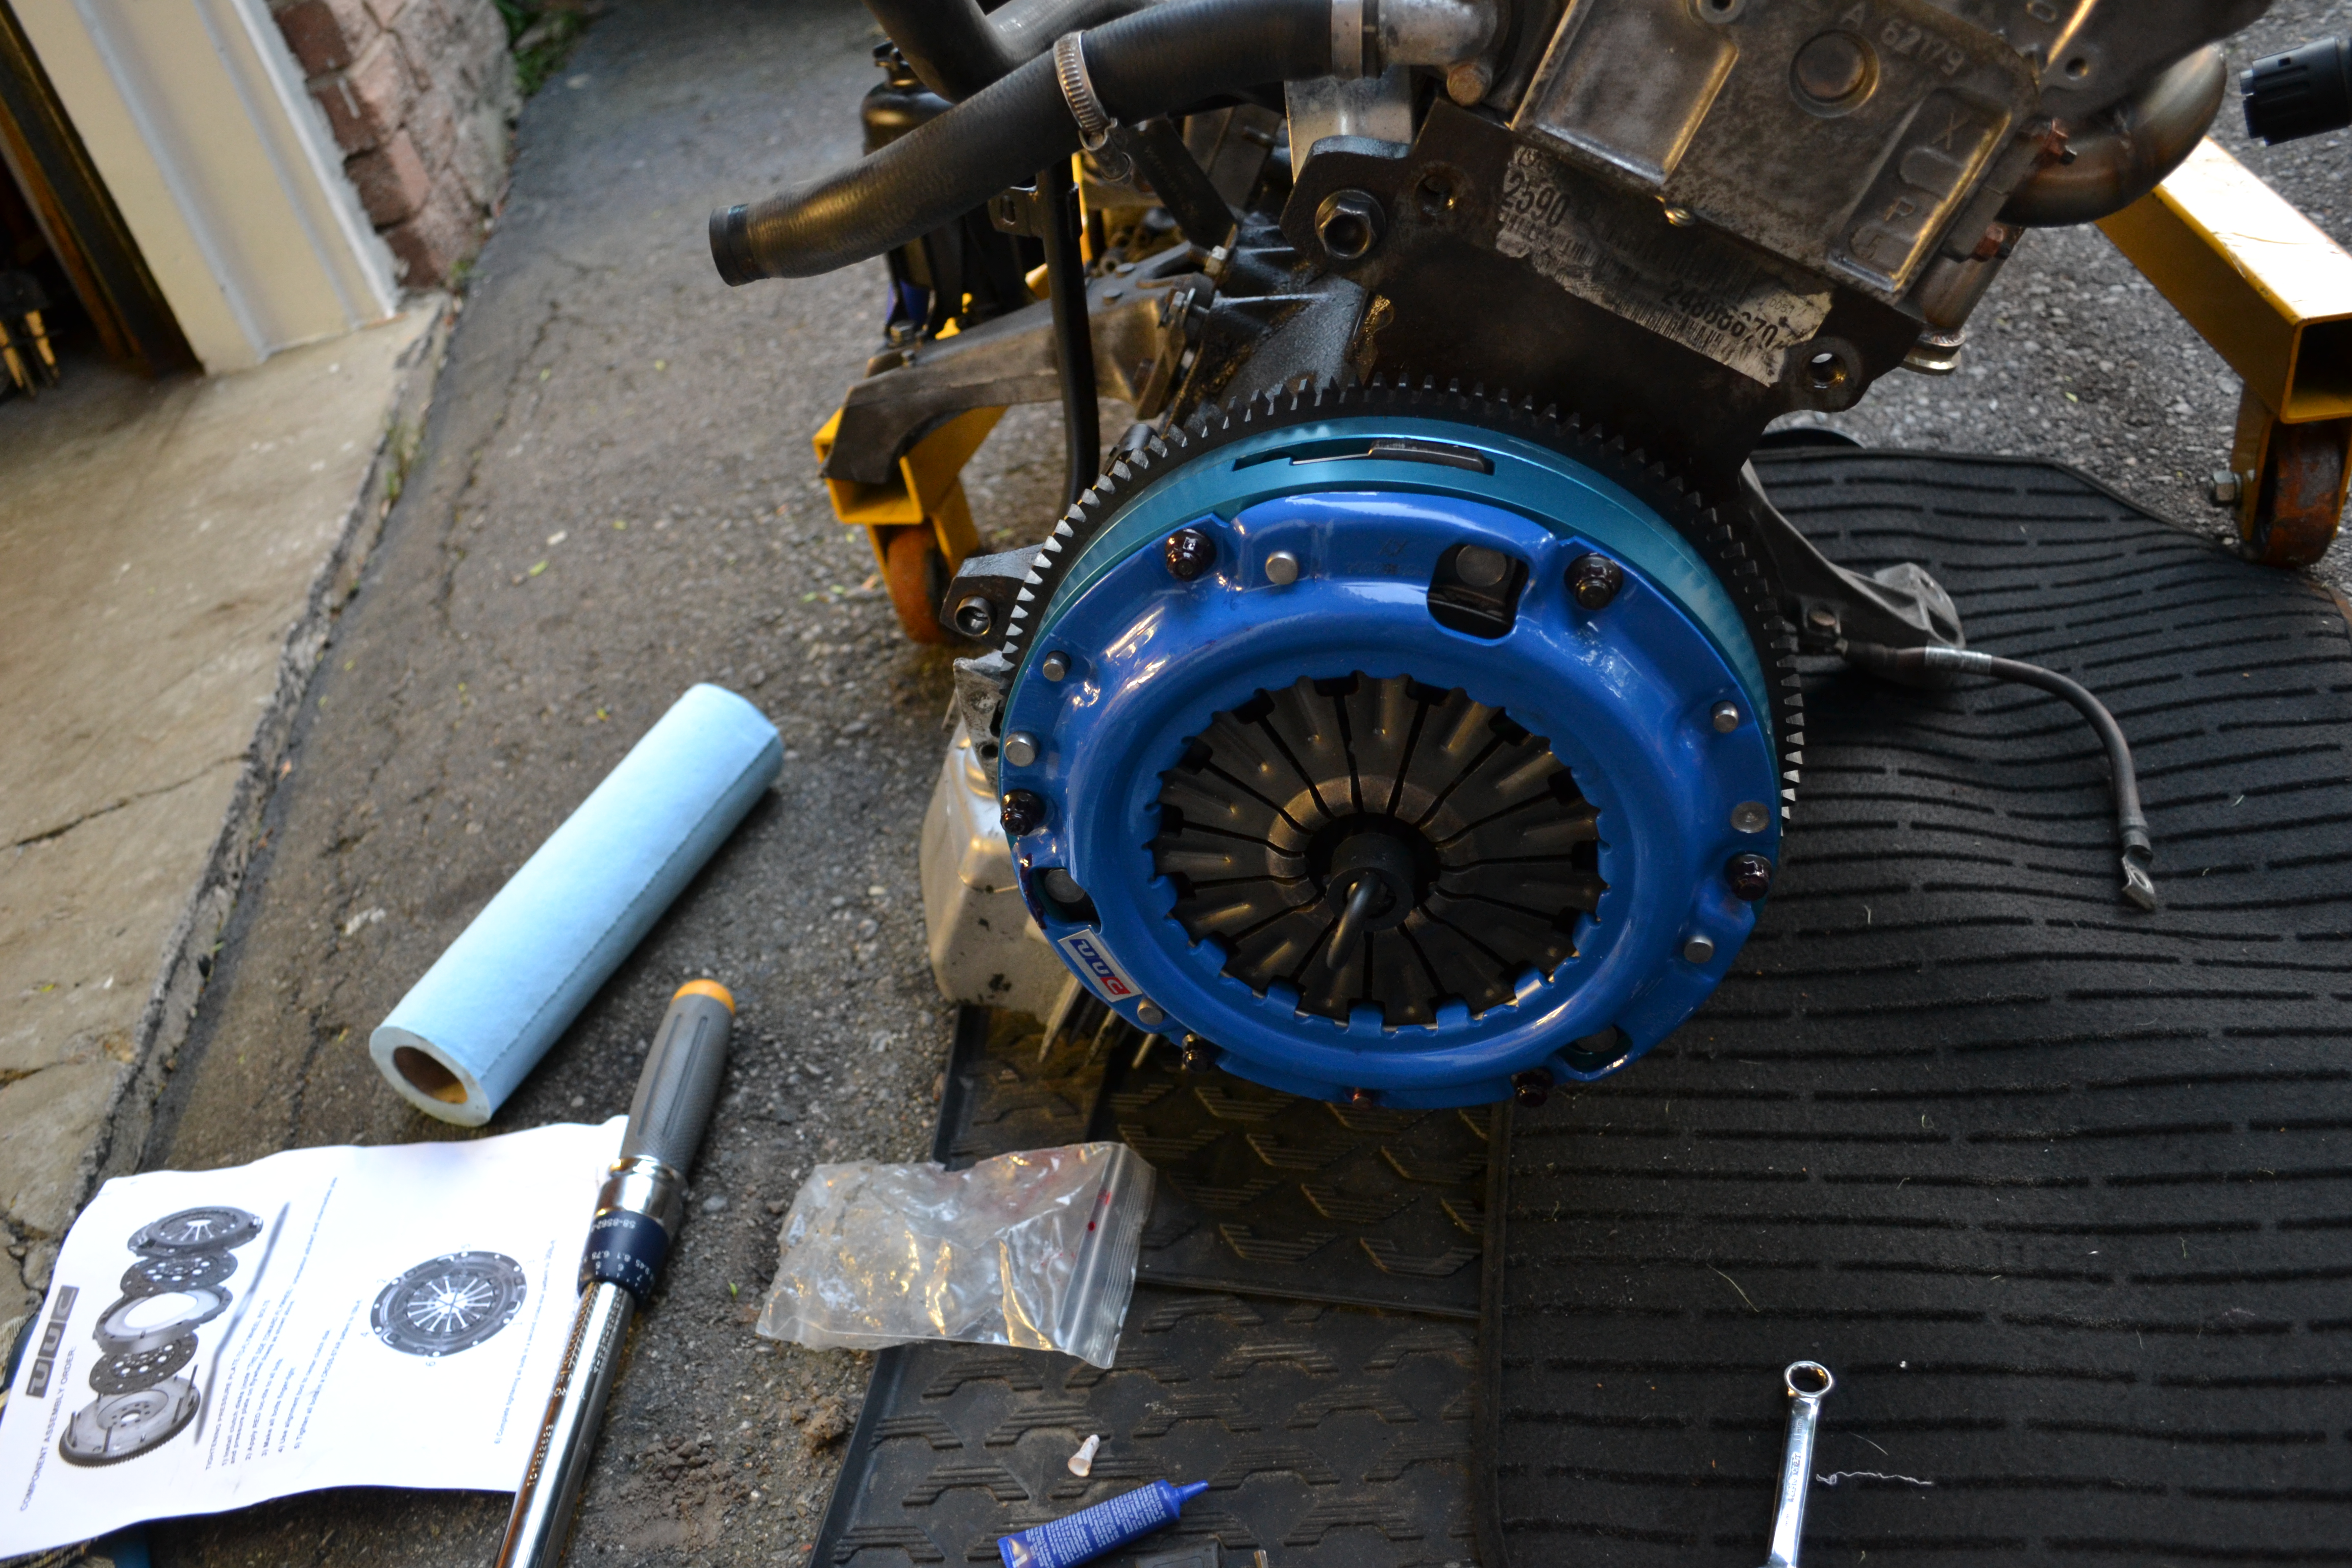
Before I bolted the transmission to the motor I installed my twin disk clutch, which went smoothly. This clutch it rated for 800ft/lbs of torque and I plan on extracting every ftlb per dollar that I can get.
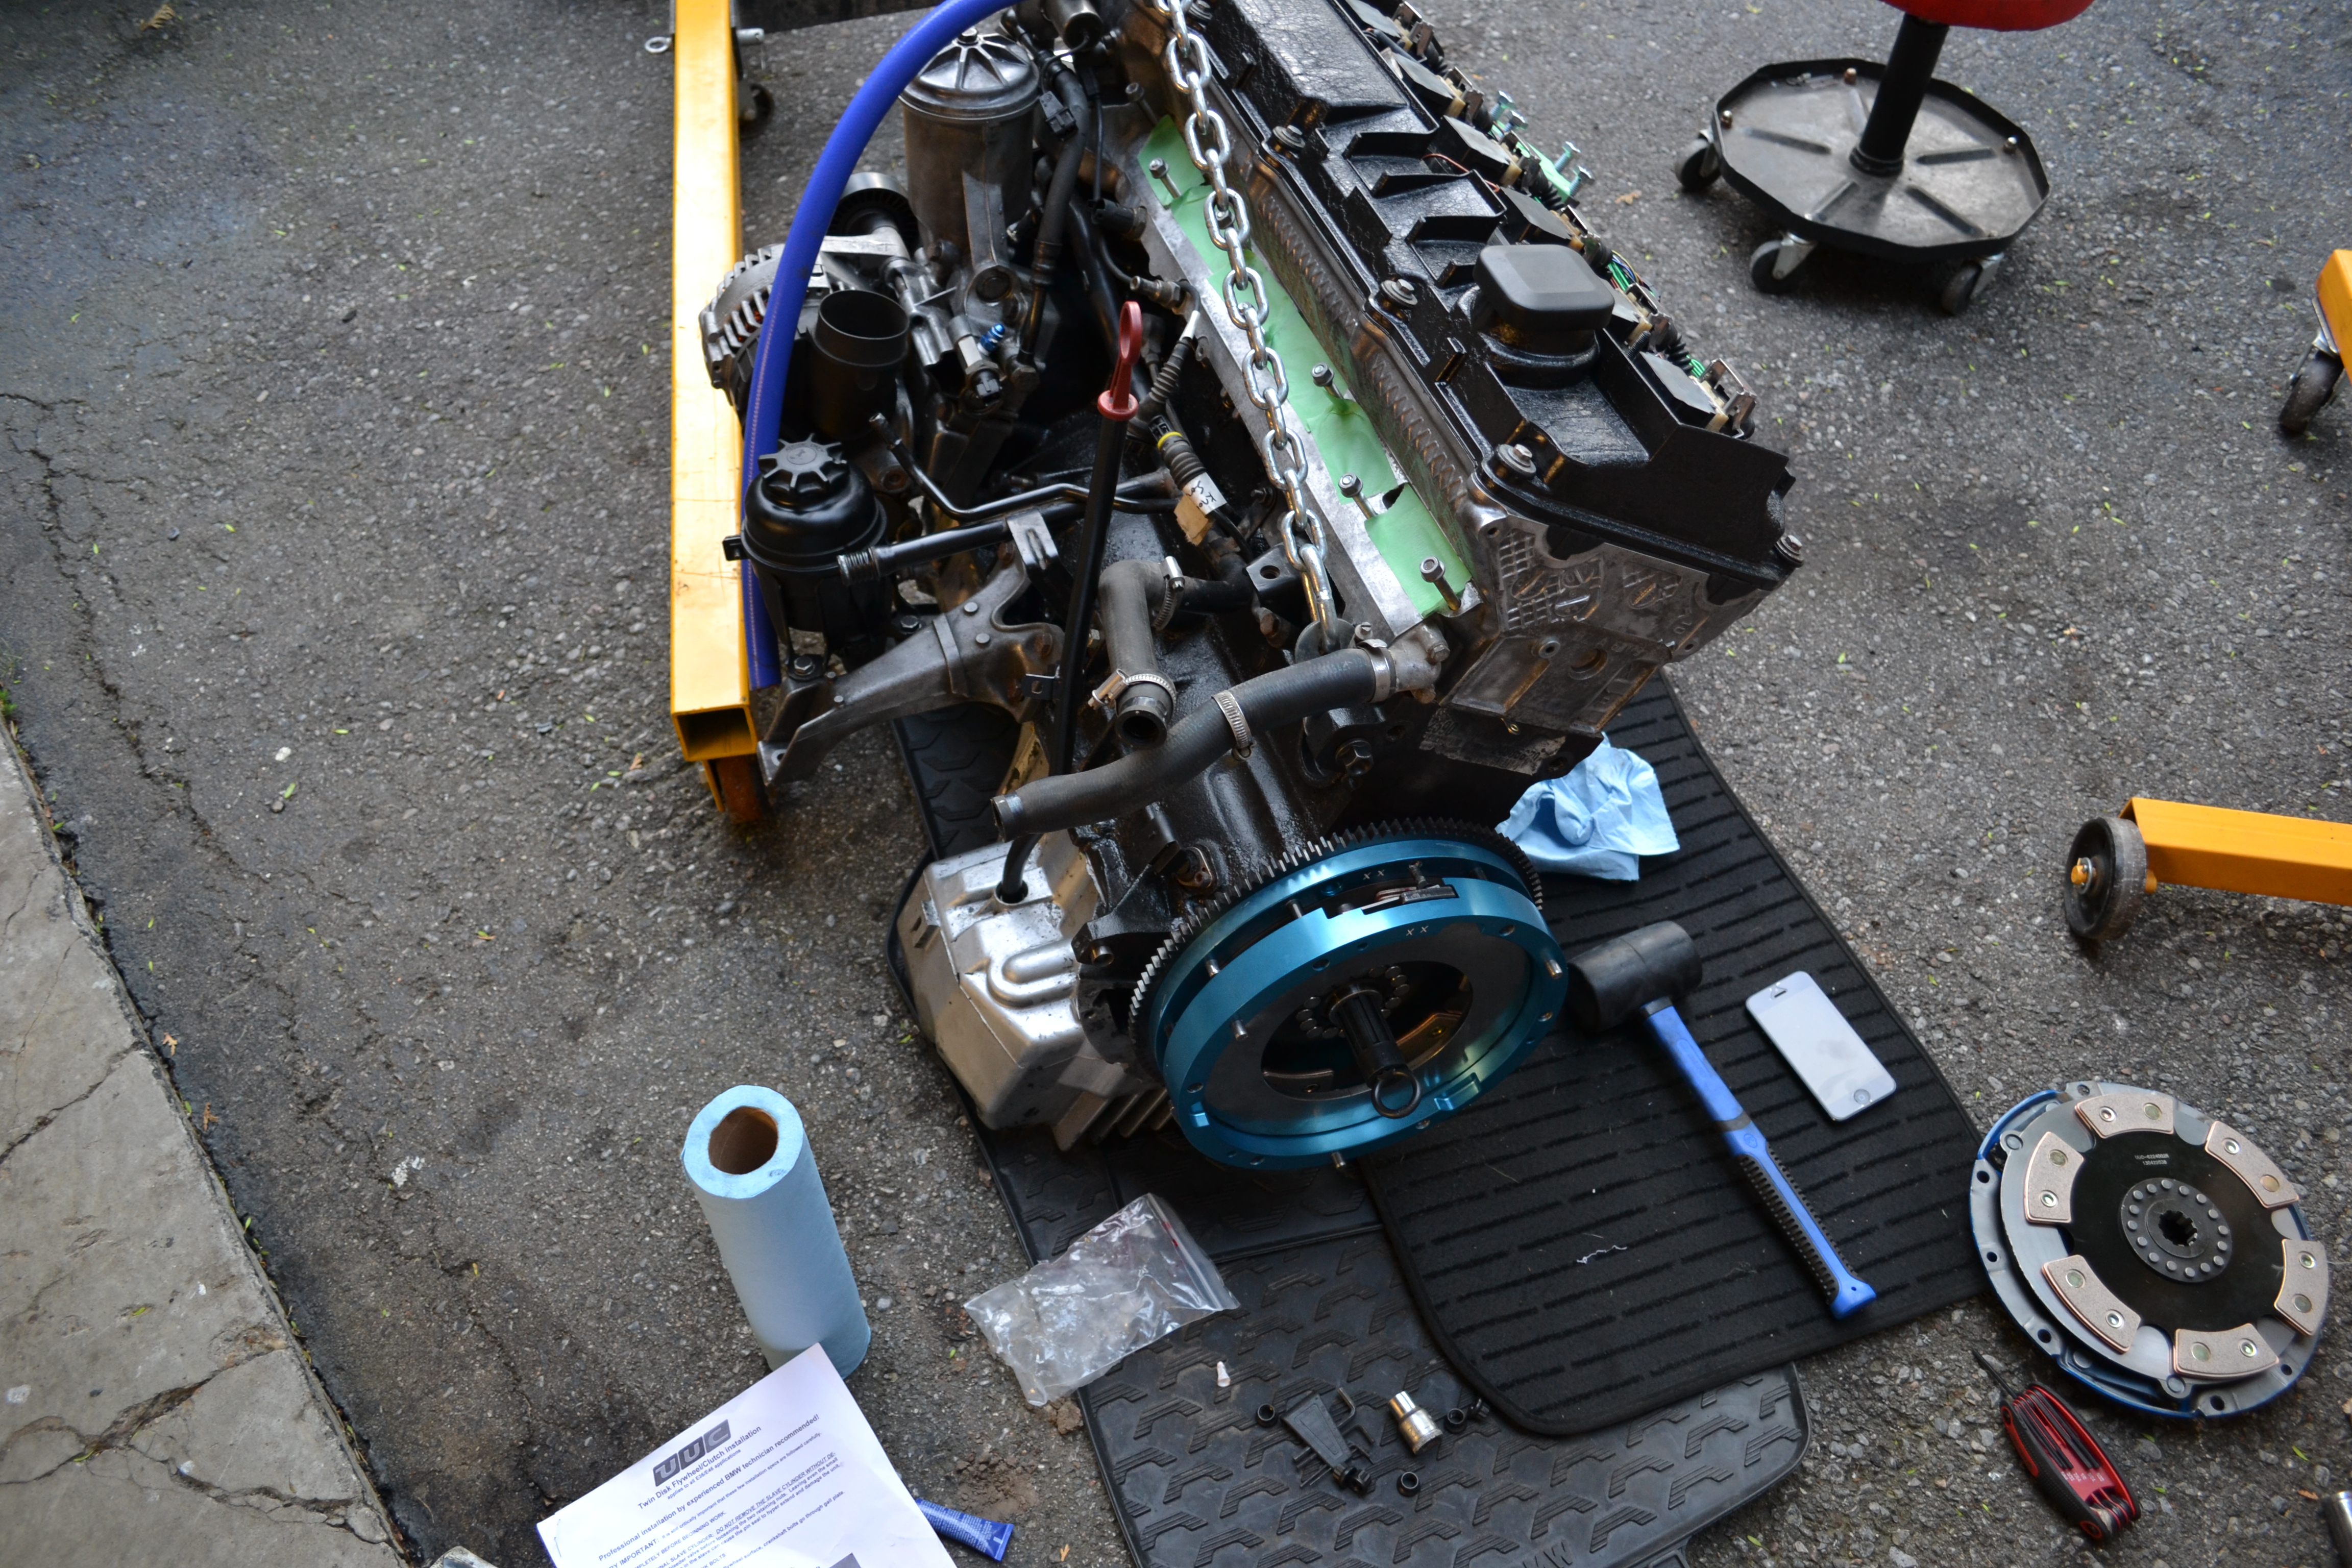
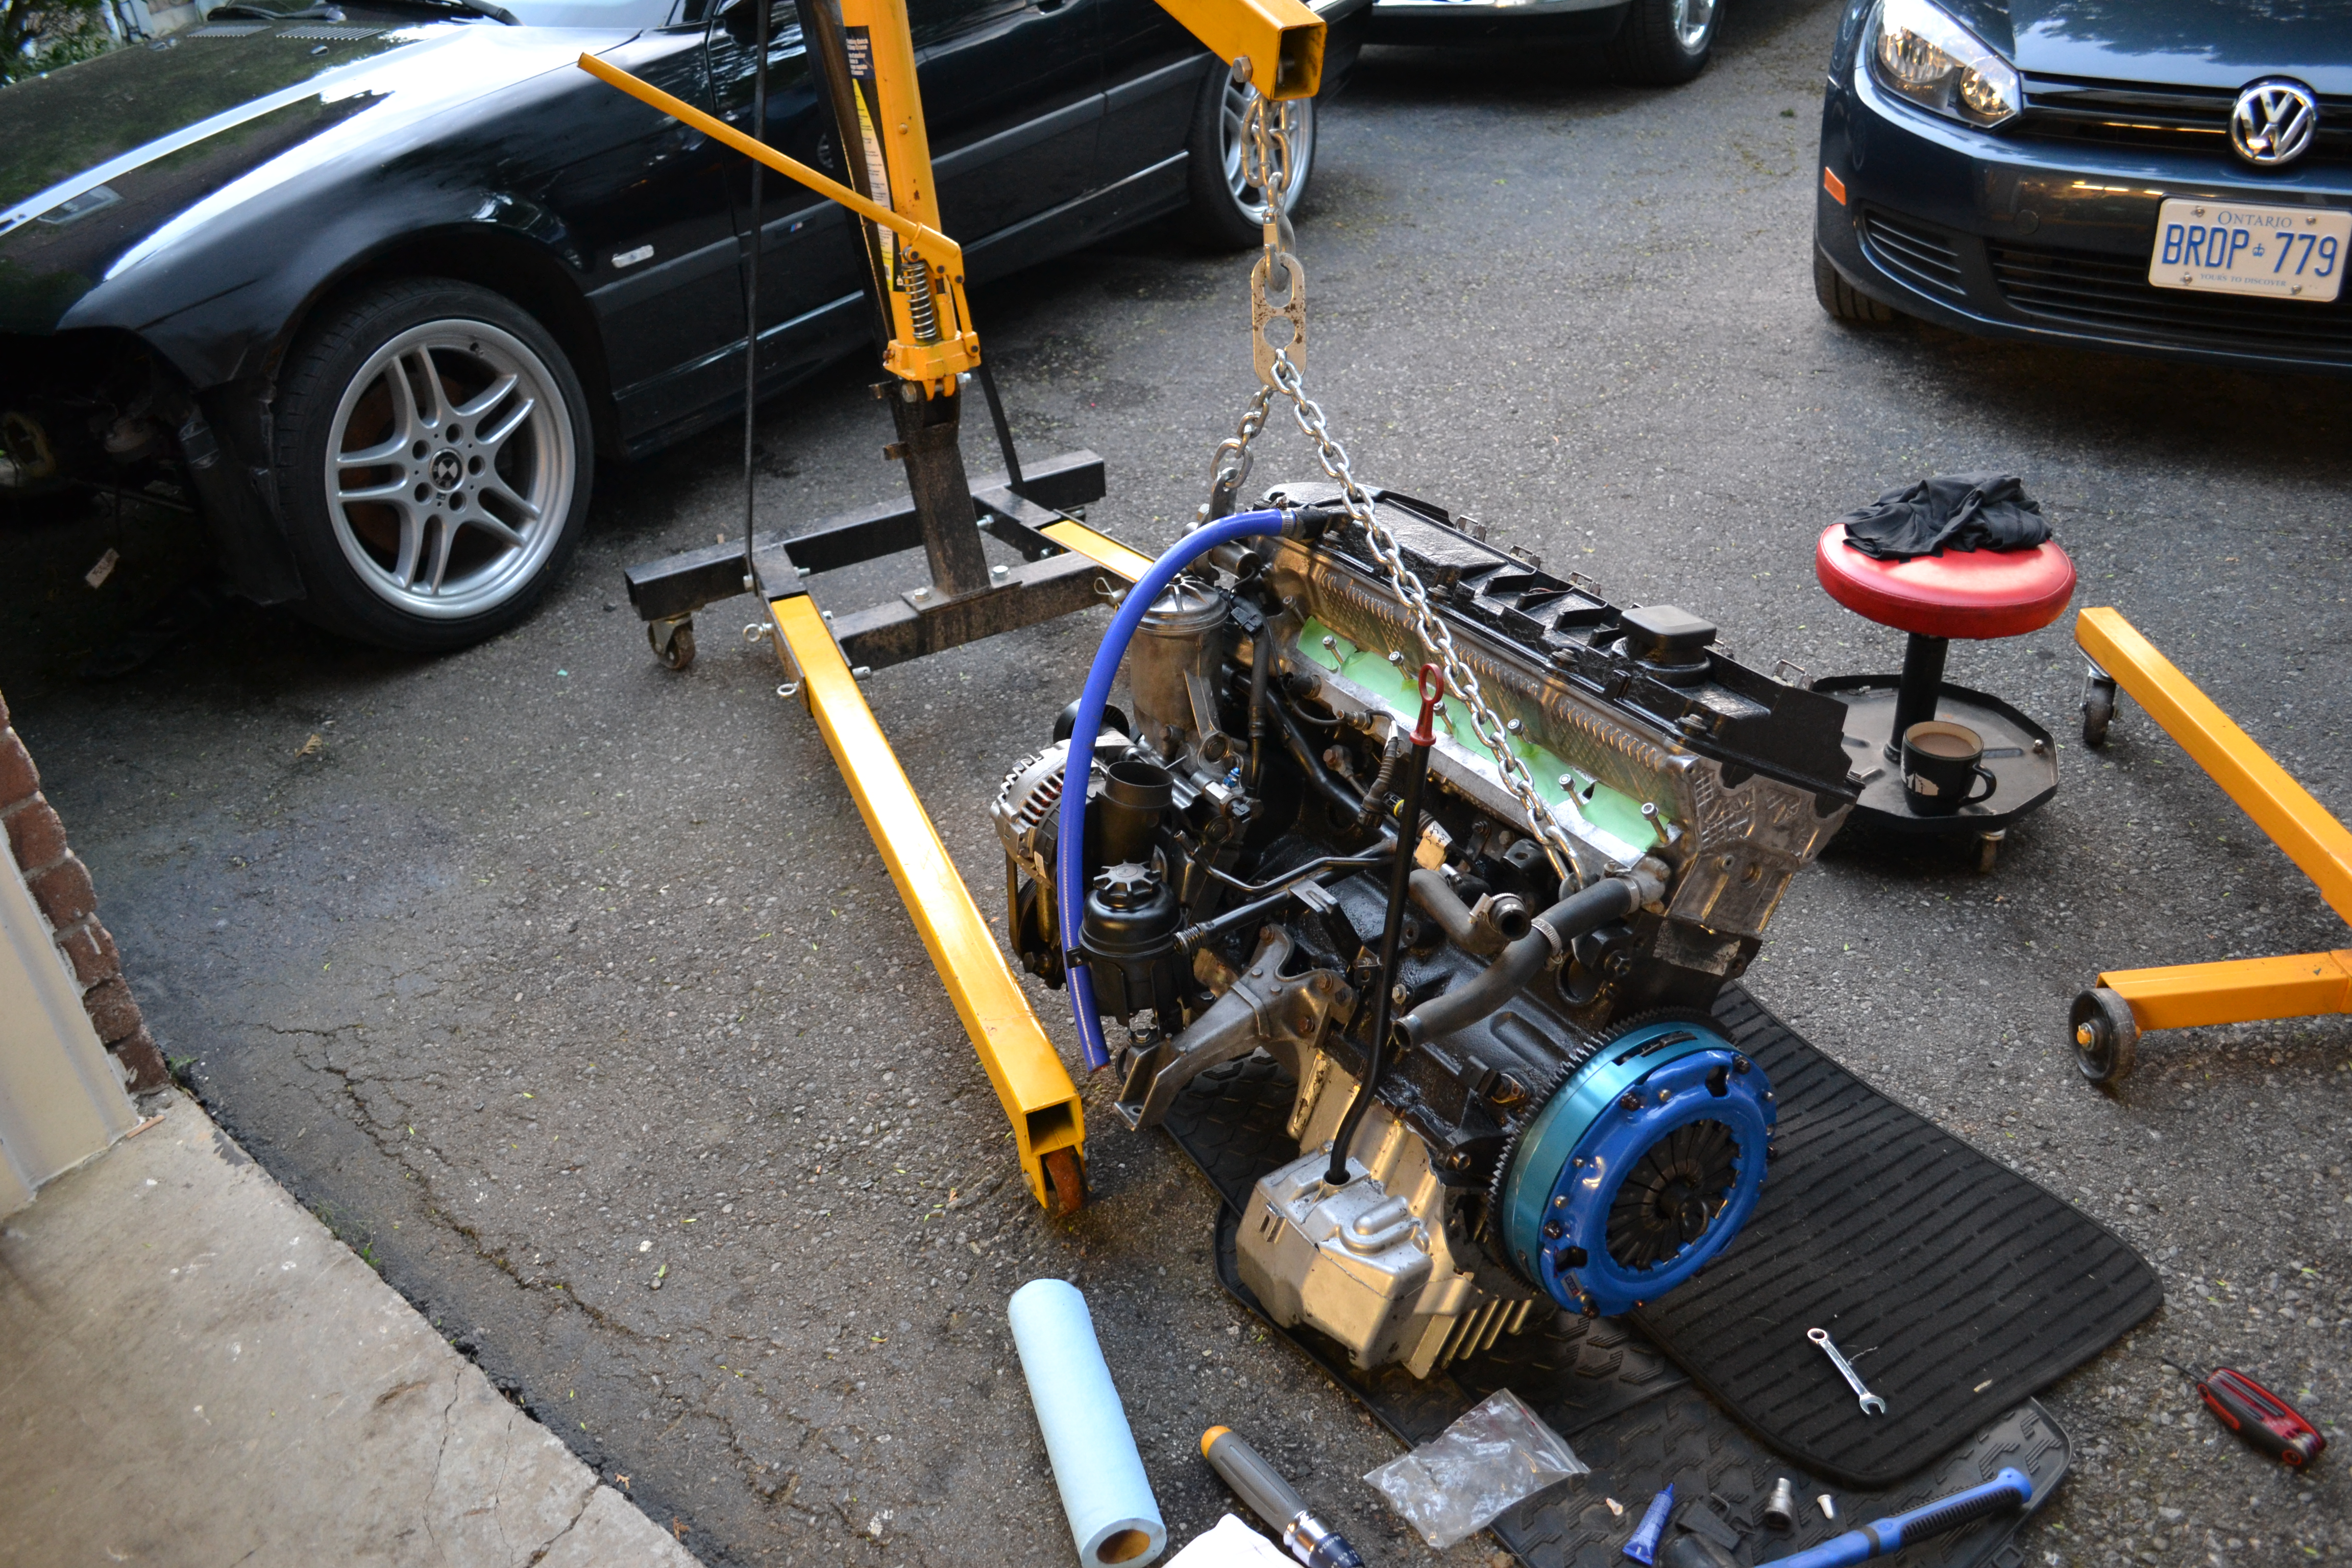
Done! I got the tranmission bolted up and ready to go for the next morning.
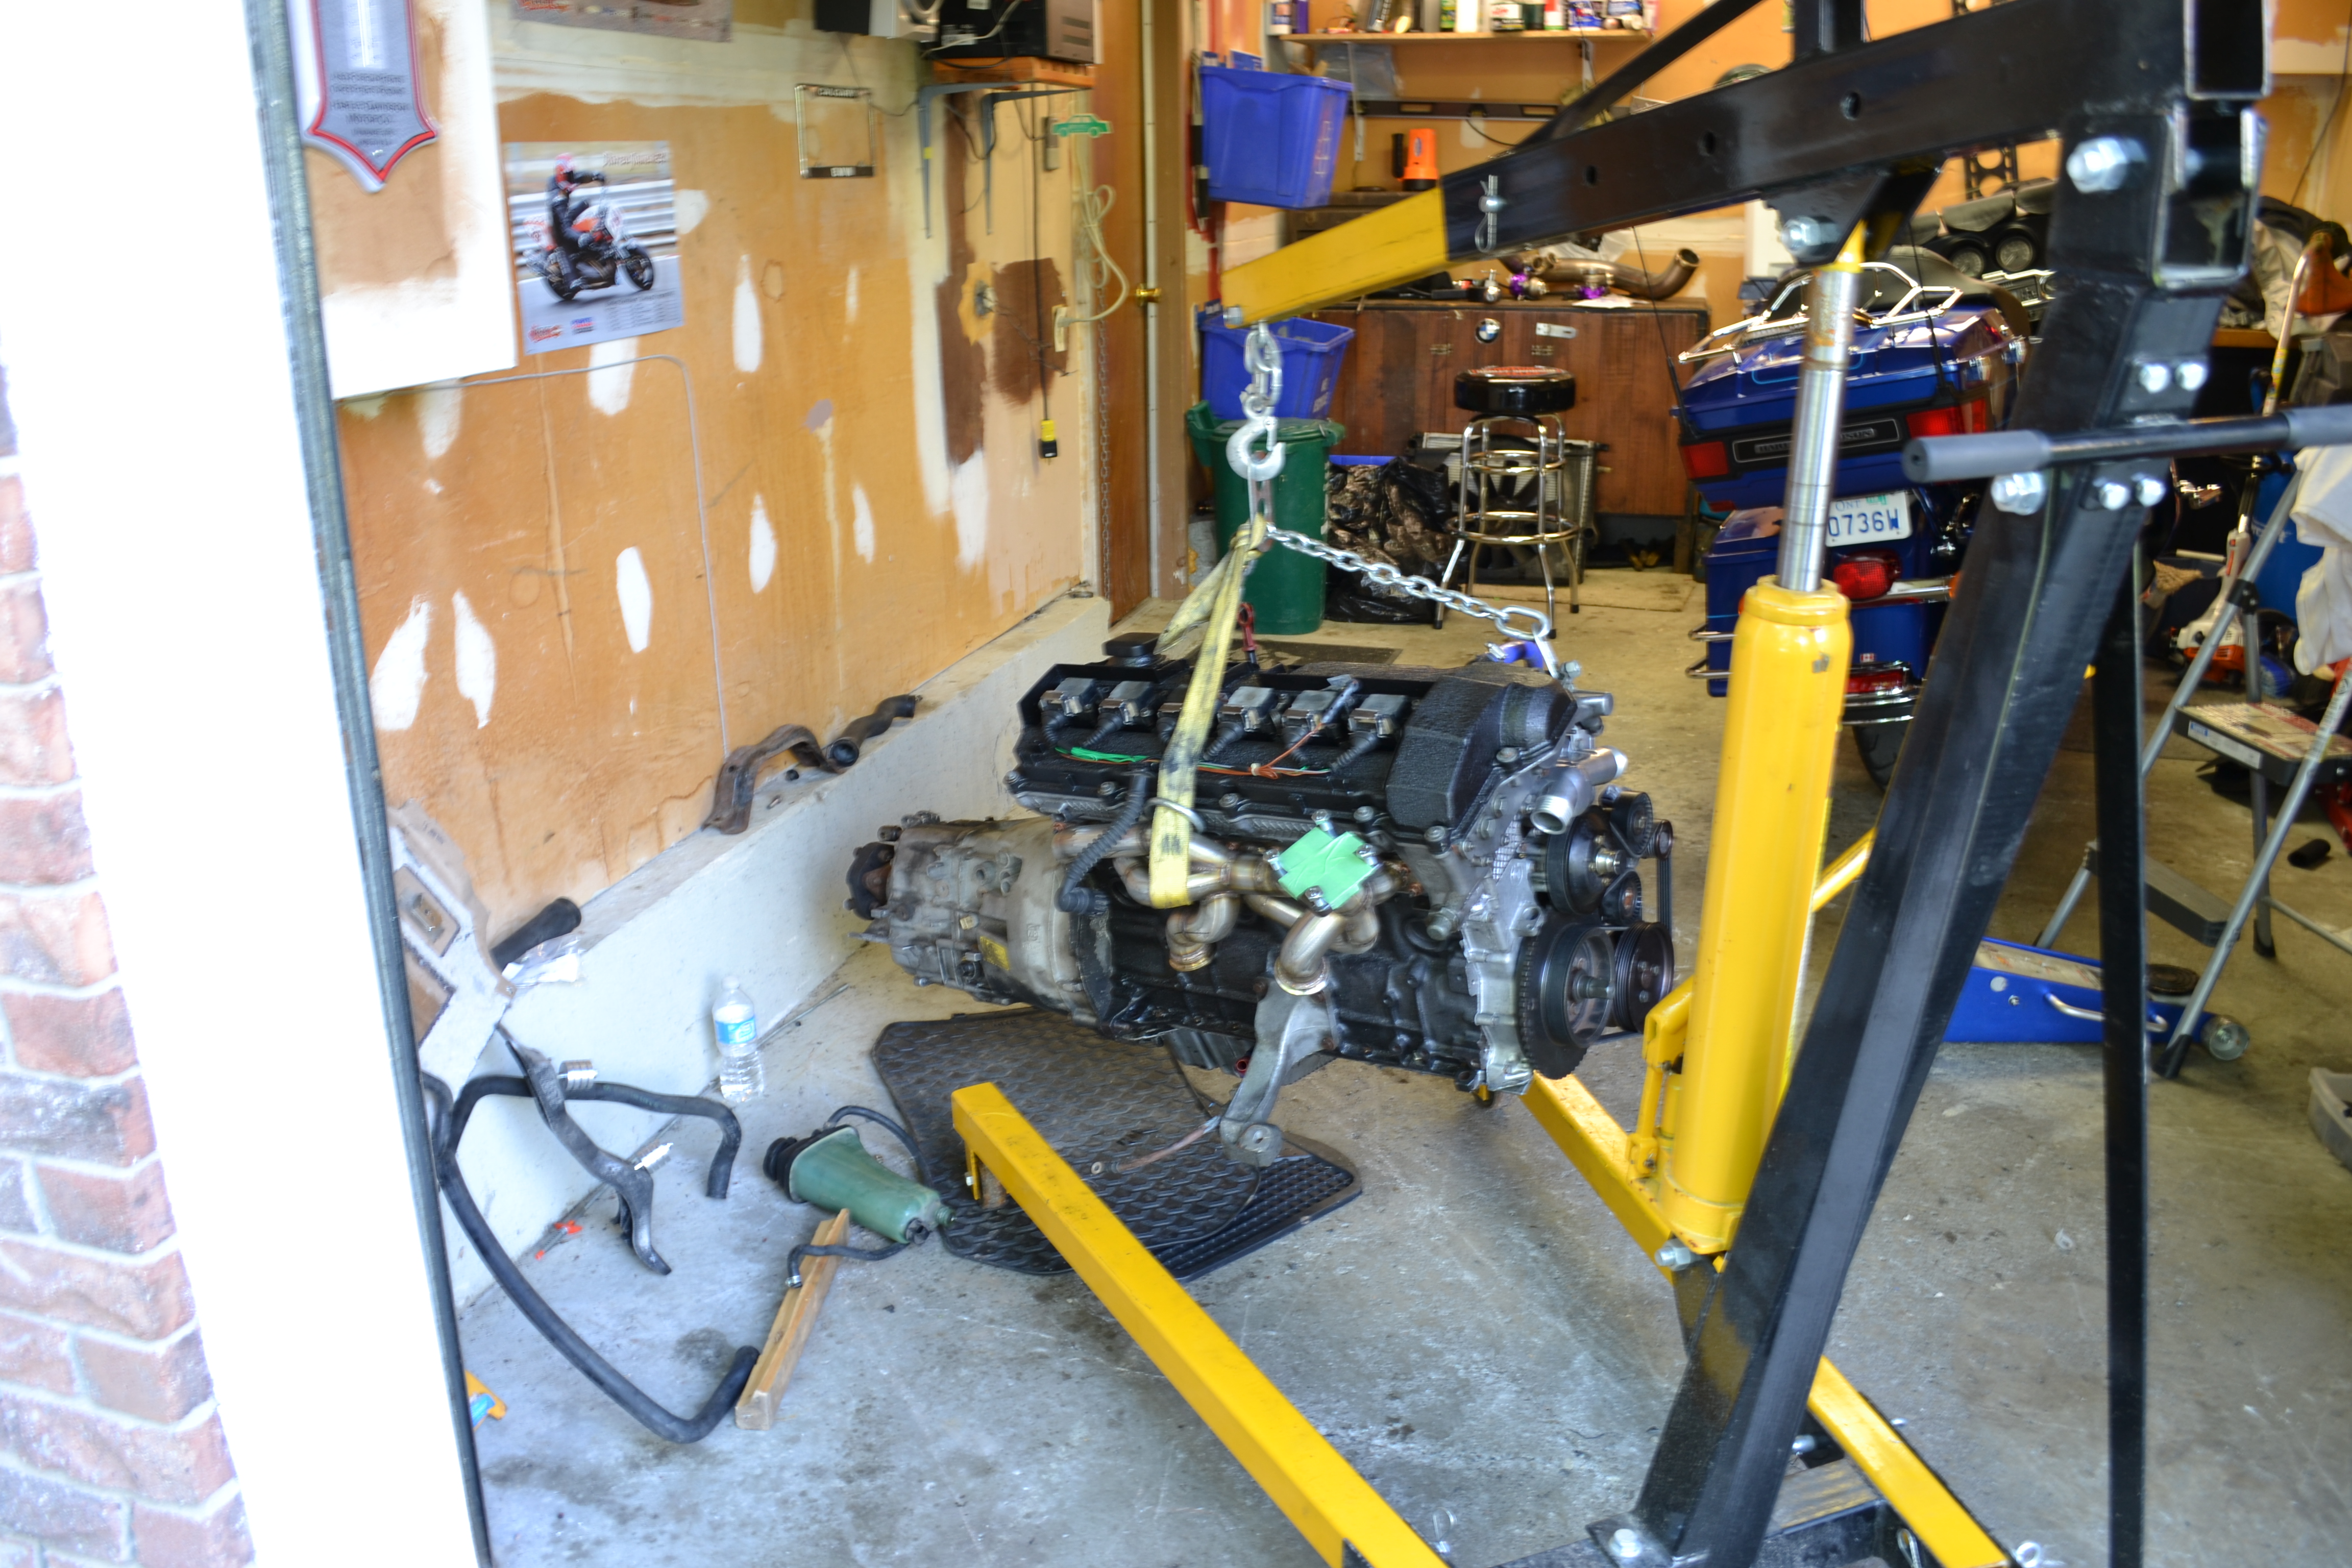
Rise and shine! Up at 8am and dropping a motor in. Yes I know, my neighbors must love me. But who doesn’t love the sound of air tools in the morning lol!
Doin work!
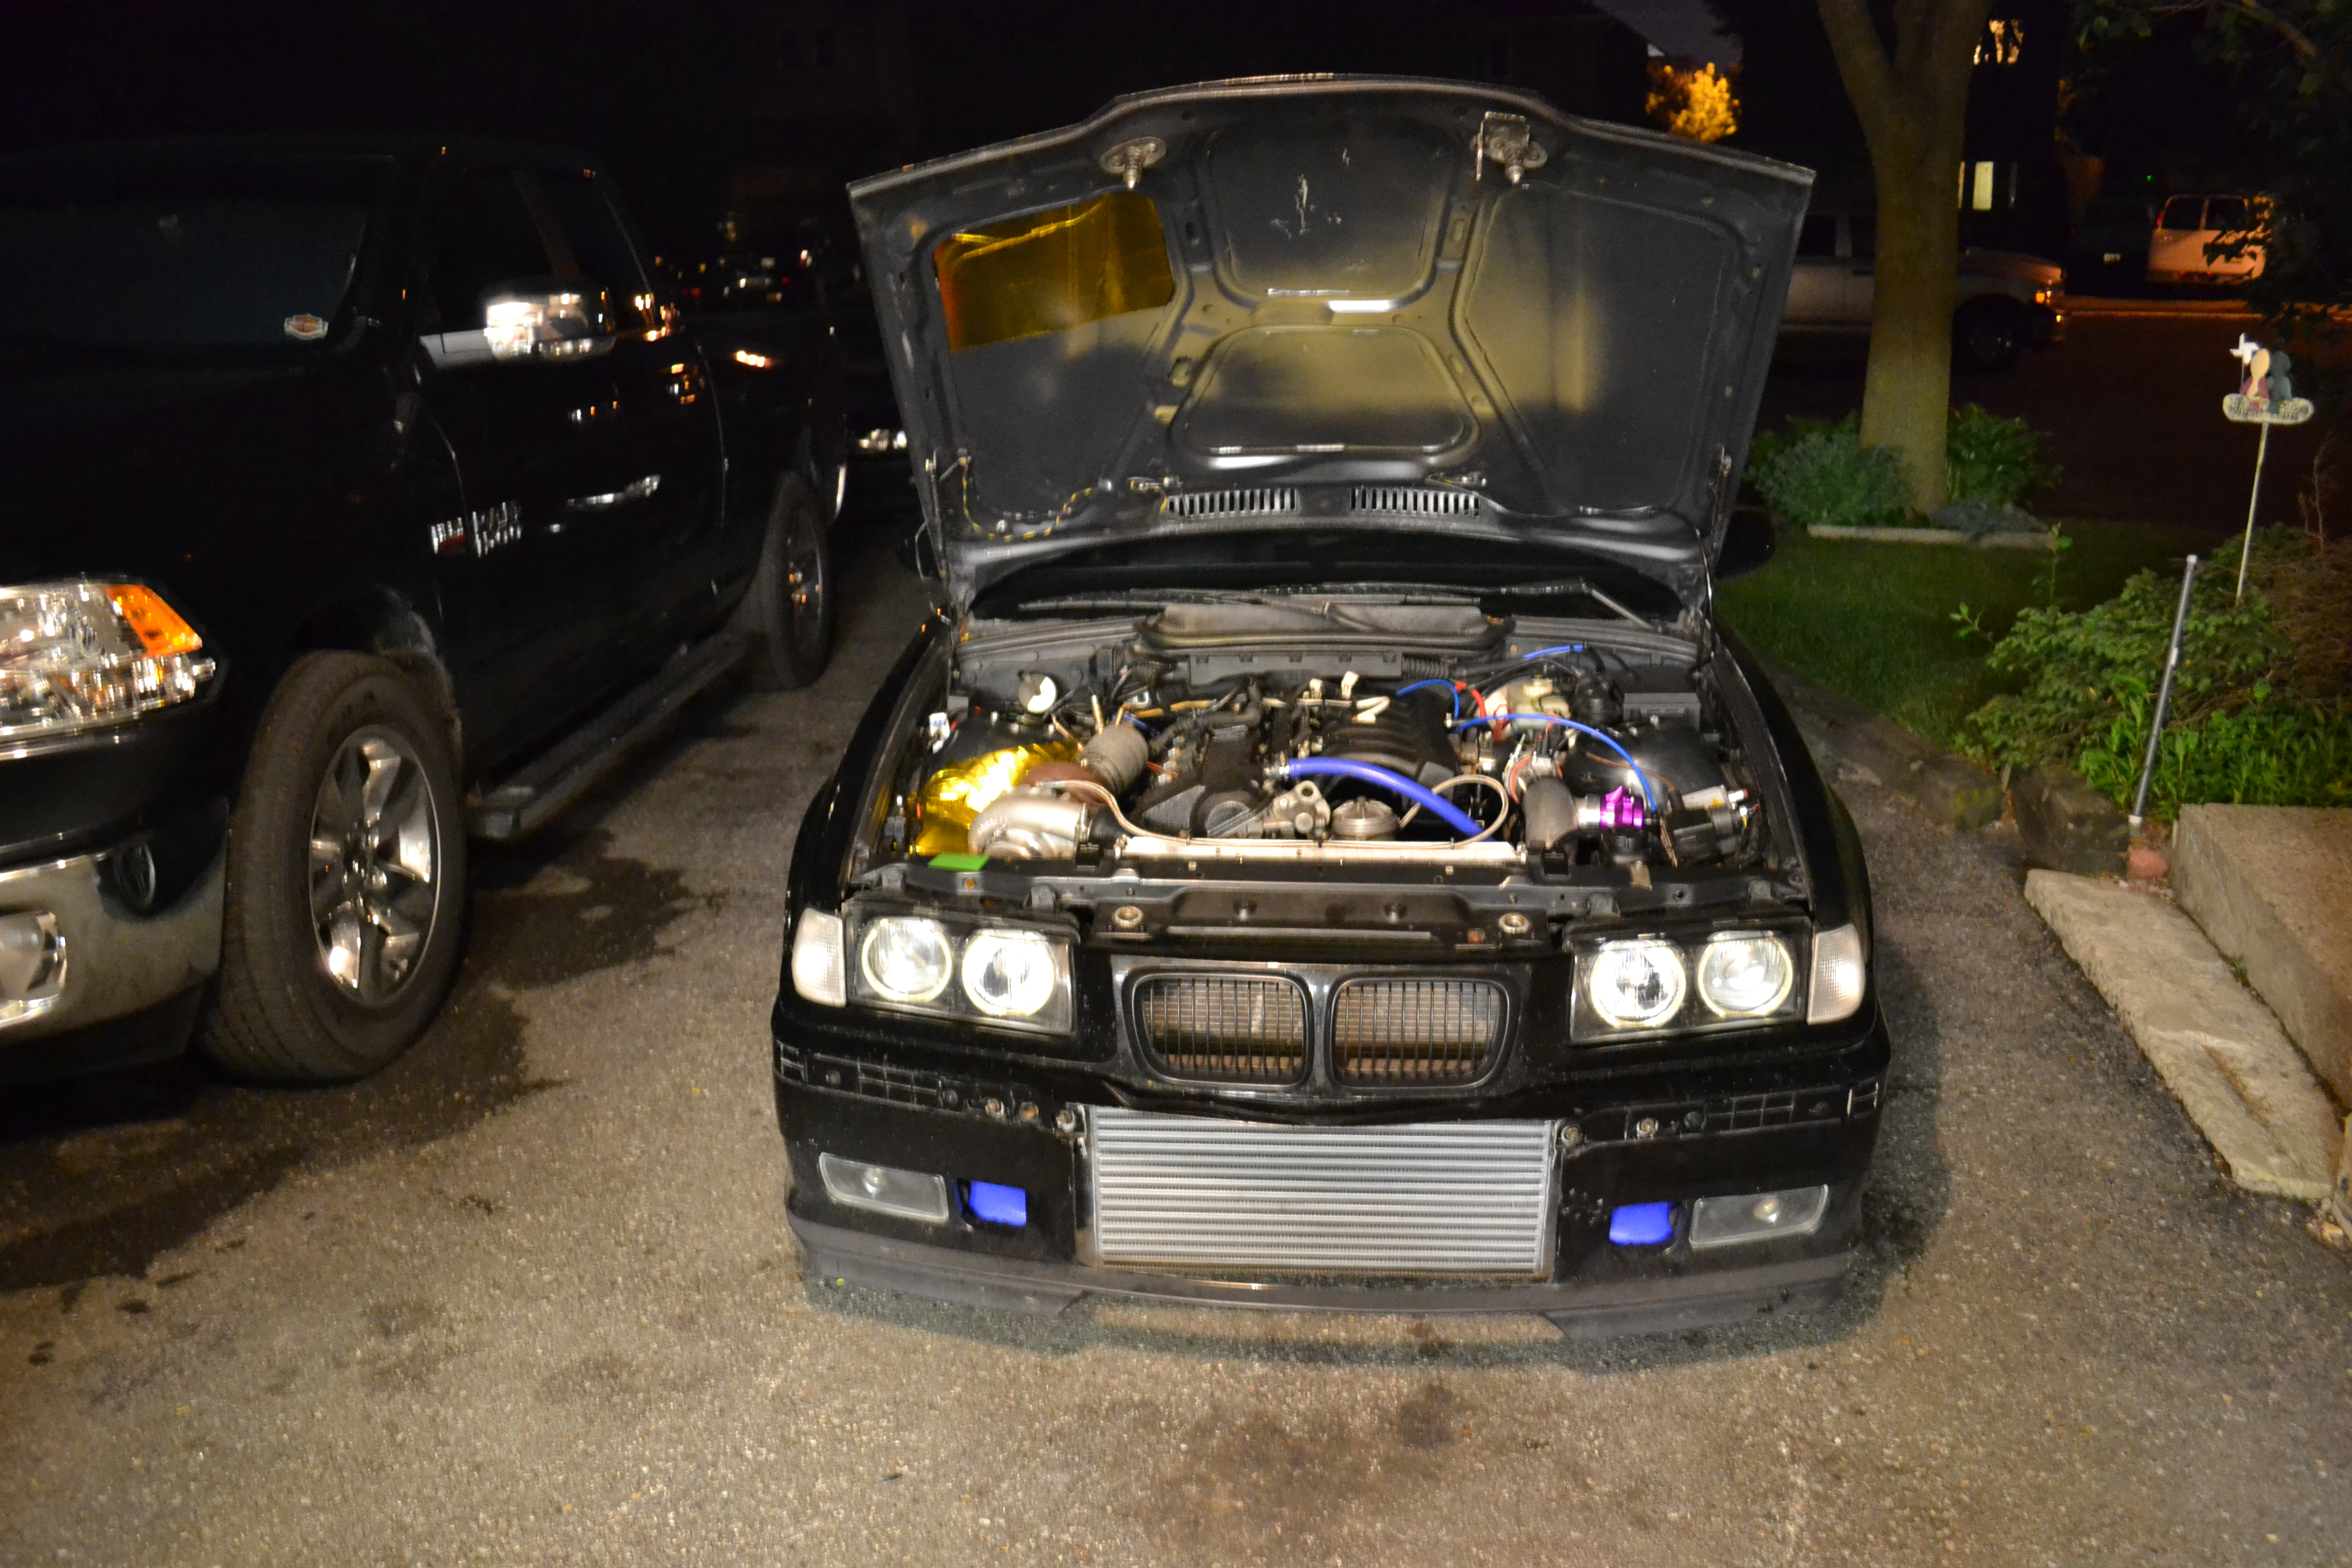
Its turbo time!
Wiring everything up!
Booya!
And done!
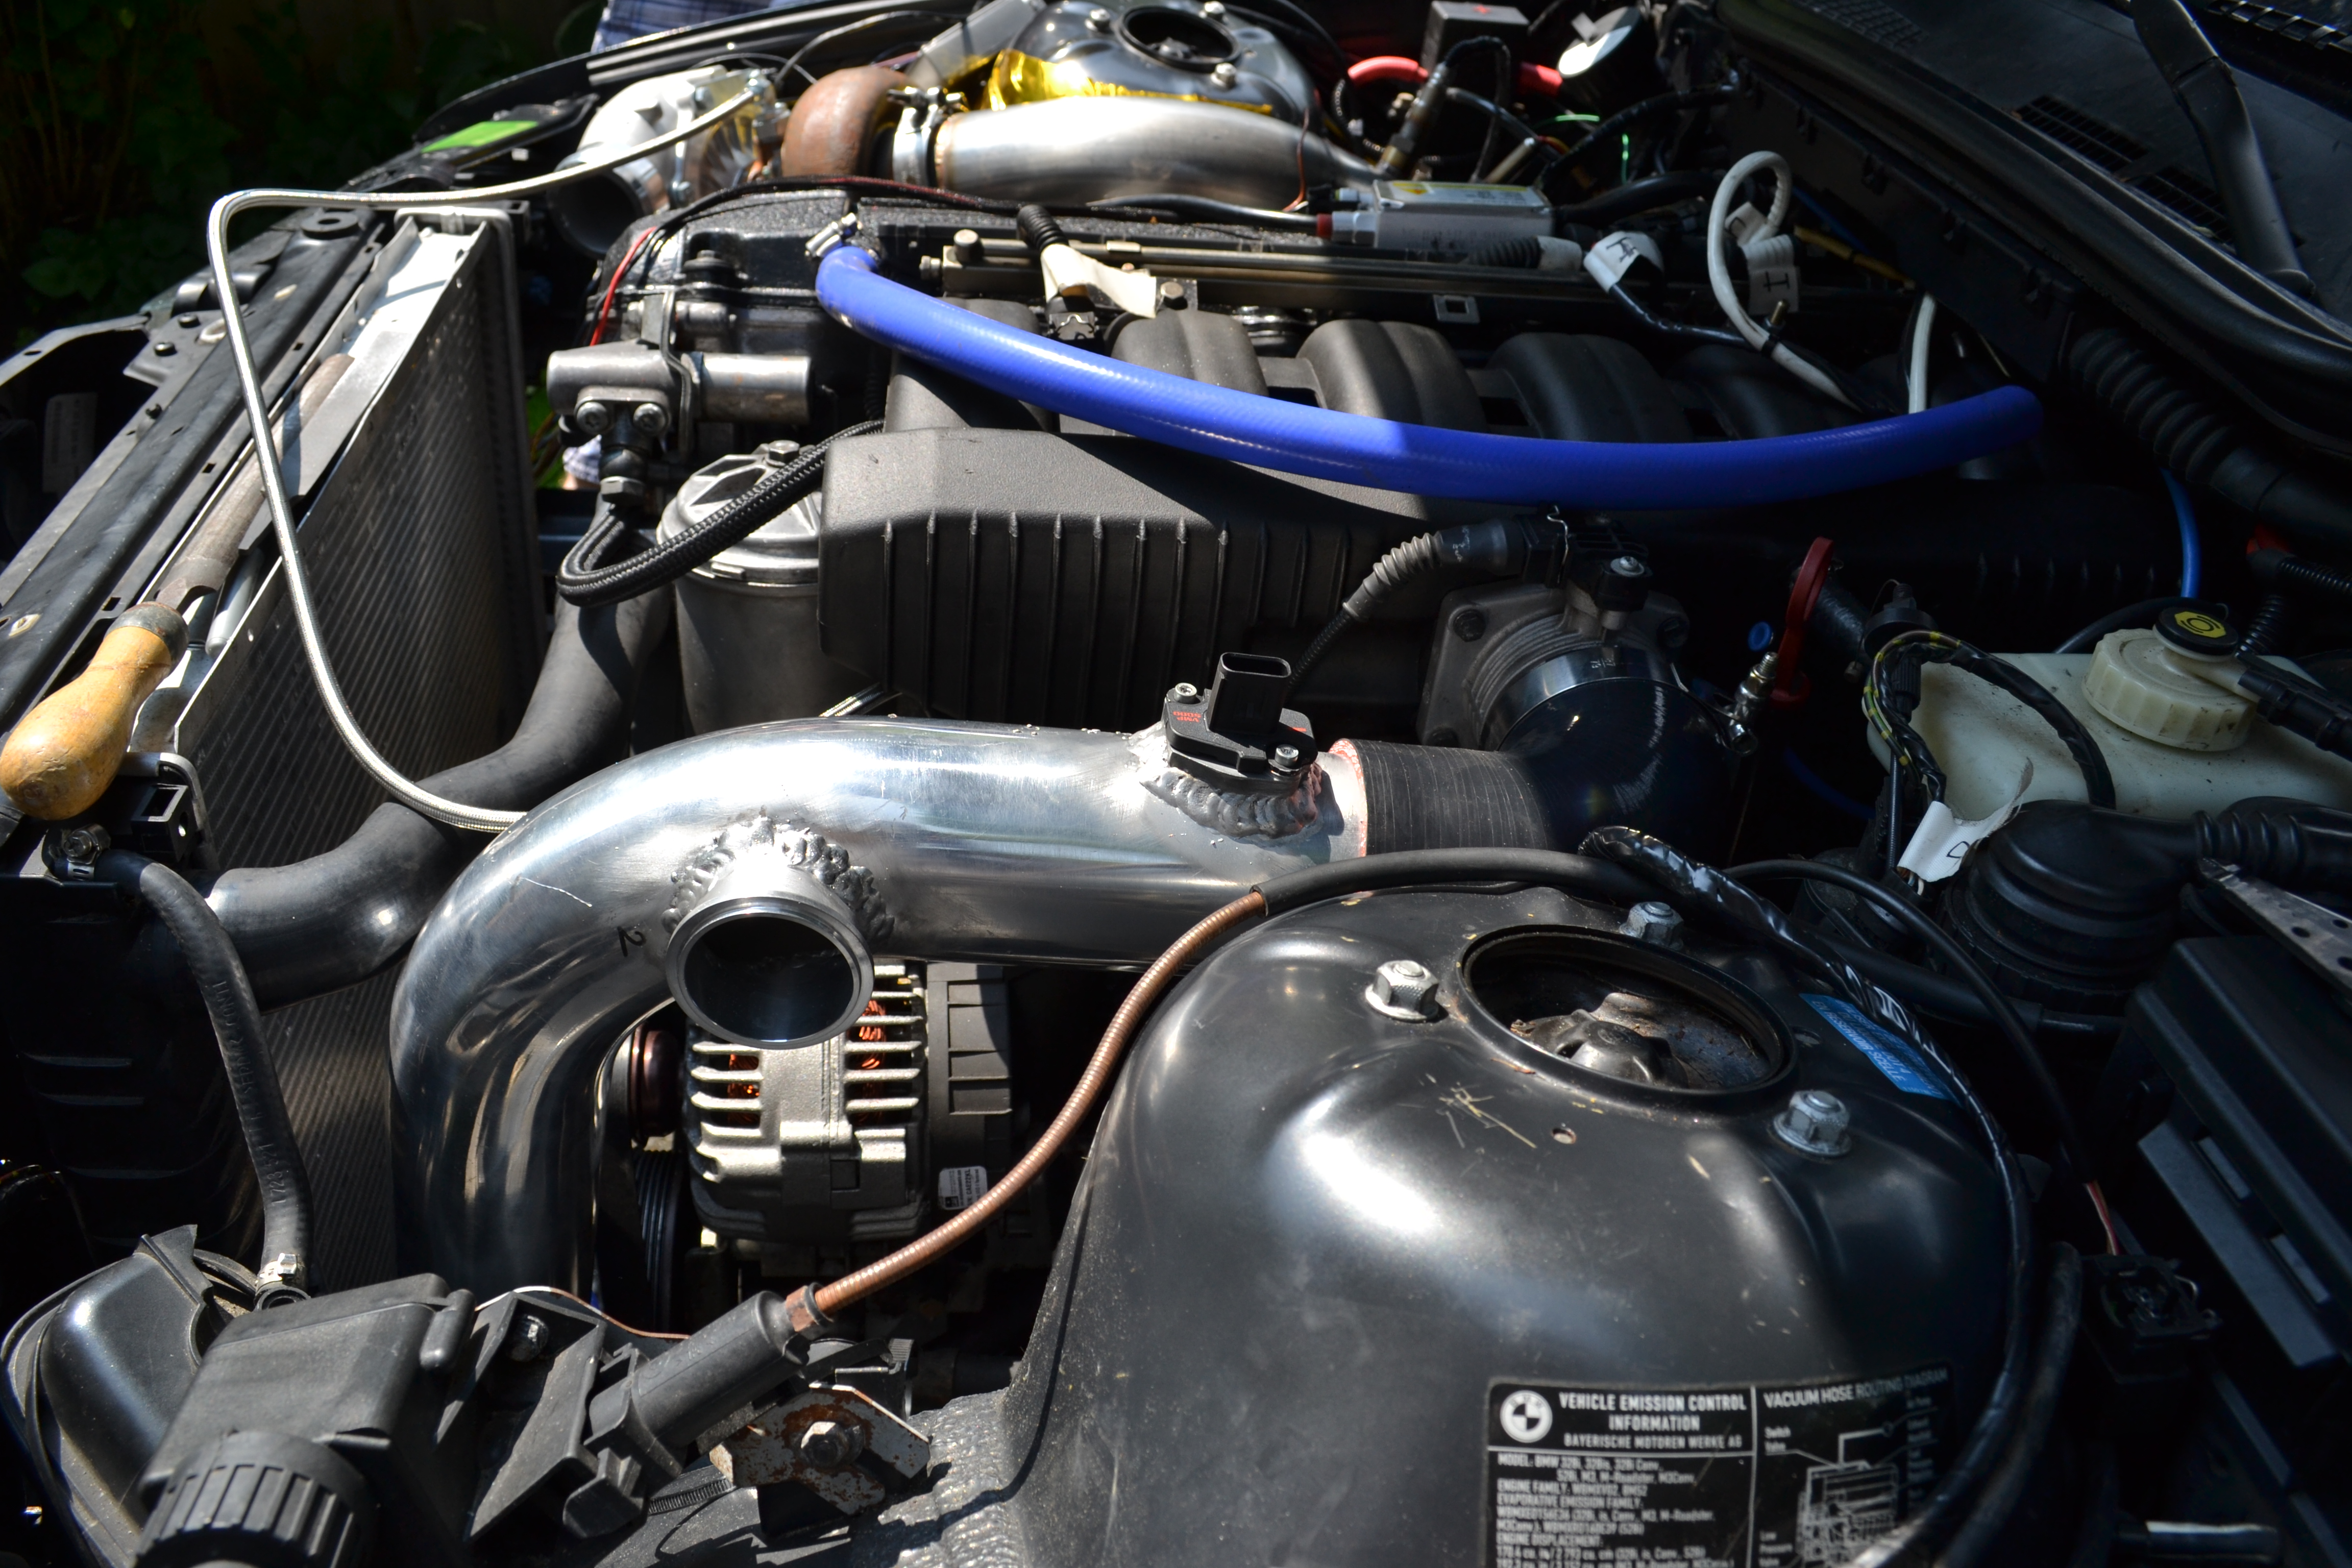
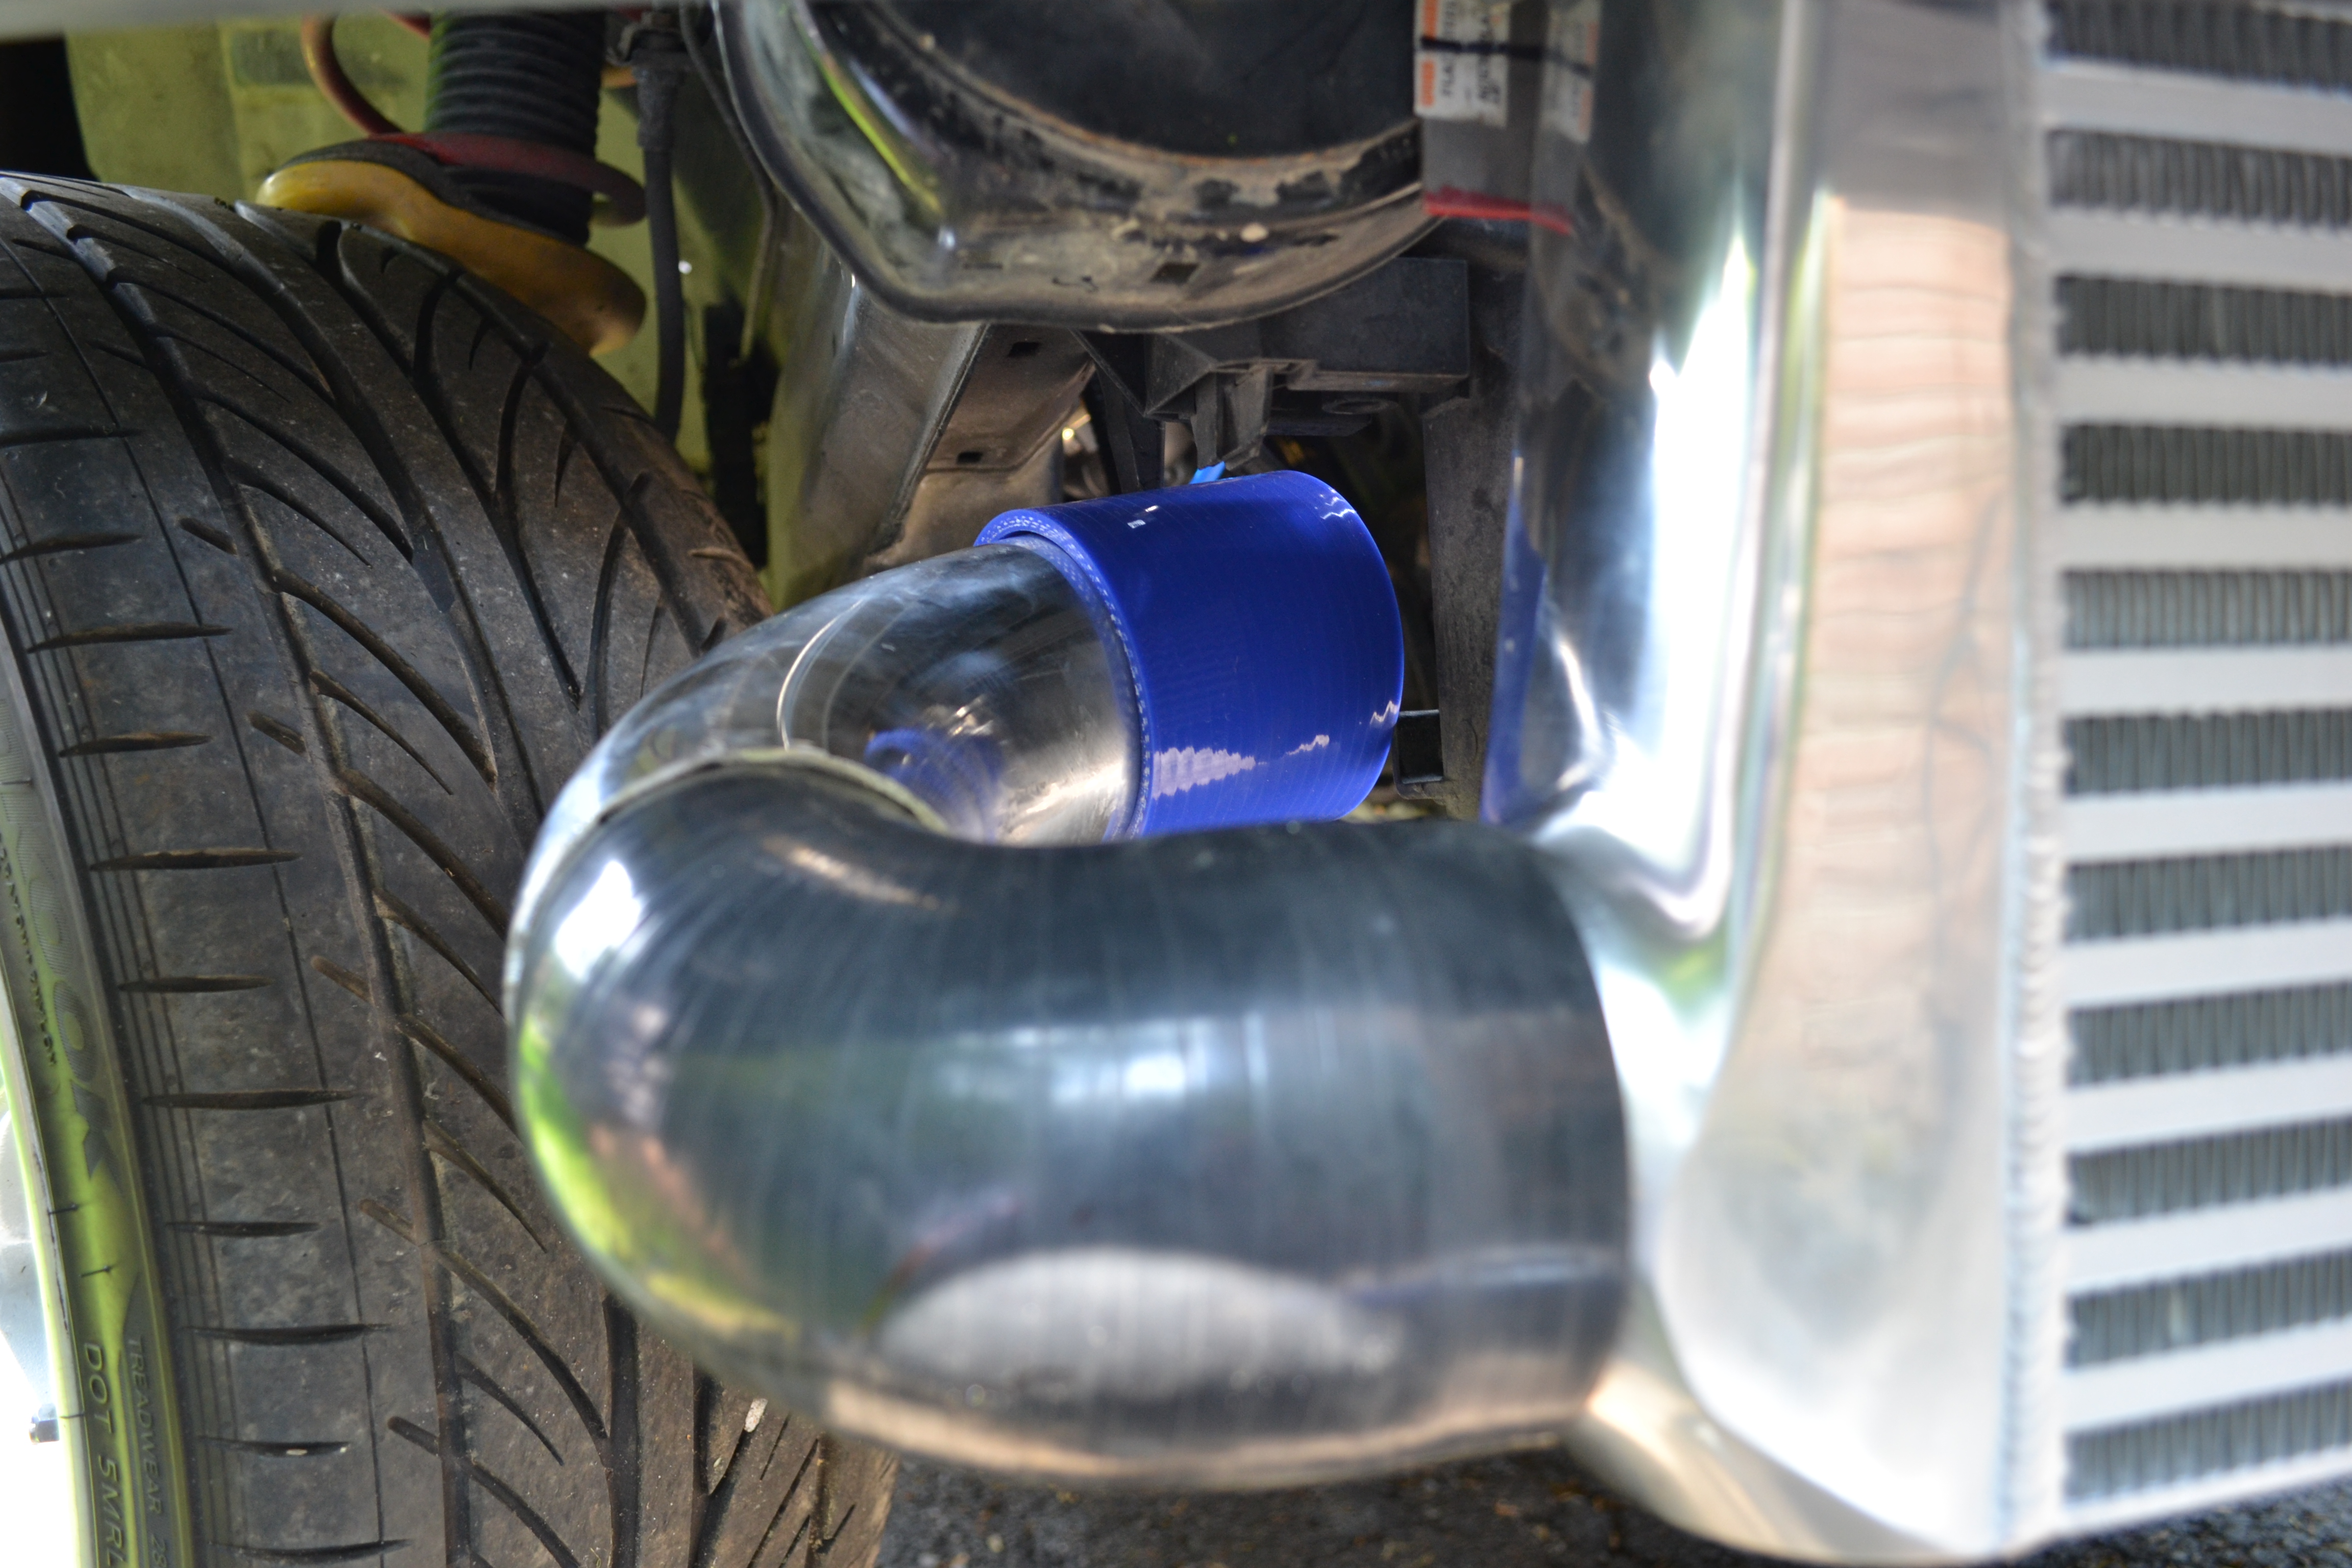
Im running 3 inch intercooler piping hotside side and coldside, air is cooled by a 12x3x24 inch intercooler and exits out of a tial 50mm blow off valve. My advice for intercooler piping mock up is, make sure you have a chopsaw and measure twice cut once!
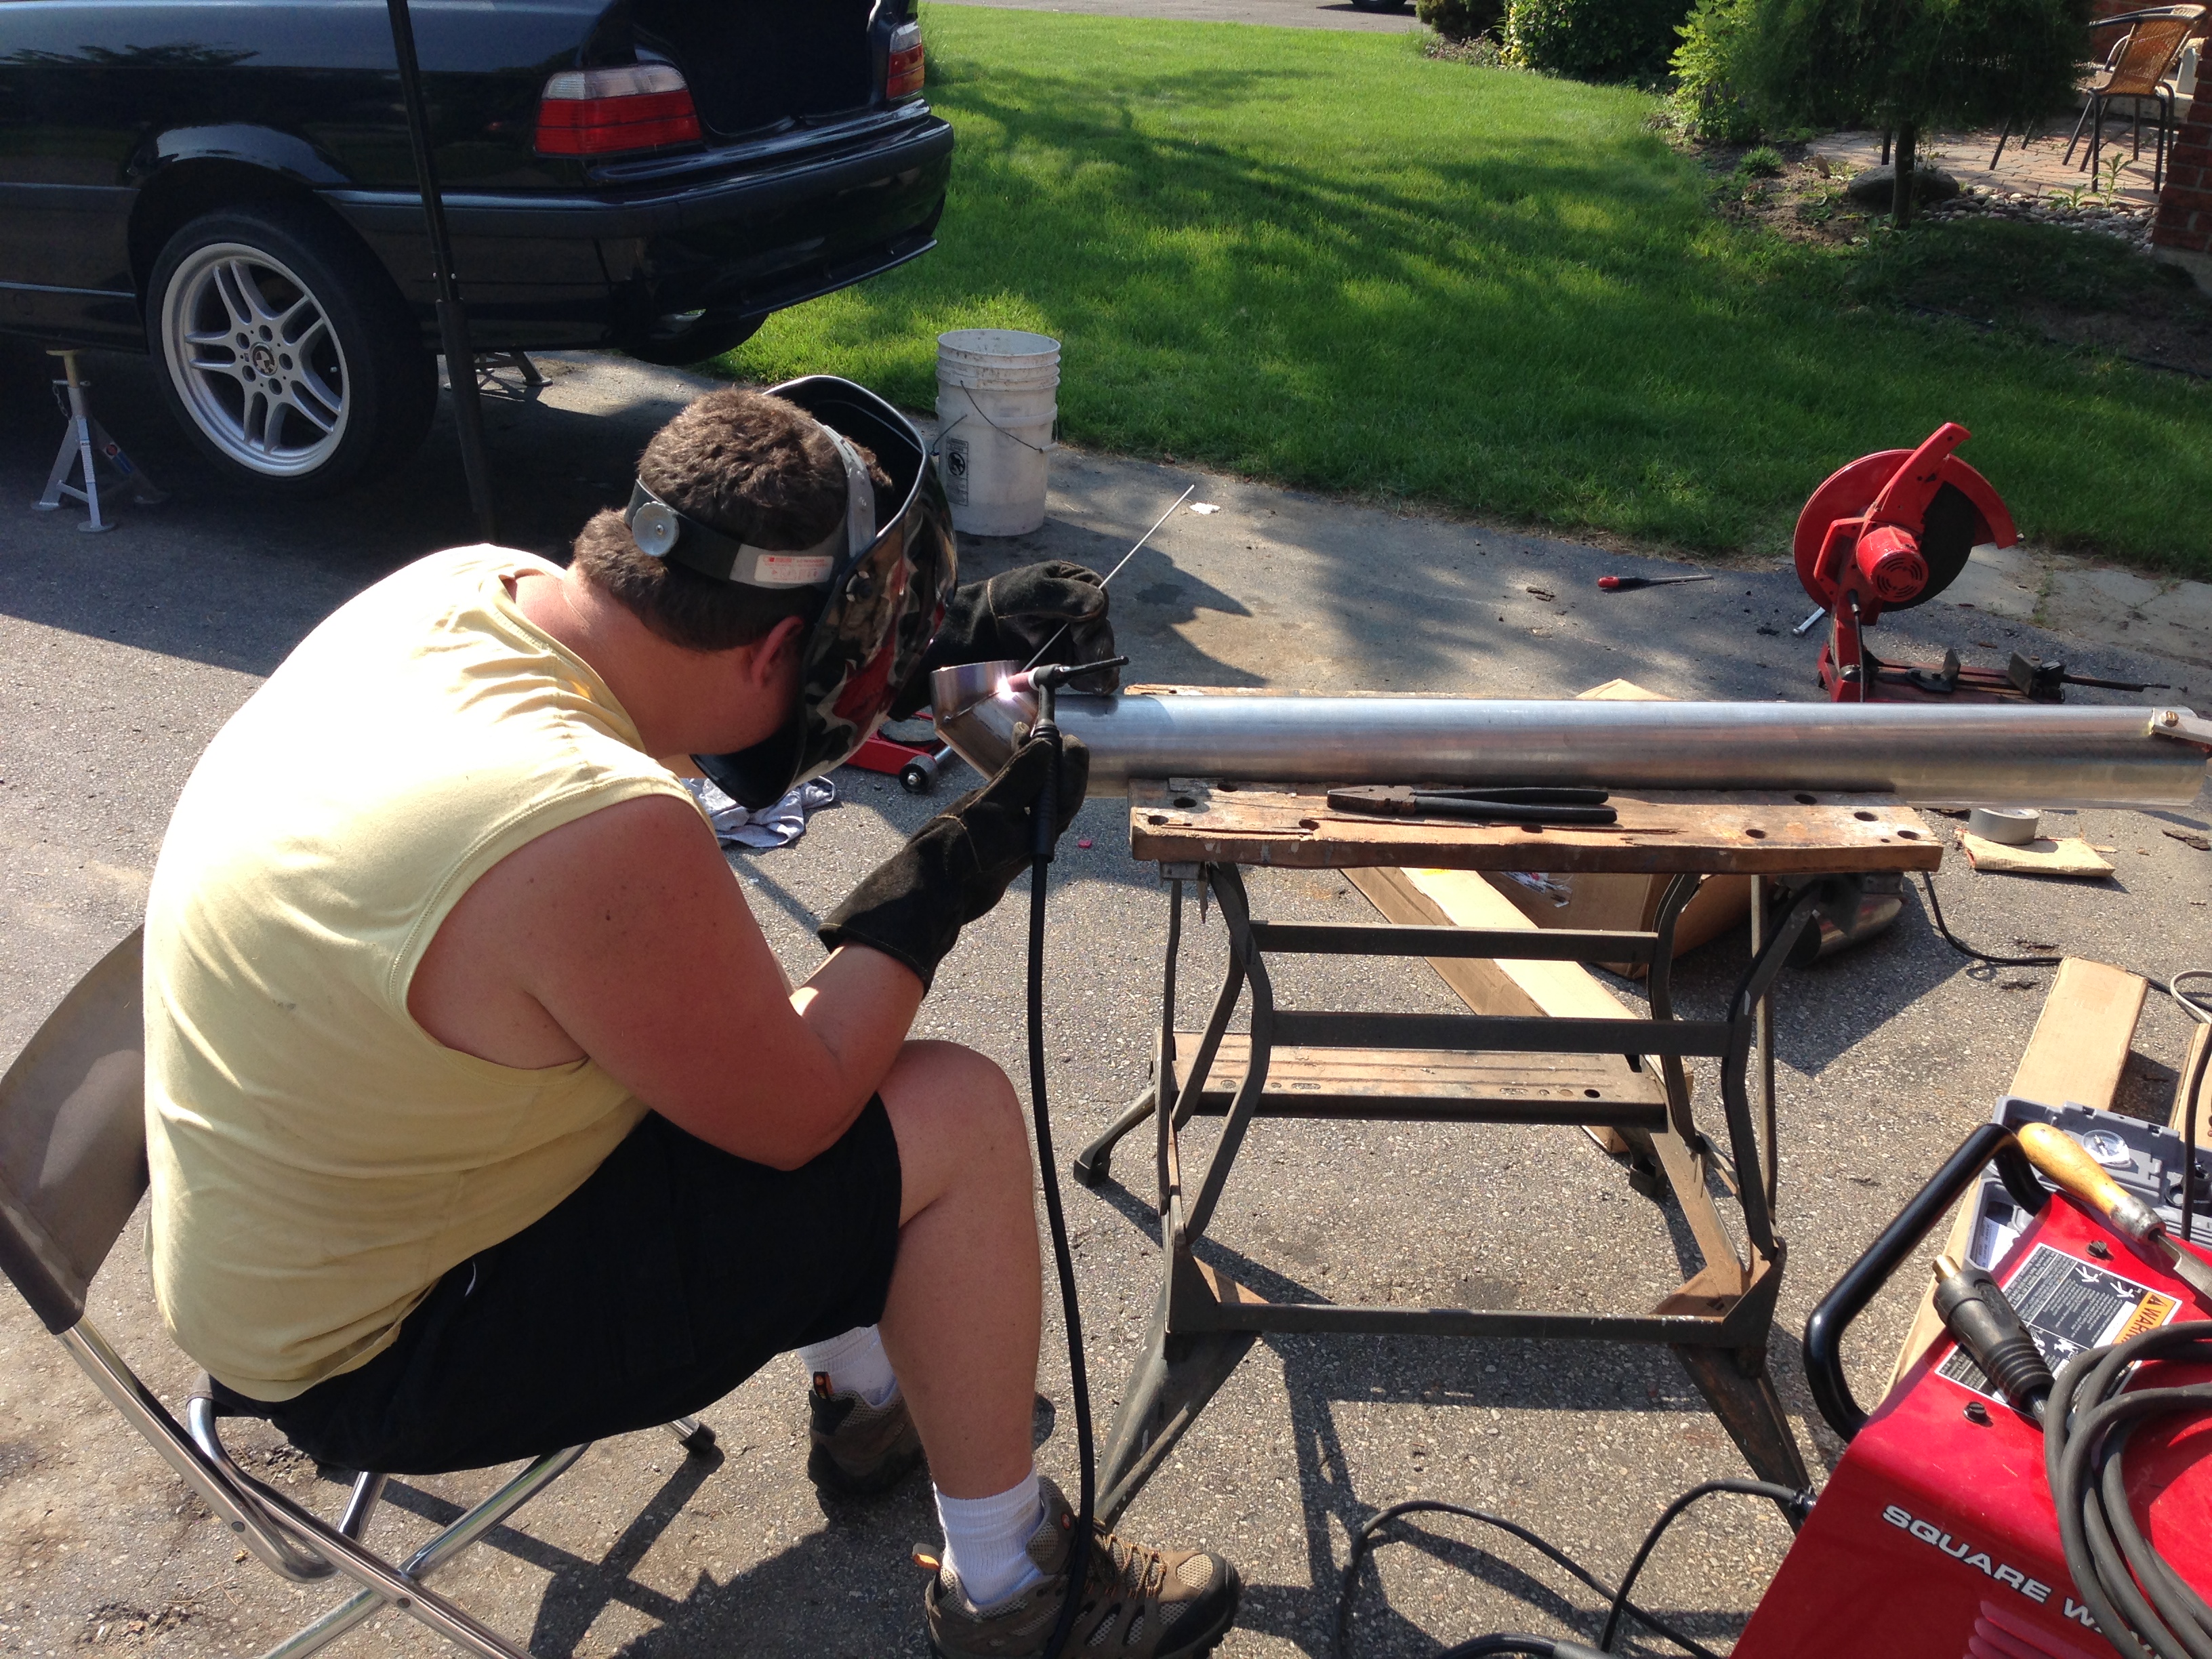
So next up was building the exhaust, im running a 4 inch straight pipe from the downpipe back. My friend ben and I decided we would construct an exhaust instead of taking it to a shop, so I ordered all my stainless 304 piping and we began fabrication. The exhaust from start to finish took us about 6 hours, most of the time was spent cutting the stainless steel piping as its a very hard material and kills chop saw blades. You also have to cut it very slowly to try and conserve your blade, as well as the stainless piping. Melting the metal while cutting it is a no-no as it diminishes the metals ability to resist moisture and not rust.
Here are a few of us building the exhaust, considering it was our first time building an exhaust it came out excellent. Everyone of you reading this should be building your own exhausts! Nevermind getting an exhaust shop to do it for you! This way you know its done right.
building the 90
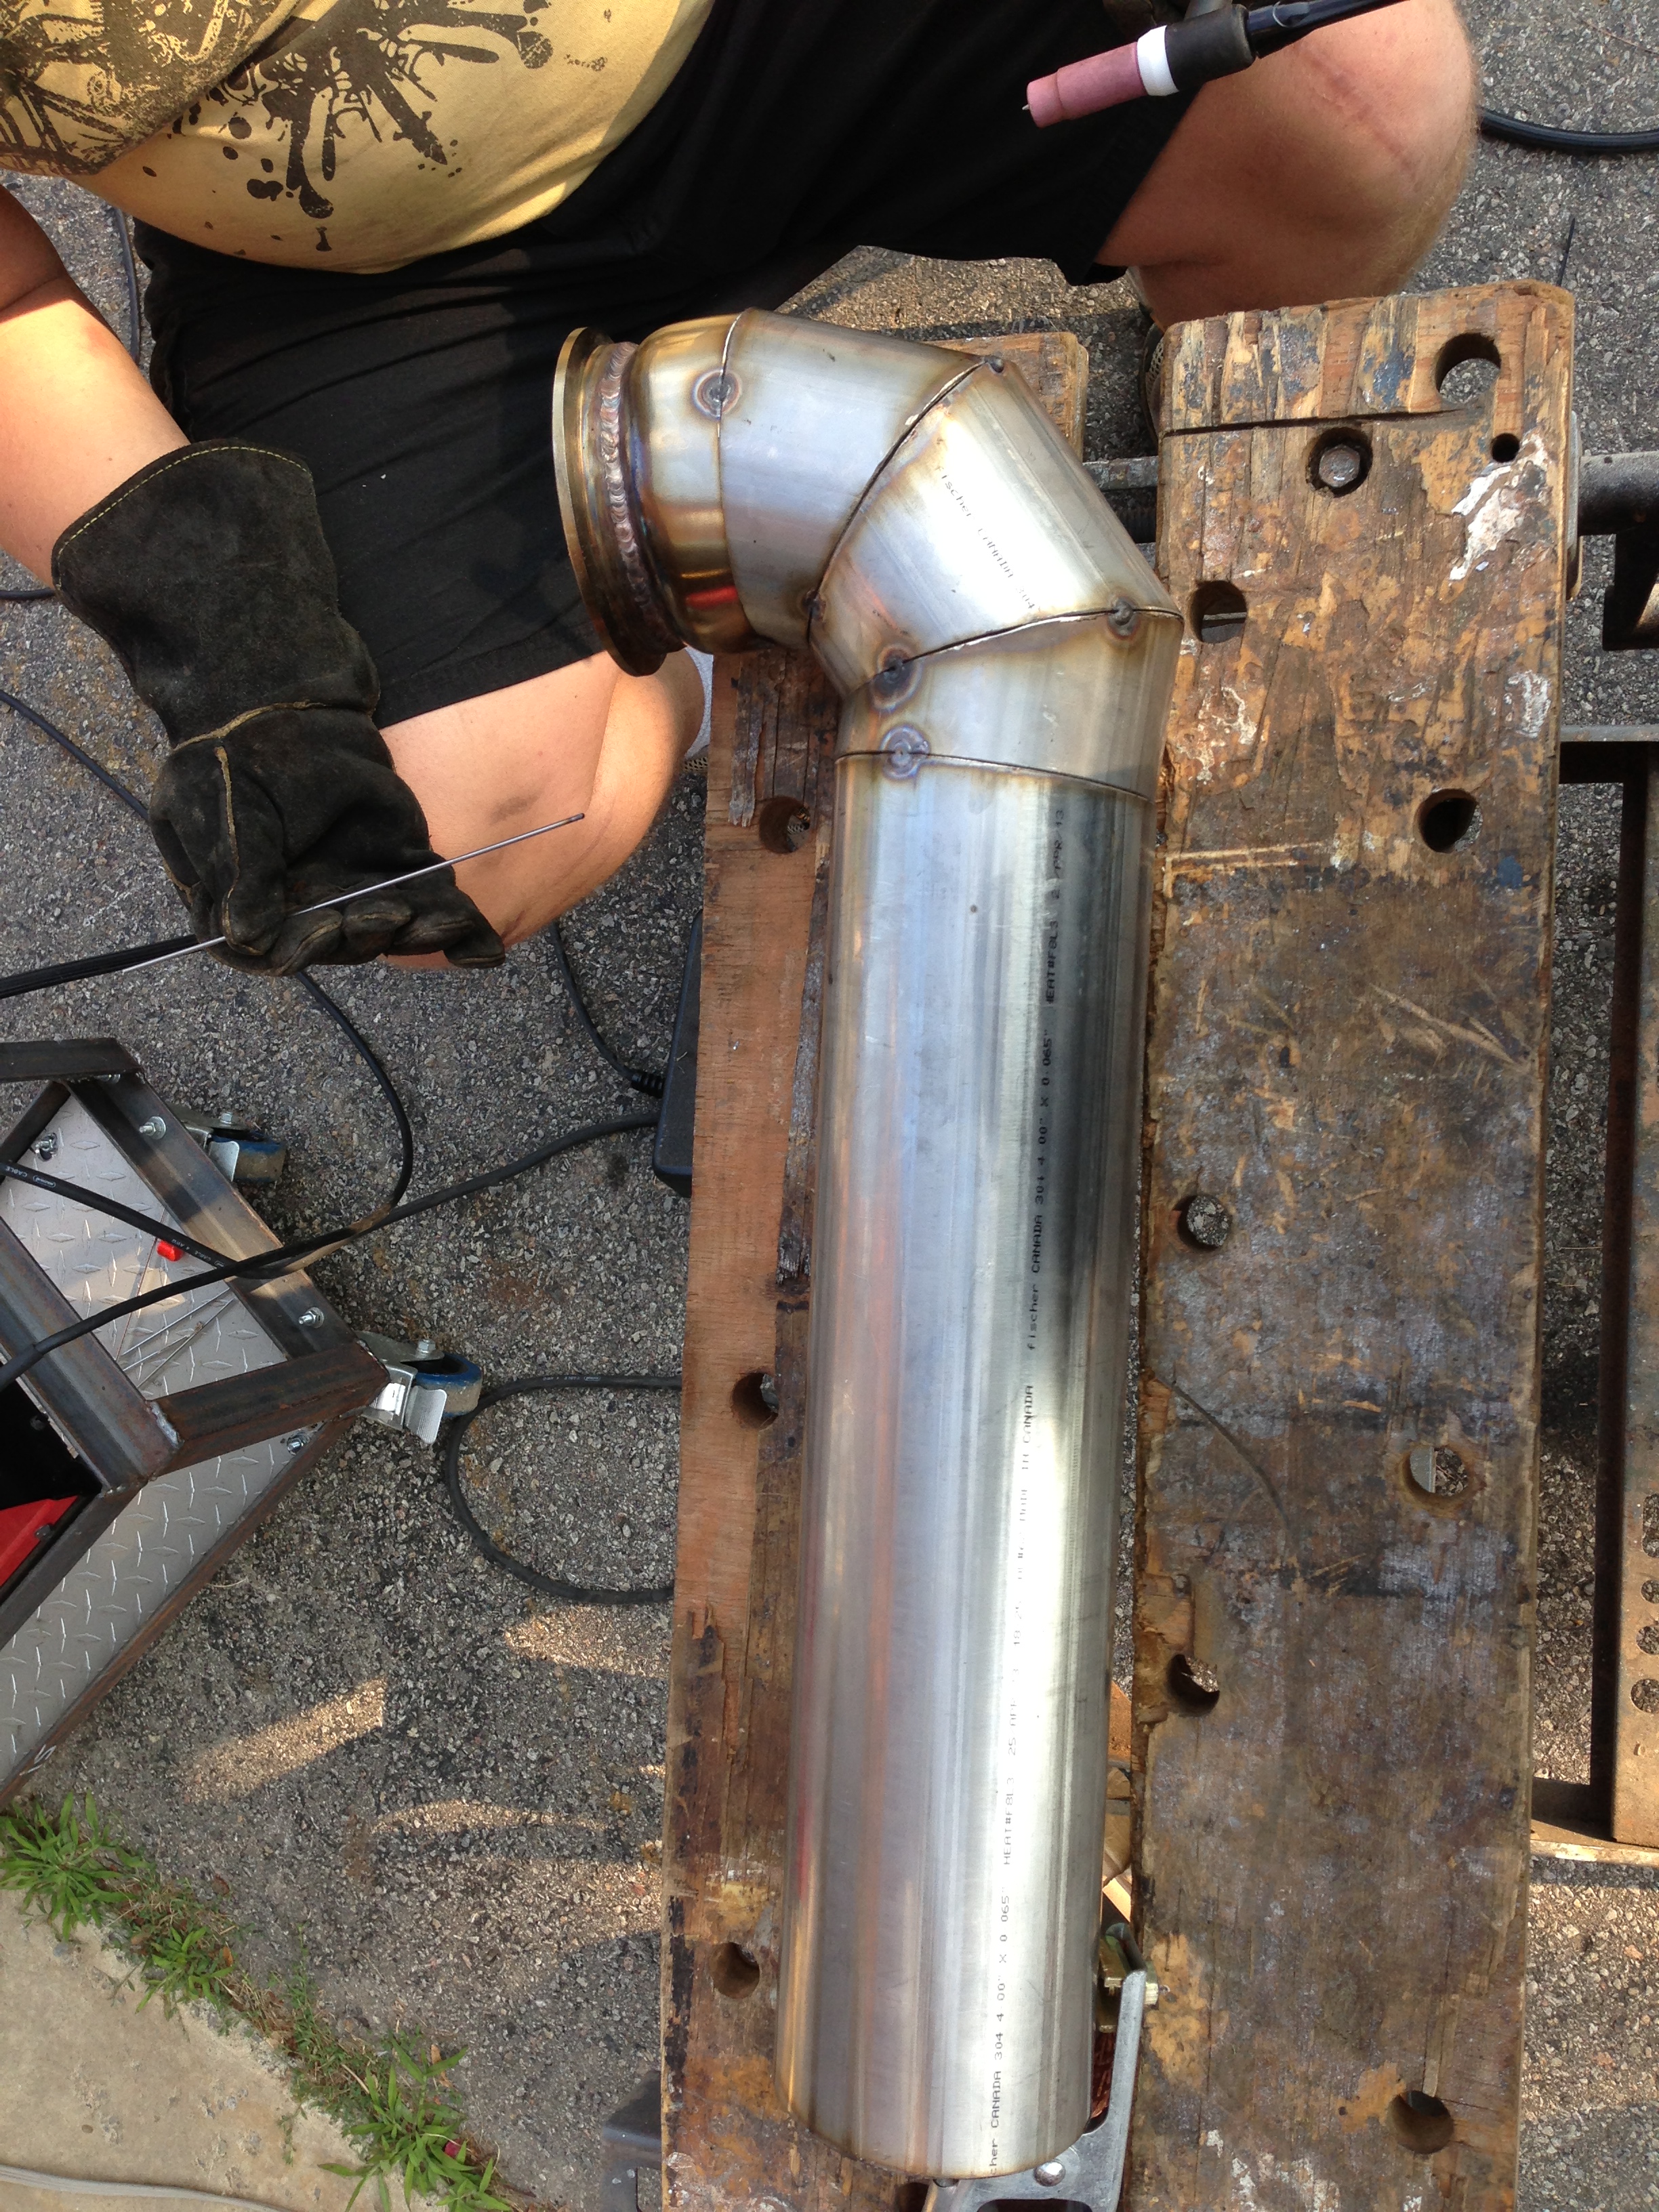
This 90 was perfect and gave us all the clearance we needed.
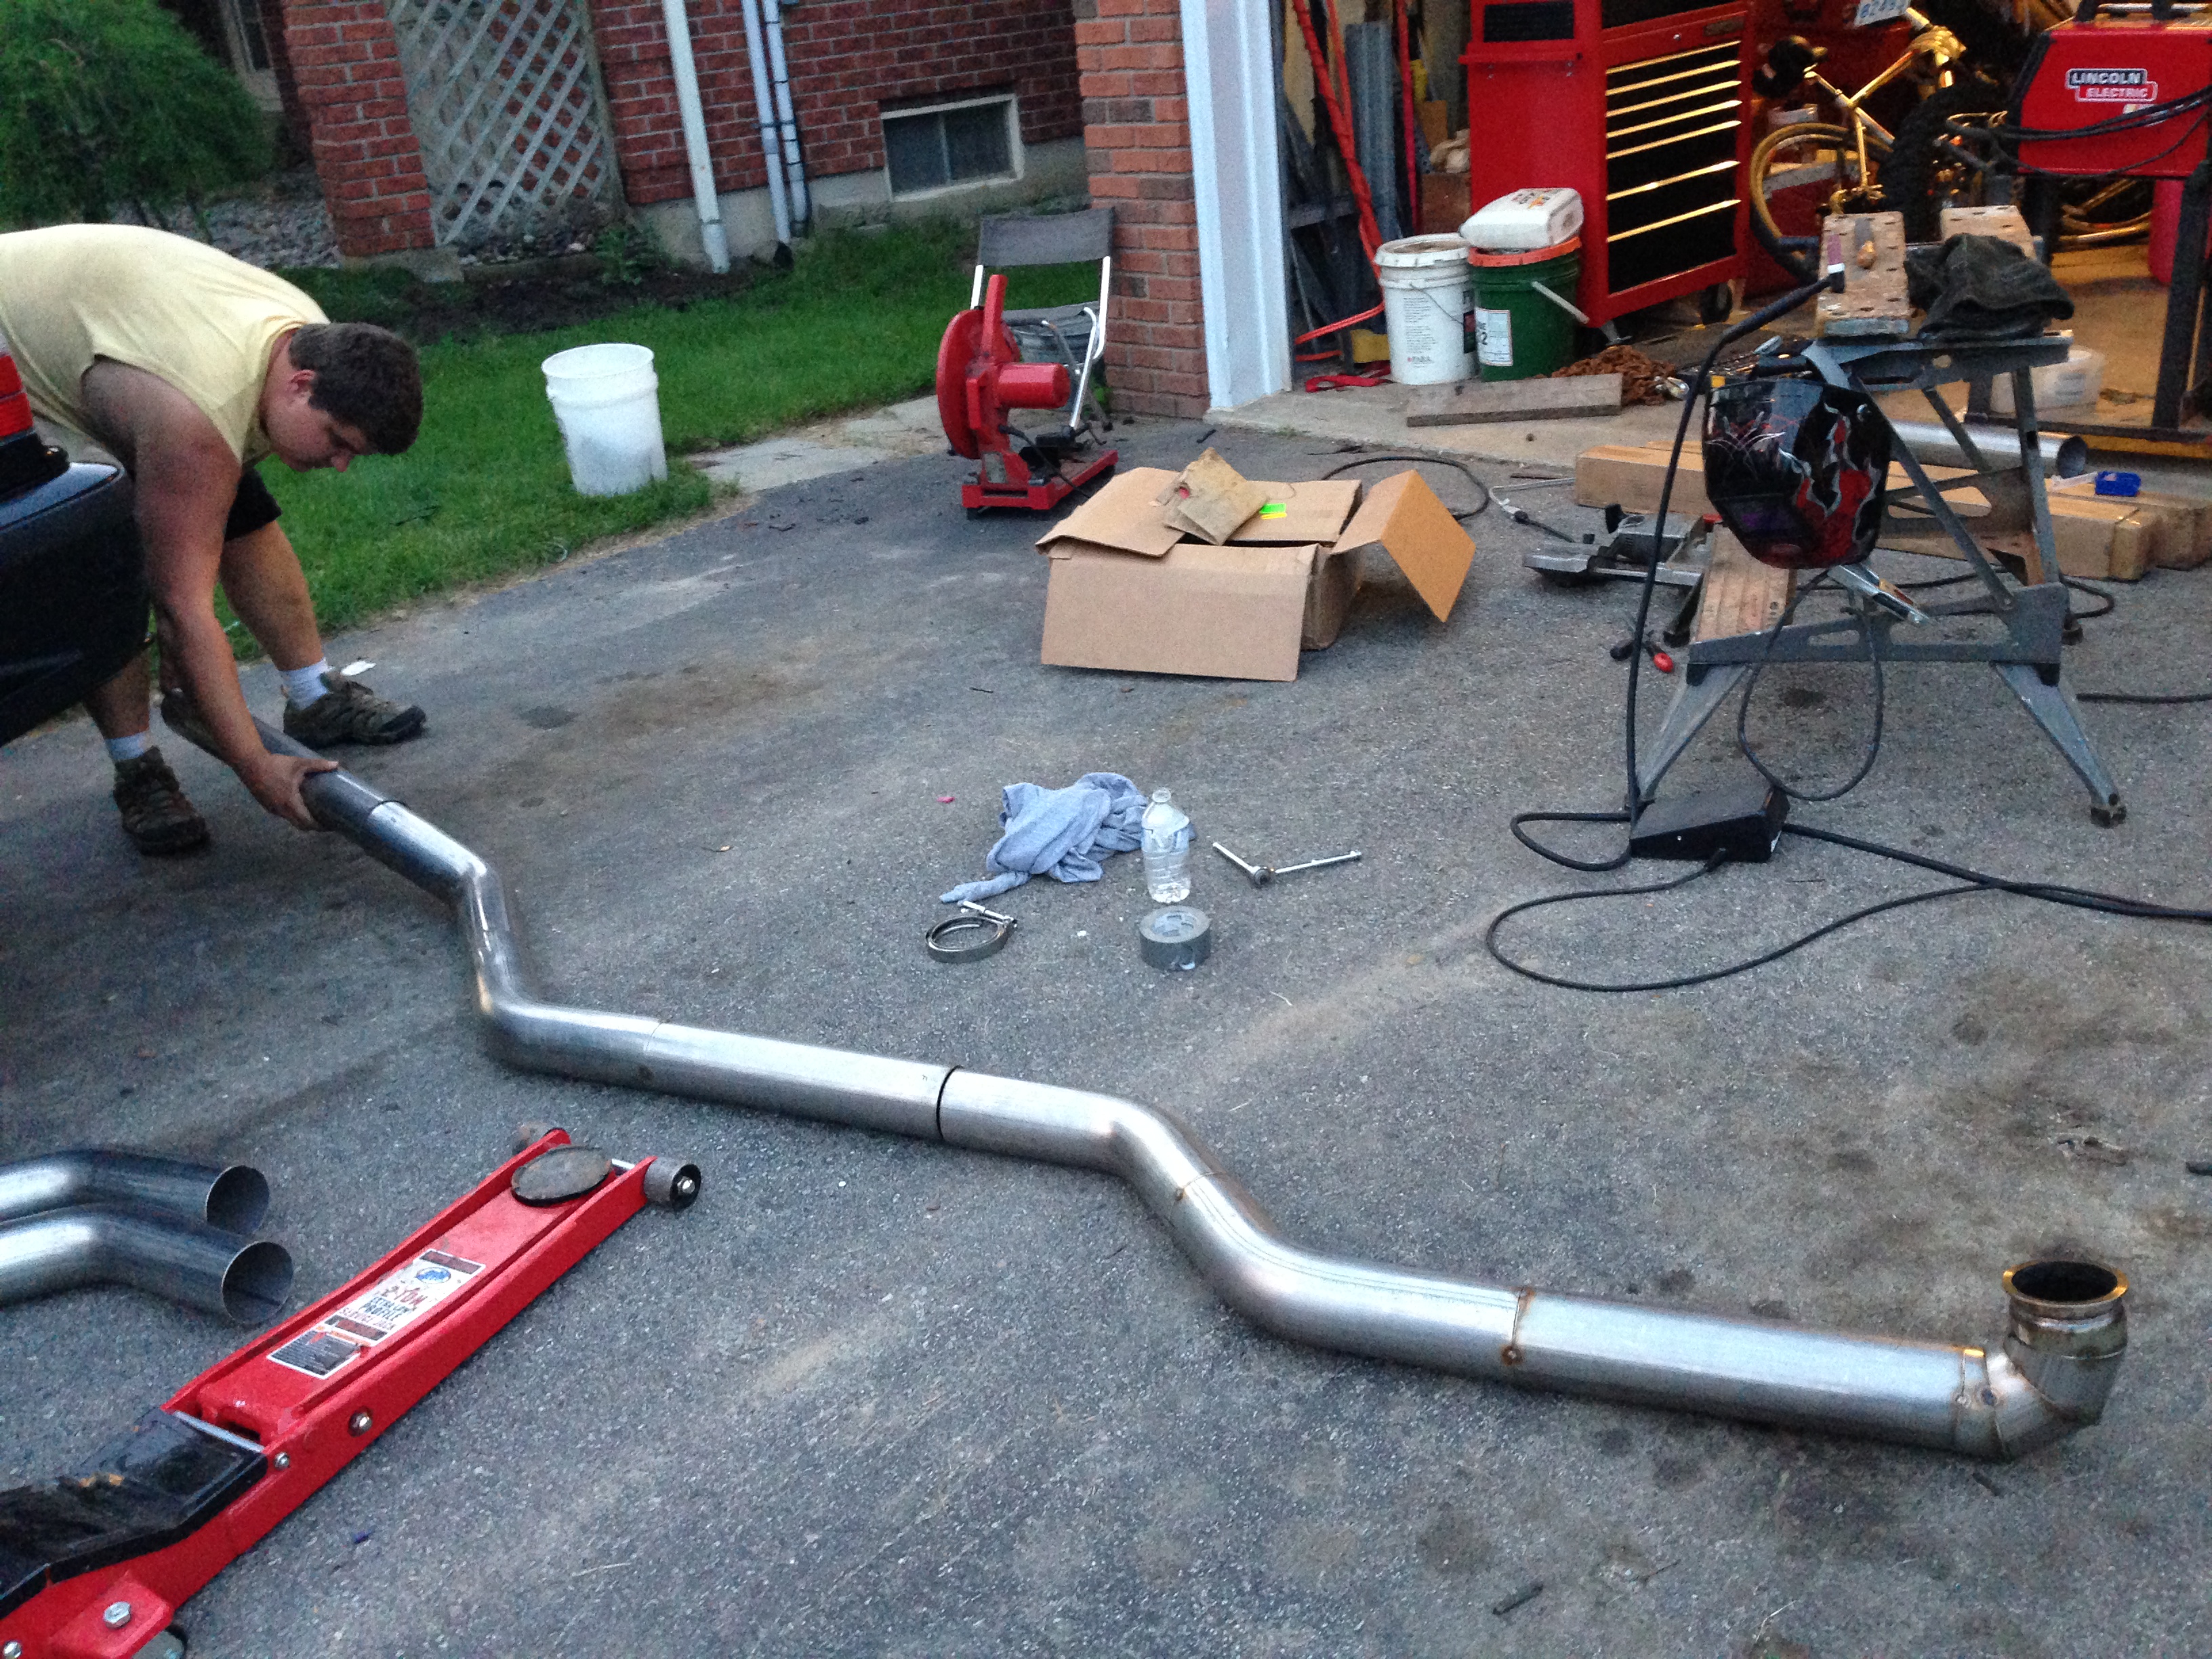
Almost there!
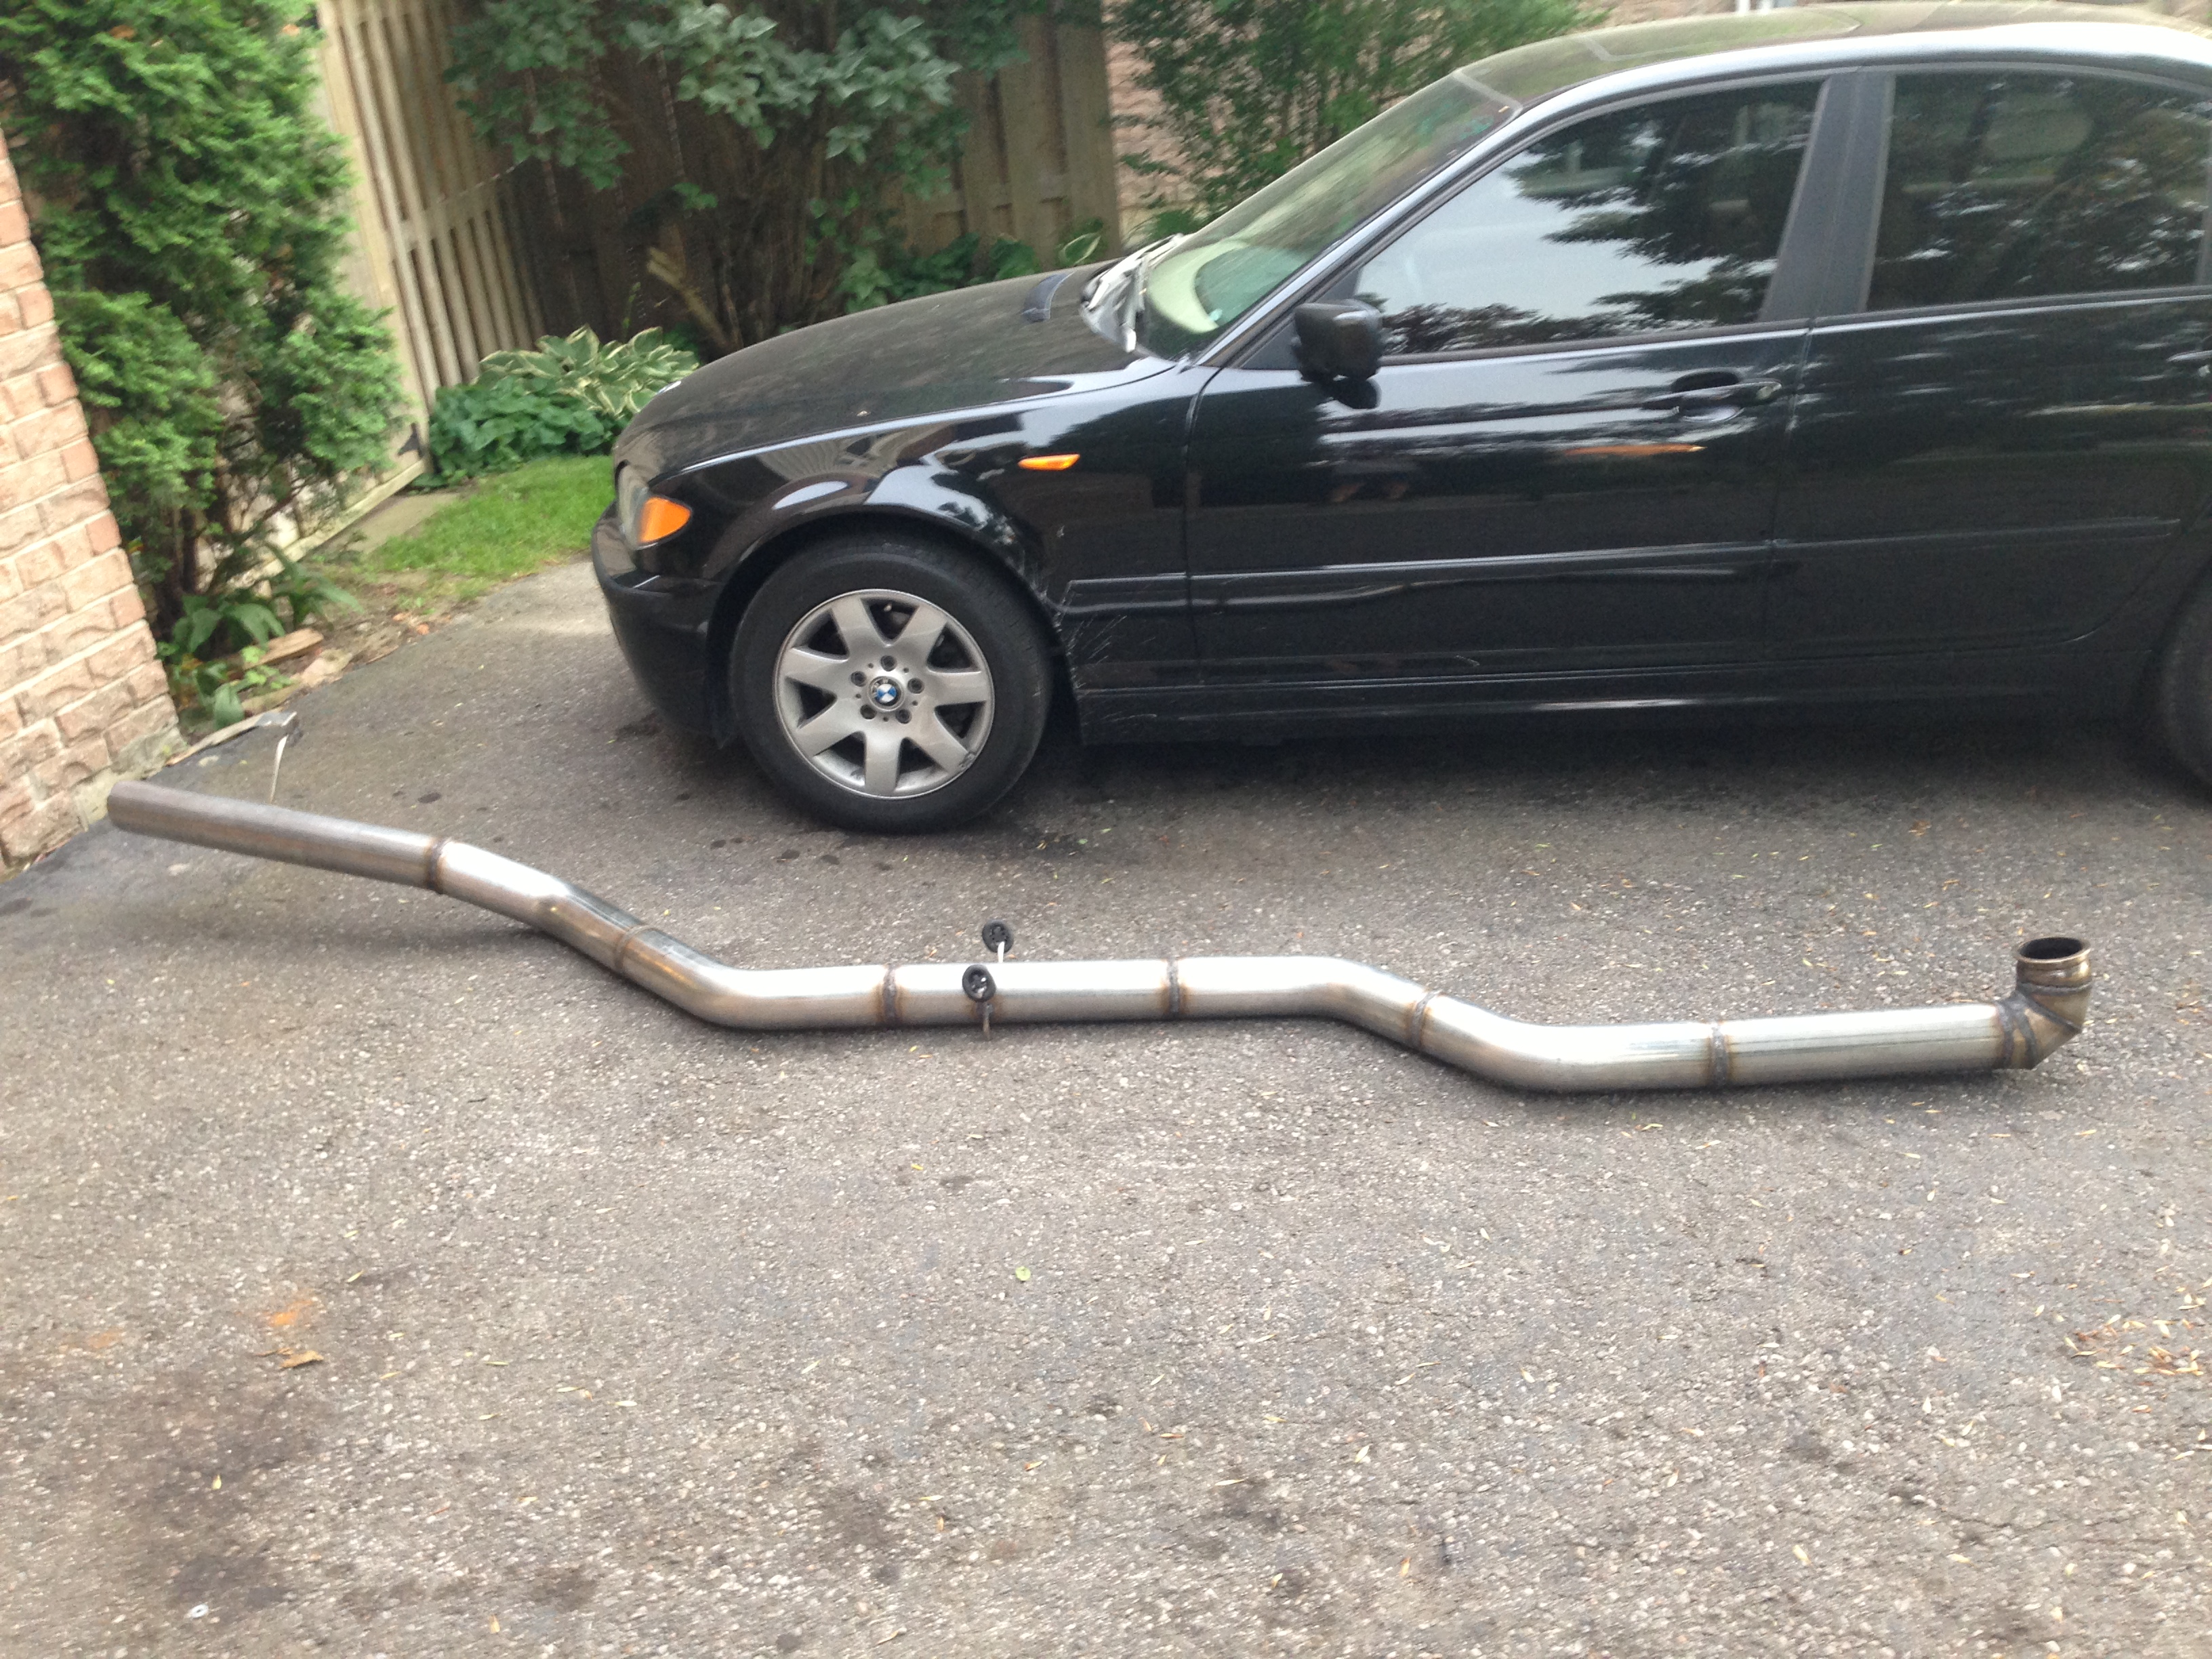
Done! I just want to give a big shoutout to big Ben! Couldn’t have done it with out you man!
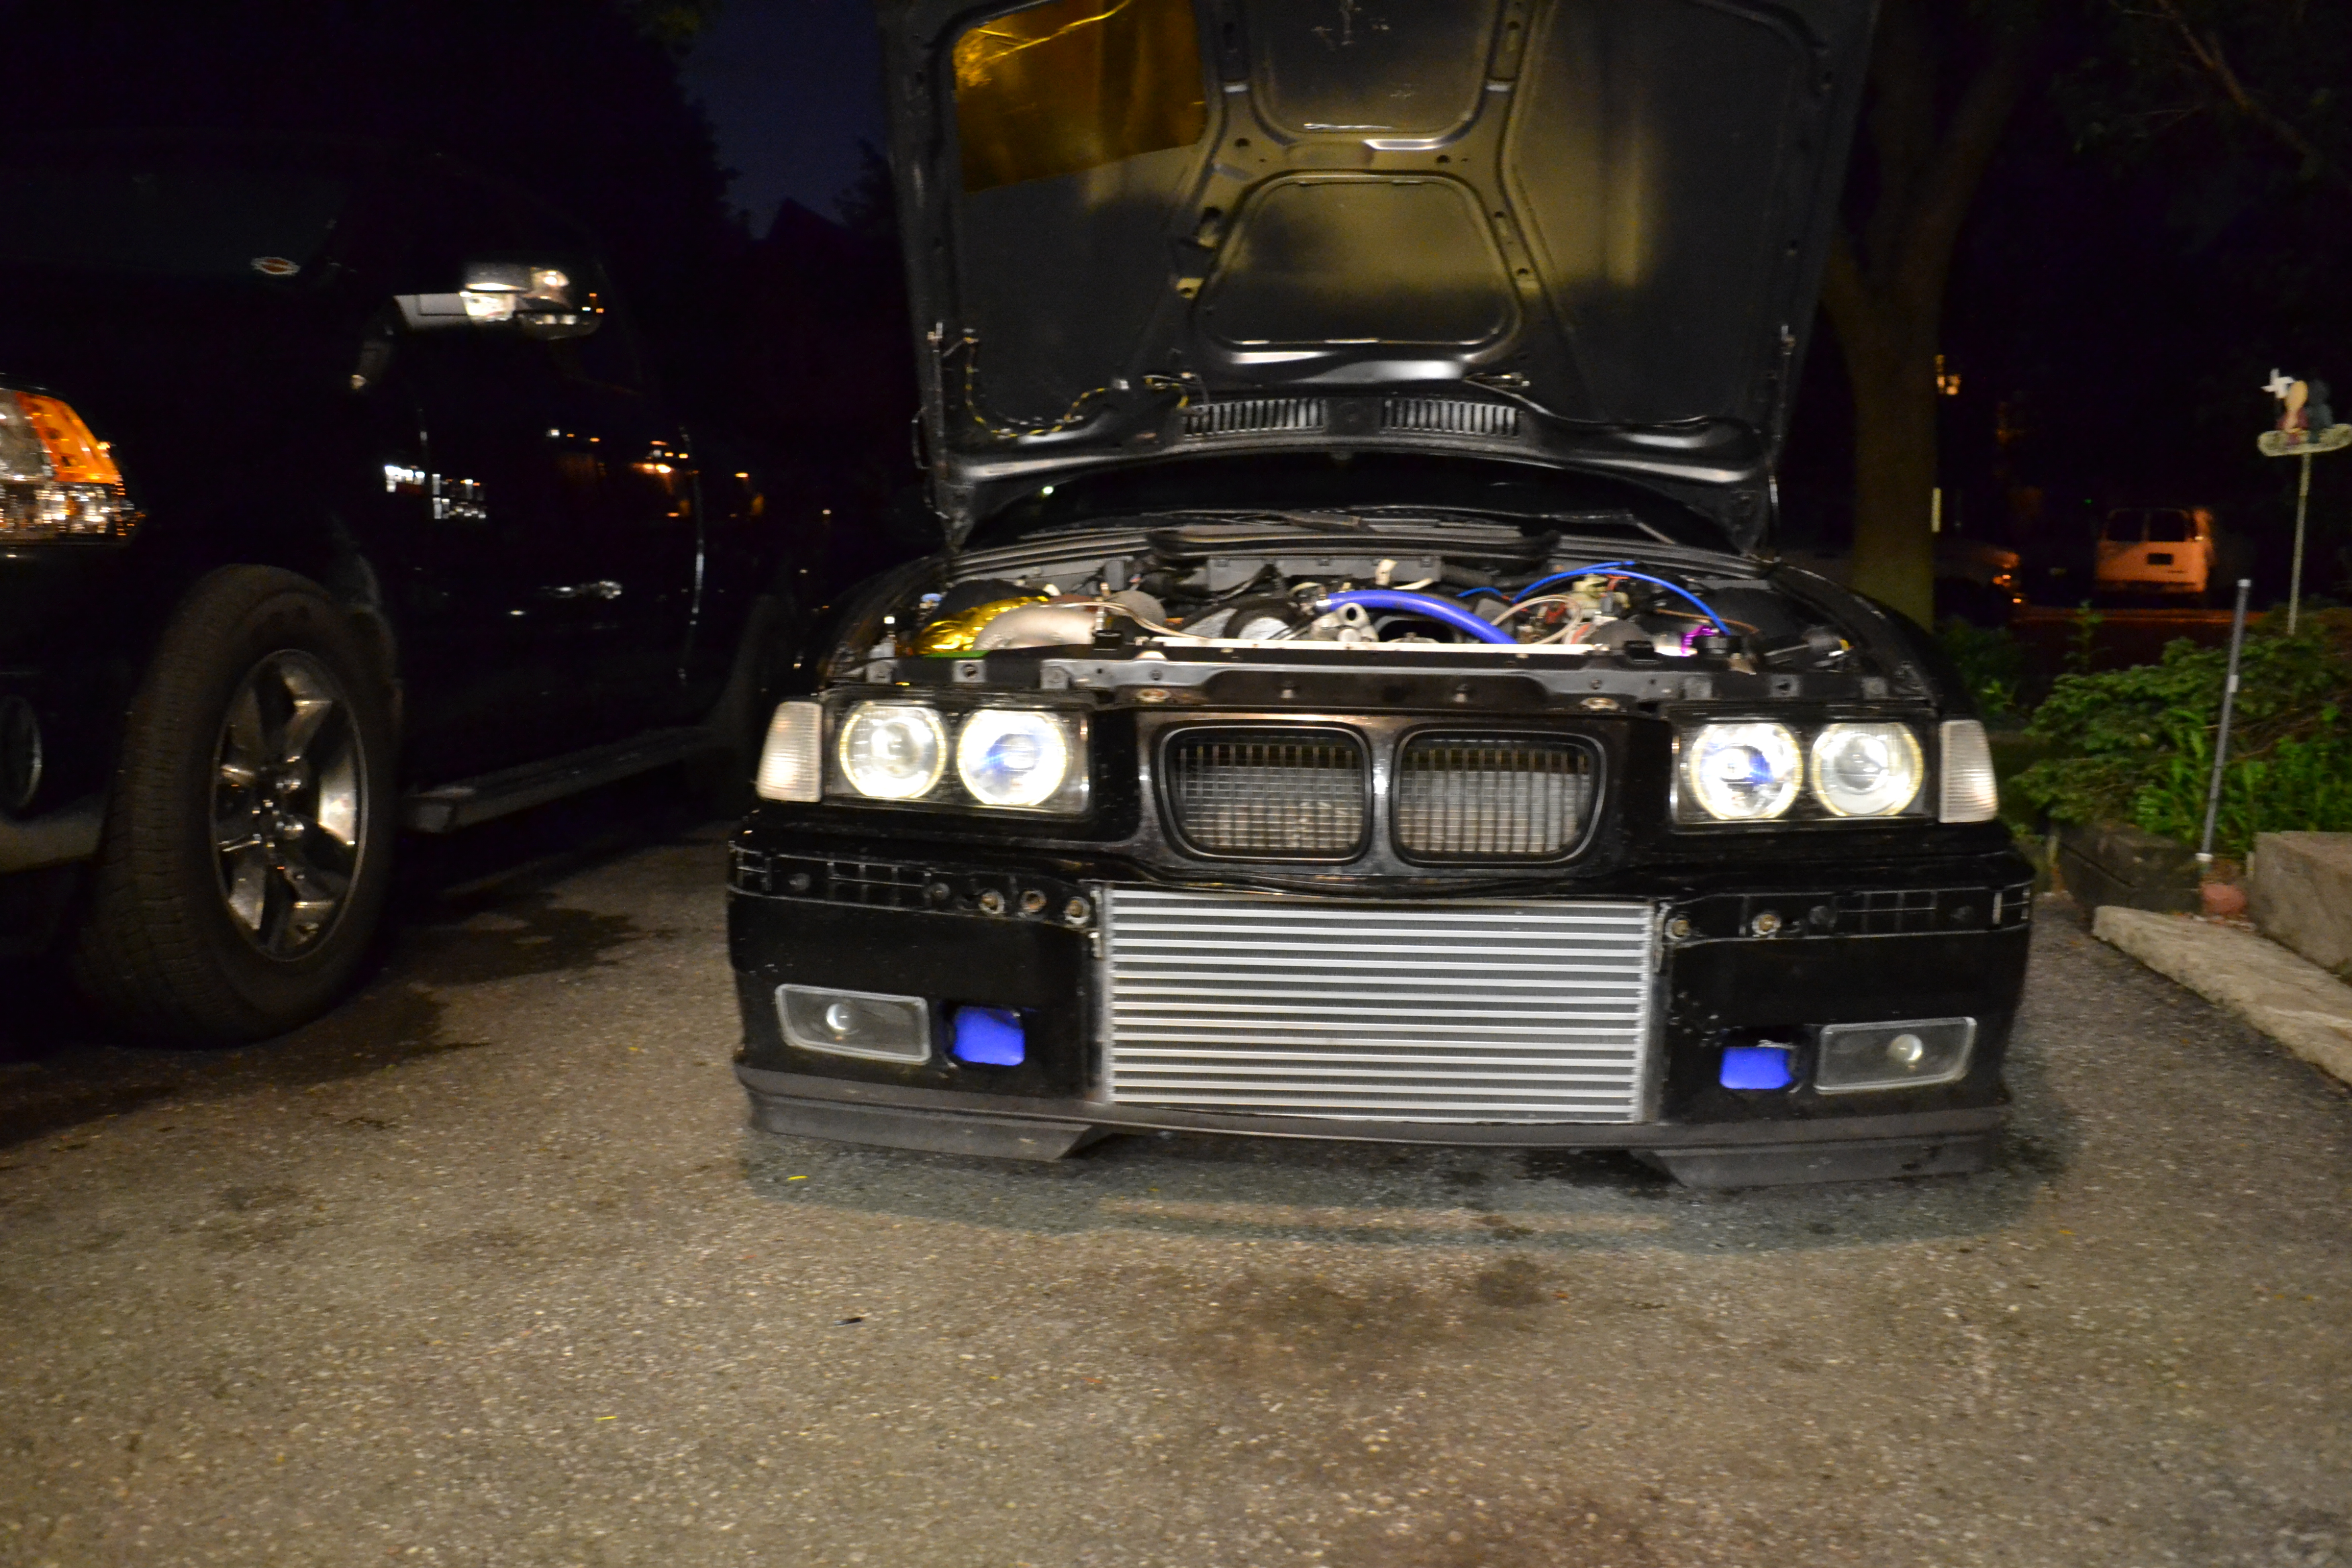
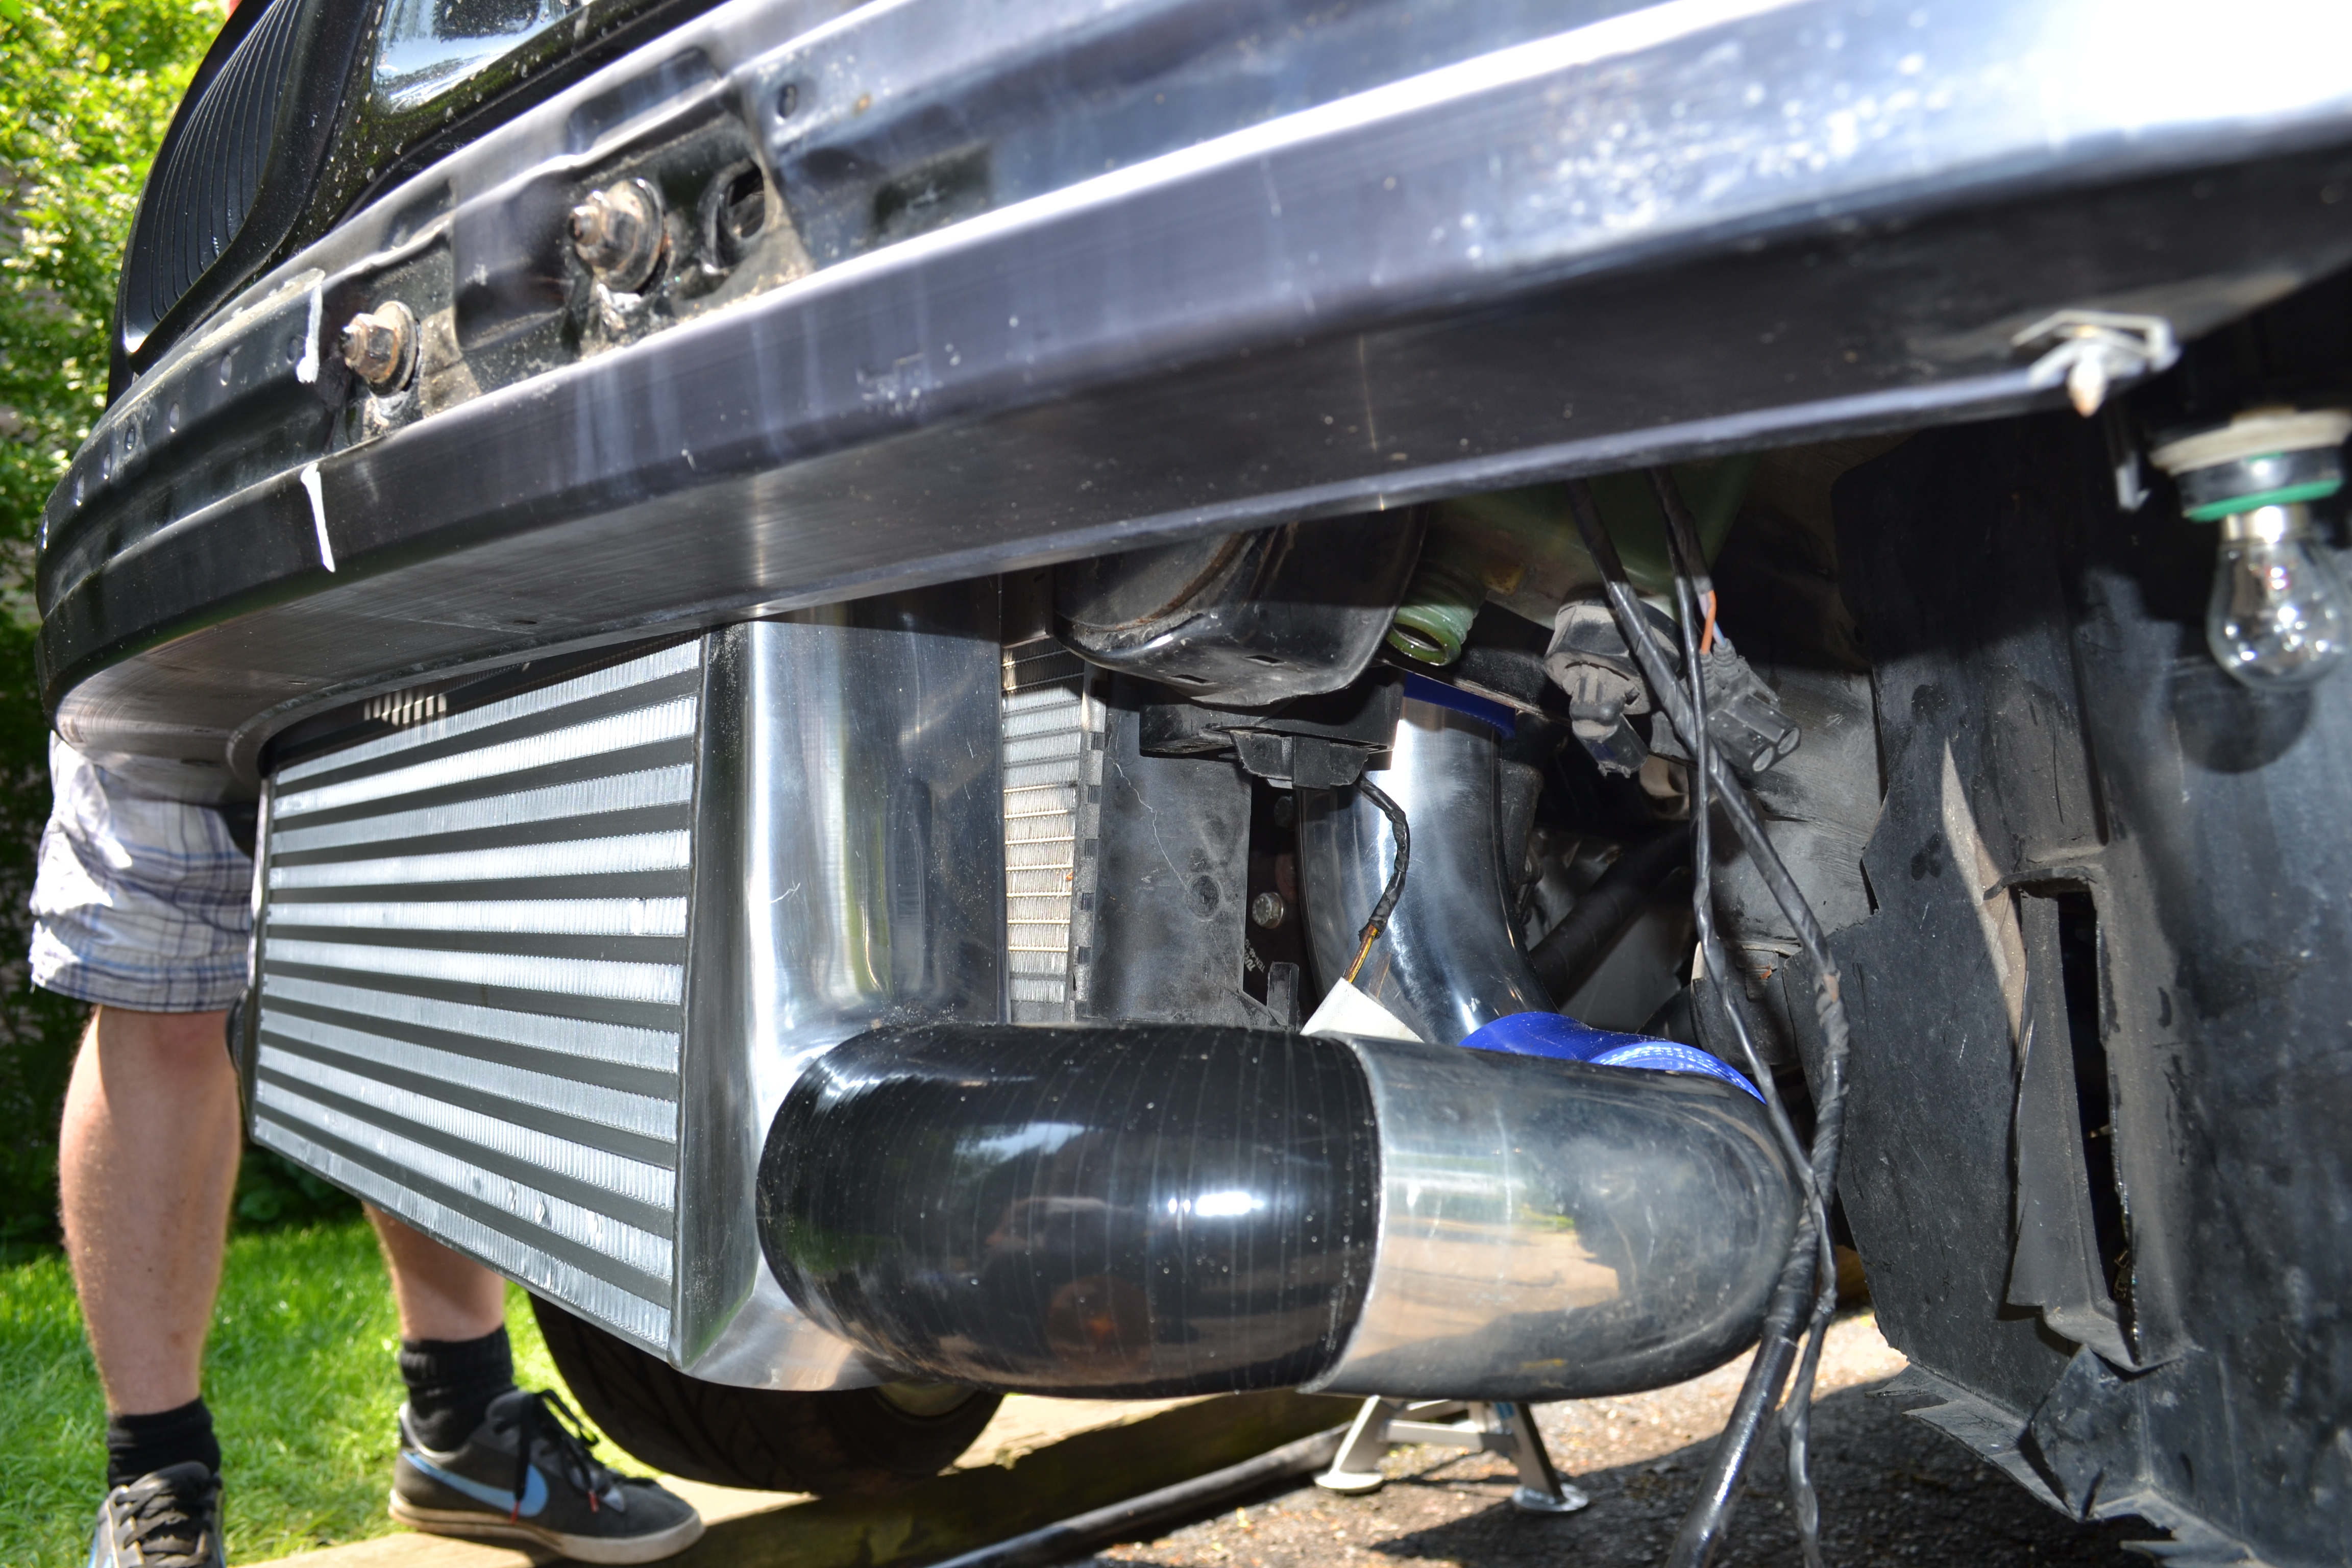
I trimmed my bumper to accommodate that enormous intercooler.
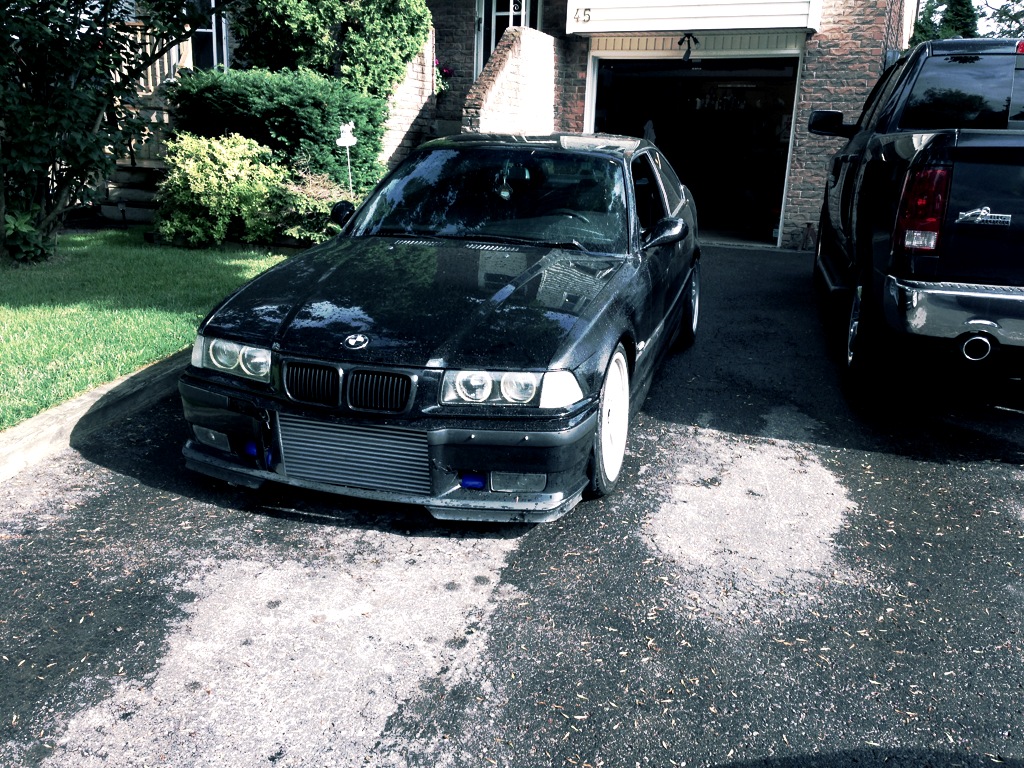
How she sits today
First start, , I have an oil pressure issue which im trying to figure out as I type this, so I have another pump on its way and as soon as I solve the issue, there will be a gopro vid up!
